1981 Yamaha XS400 Special II Build (Project Monarch)
A write-up on my progress building a custom motorcycle!
Intro
This is my write-up for my 1981 XS400 motorcycle build. I have never committed to such a large project before, but I believe the end result will be incredible! My masters supervisor Augustinus suggested that I write a blog to practice writing skill. I think he was talking about more technical, mathematics write-ups, but this will have to do!
Inspiration, and Initial Purchase
Over the past few years, I’ve been watching more and more custom motorcycle builds online. Primarily cafe racers, brat style, and scramblers, but also choppers and bobbers.
As I watched these works of art be built, I developed a taste of my own and a vision of my perfect motorcycle. I imagined a bike that was brat style adjacent—subtly different from the original style. Retro, yet modern. That’s when I encountered BJ from Brick House Builds’ XS400 (right).
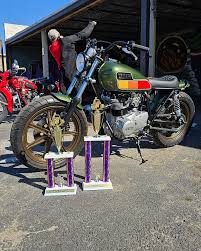 BJ’s XS400 from Brick House Builds.
This build checks a lot of boxes for me, and ultimately inspired me to start my own build. In particular, I like the handlebars, seat, front and rear fenders, and the upswept seat hoop. Some things I would change are to keep the original airbox and side covers. Not only does that avoid needing to rejet the carbs, but I also prefer the look. Additionally, I prefer the wheels to be black, and it would also benefit from mirrors.
So, I started shopping for bikes. I scrolled Facebook marketplace every day for multiple months, going to see a couple of bikes, but never finding the one. I wasn’t specifically shopping for an XS400 either. I was open to any 70s or 80s bike, as long as it had the iconic Japanese Universal Motorcycle (JUM) look. I also specifically wanted it to have a kickstart (I don’t know why, but kickstarting a road bike is just so cool to me). I liked the idea of the XS750, or an older Suzuki GS or Honda CB, but none ever popped up in my price range. Eventually, an XS400 Special II came up, asking only $600CAD and only a 3-hour drive away. It didn’t run, and had been sitting for 17 years, but the price was right, it had a clean title, and ownership was in the seller’s possession. I went to see it and met the older couple selling it. It was the bike his wife learned to ride on. I offered $500CAD, and we settled at $550CAD.
 Side view of my XS400 when I bought it.
The build
I got it home with the help of my uncle, who lives only a half-hour from the seller. I took it apart, cleaned the 17-year-old gas out of the tank and carburetors, and it fired right up!
I checked the cylinder walls with a boroscope, and they look fantastic, crosshatching and everything! I measured the compression, getting 120psi on the left and 125psi on the right. The engine is healthy and does not require a rebuild! The next step was really stripping it down. Removing all the parts I don’t intend to use in the final build, and cleaning the bike thoroughly (lots of mouse poo, yuck).
After a good cleaning, I removed the entire wiring harness. I plan to fully rewire the bike to run a modern reg/rec, headlight, and LED brake and turn signals. I also purchased a Motogadget mo unit blue to really modernize the bike with keyless ignition and the works.
September, 2025
Rewiring the stator
At this point, I didn’t have a welder or angle grinder yet (for the frame modifications, seat hoop, etc.), and I still have a lot to do before I’m ready to begin wiring. So, I started some odd jobs. First on the list is fixing the small oil leak coming from the stator wire grommet. This is a common failure point on these bikes, and unfortunately, you can’t get a new grommet anywhere. Rewiring, and some silicone gasket maker, it is!
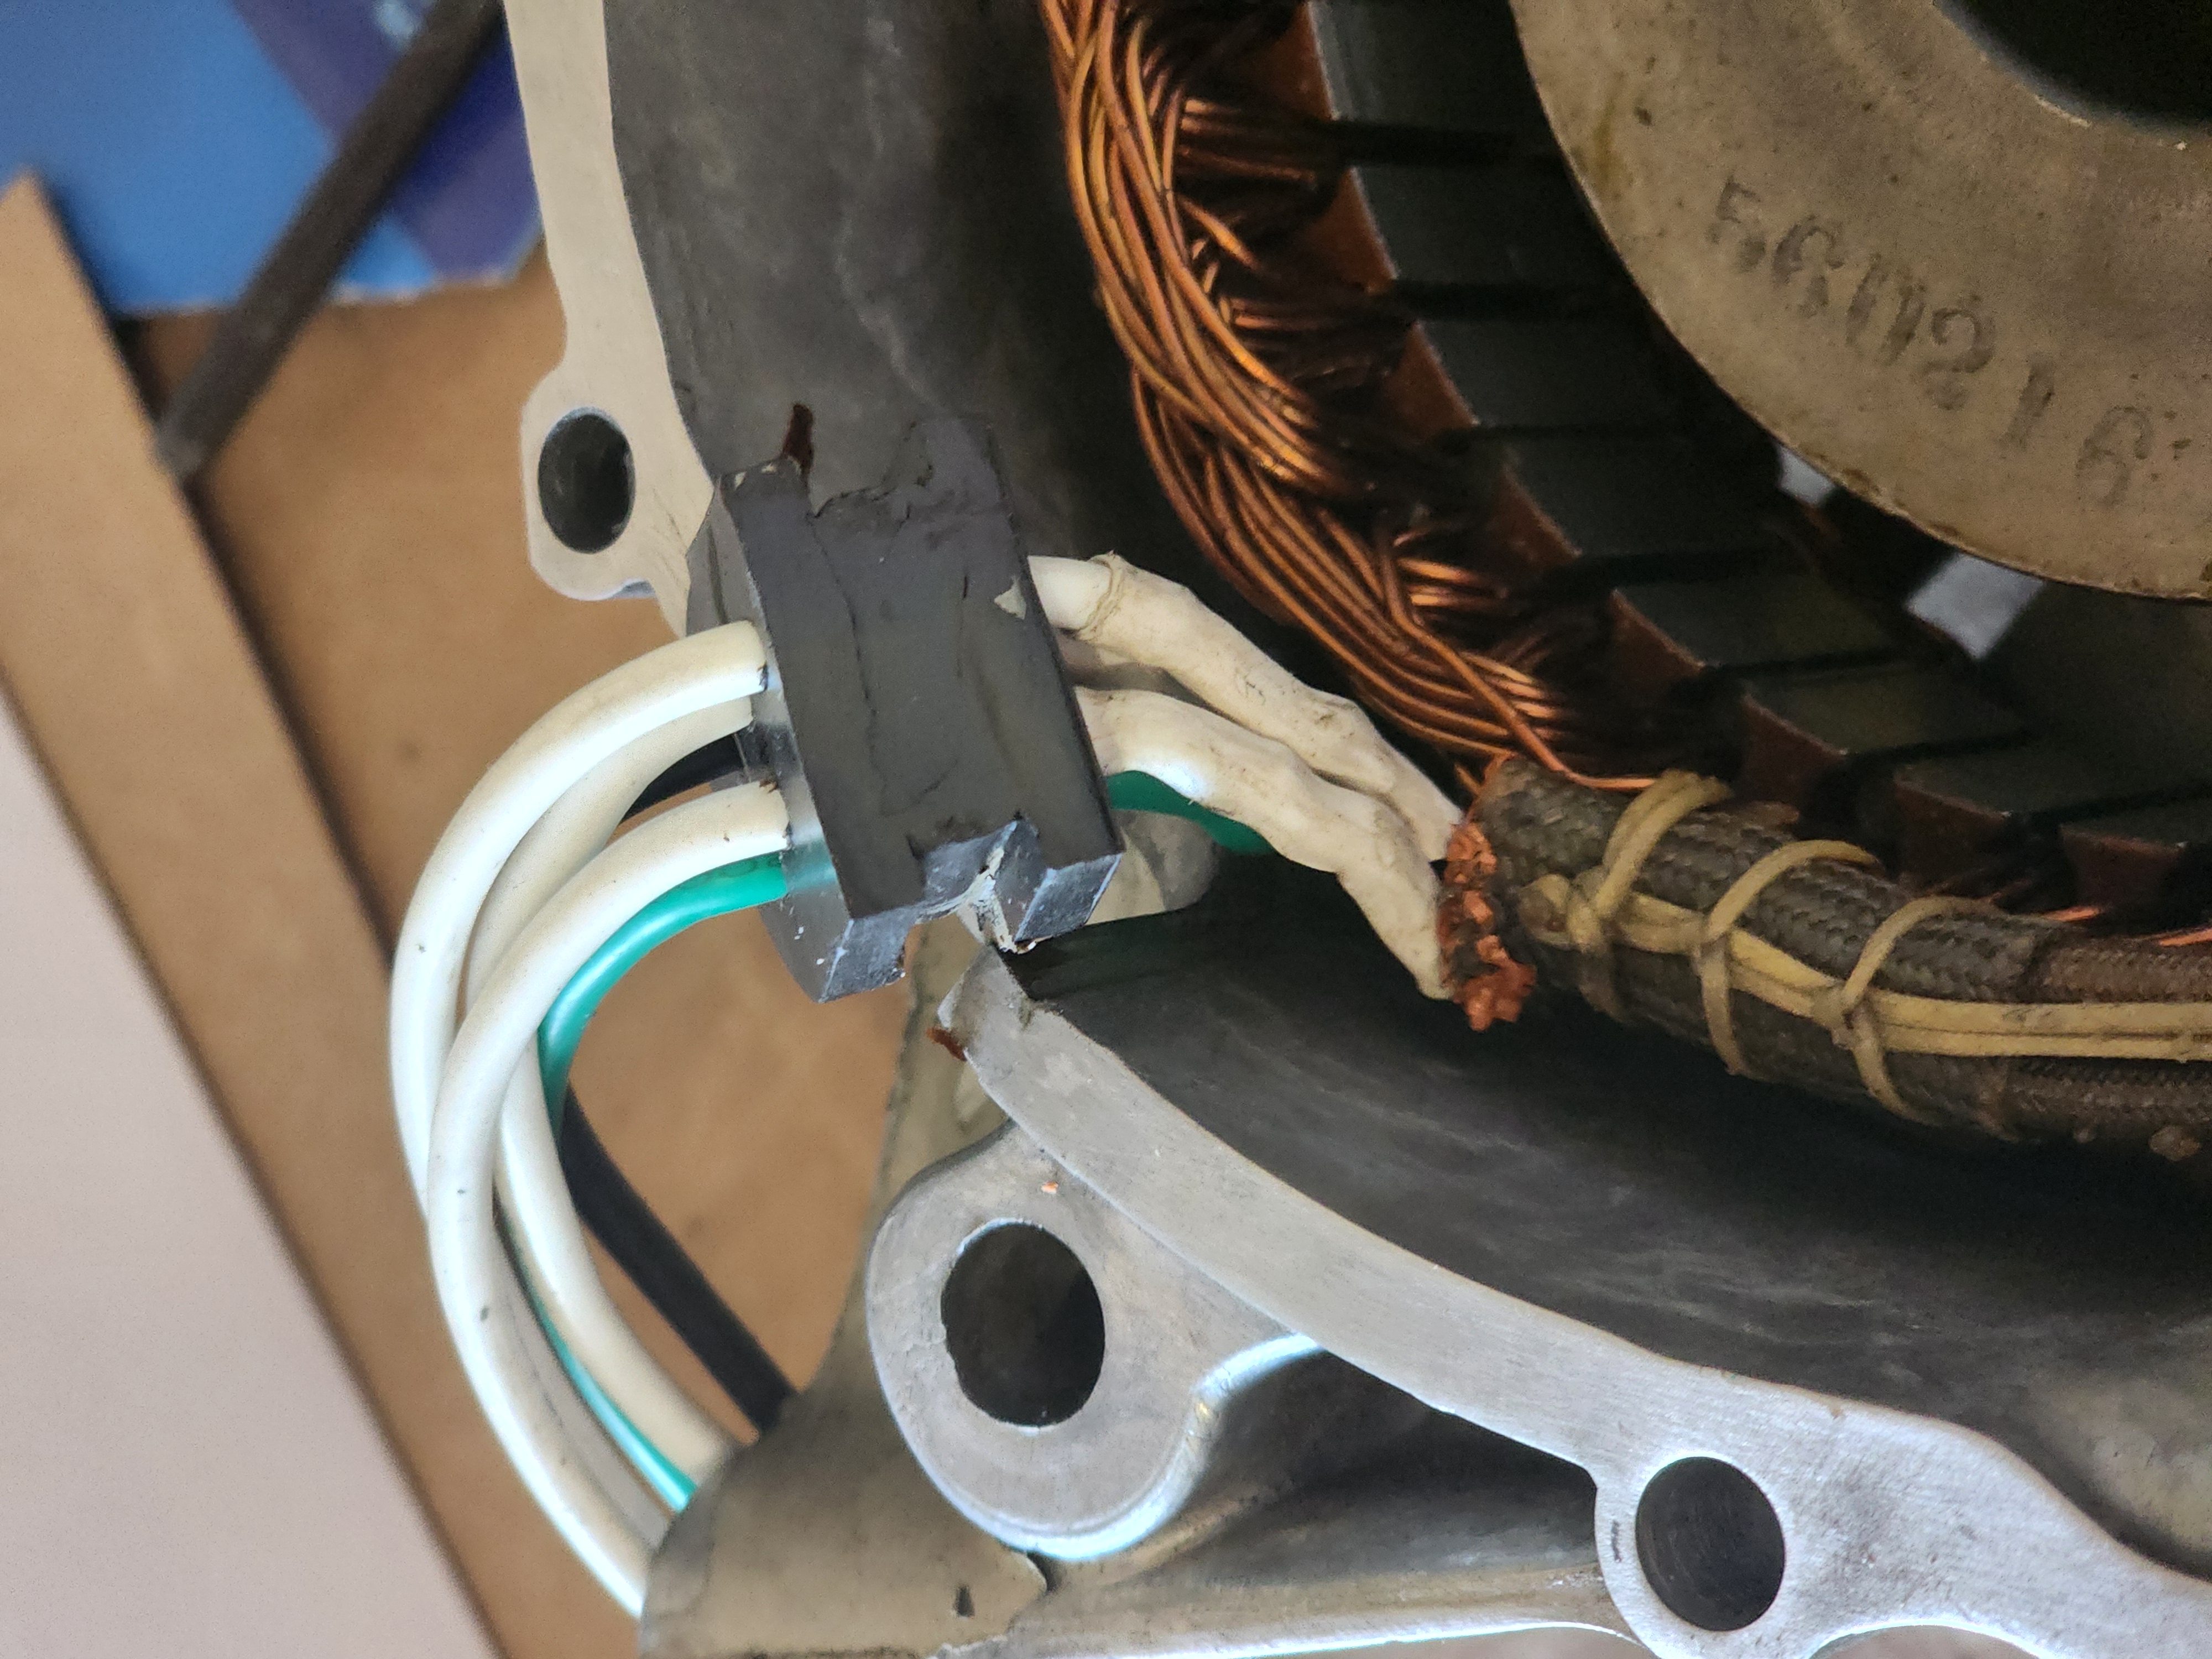 Rewired stator grommet.
I used 16AWG wire instead of the original 18AWG to ensure a tighter fit through the grommet, just to be safe. I applied a conservative amount of red RTV and reinstalled the stator.
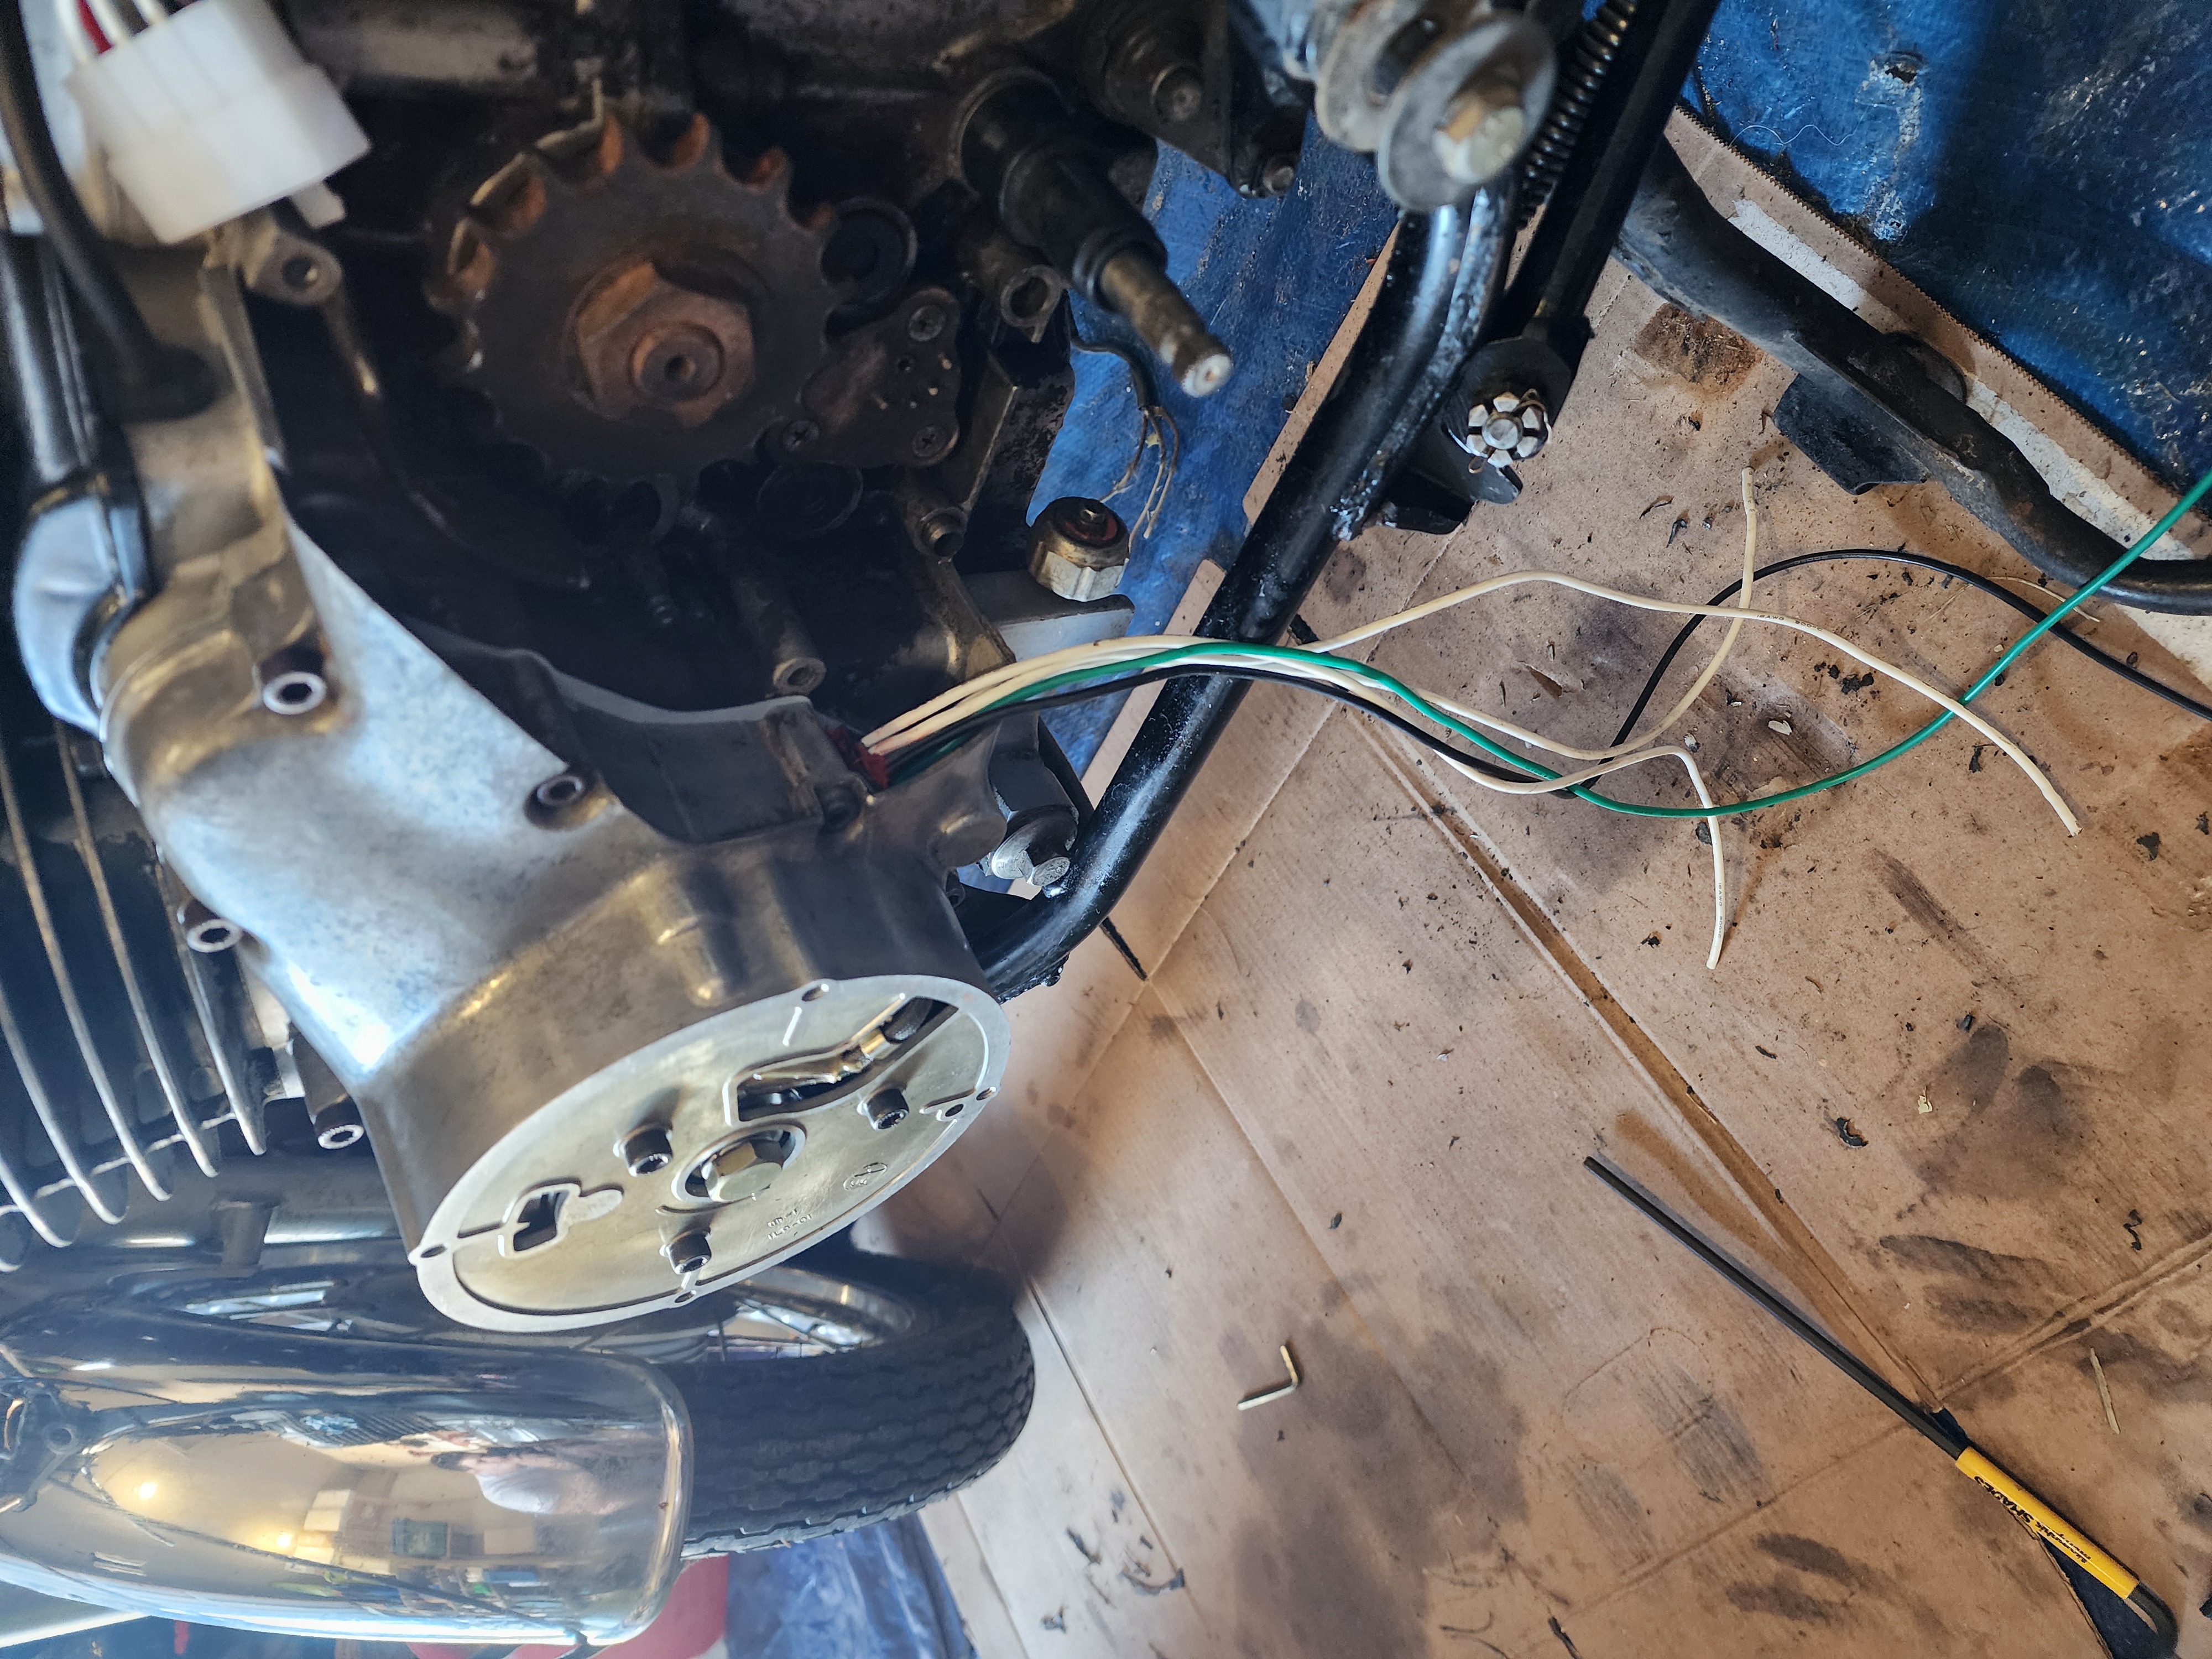 Rewired stator installed in the bike.
Polishing the headers
Another small task I completed around this time was polishing the headers, as the pitting was not too severe. I used a red Scotch-Brite pad and metal polishing compound on most of the pipe, but used the heavy-duty green pad for the worst of the pitting. They turned out just perfect!
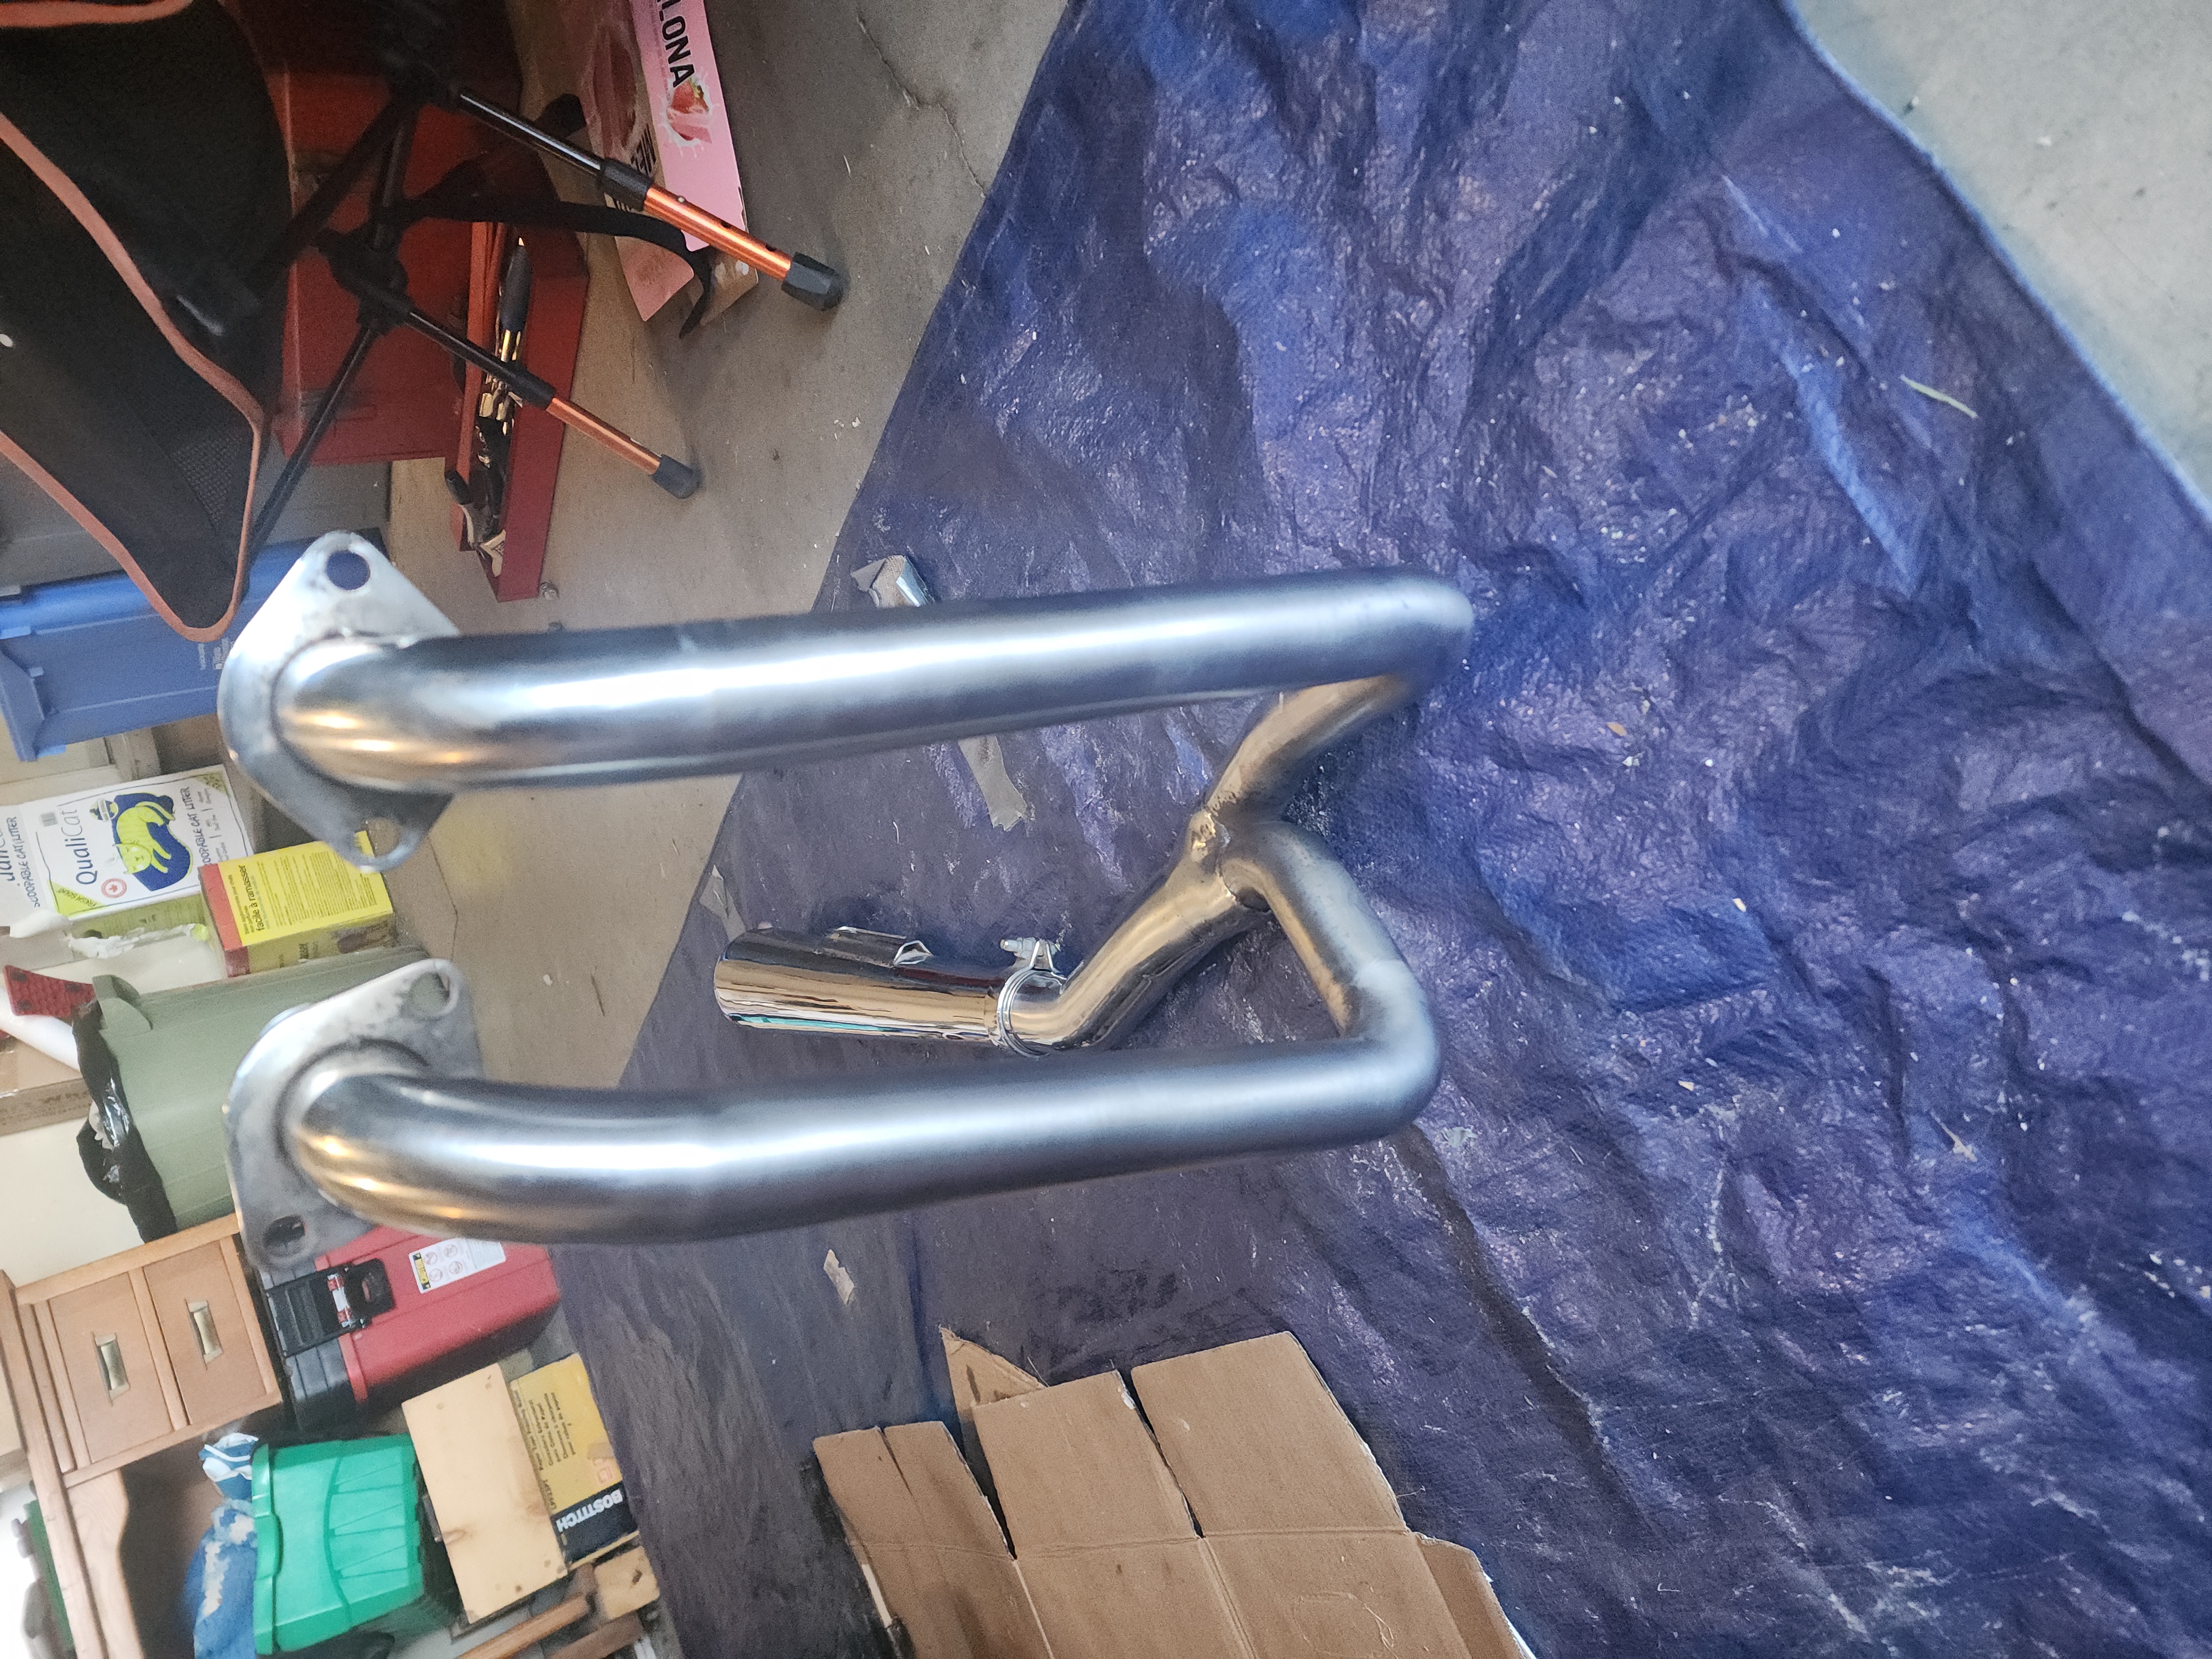 The polished headers.
Upgrading the headlight
Continuing with the small jobs, I upgraded the original headlight sealed beam unit to a modern H4 replaceable bulb. This was a bit of a funny process, involving the smashing of the original bulb to get it out, and some careful Dremel work to make the modern bulb fit nicely. I bent the tabs on the bulb and used some more red RTV as some glue to make sure it doesn’t vibrate itself loose.
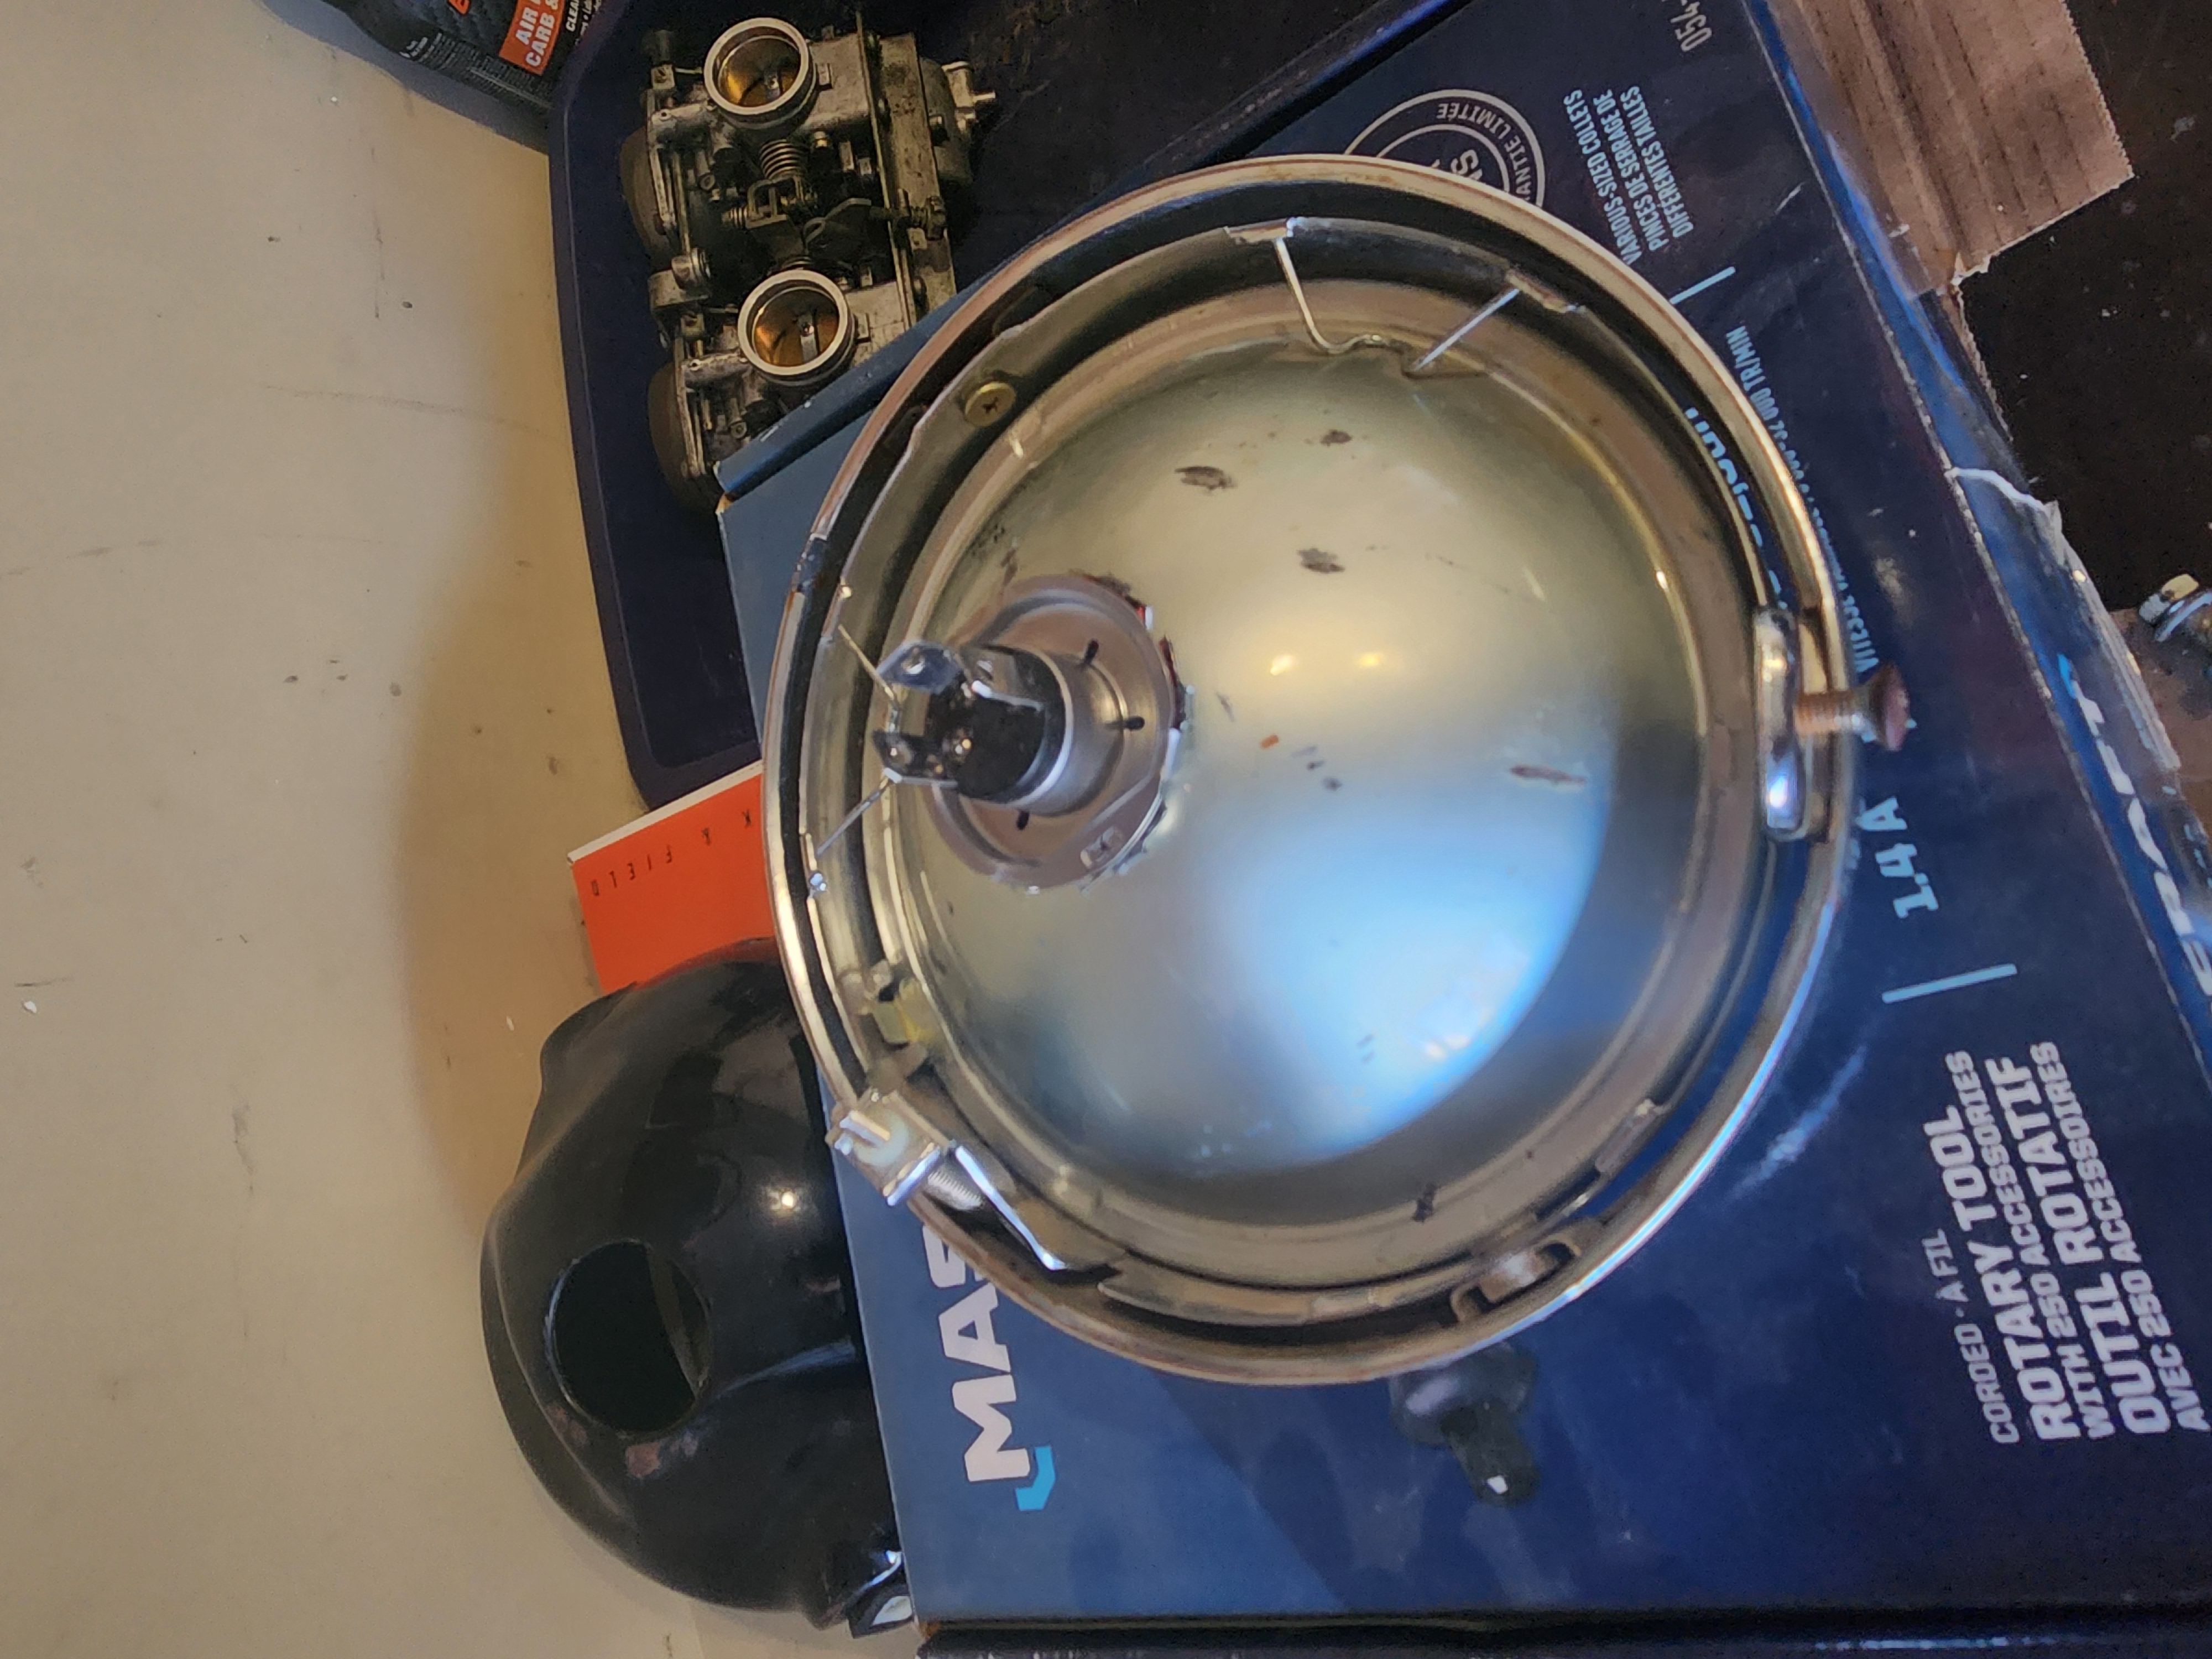 The modified headlight unit.
November, 2025
Painting assorted parts
Every so often, when I got the chance, I scuffed, cleaned, and painted parts I intended on reusing. Such as foot pegs, shifter pedal, rear brake pedal, and the hand levers. I also painted the headlight bucket and battery tray, and the rear drum. It’s not included in the image, but I also painted the kickstand and rear drum support.
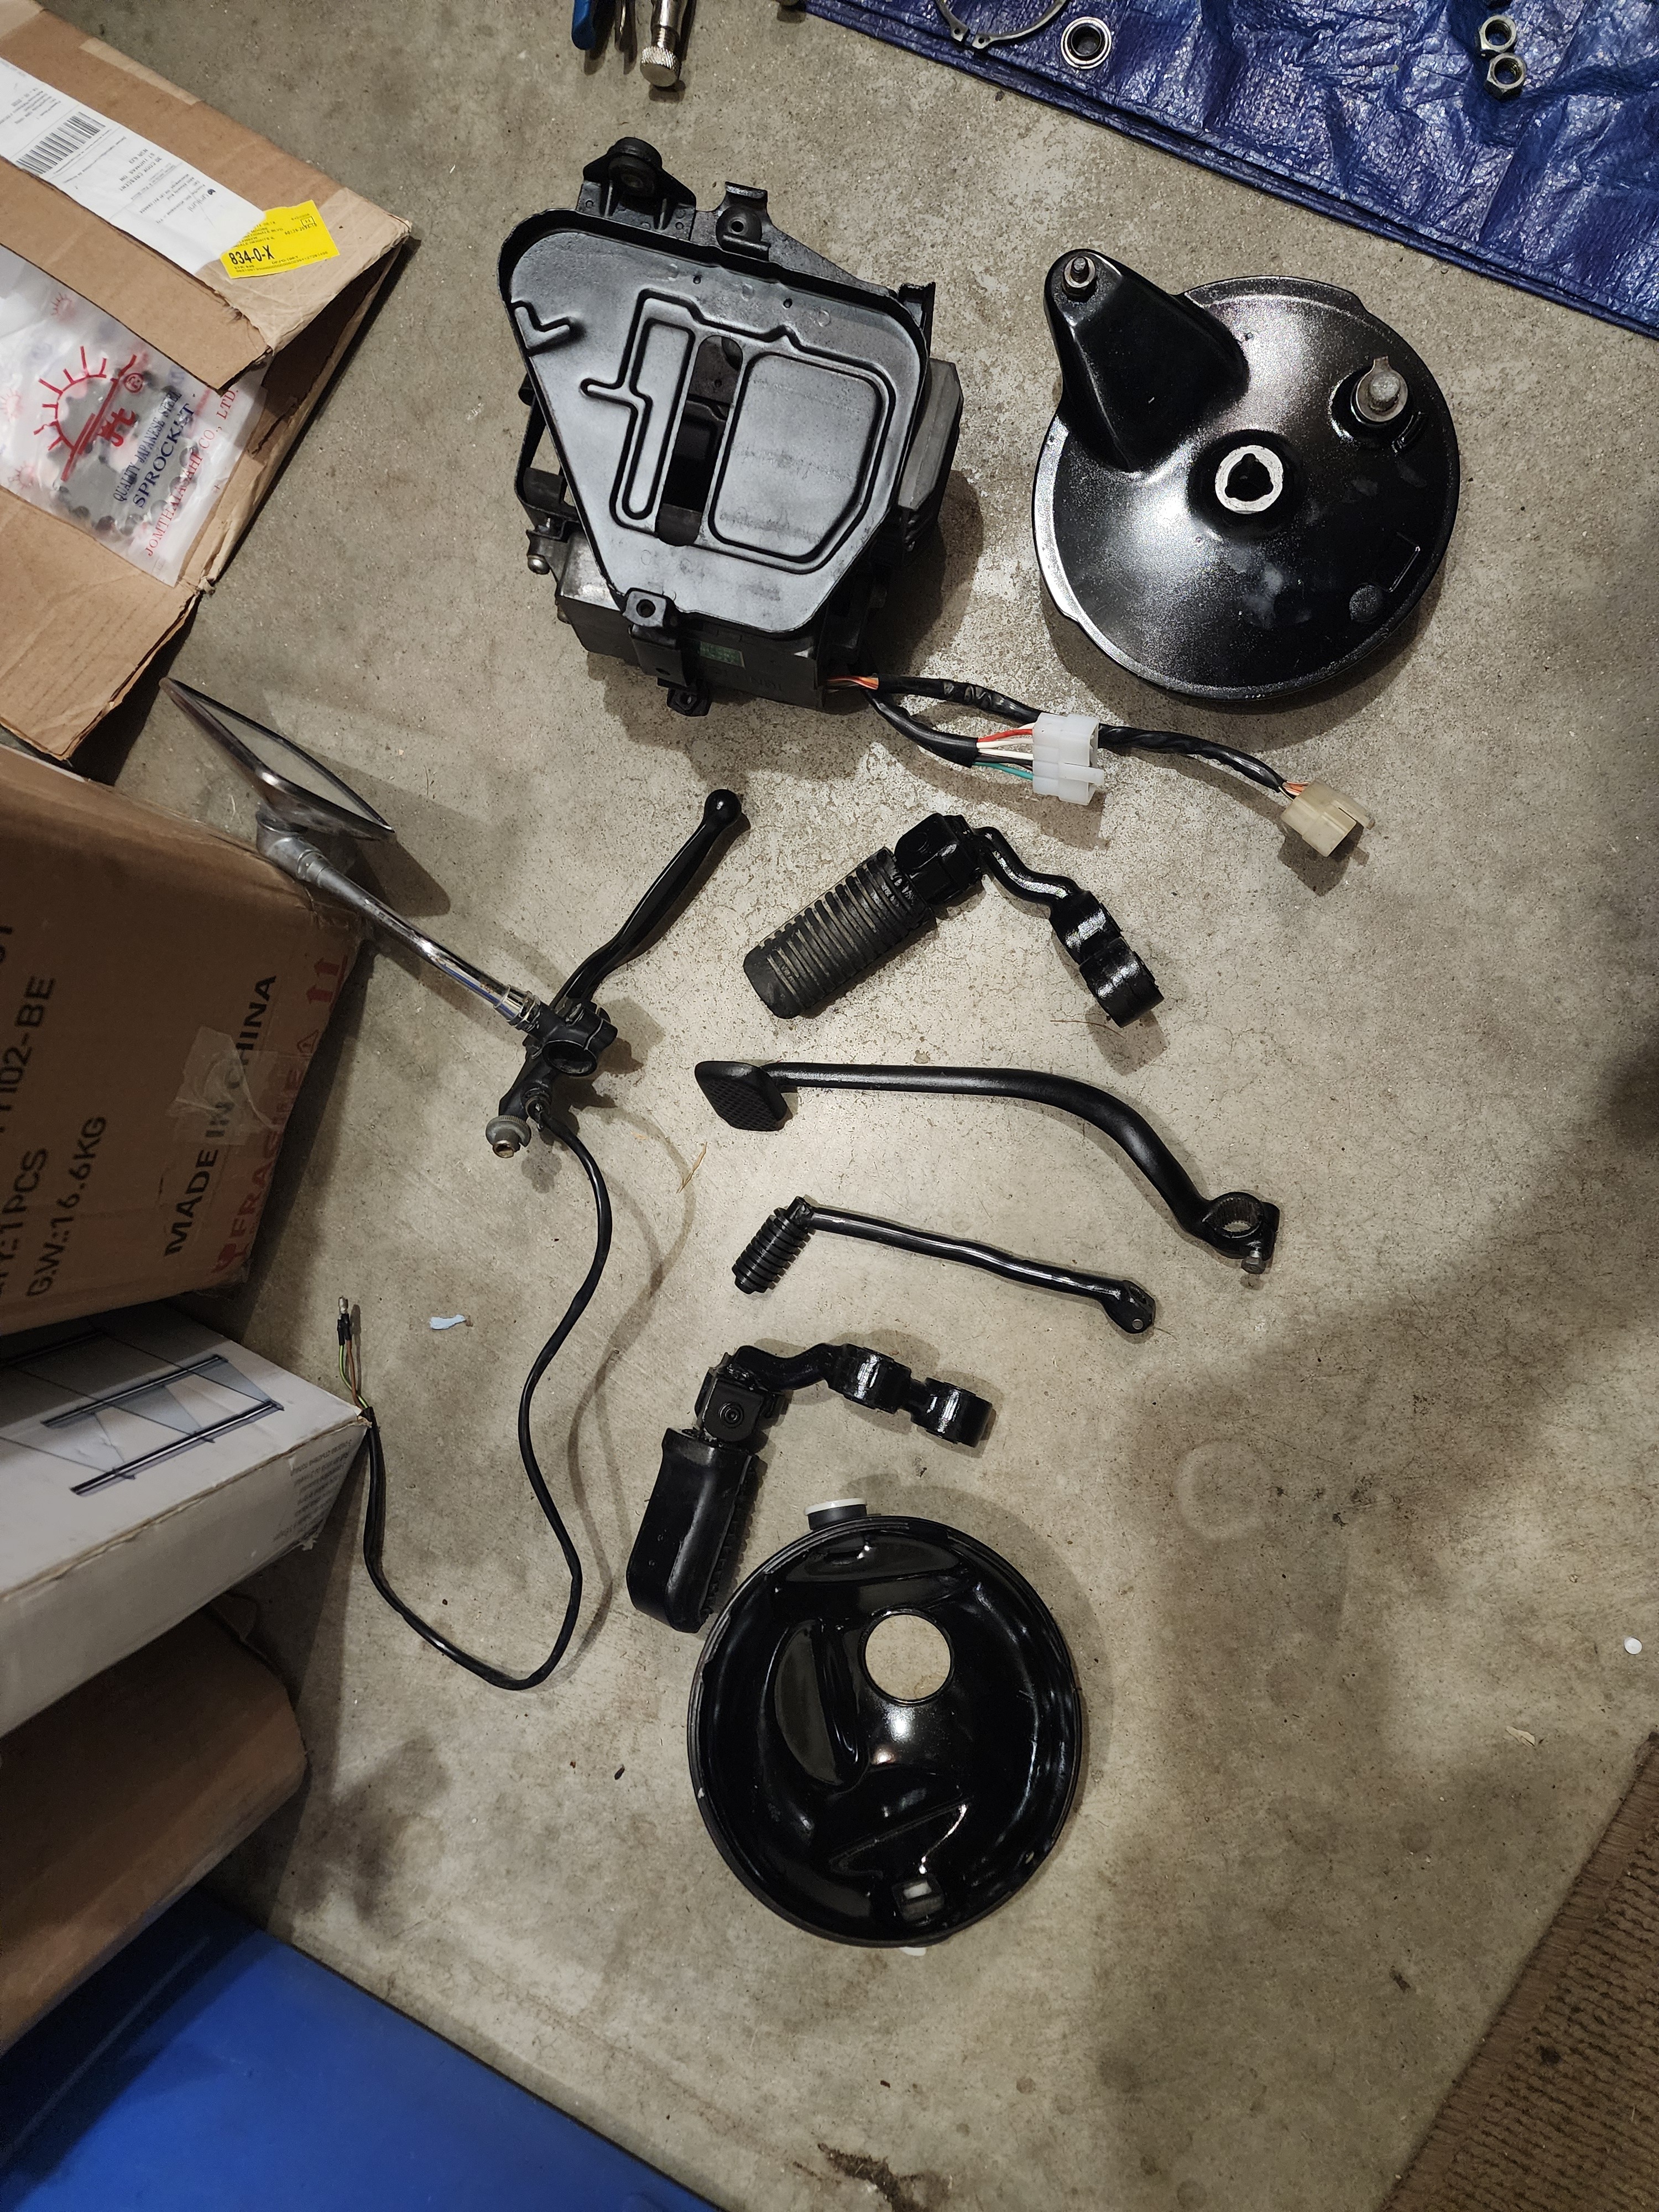 Assorted parts I painted.
Next, I painted the rear wheel. It had some pitting in the chrome, but nothing some scotchbrite and Brakleen couldn’t handle. The before and after are amazing! The paint I used is just the cheap gloss black rust paint from Canadian Tire, and some clear coat. I did a couple of coats of each.
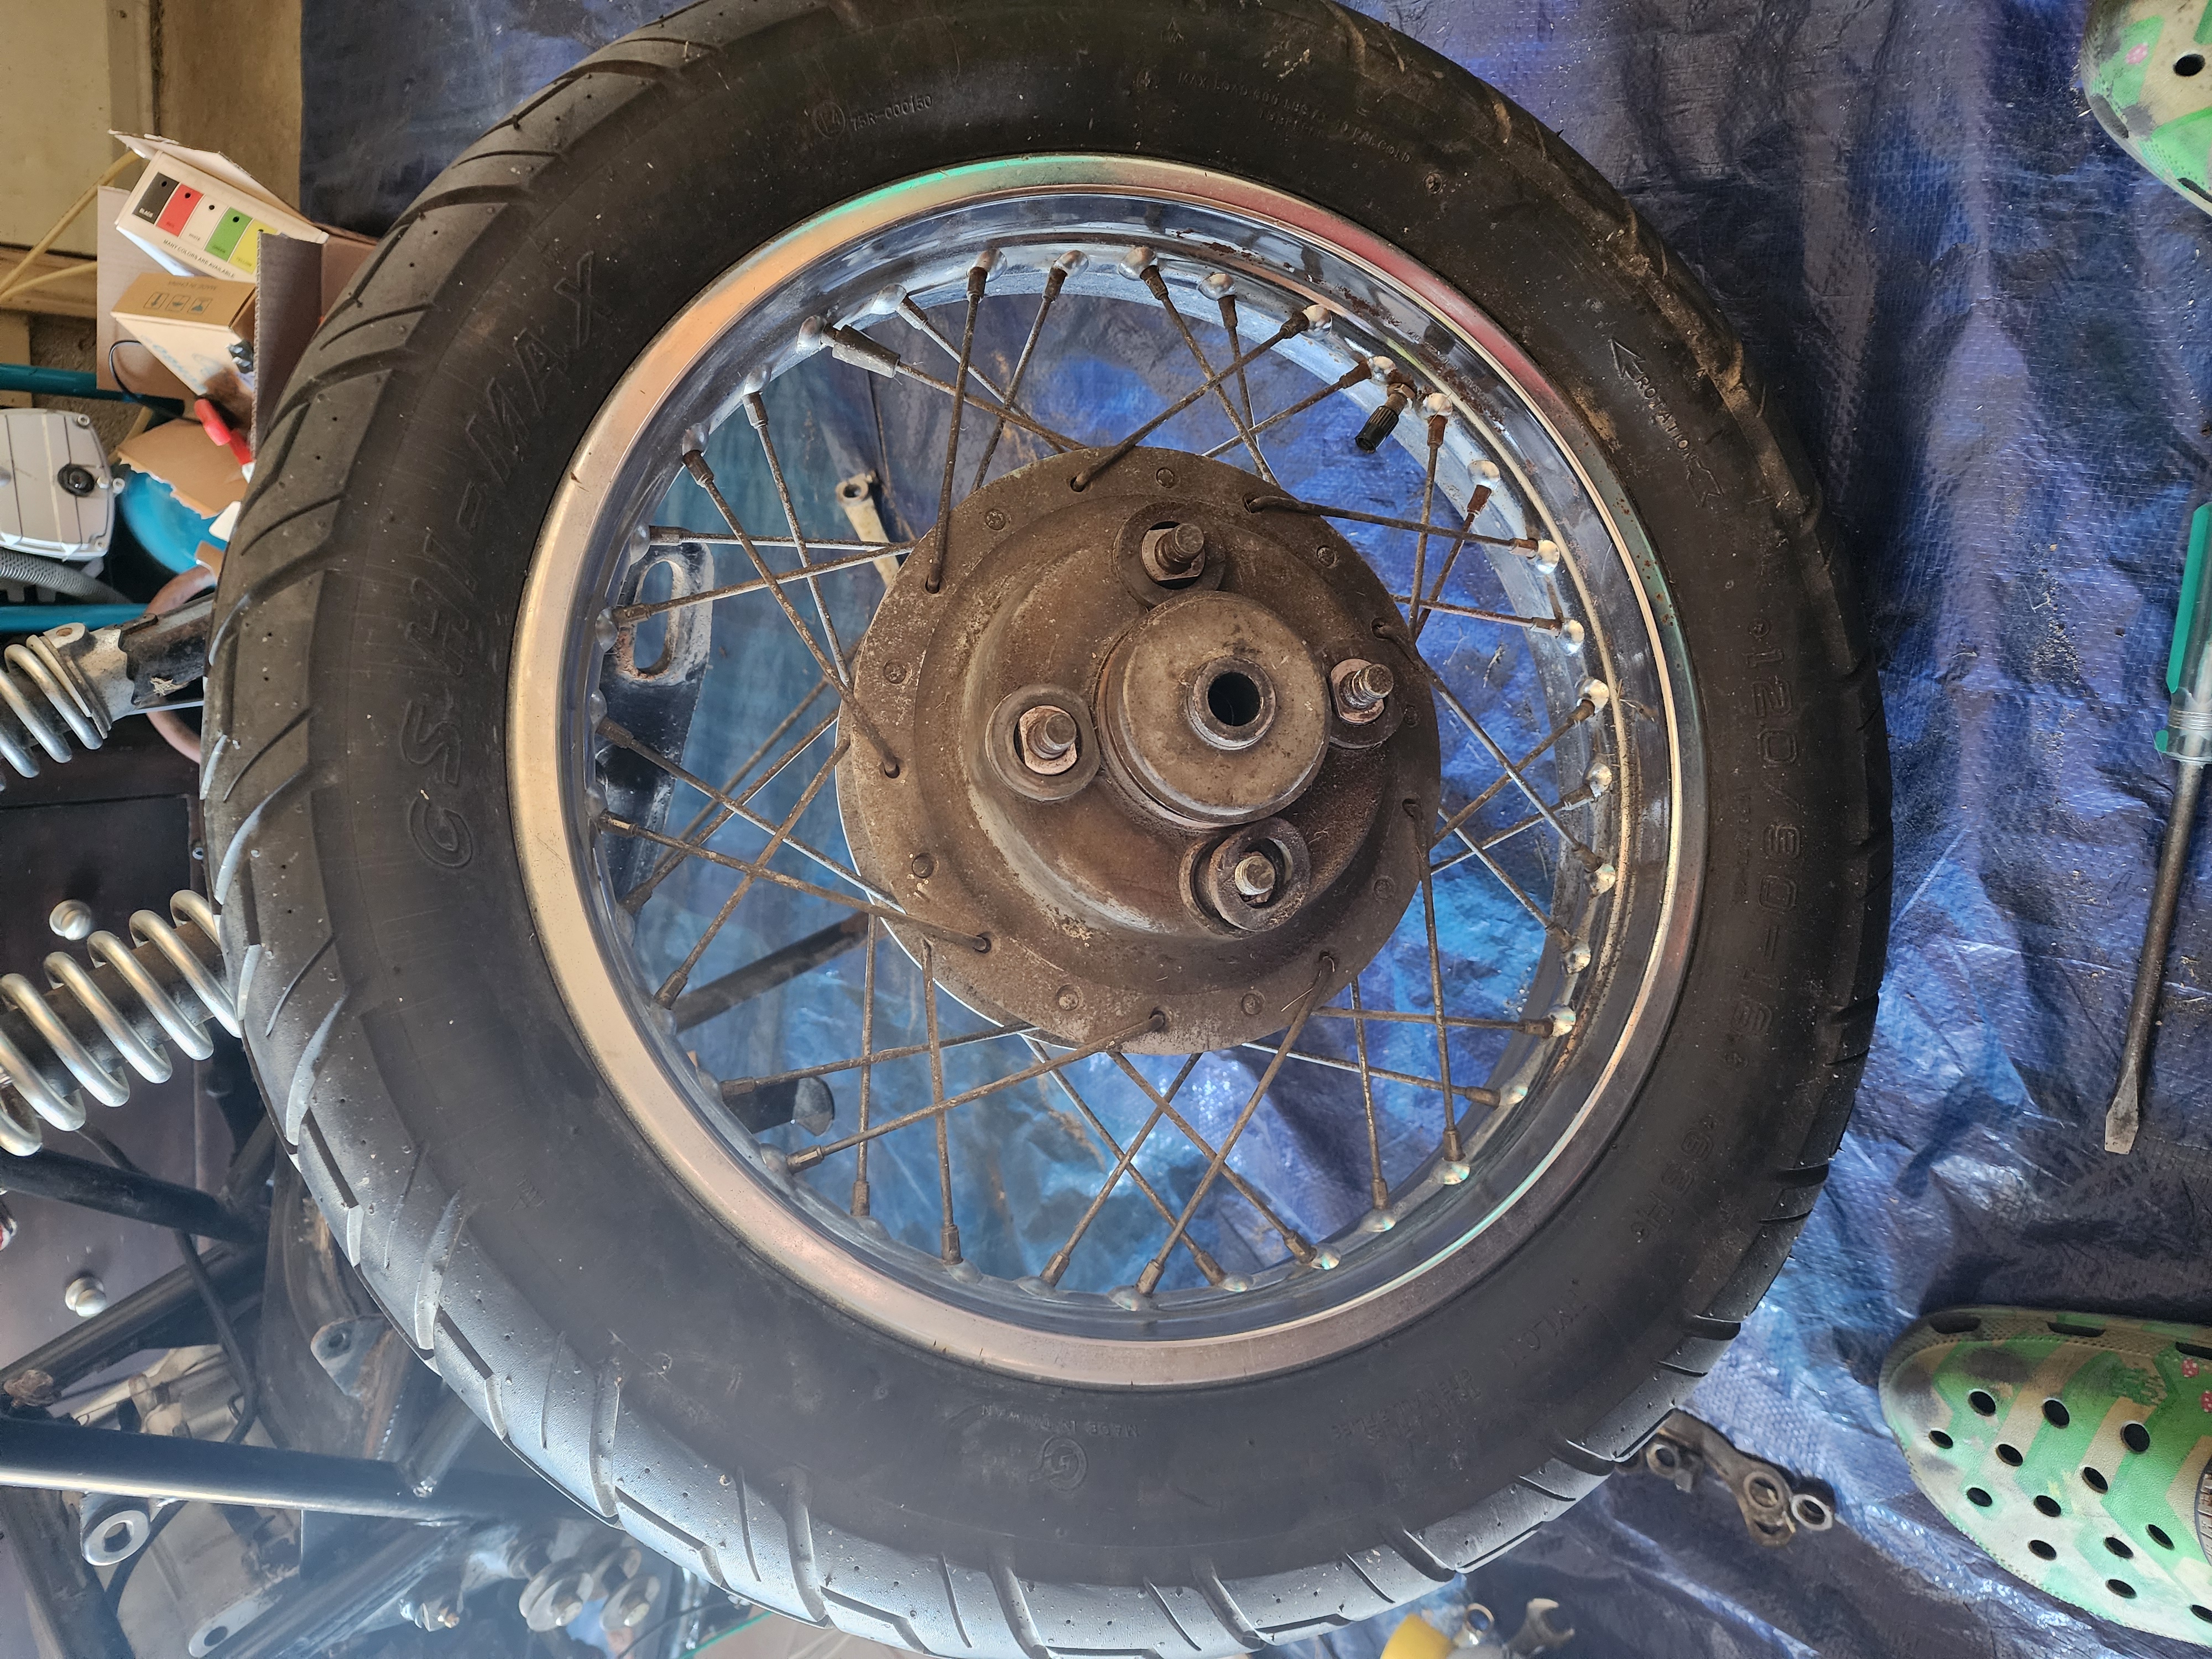 The rear wheel before prep.
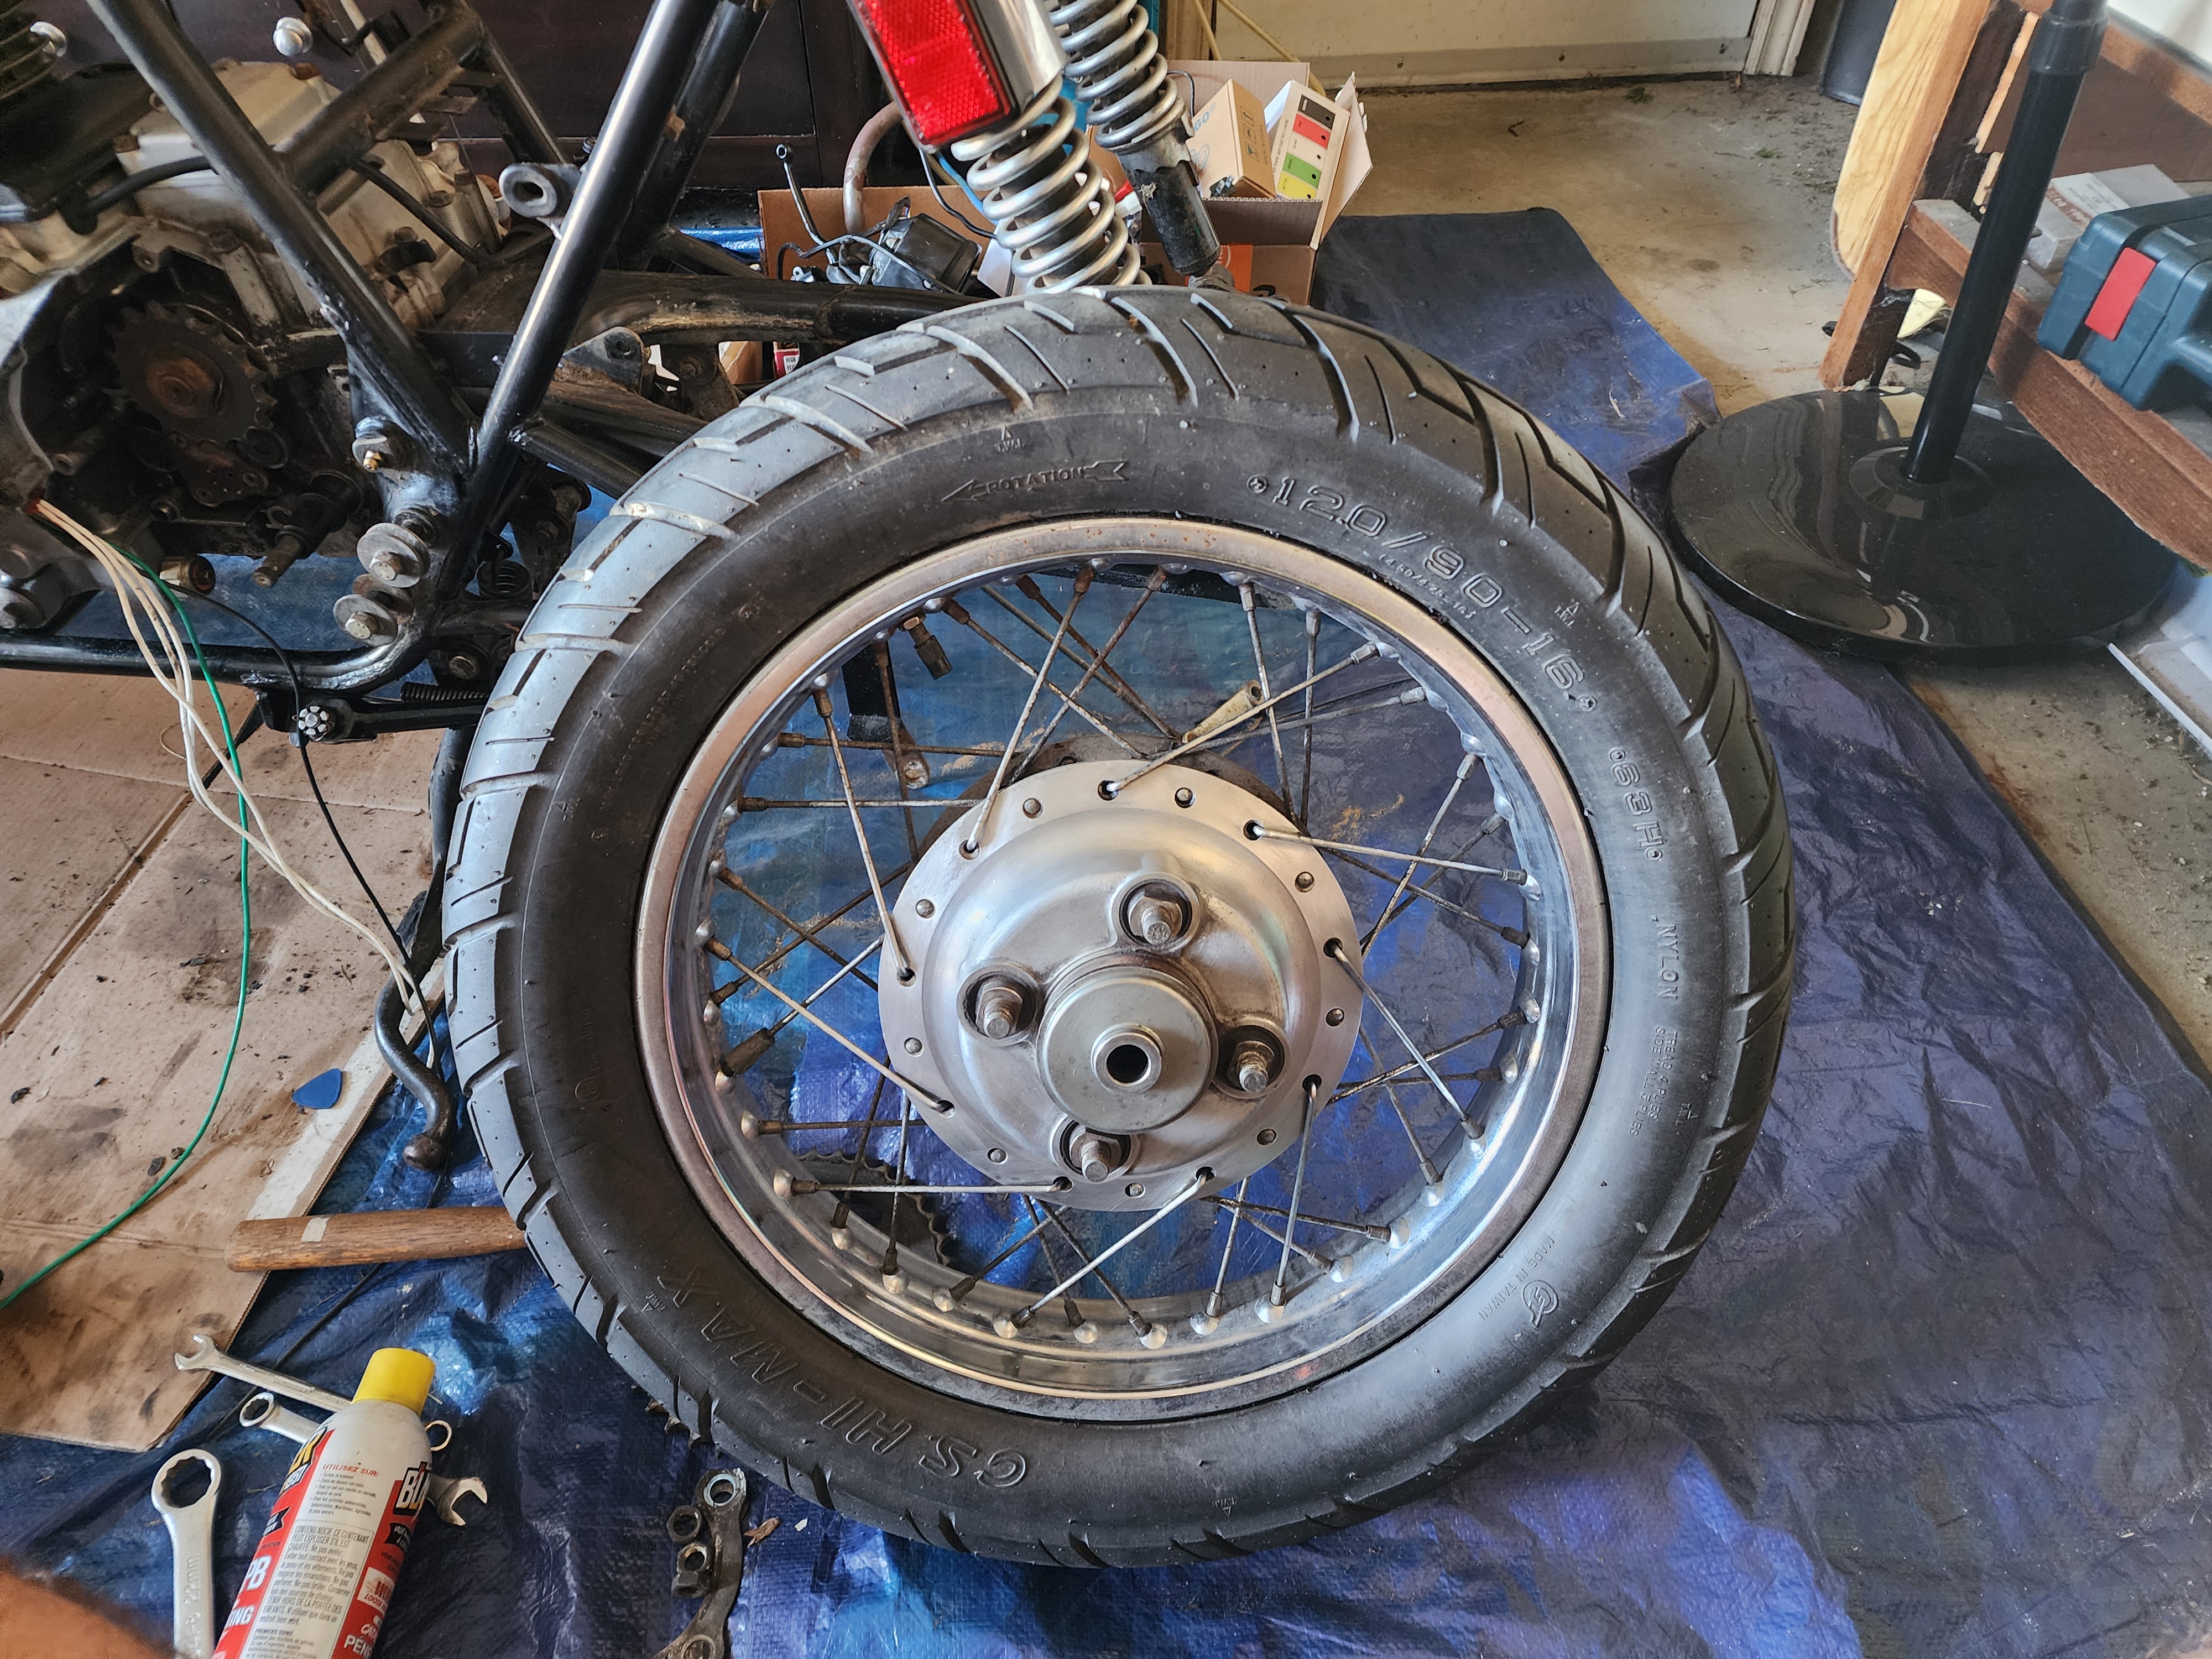 The rear wheel after prep.
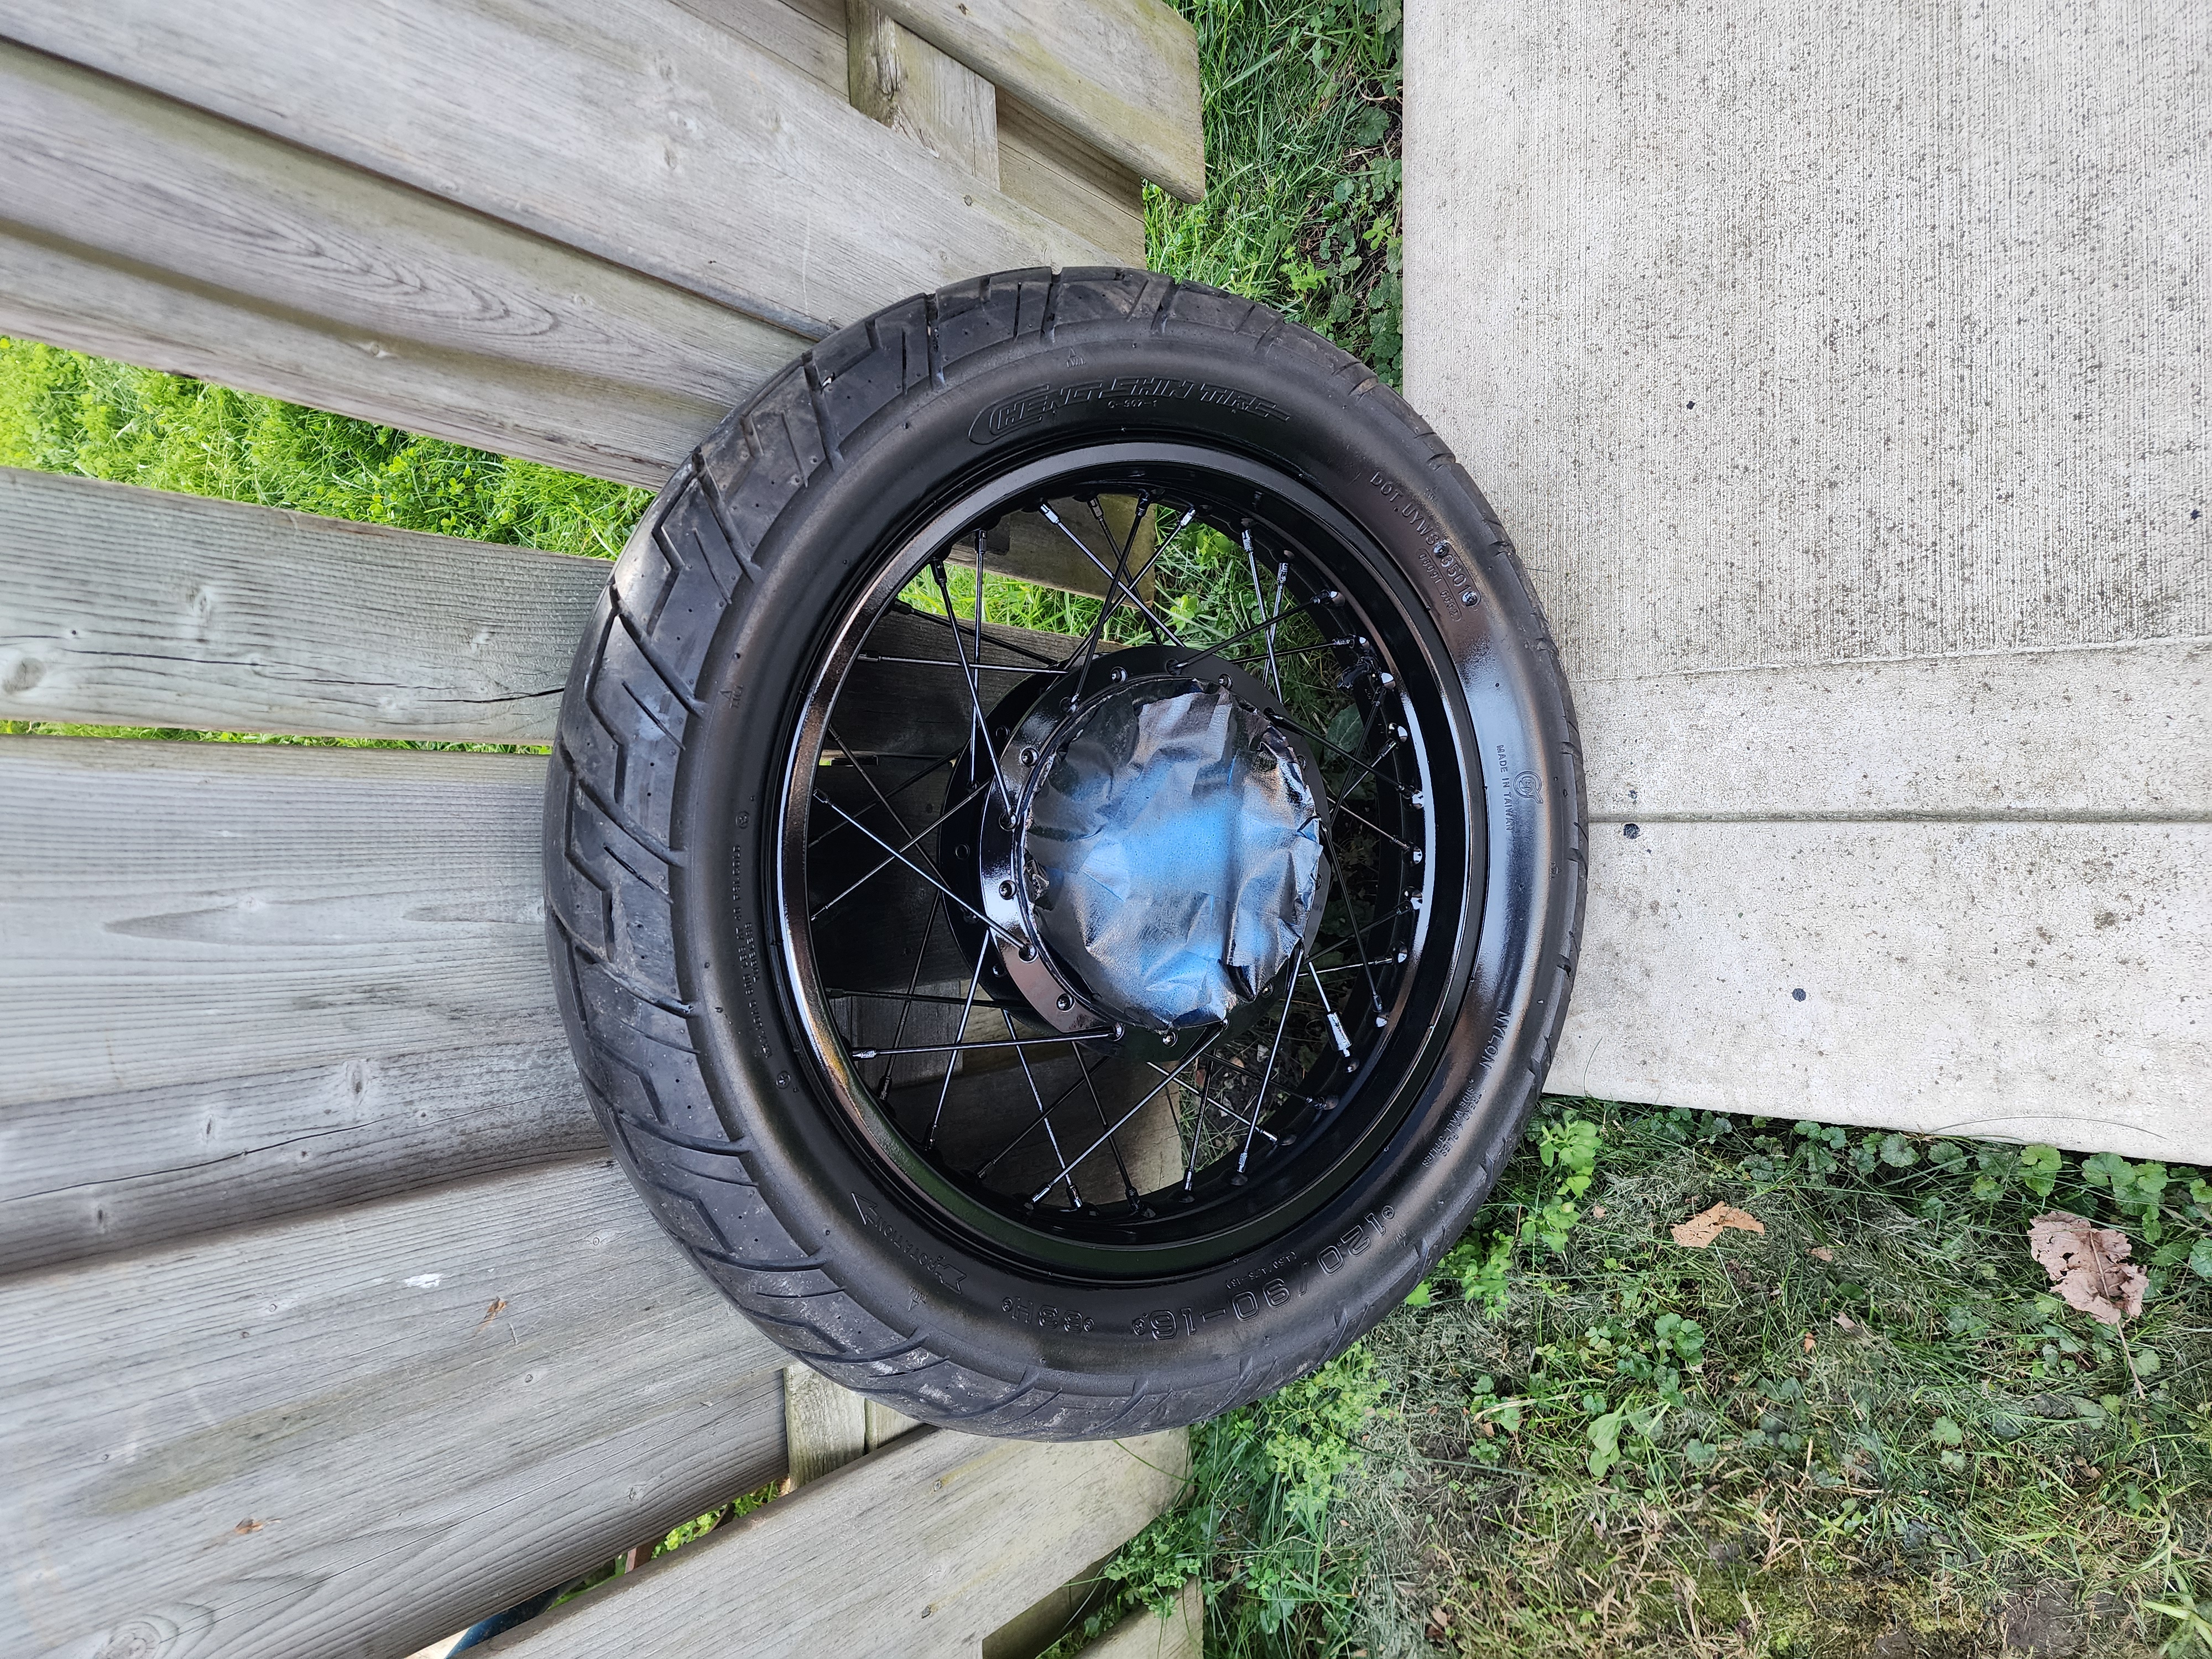 The rear wheel after painting.
Finally, before putting the wheel back on, I figured a new sprocket couldn’t hurt. This involved buying a sprocket kit from eBay, as well as some NOS retaining washers to make sure the sprocket nuts don’t come undone. I also had to buy a set of snap ring pliers to get the snap ring back on (getting it off was easy enough with a pair of pliers and a screwdriver, but I couldn’t get it back on the same way).
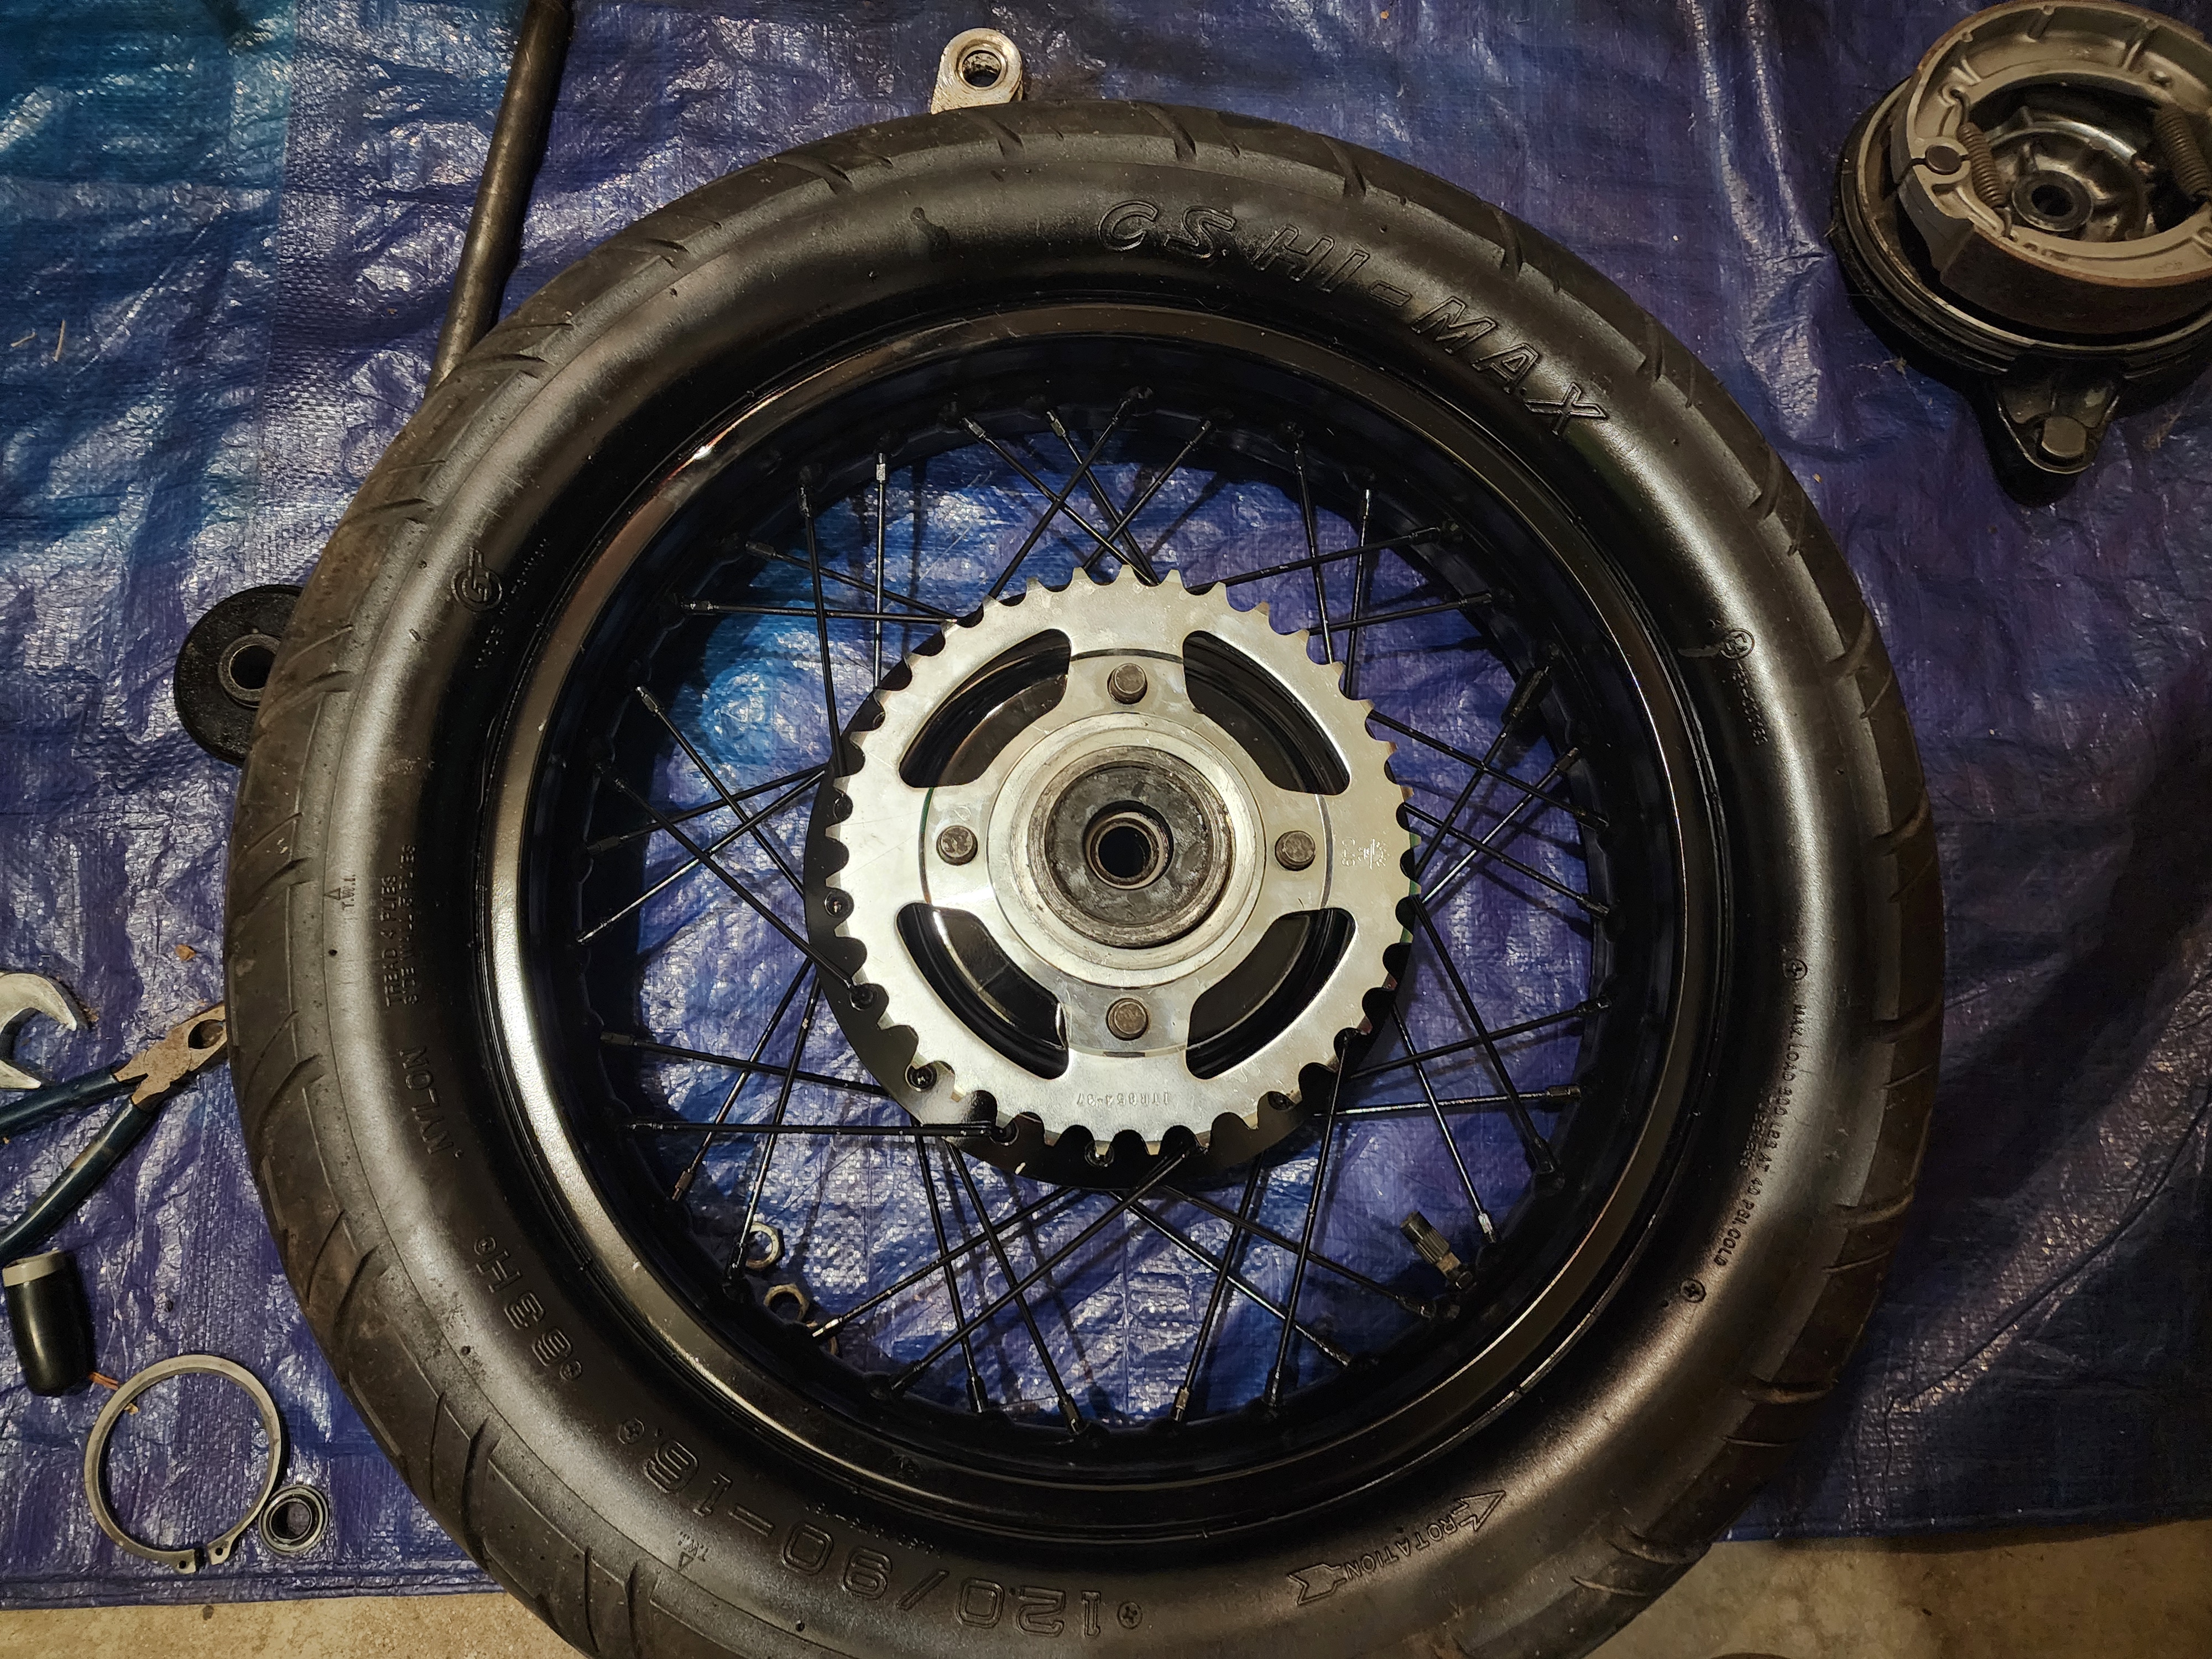 New sprocket.
And here is the wheel, with its new sprocket, installed back on the bike. I had my brother hold up the wheel while I put the axle through all the bits, with a light coat of antiseize brushed on.
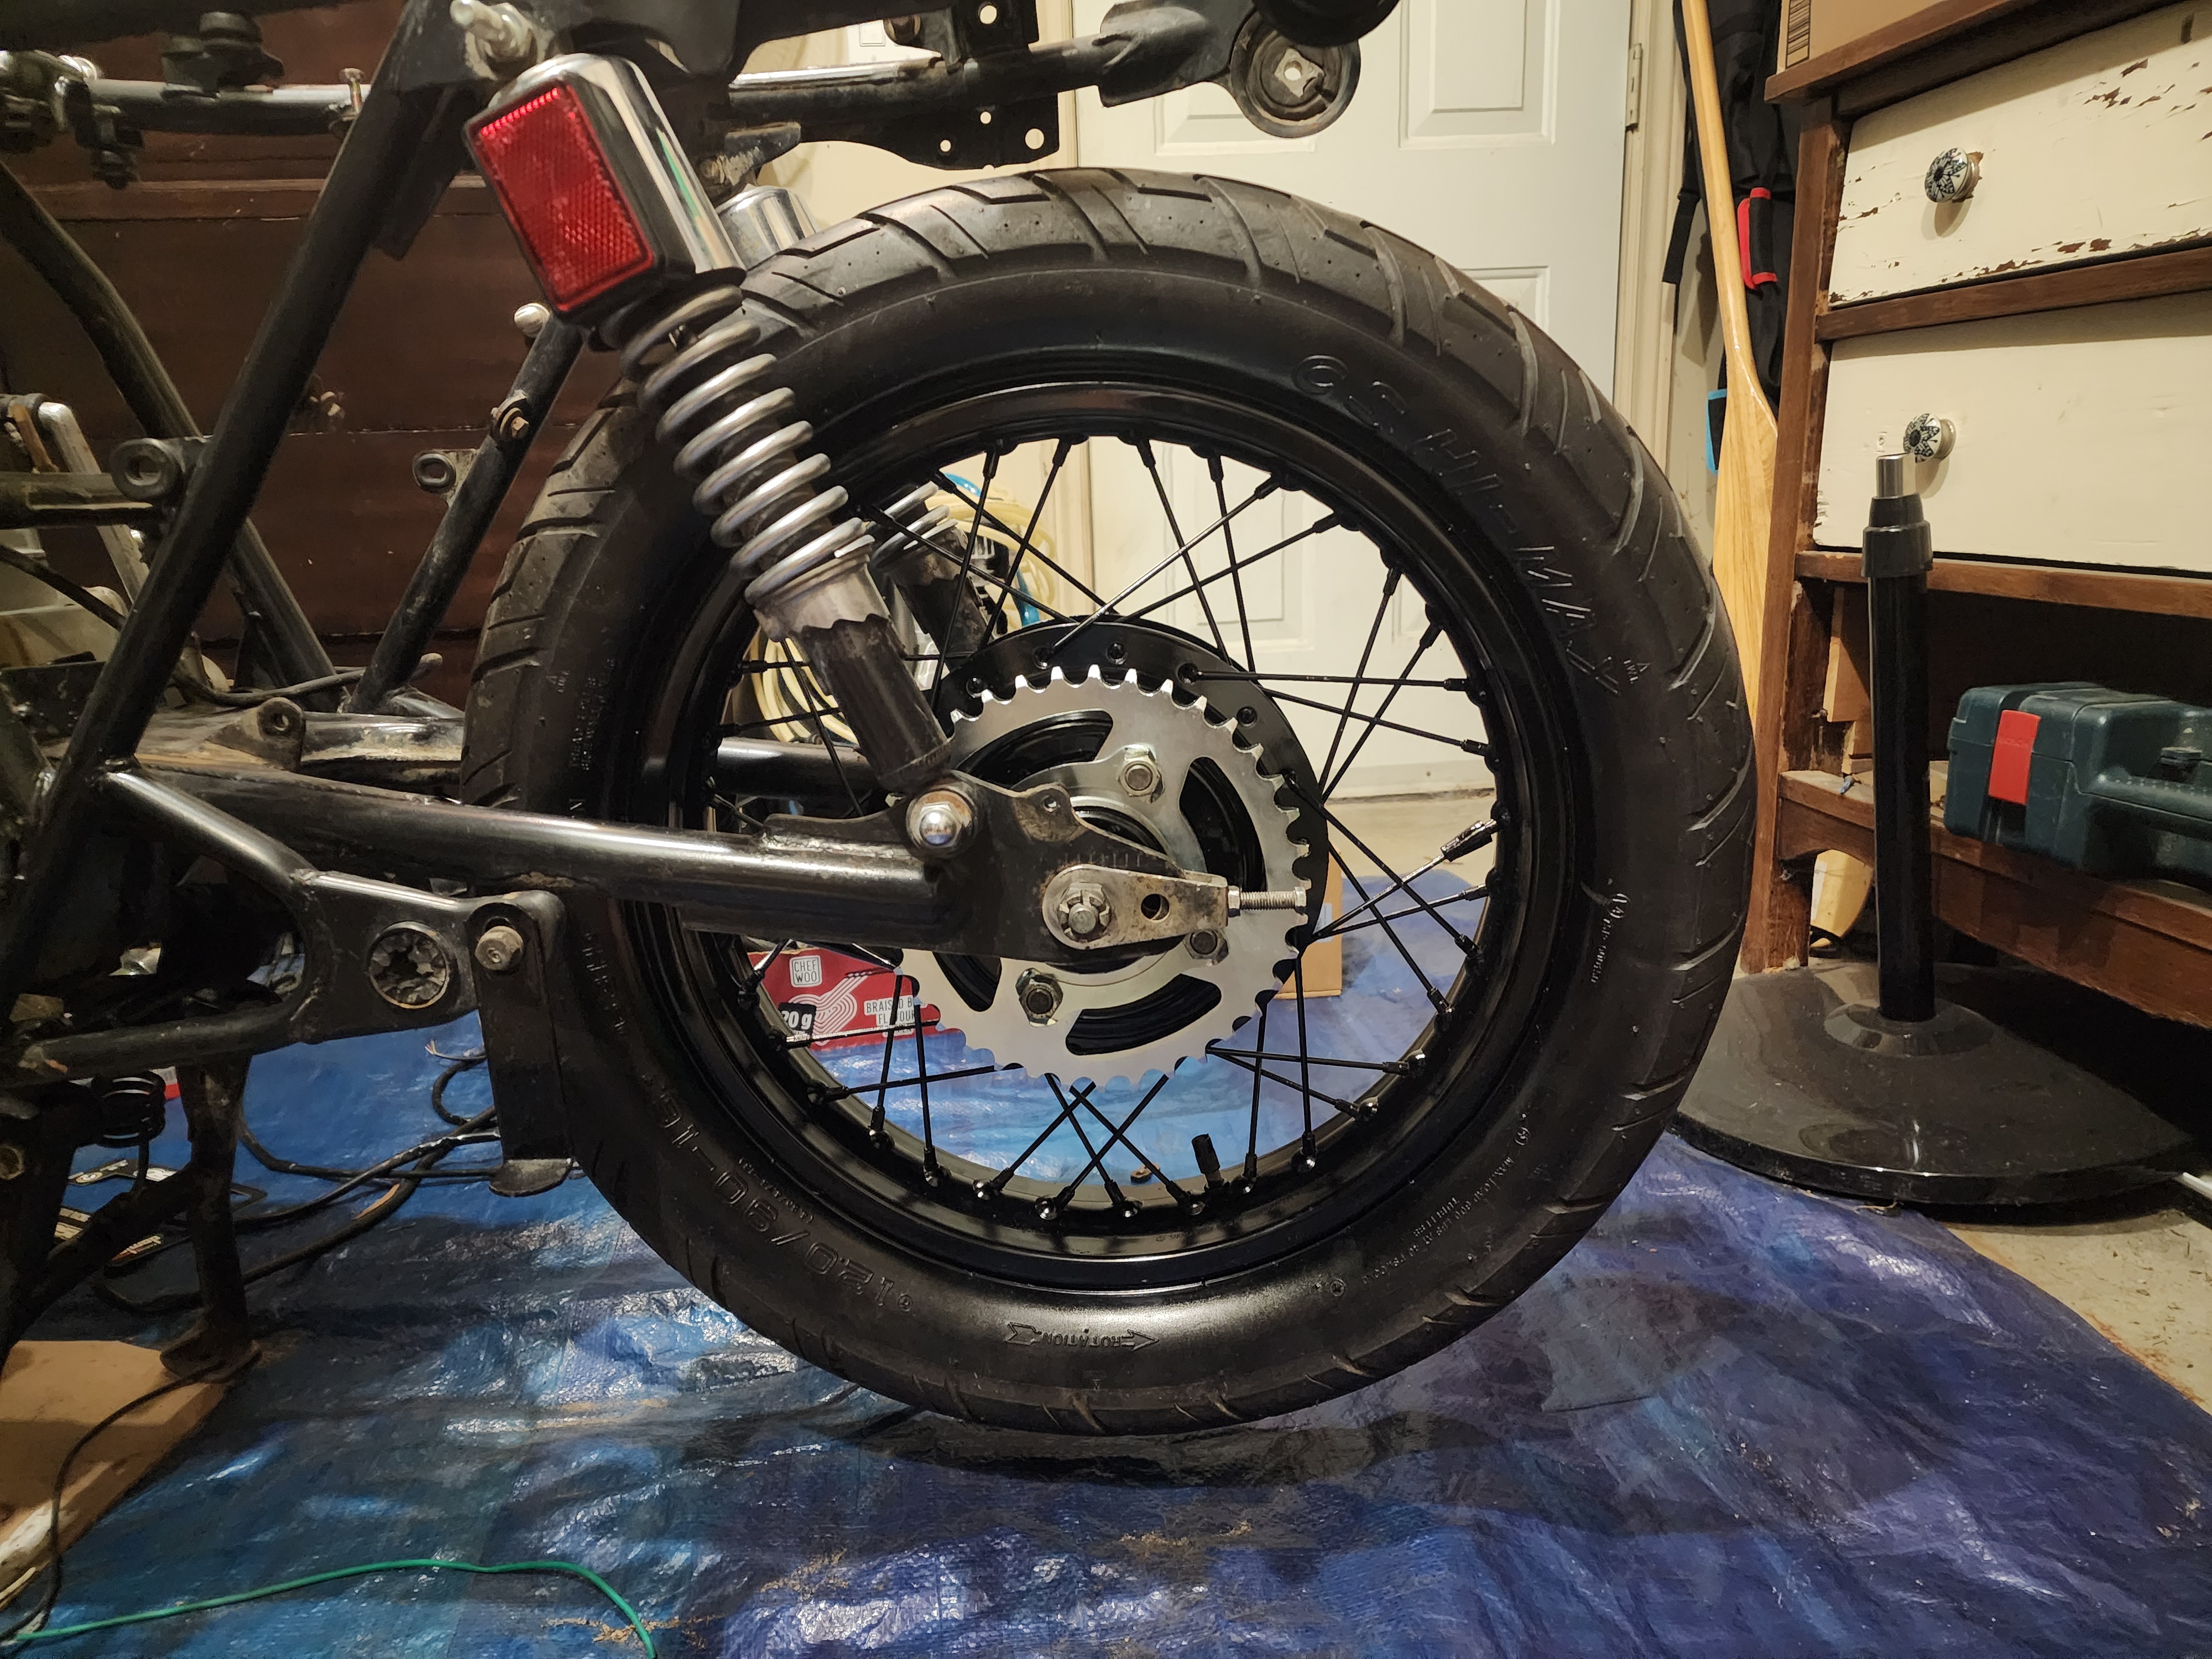 The finished rear wheel back on the bike.
The next items on the painting hit-list are the front wheel and fork bodies. To remove the front wheel, I started by removing the fender, then disconnected the brake linkage. After that, I undid the two bolts on the left fork holding the axle, and hammered it out. Overall, the front wheel was much cleaner than the rear.
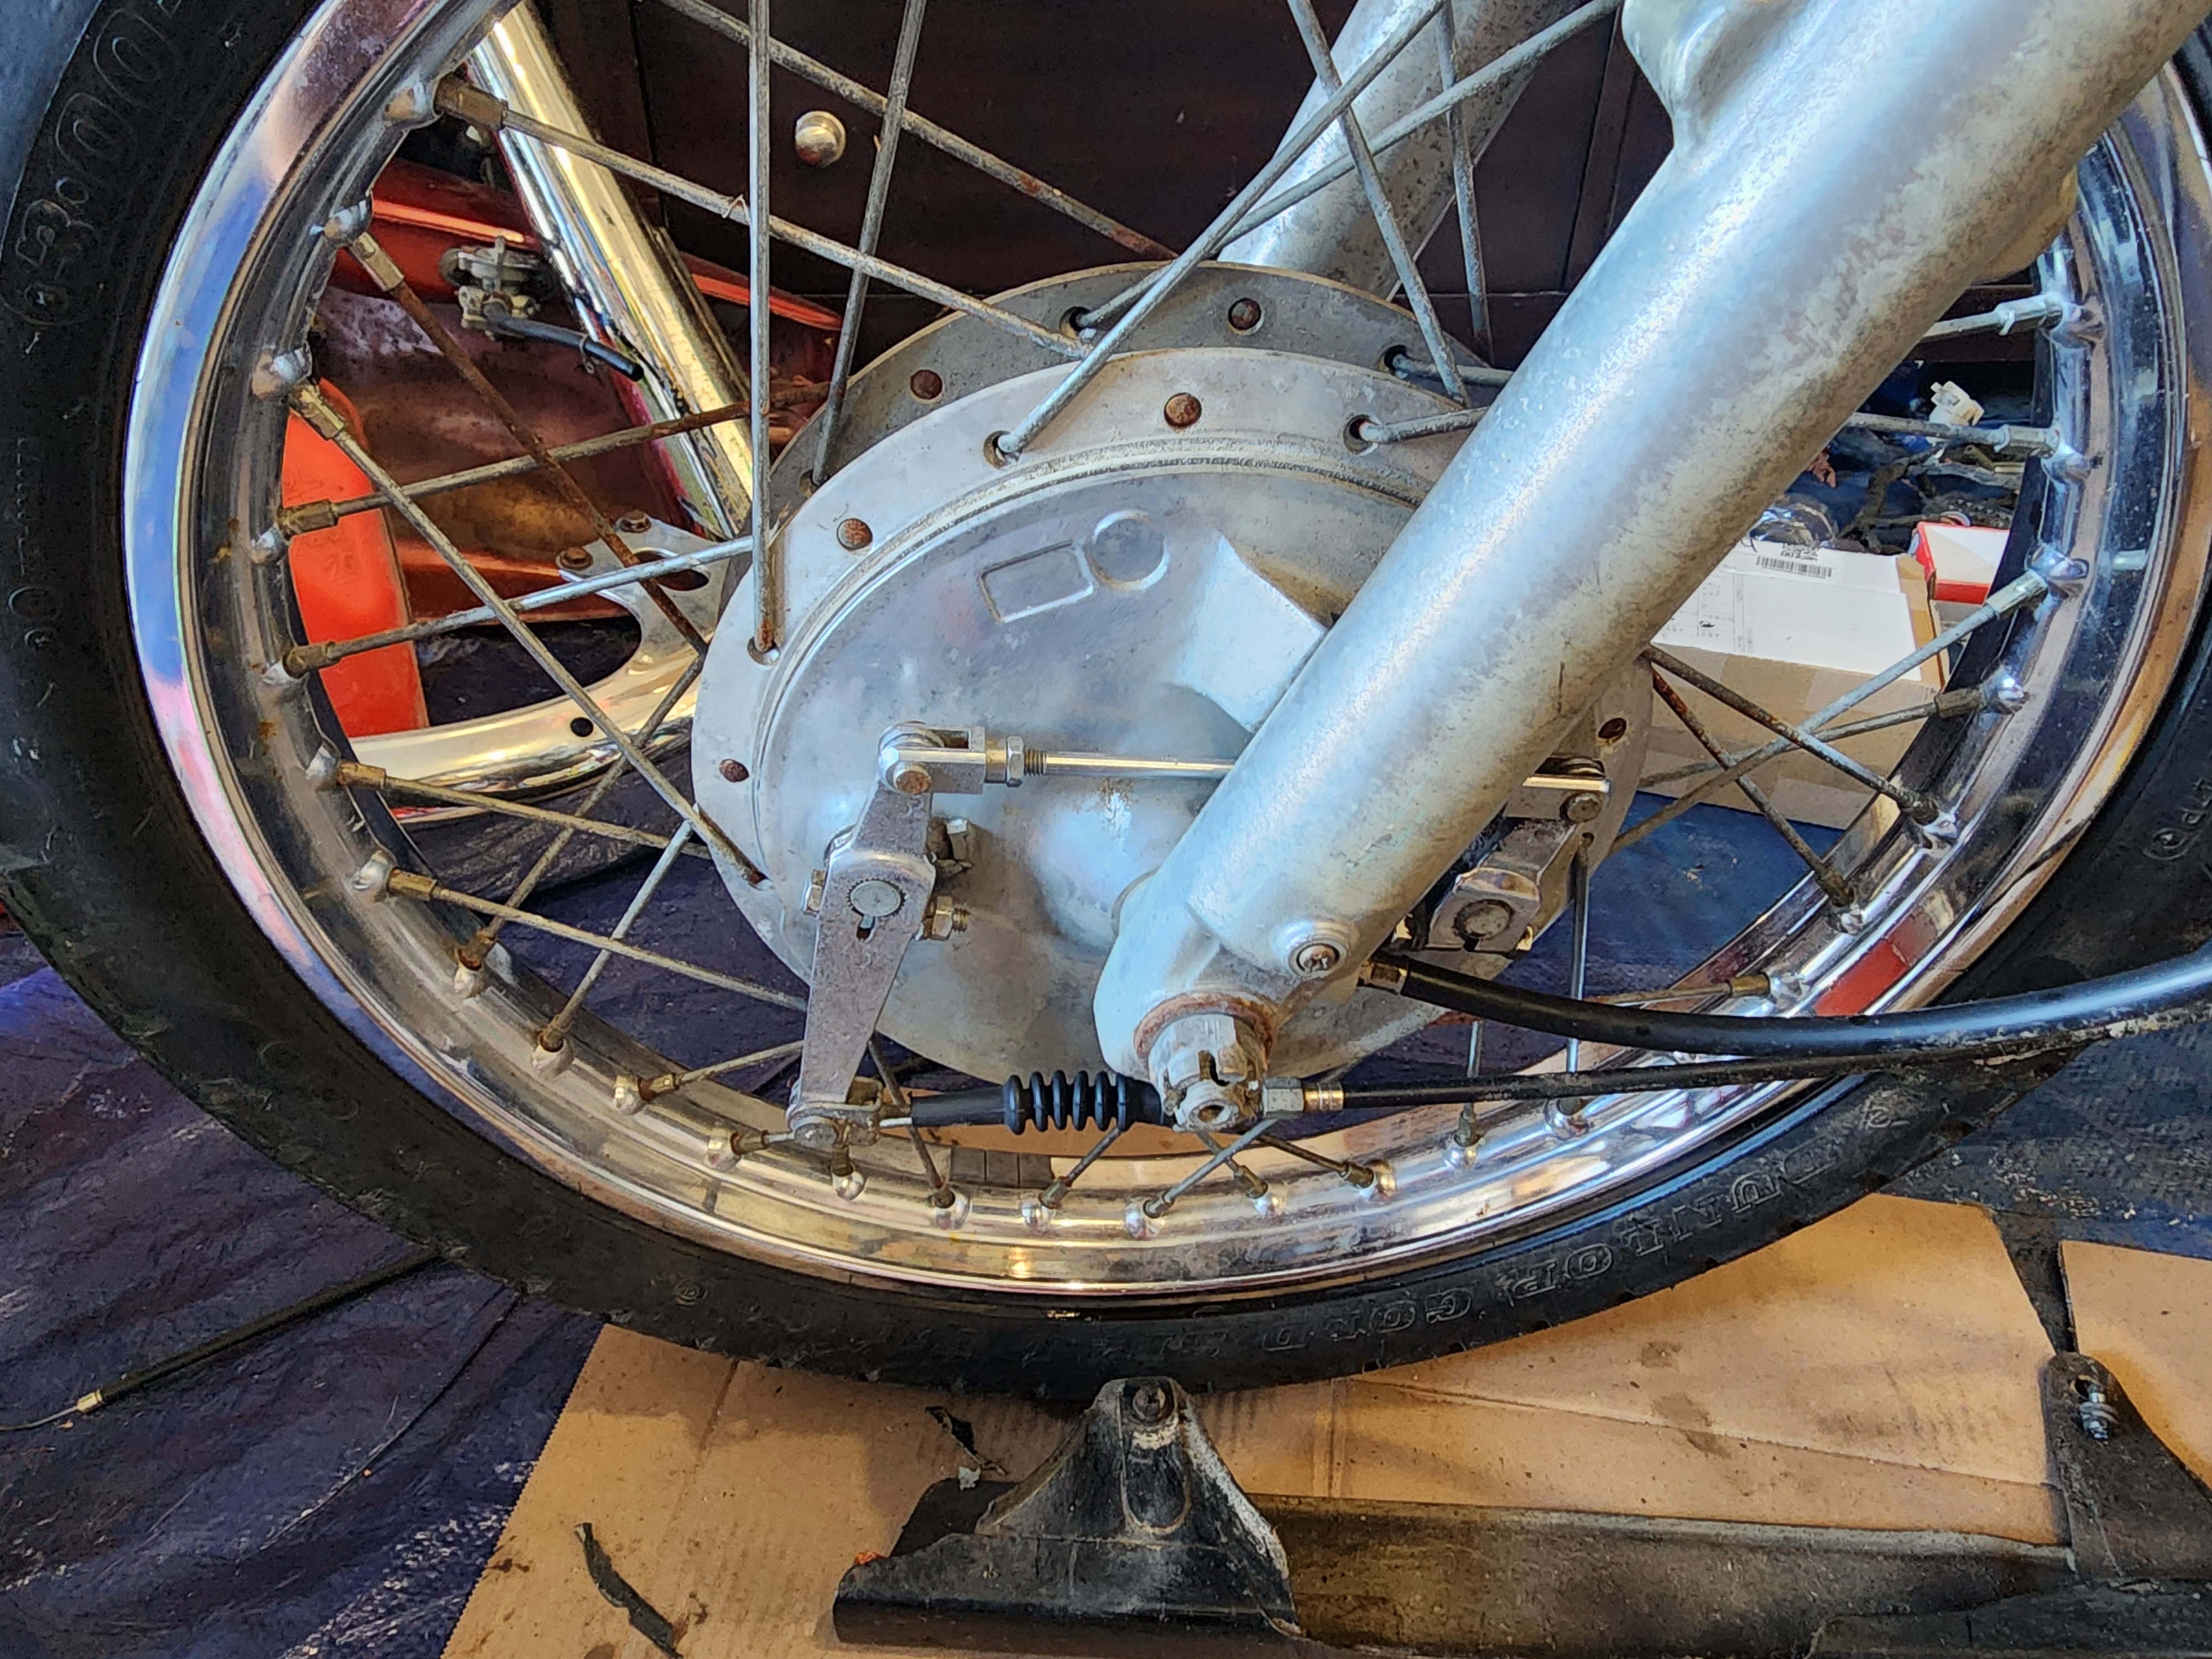 The front wheel before disassembly.
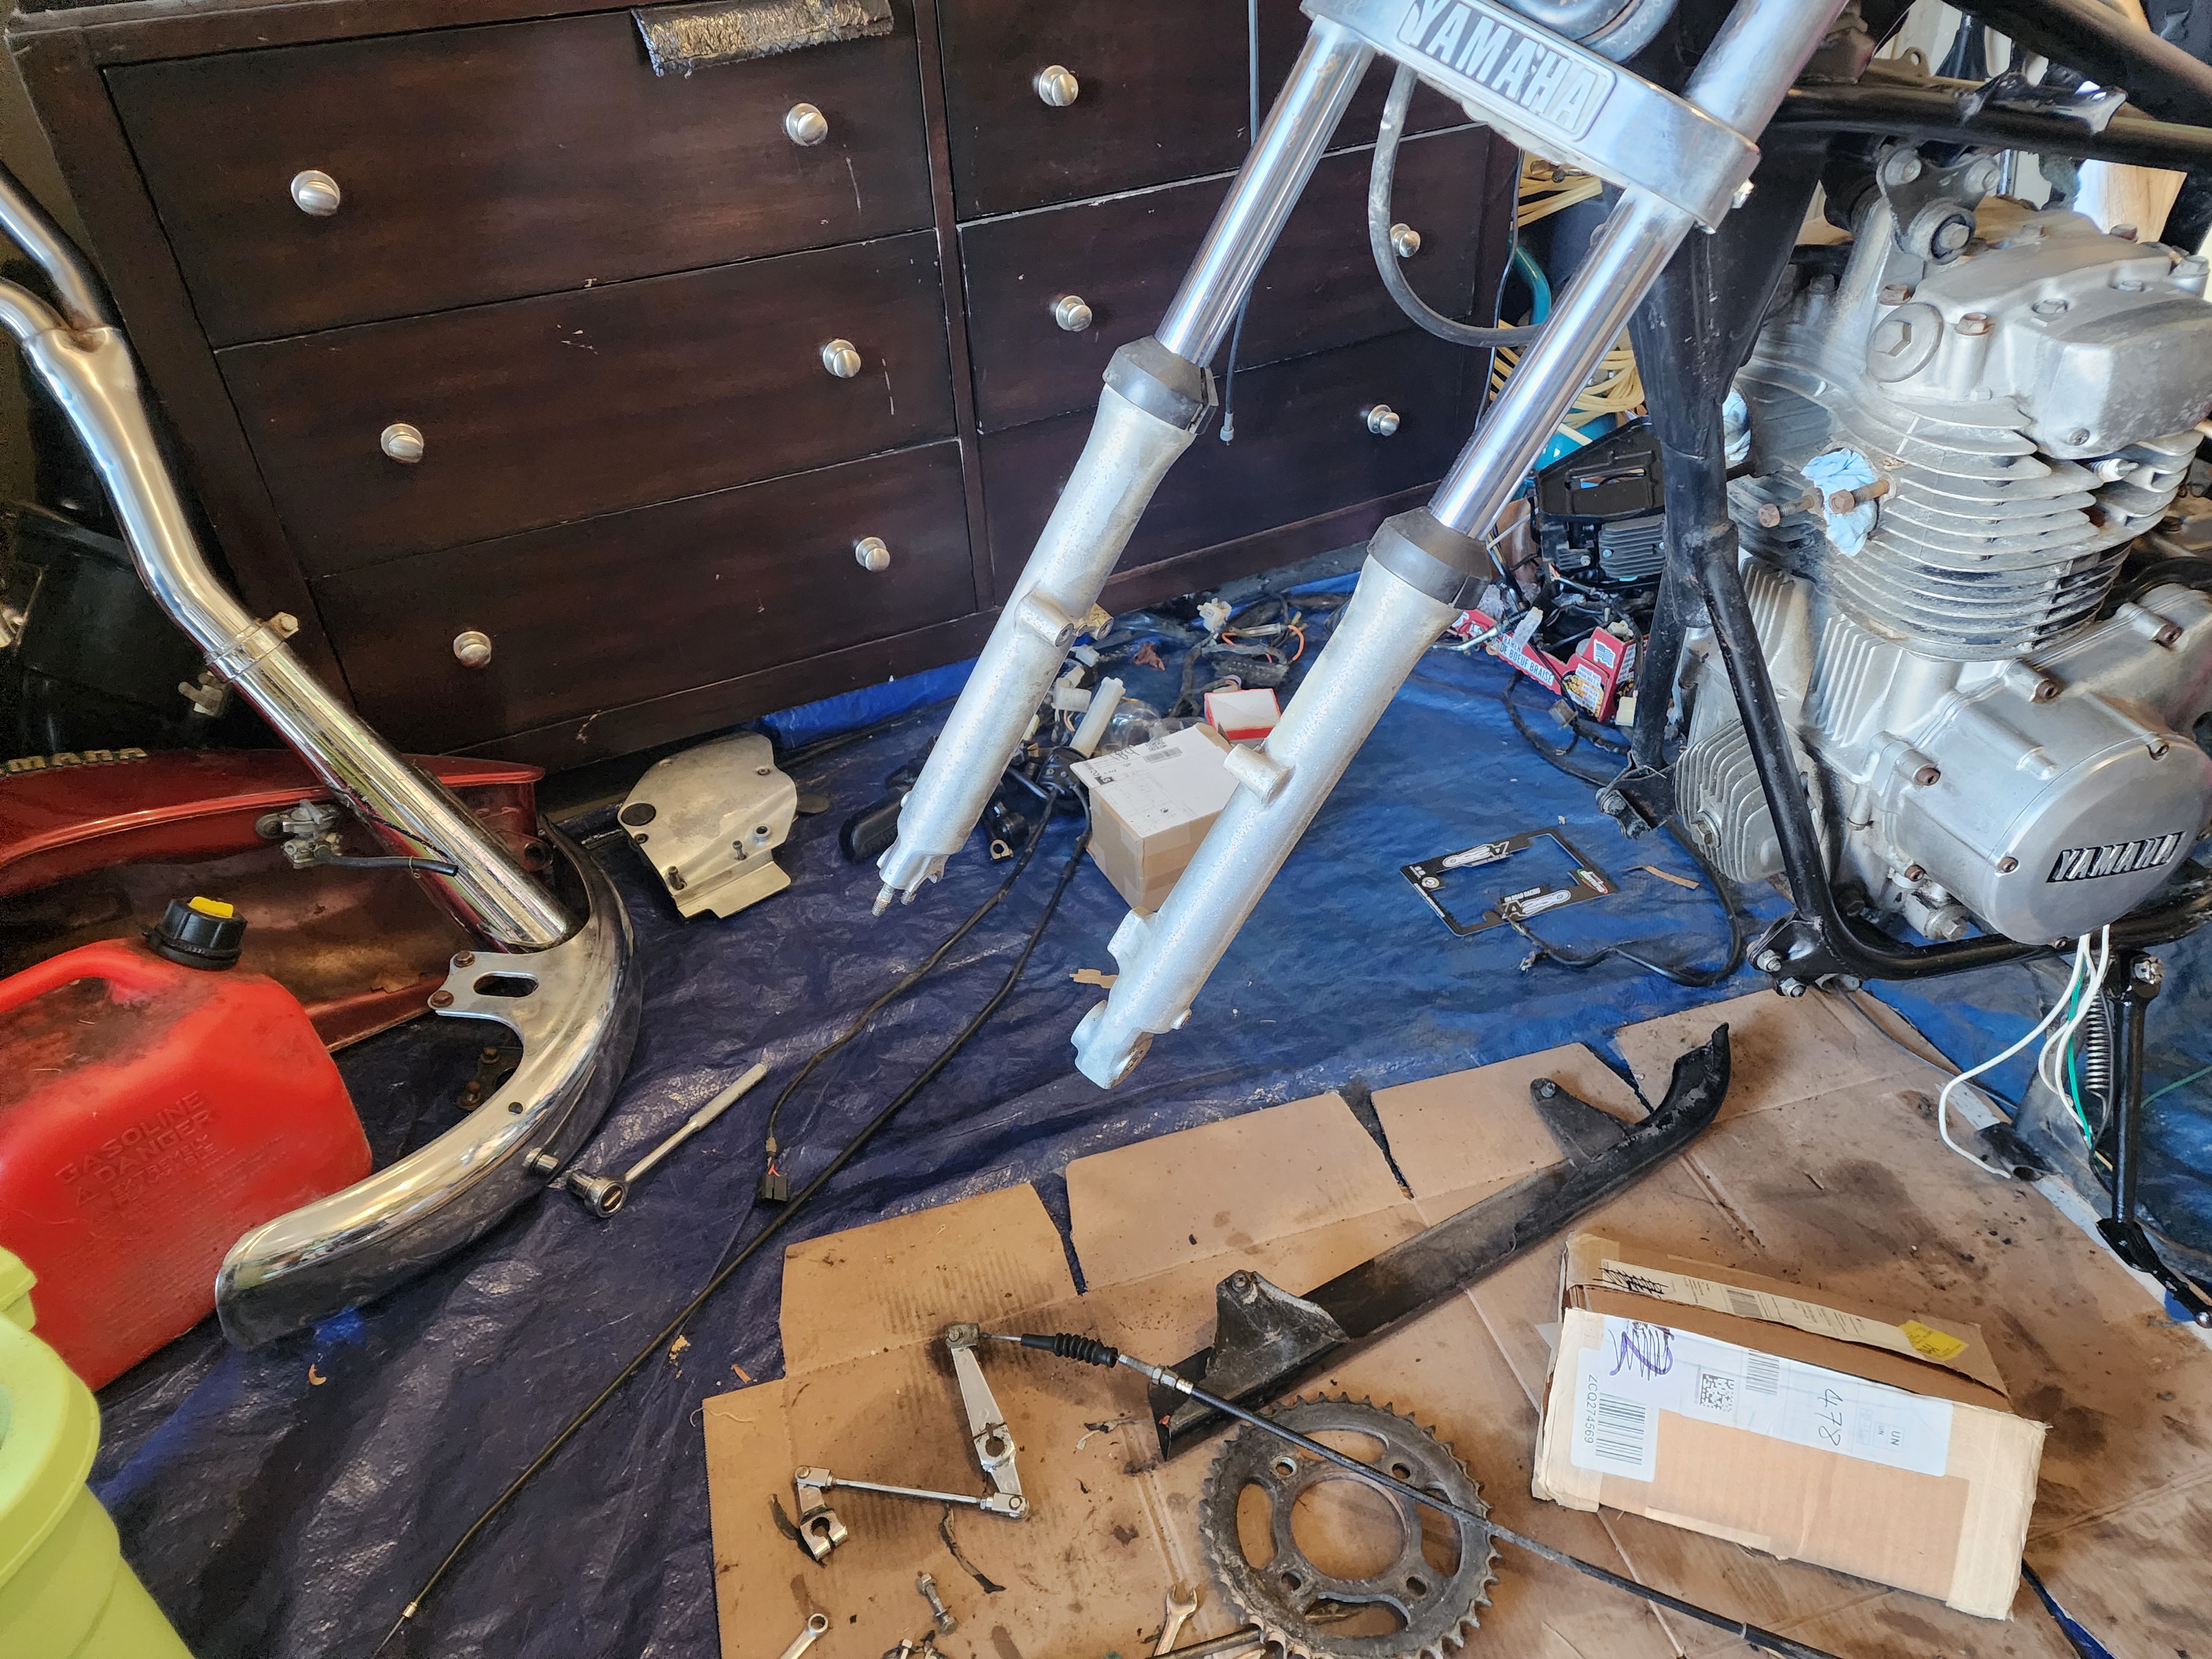 The front wheel-less forks!.
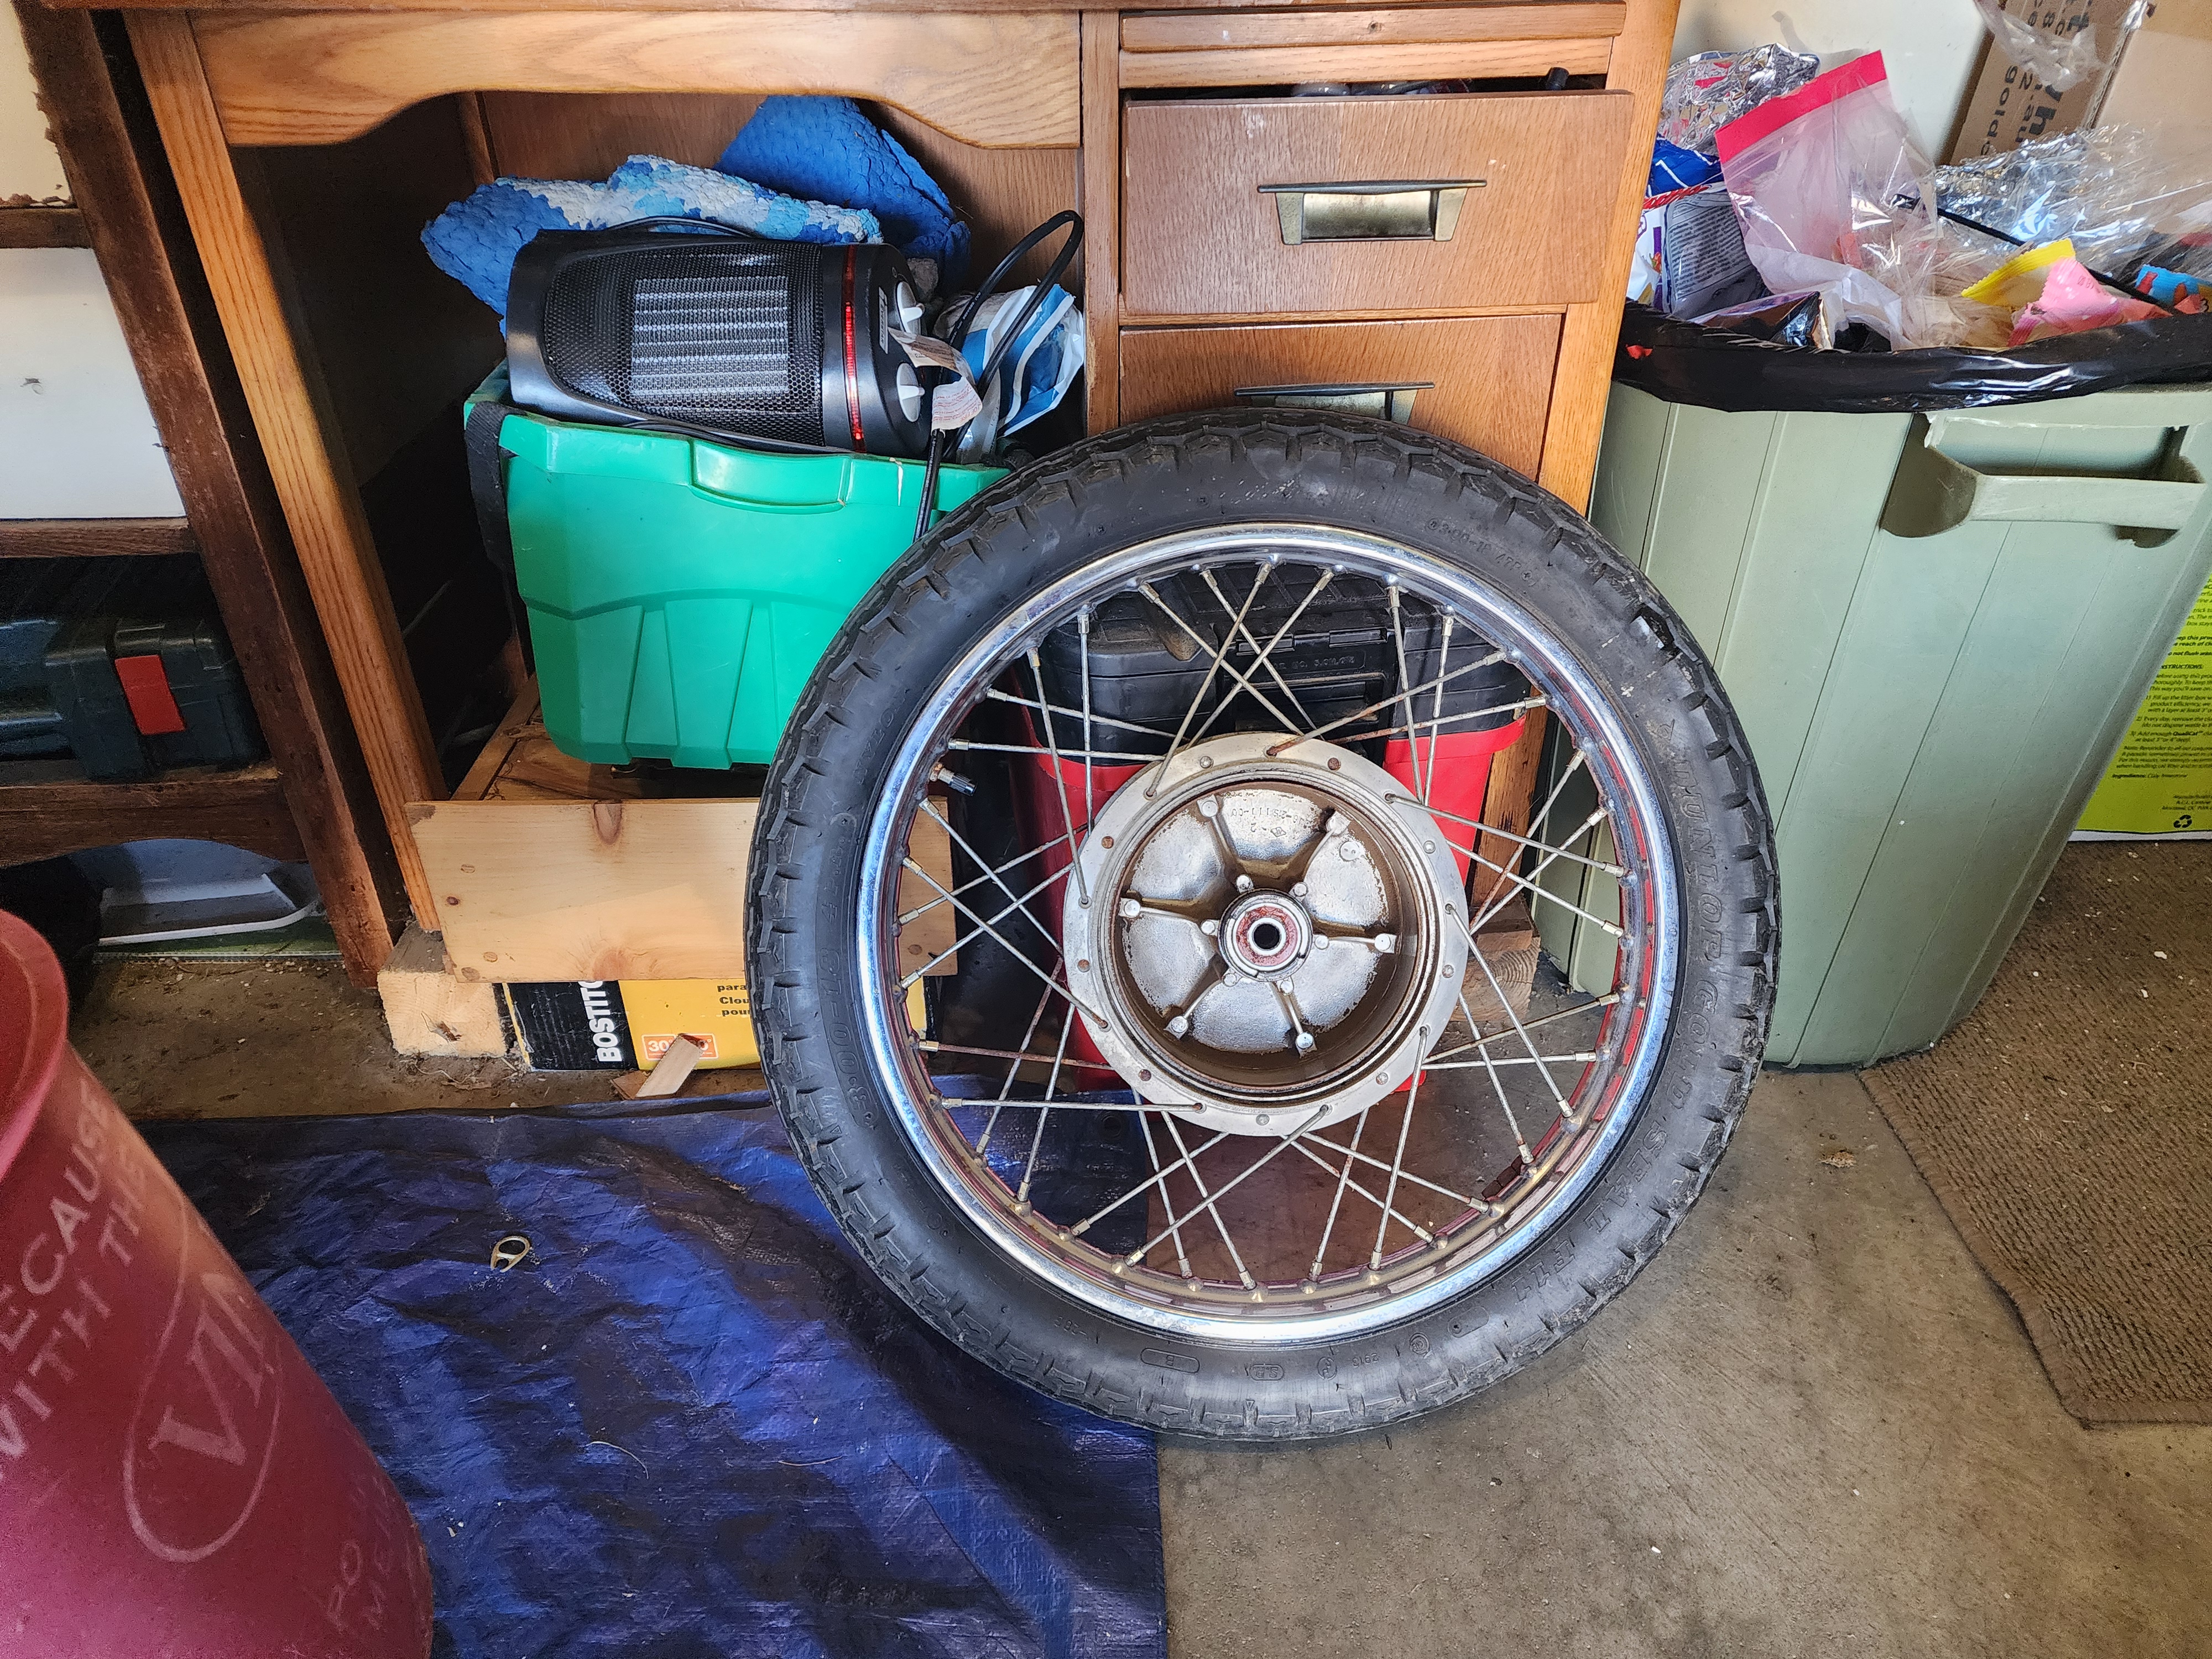 The front wheel all alone :(.
The front wheel painting was the same as the rear wheel, though a bit faster, as there was less grime (no chain lube gathering road goo). Just a thorough clean with Brakleen, then soap and water, scuff with Scotchbrite, and a final rinse with water. The temperature outside was getting too cold for paint, so there were some issues with getting the paint to stick. I think it still turned out all right.
 Front drum brake housing painted.
 Front wheel painted (1).
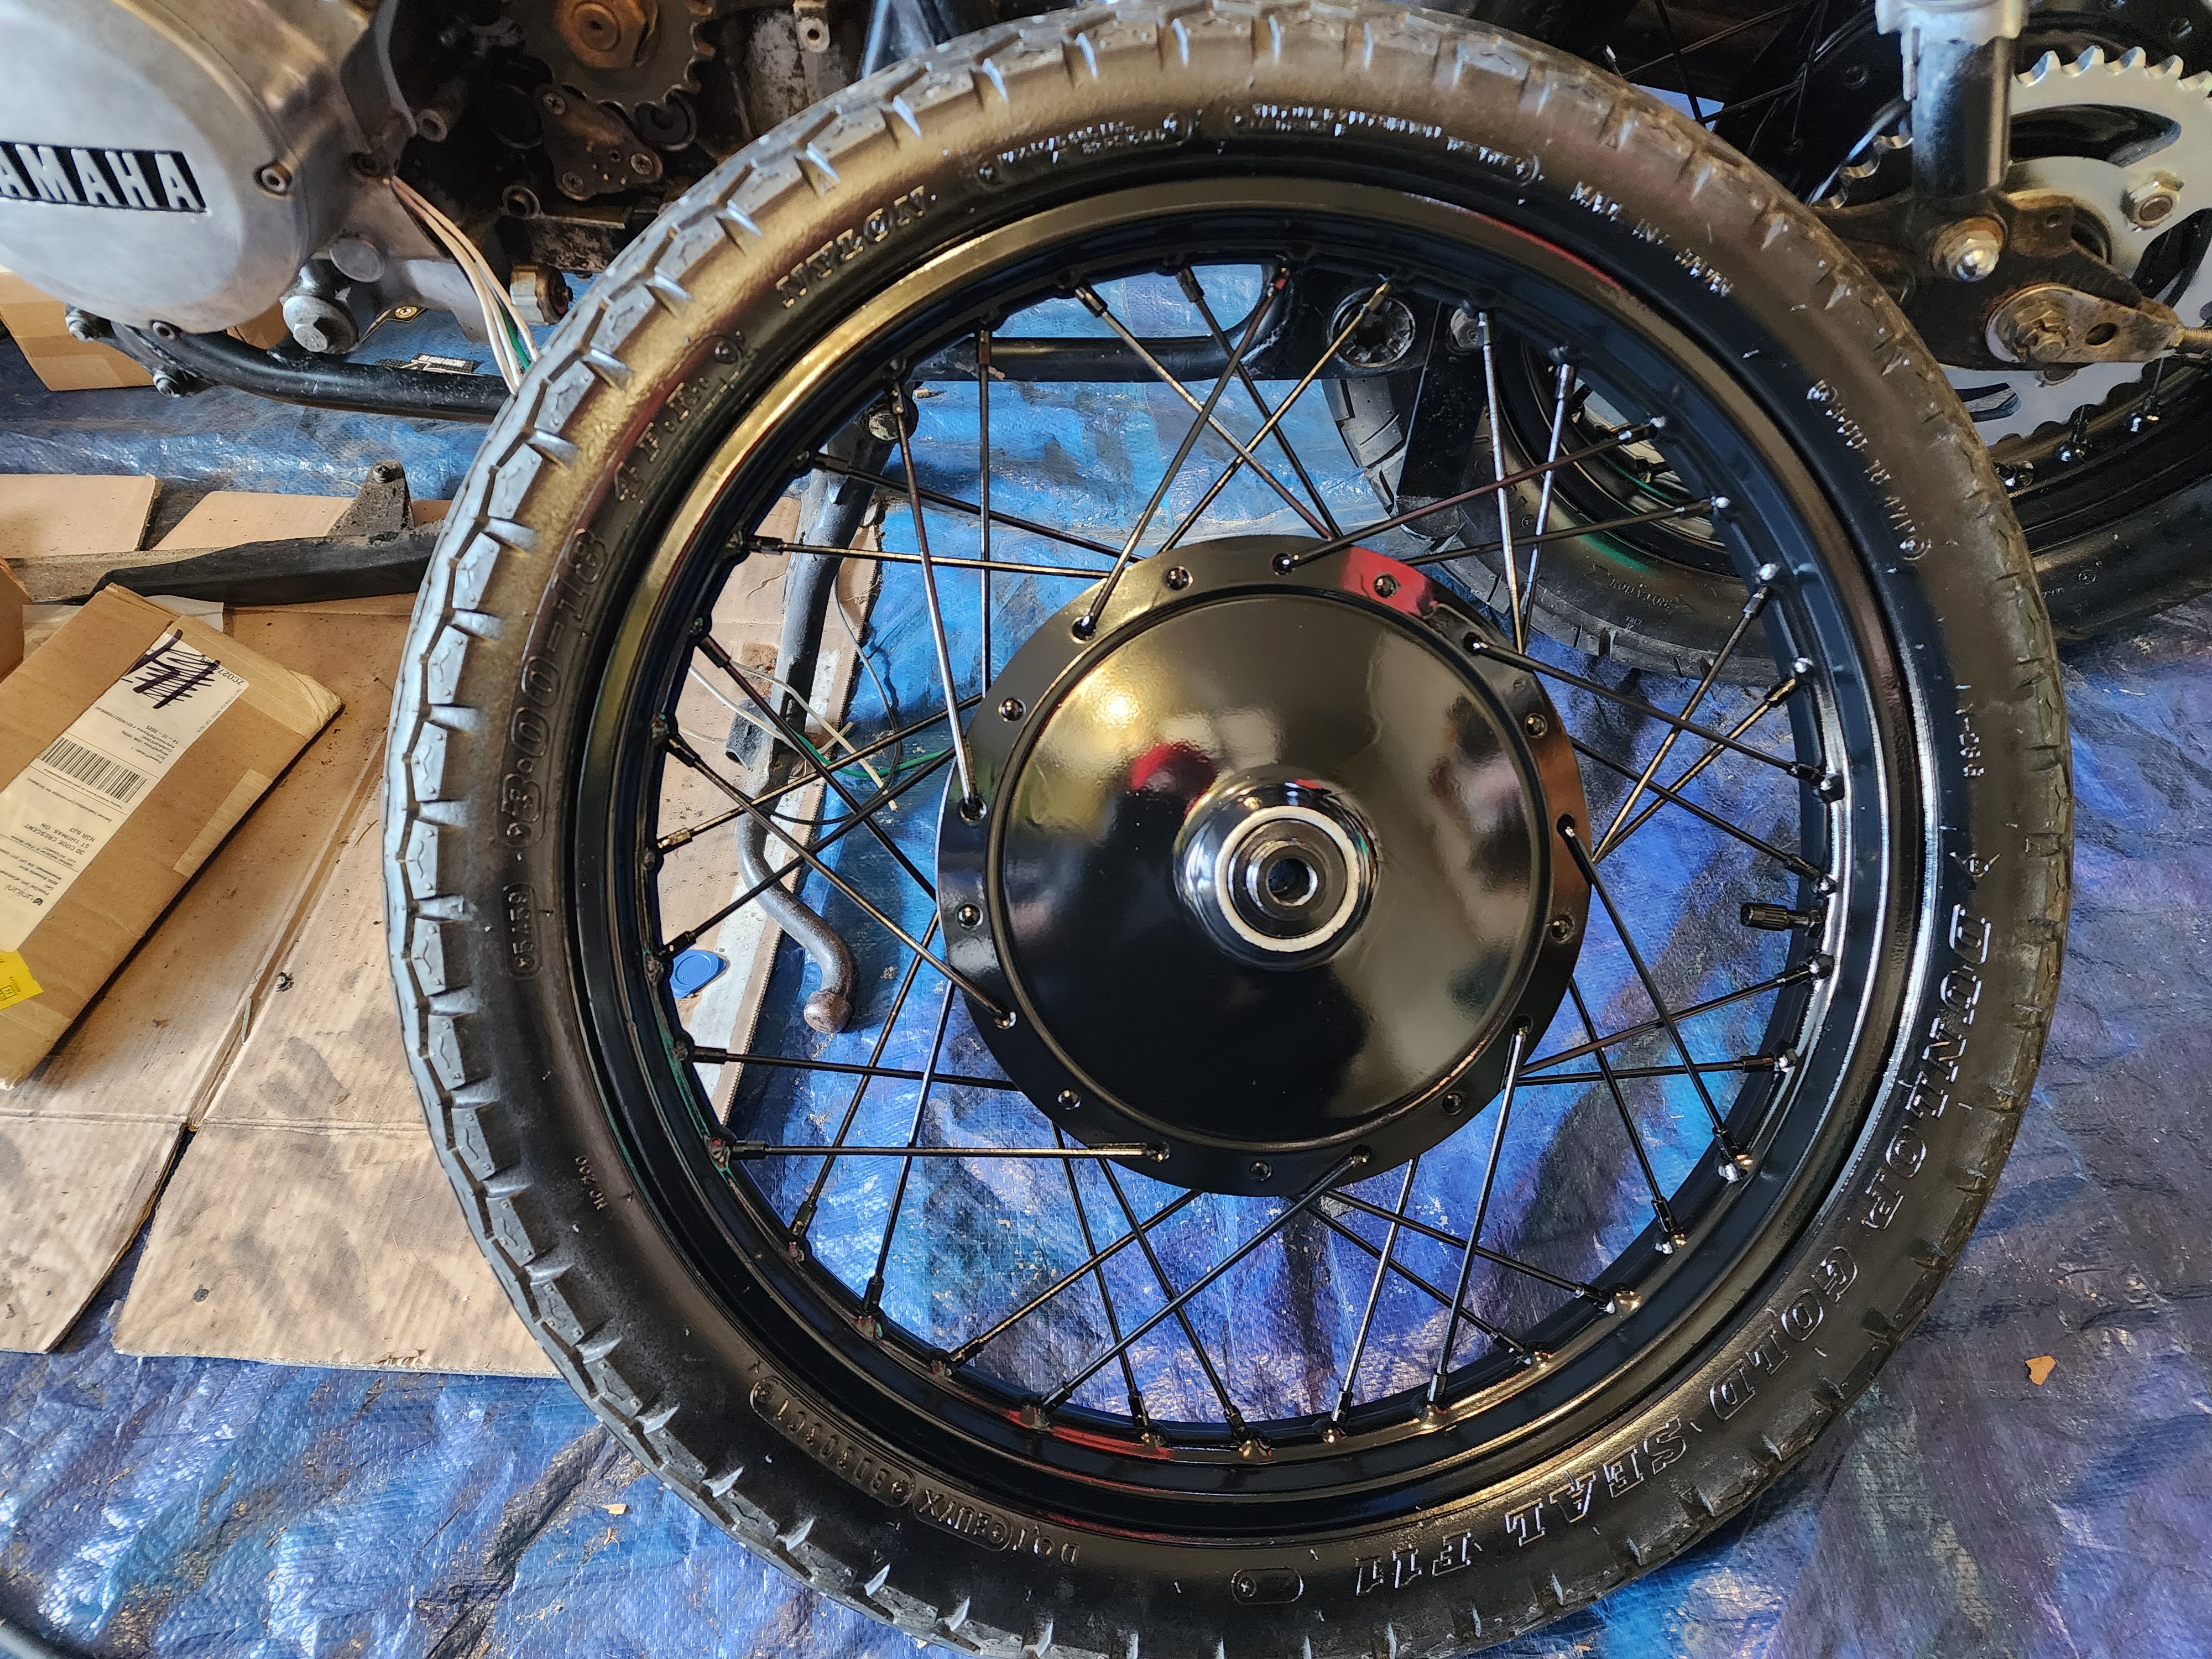 Front wheel painted (2).
There were a couple of weeks where we got some snow (The gales of November came early), so painting was off the table. I decided to do an initial mockup of the controls, cut the throttle cable to length, etc. I chose some orange grips to match the future color of the bike!
 Control mockup left.
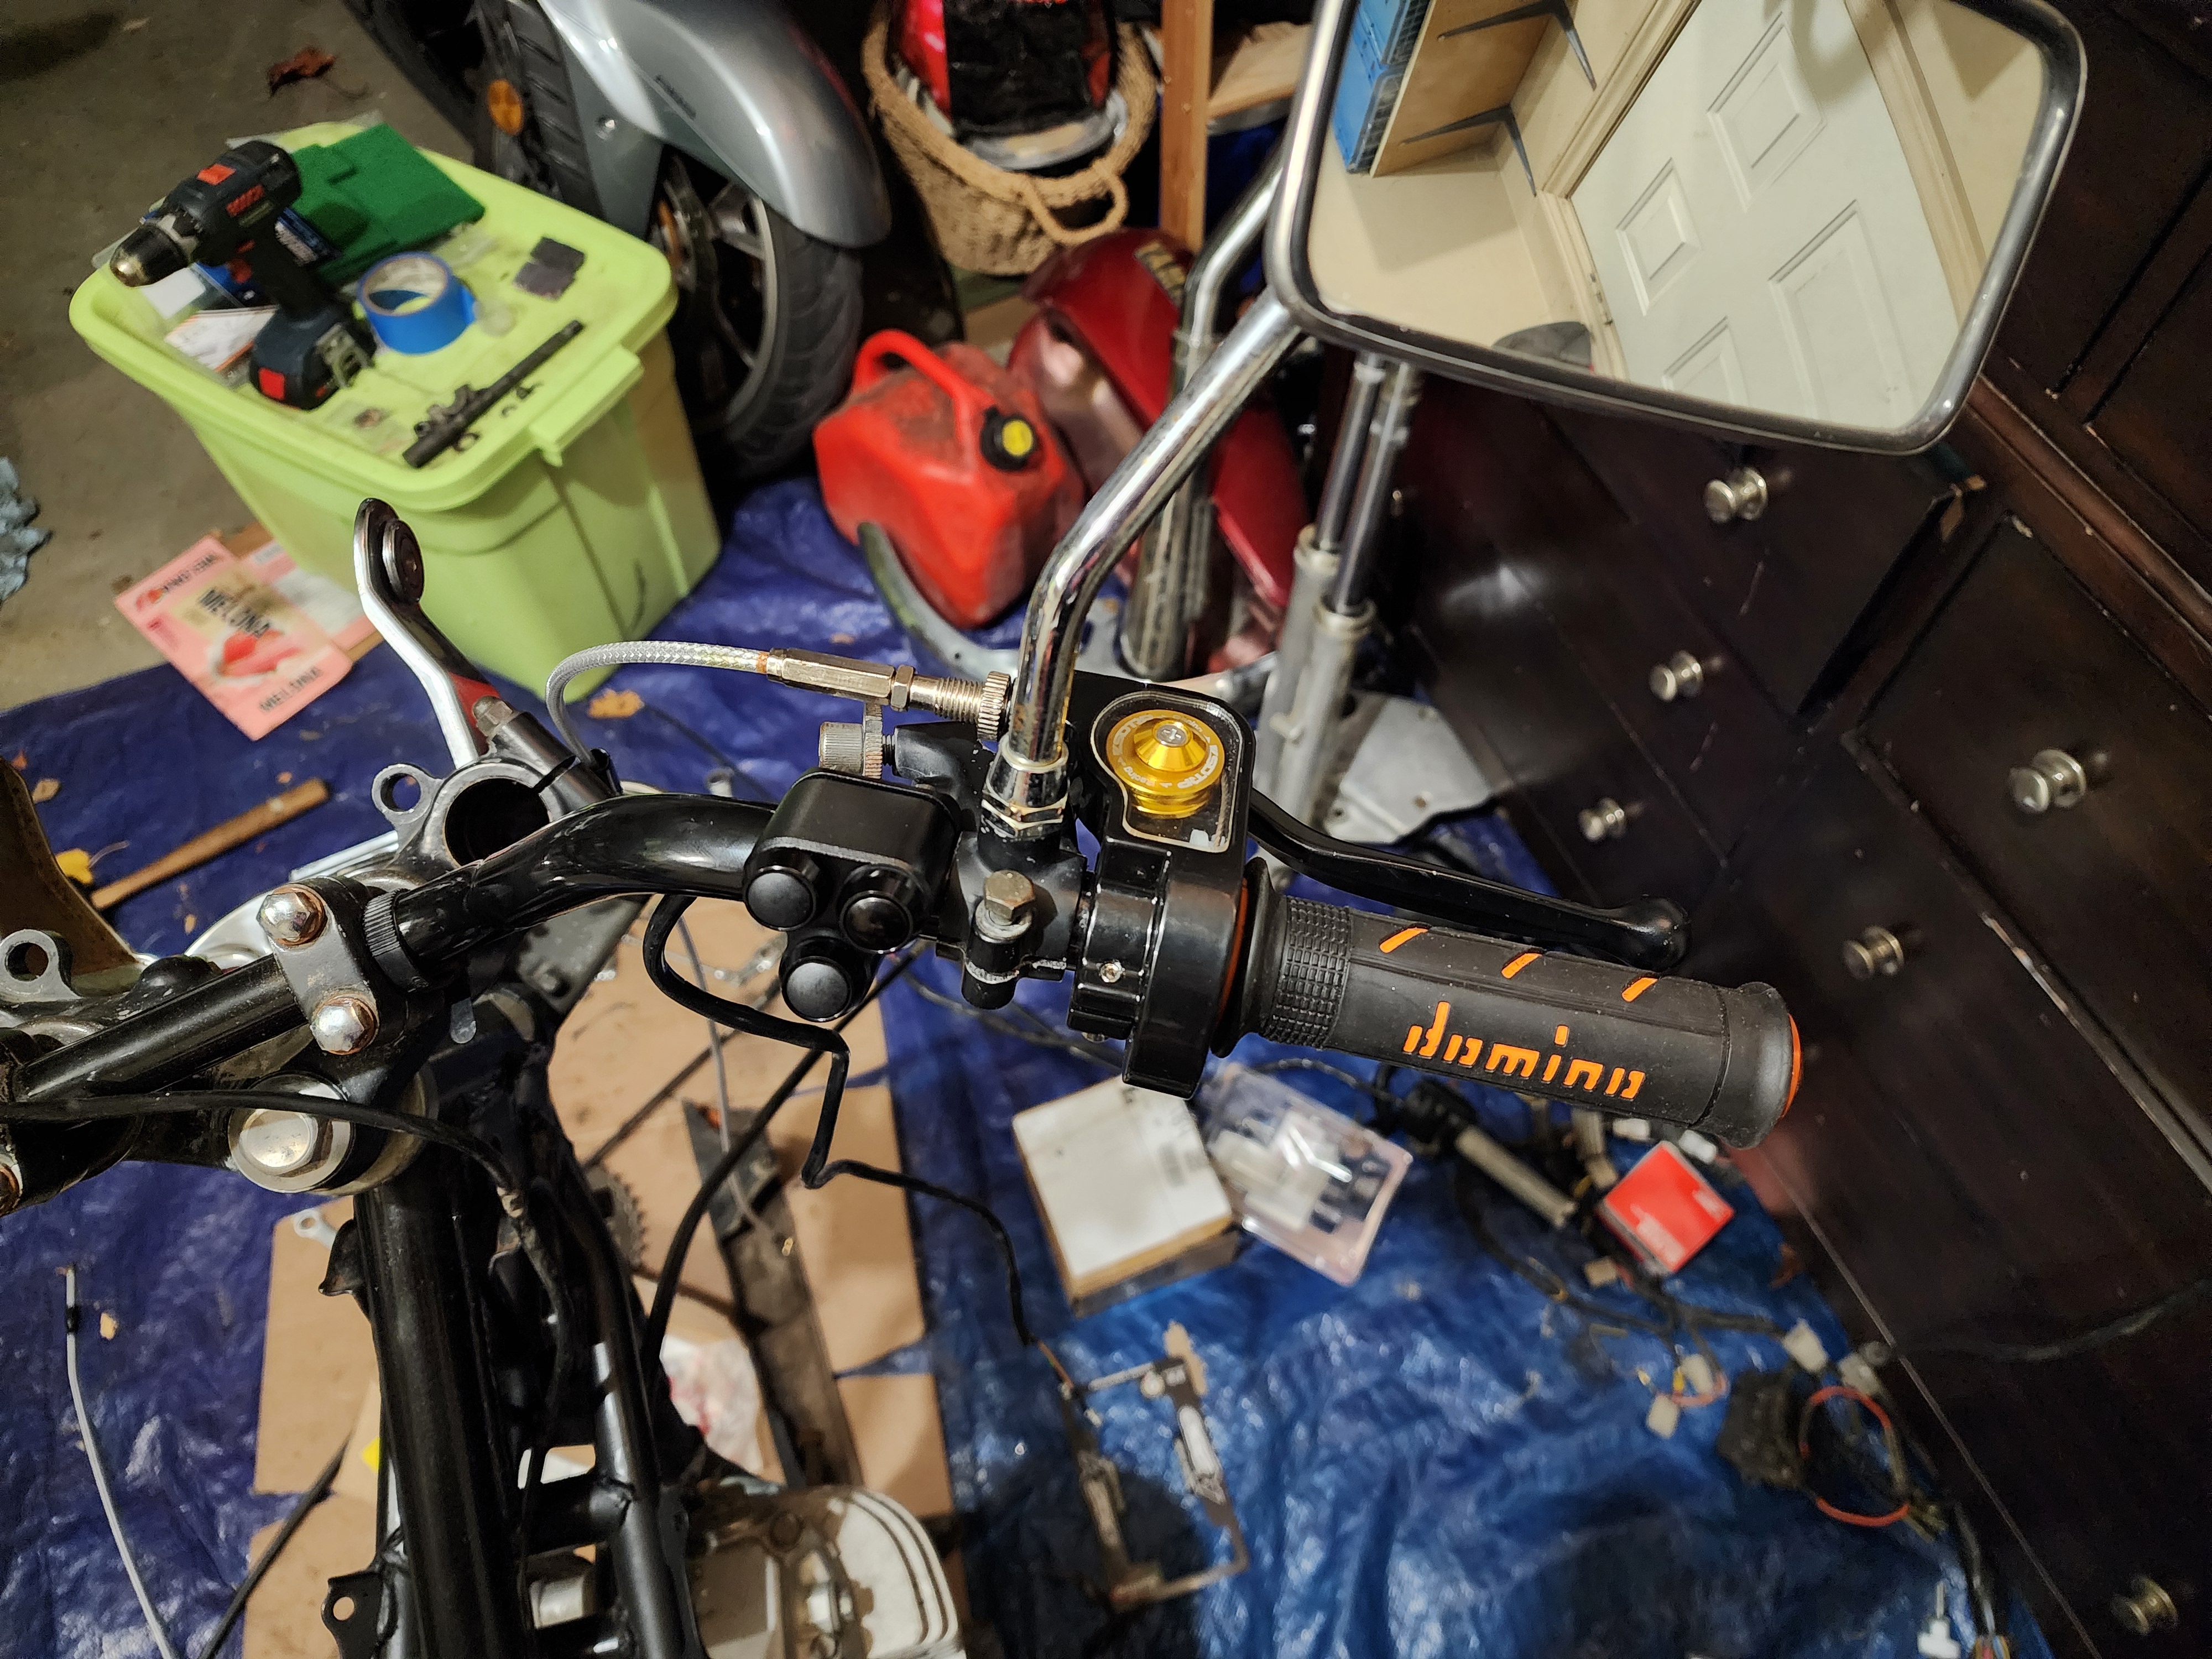 Control mockup right.
February, 2026
Rebuilding the forks
After a significant break while my responsibilities as a graduate student took priority, and indoor track season started to ramp up, I finally got back to working on the bike. The job I took on was rebuilding the forks, which is a messy and tedious job. Thankfully, there is a lovely video on YouTube that shows in great detail how to complete this job, so I followed it.
The first step is to remove the forks from the bike and drain the oil out of the small drain hole sealed with a JIS screw and copper crush washer.
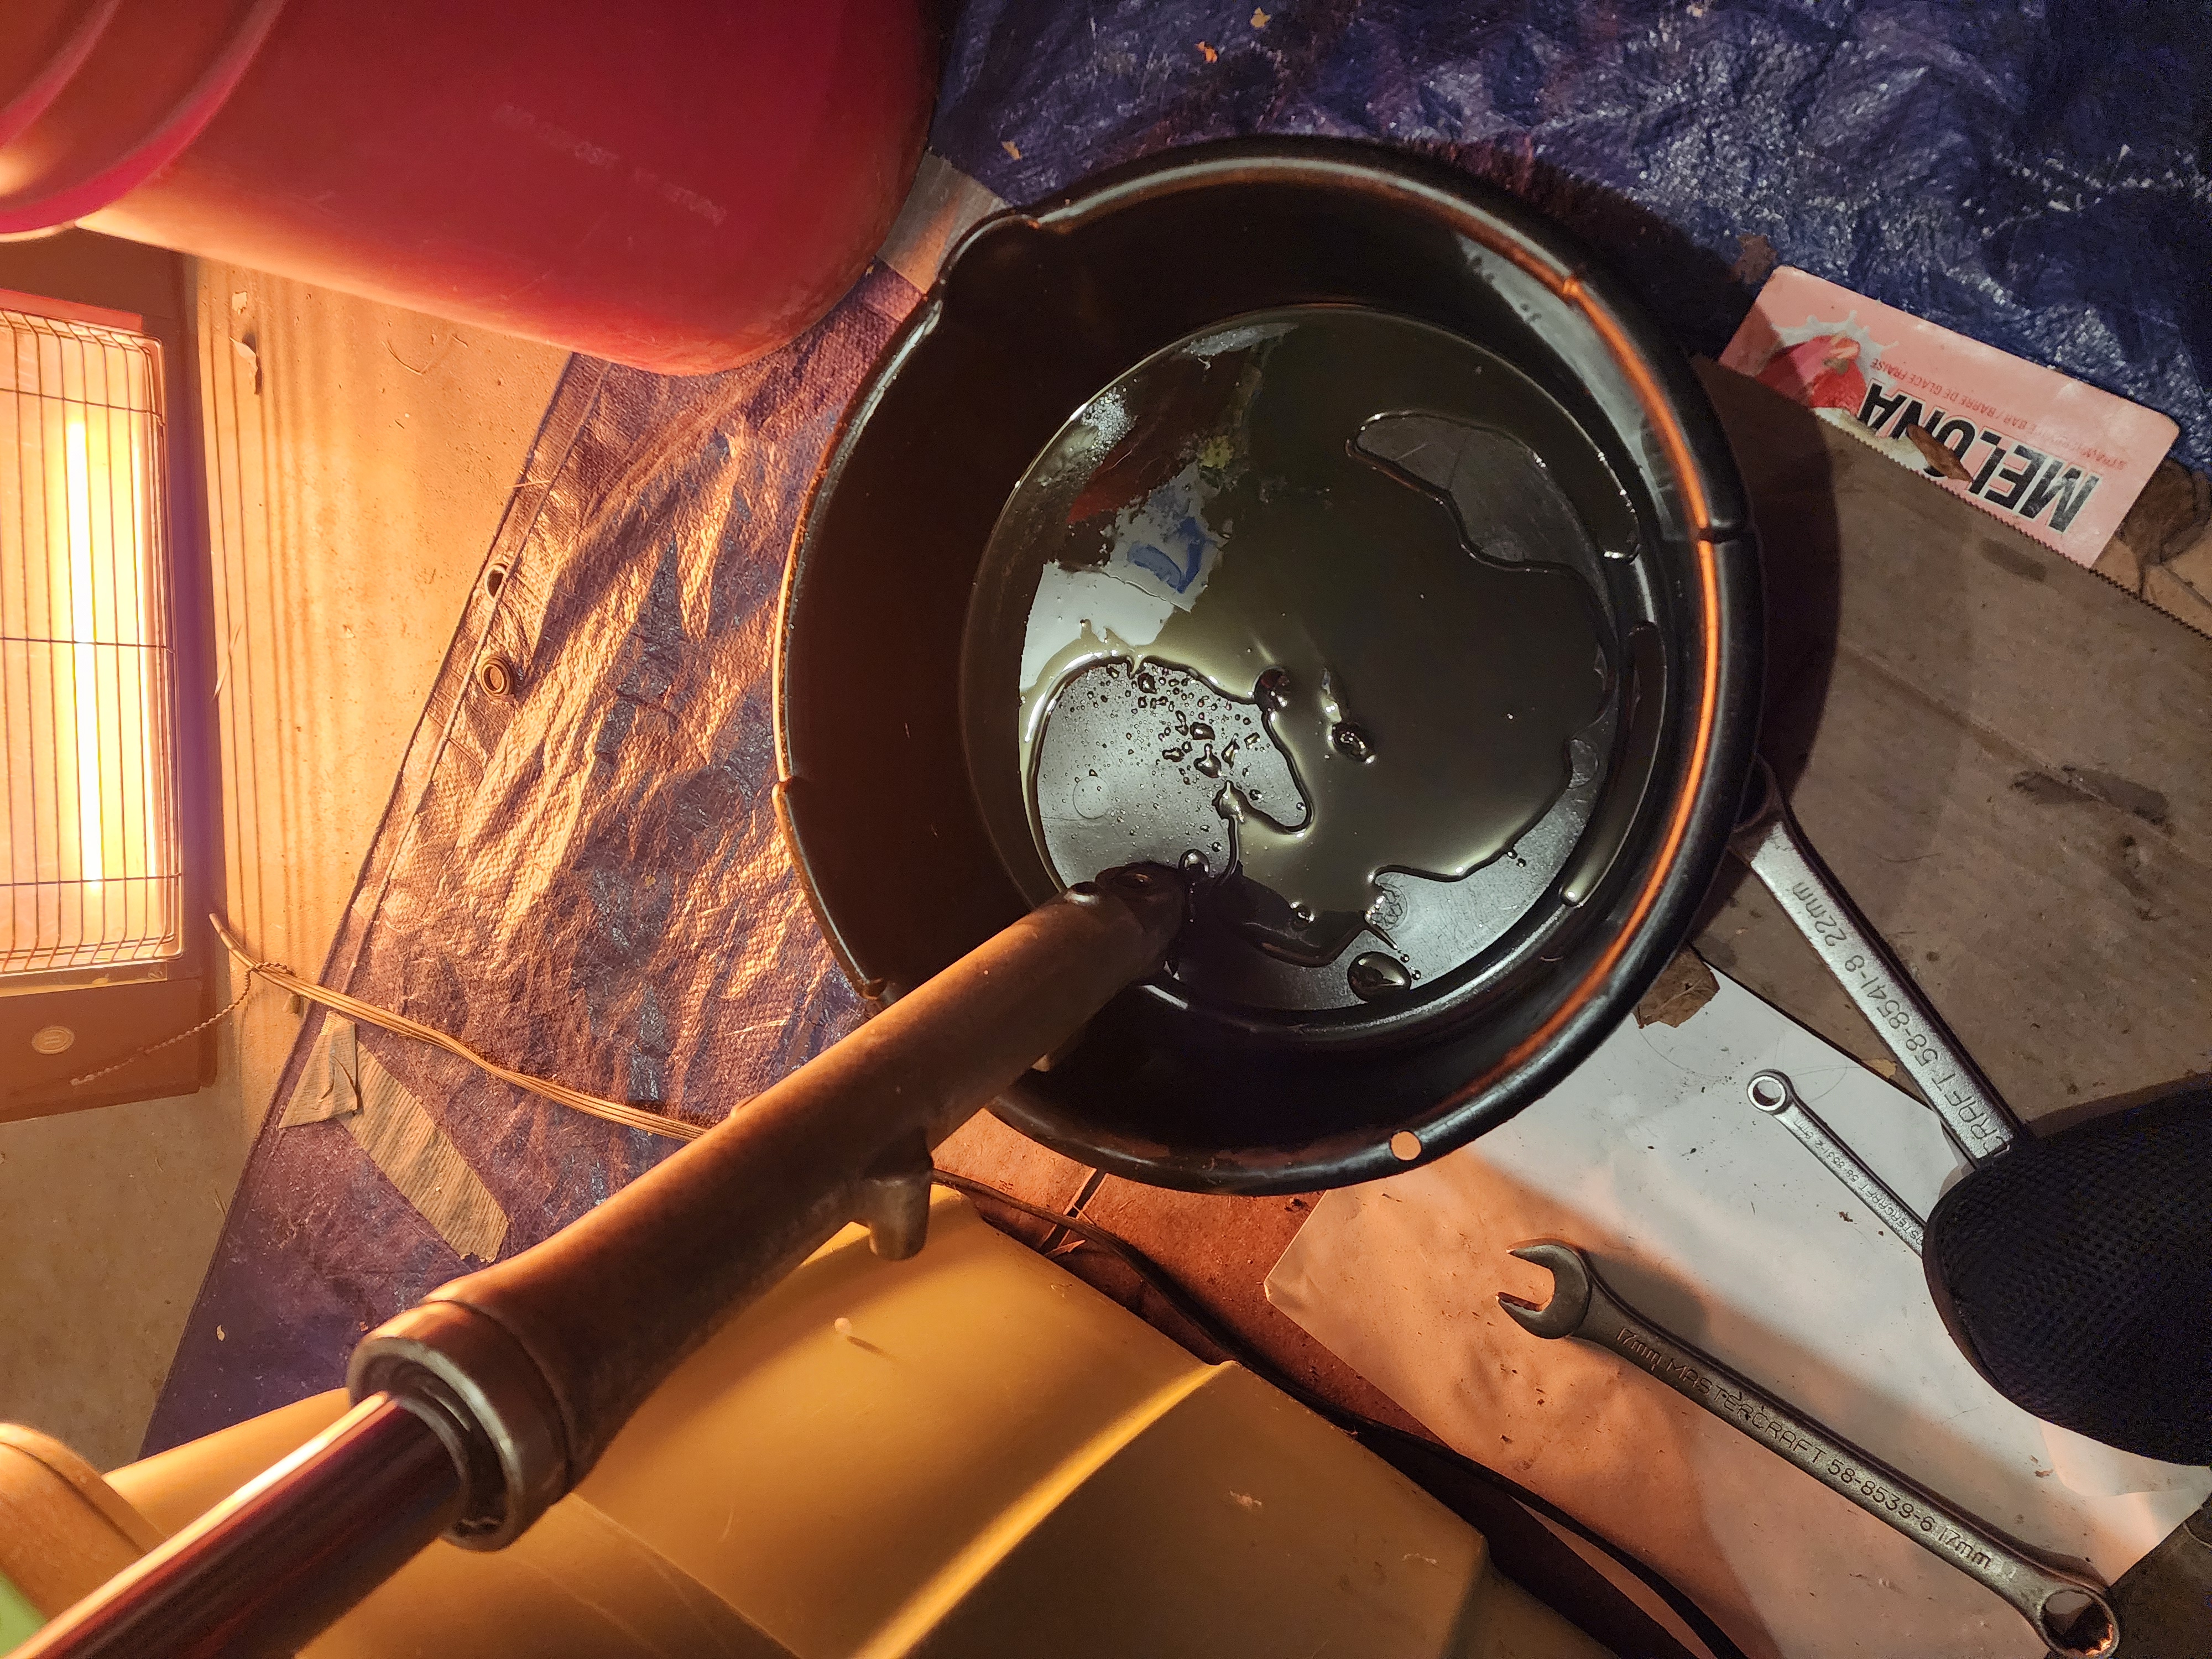 Draining the forks.
The left fork oil was quite dark and had a bit of a fishy smell. I suspect that the fork seal had started to go on this side, and that the oil was likely the original oil from the 80s (yikes!). The right fork was different, with relatively clean-looking oil and less smell. The oil had either been replaced before (which would be strange… Wouldn’t you just do both at the same time?), or the difference was just in the seals. Maybe the right one did a better job keeping the gunk out.
The next step is to open up the forks. This is done by removing the small plastic cap, pressing down on the plunger at the top of the fork with a large screwdriver, and picking out the small circlip that stops the plunger from shooting out the top of the fork under the pressure from the spring. The guy in the video recommended putting the fork back on the bike to hold it in place while you do this, in case you don’t have a vice (which I do not).
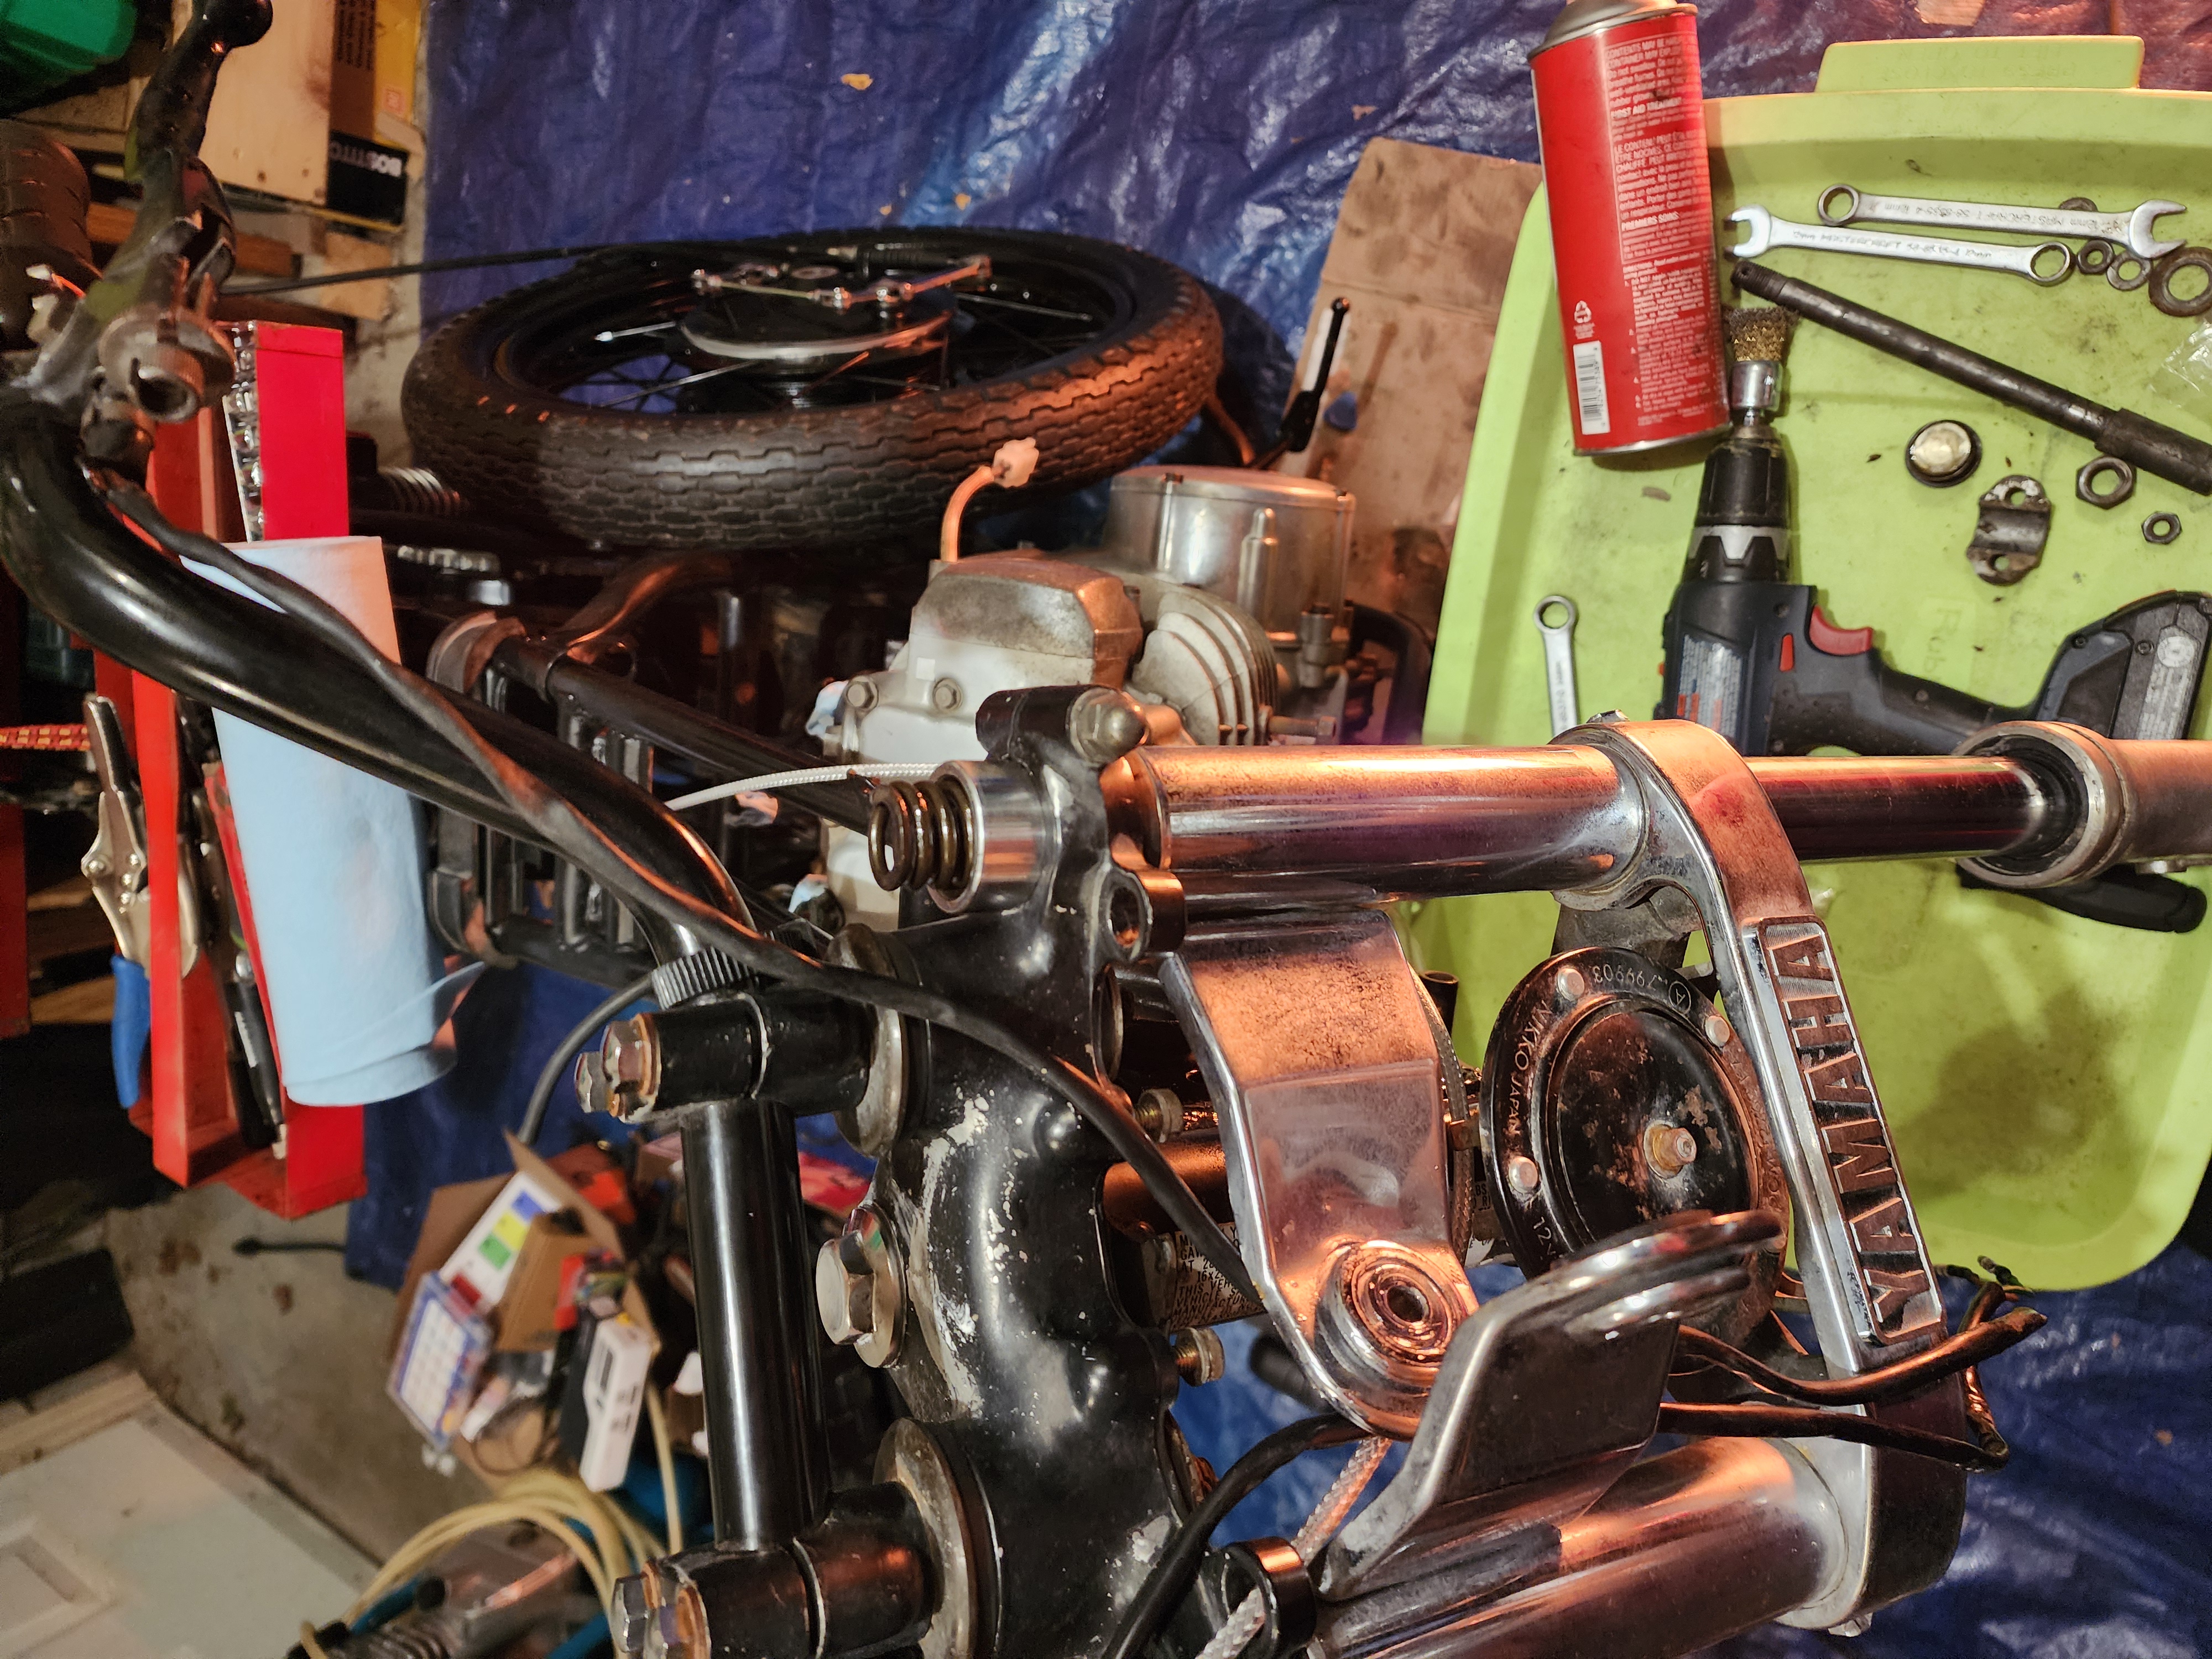 The opened up fork.
Getting that little circlip out while pressing down on the plunger with the other hand is a huge pain in the ass, and was by far the hardest part of this job. Here’s a picture of the little bugger:
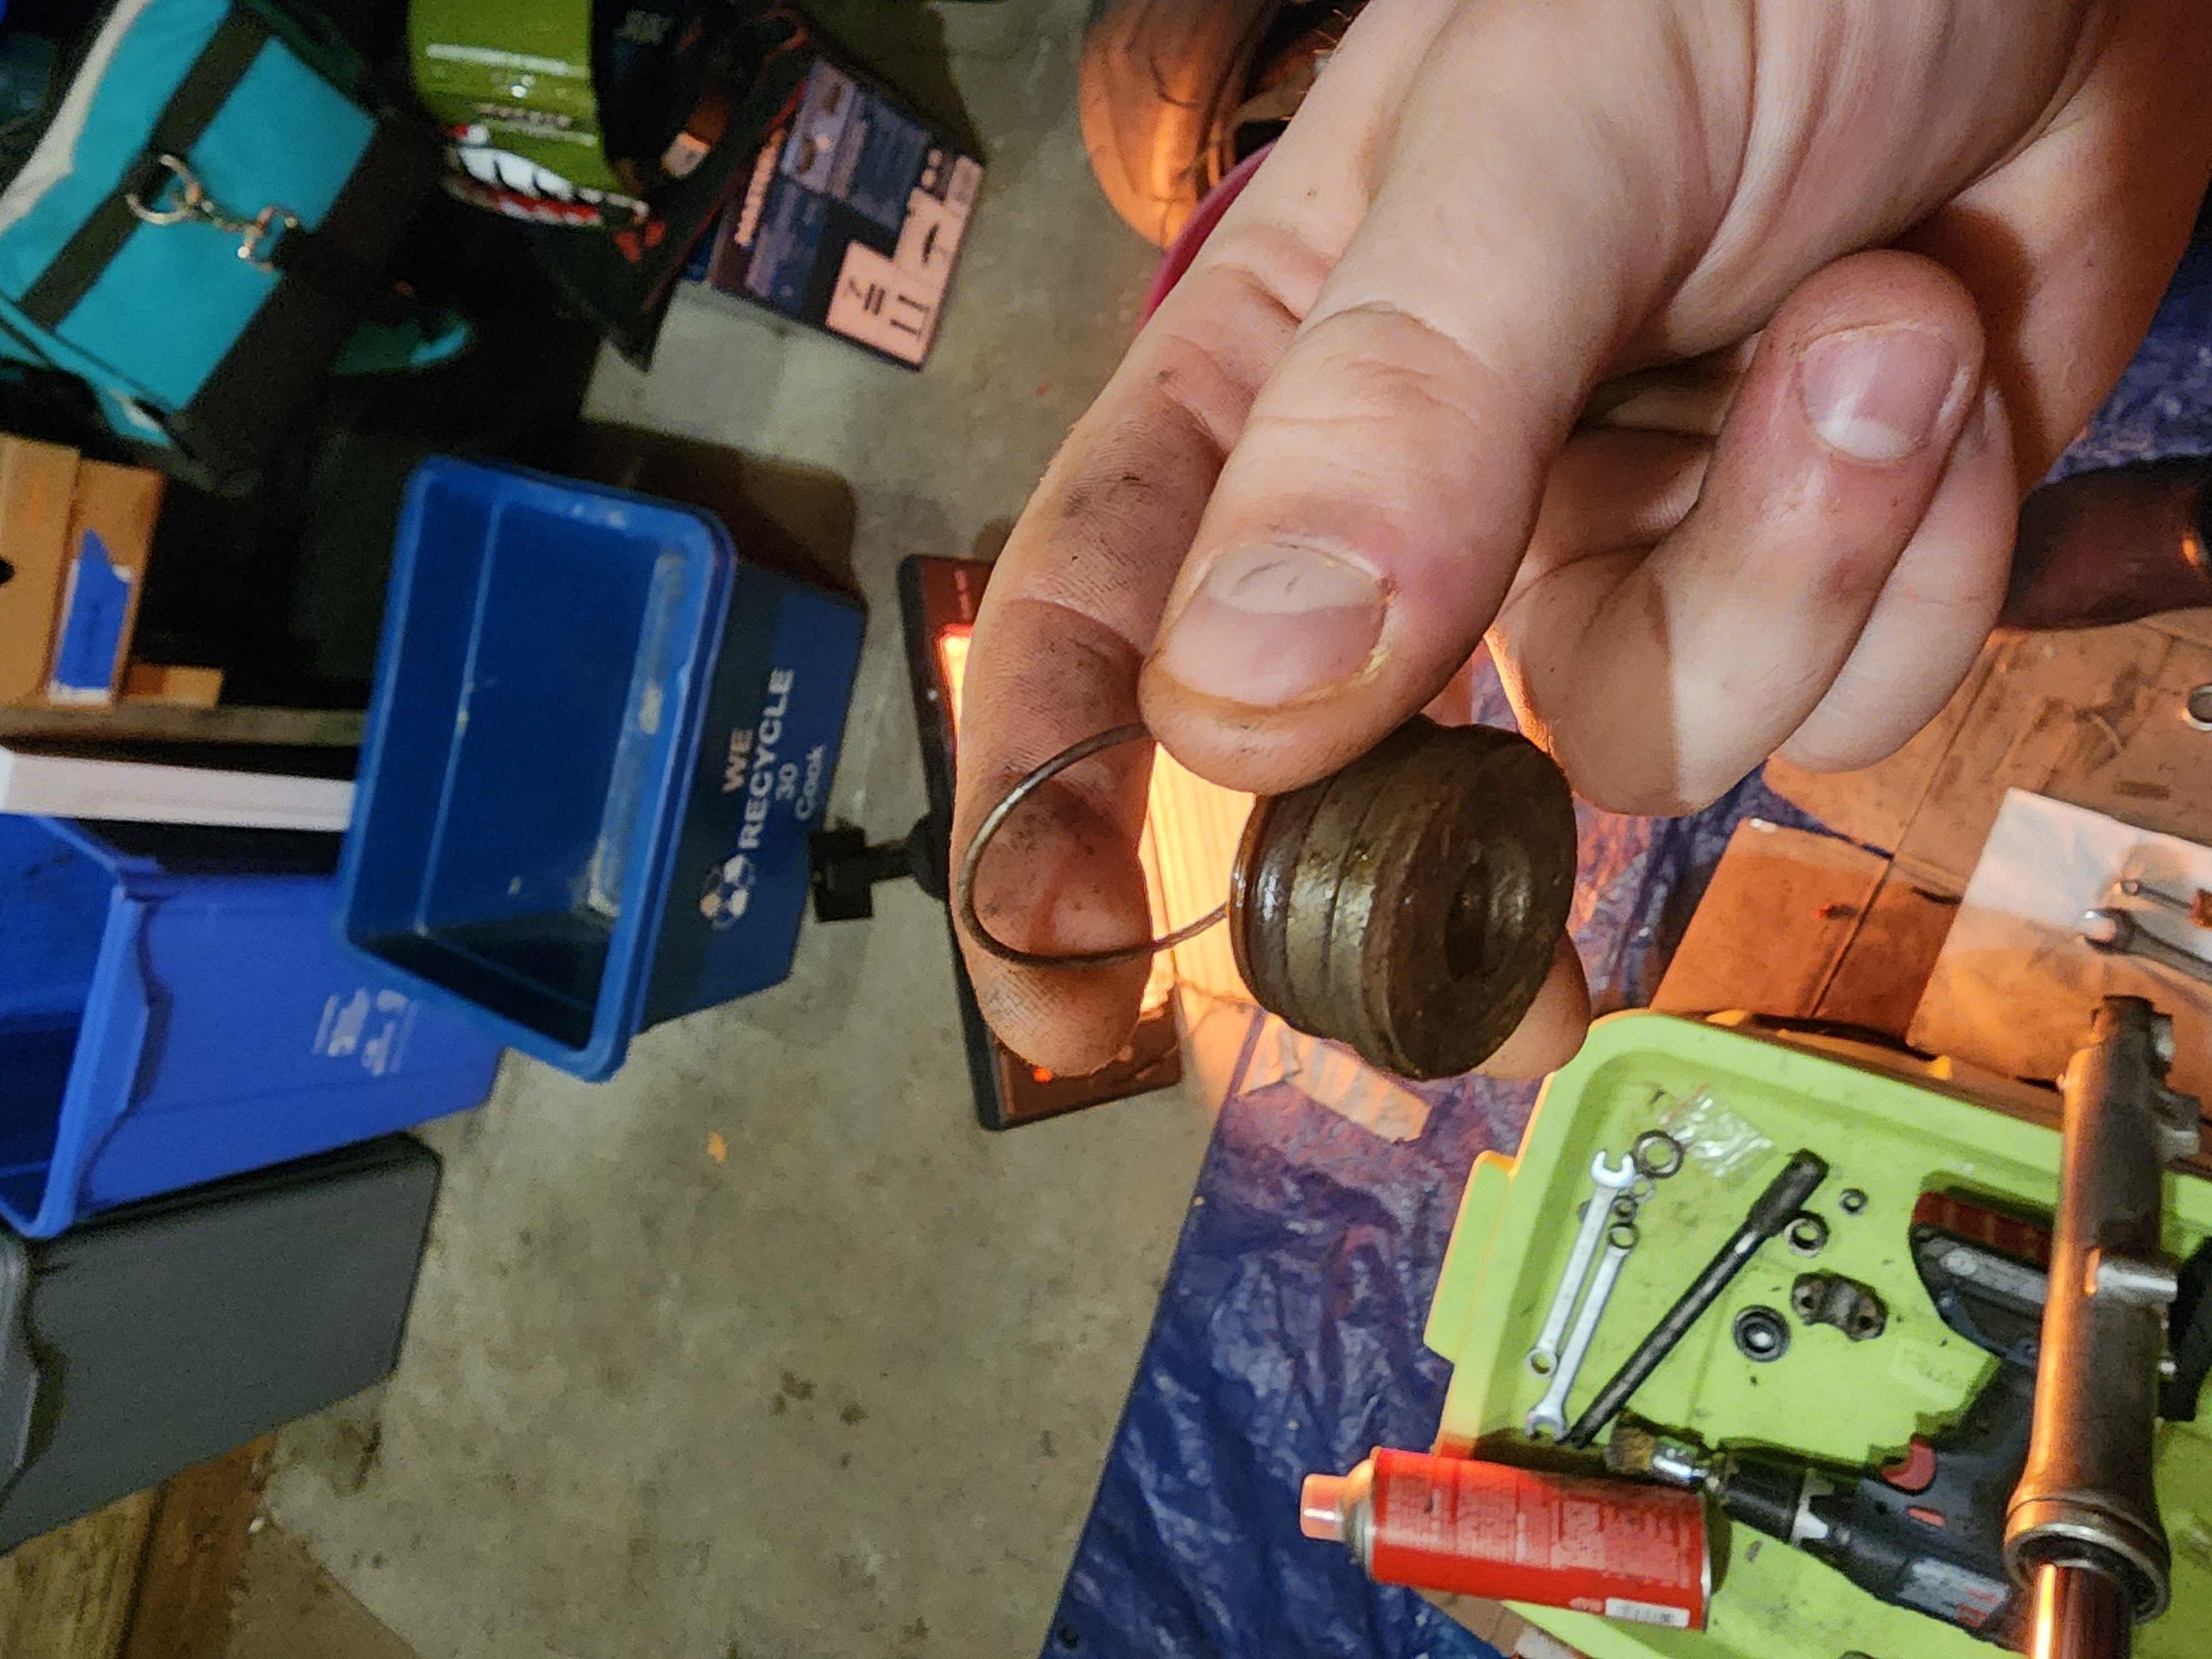 The fork plunger and circlip.
After this, the forks can be fully dismantled by taking out one last bolt from the bottom. It was pretty cool seeing the inner workings of a fork, but this is the messiest part of the job. I placed down some shop towels to soak up any leftover oil.
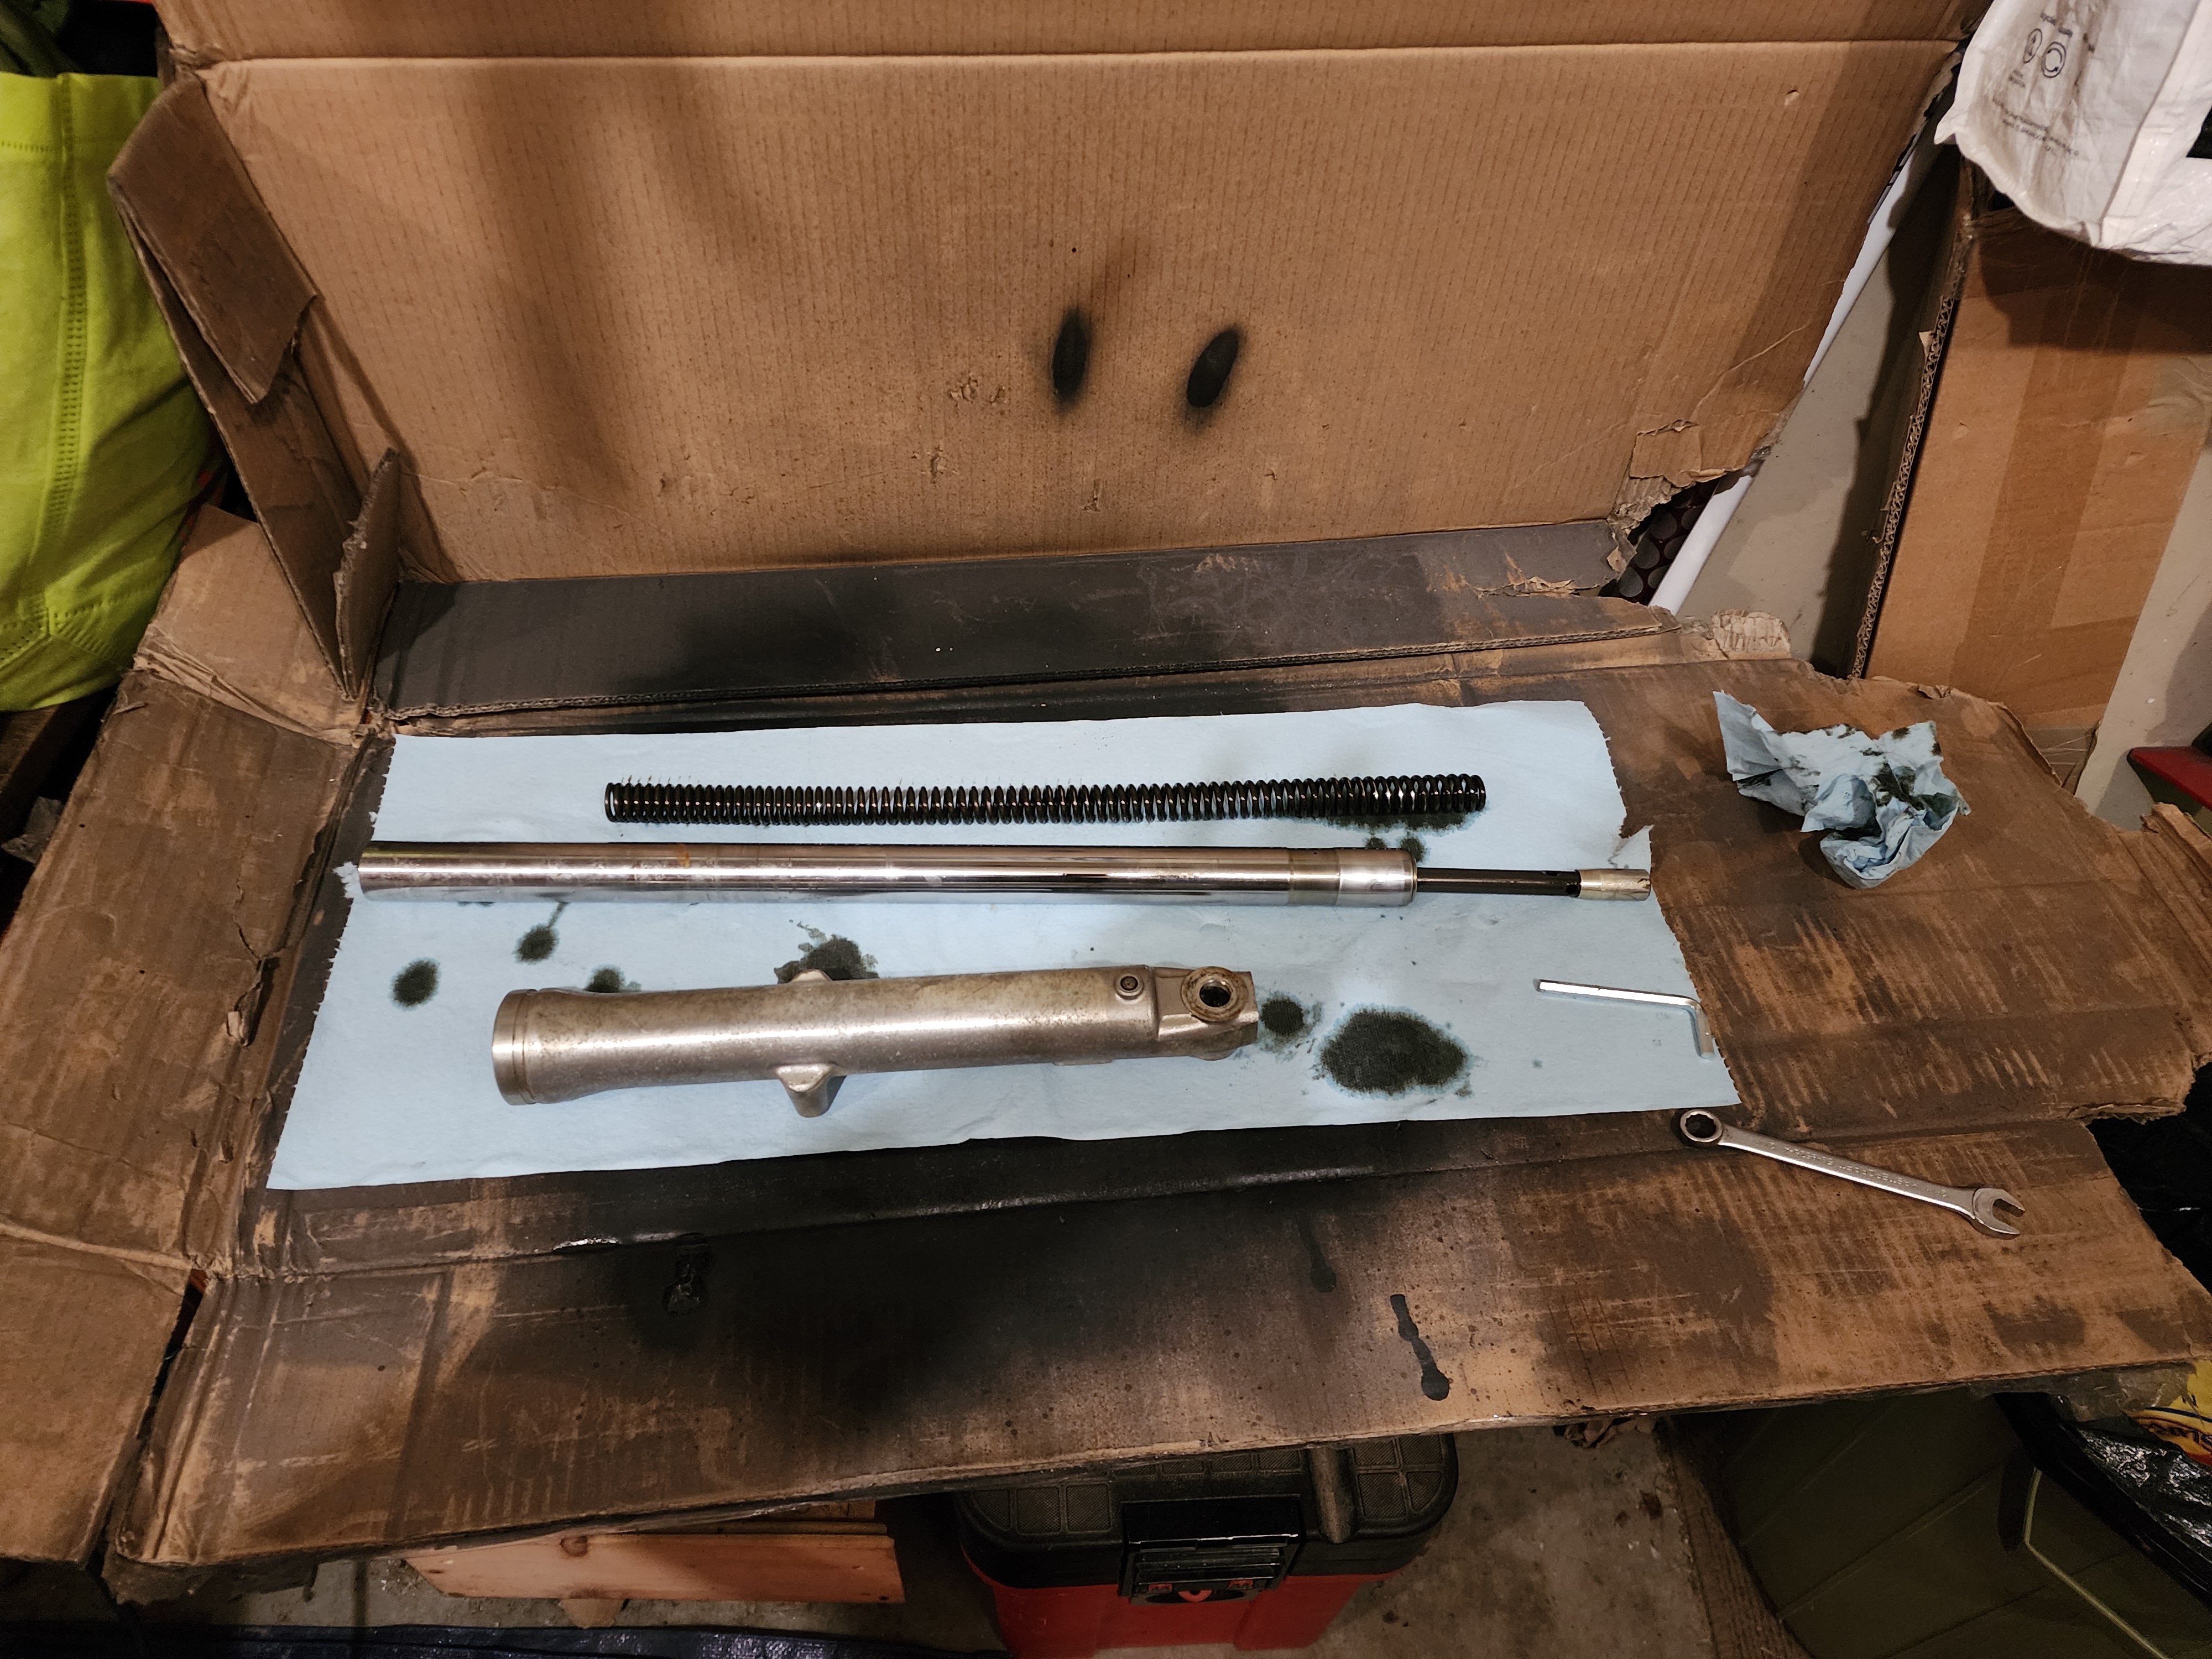 A fork fully disassembled
Next, I cleaned them up and replaced the fork seals. To remove the old ones, you just pry them out with a big screwdriver, being careful not to scratch the sealing surface on the housing. Then, you gently press the new ones in and, using a big socket and a mallet, lightly tap it until it is fully seated.
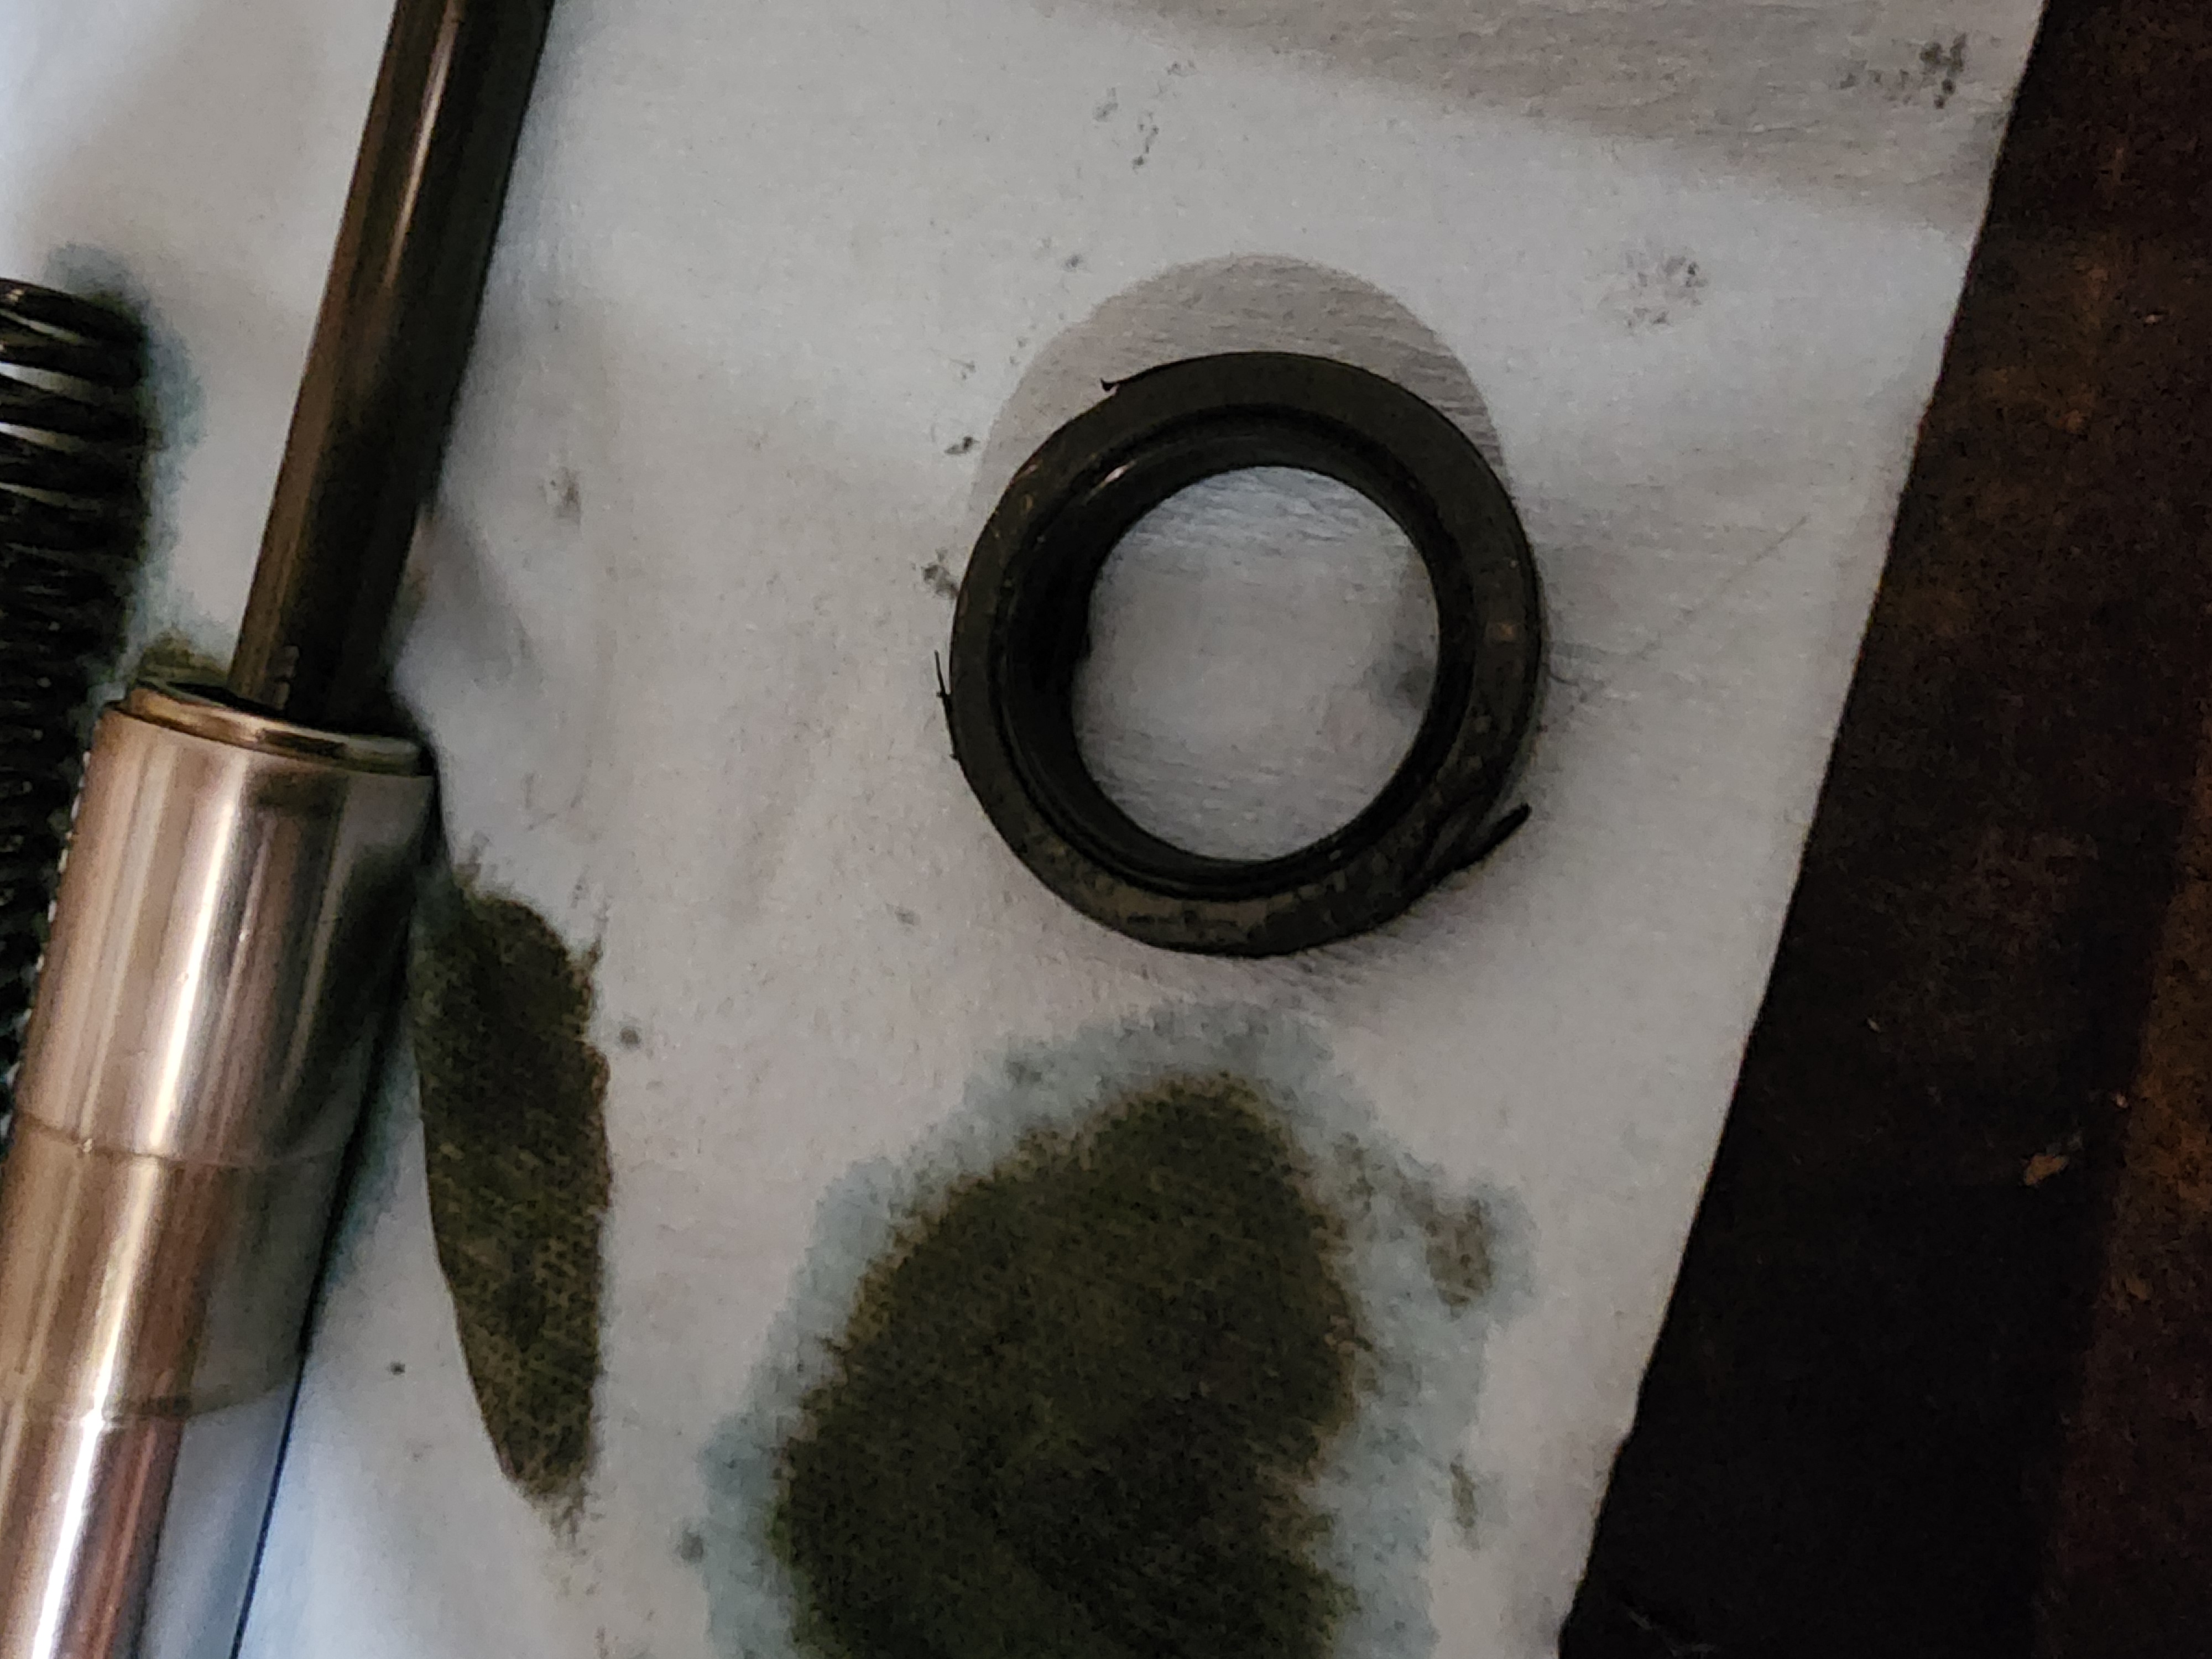 The old seal pried out.
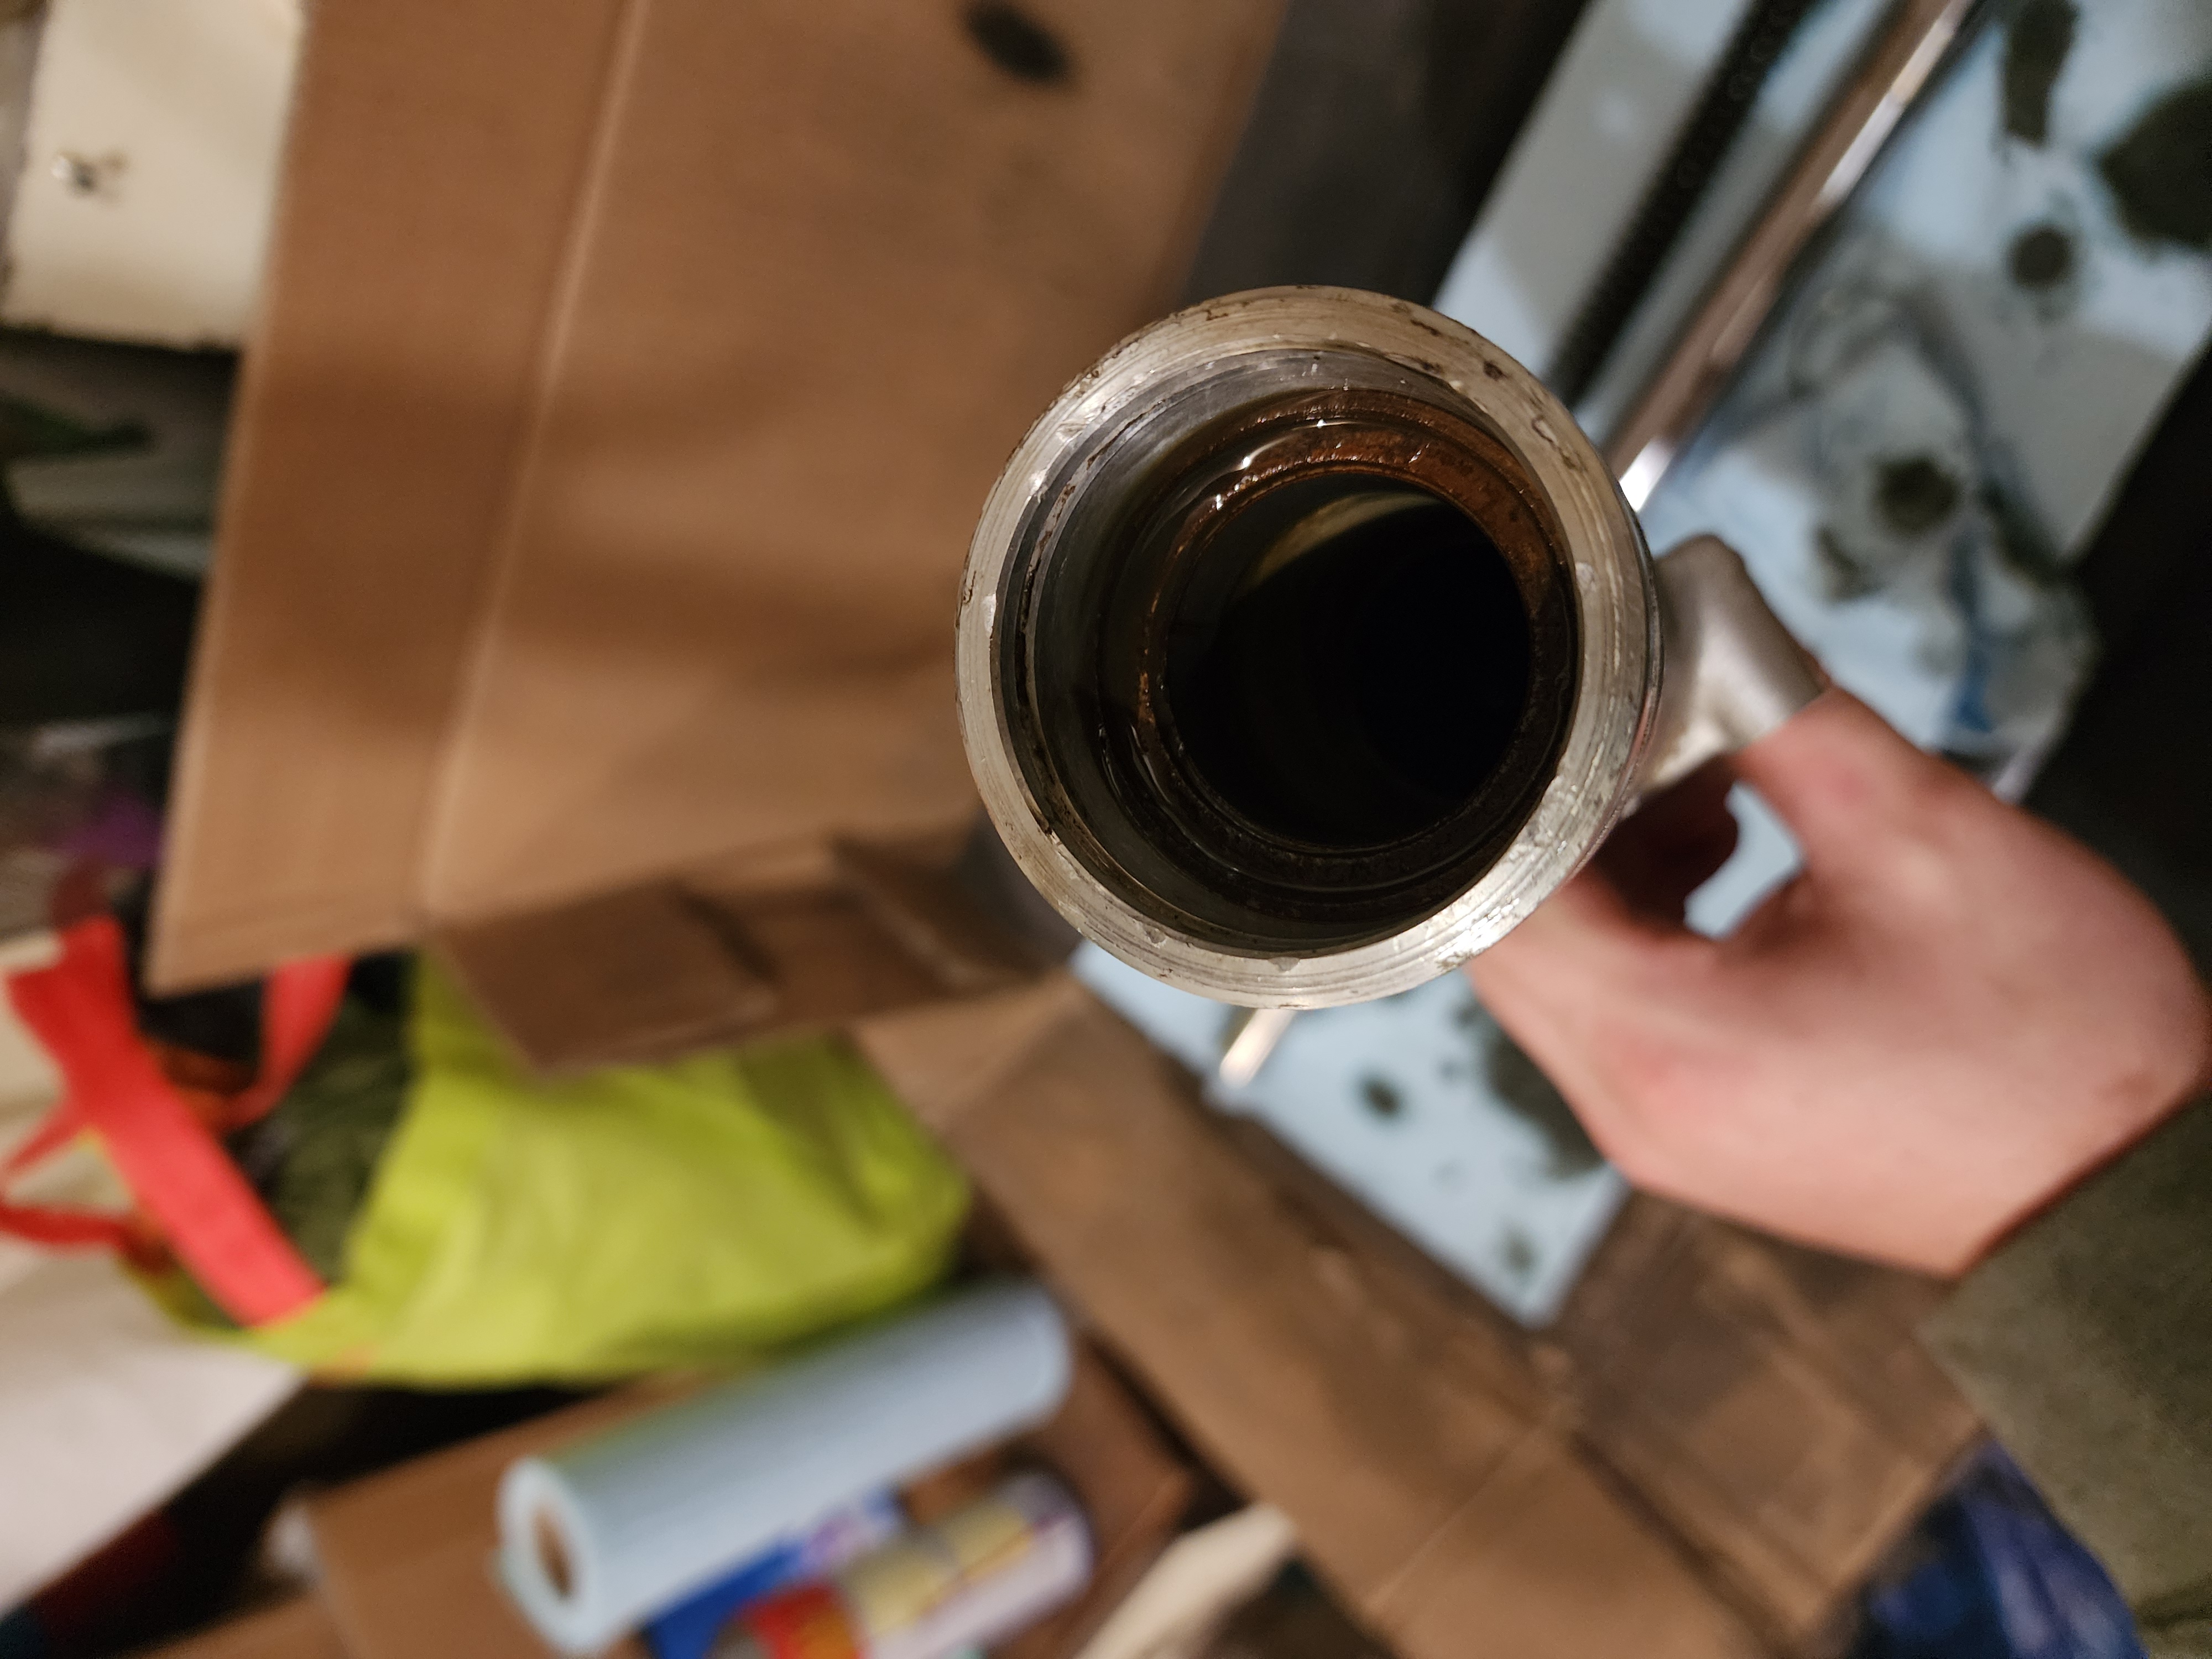 Inside the fork housing.
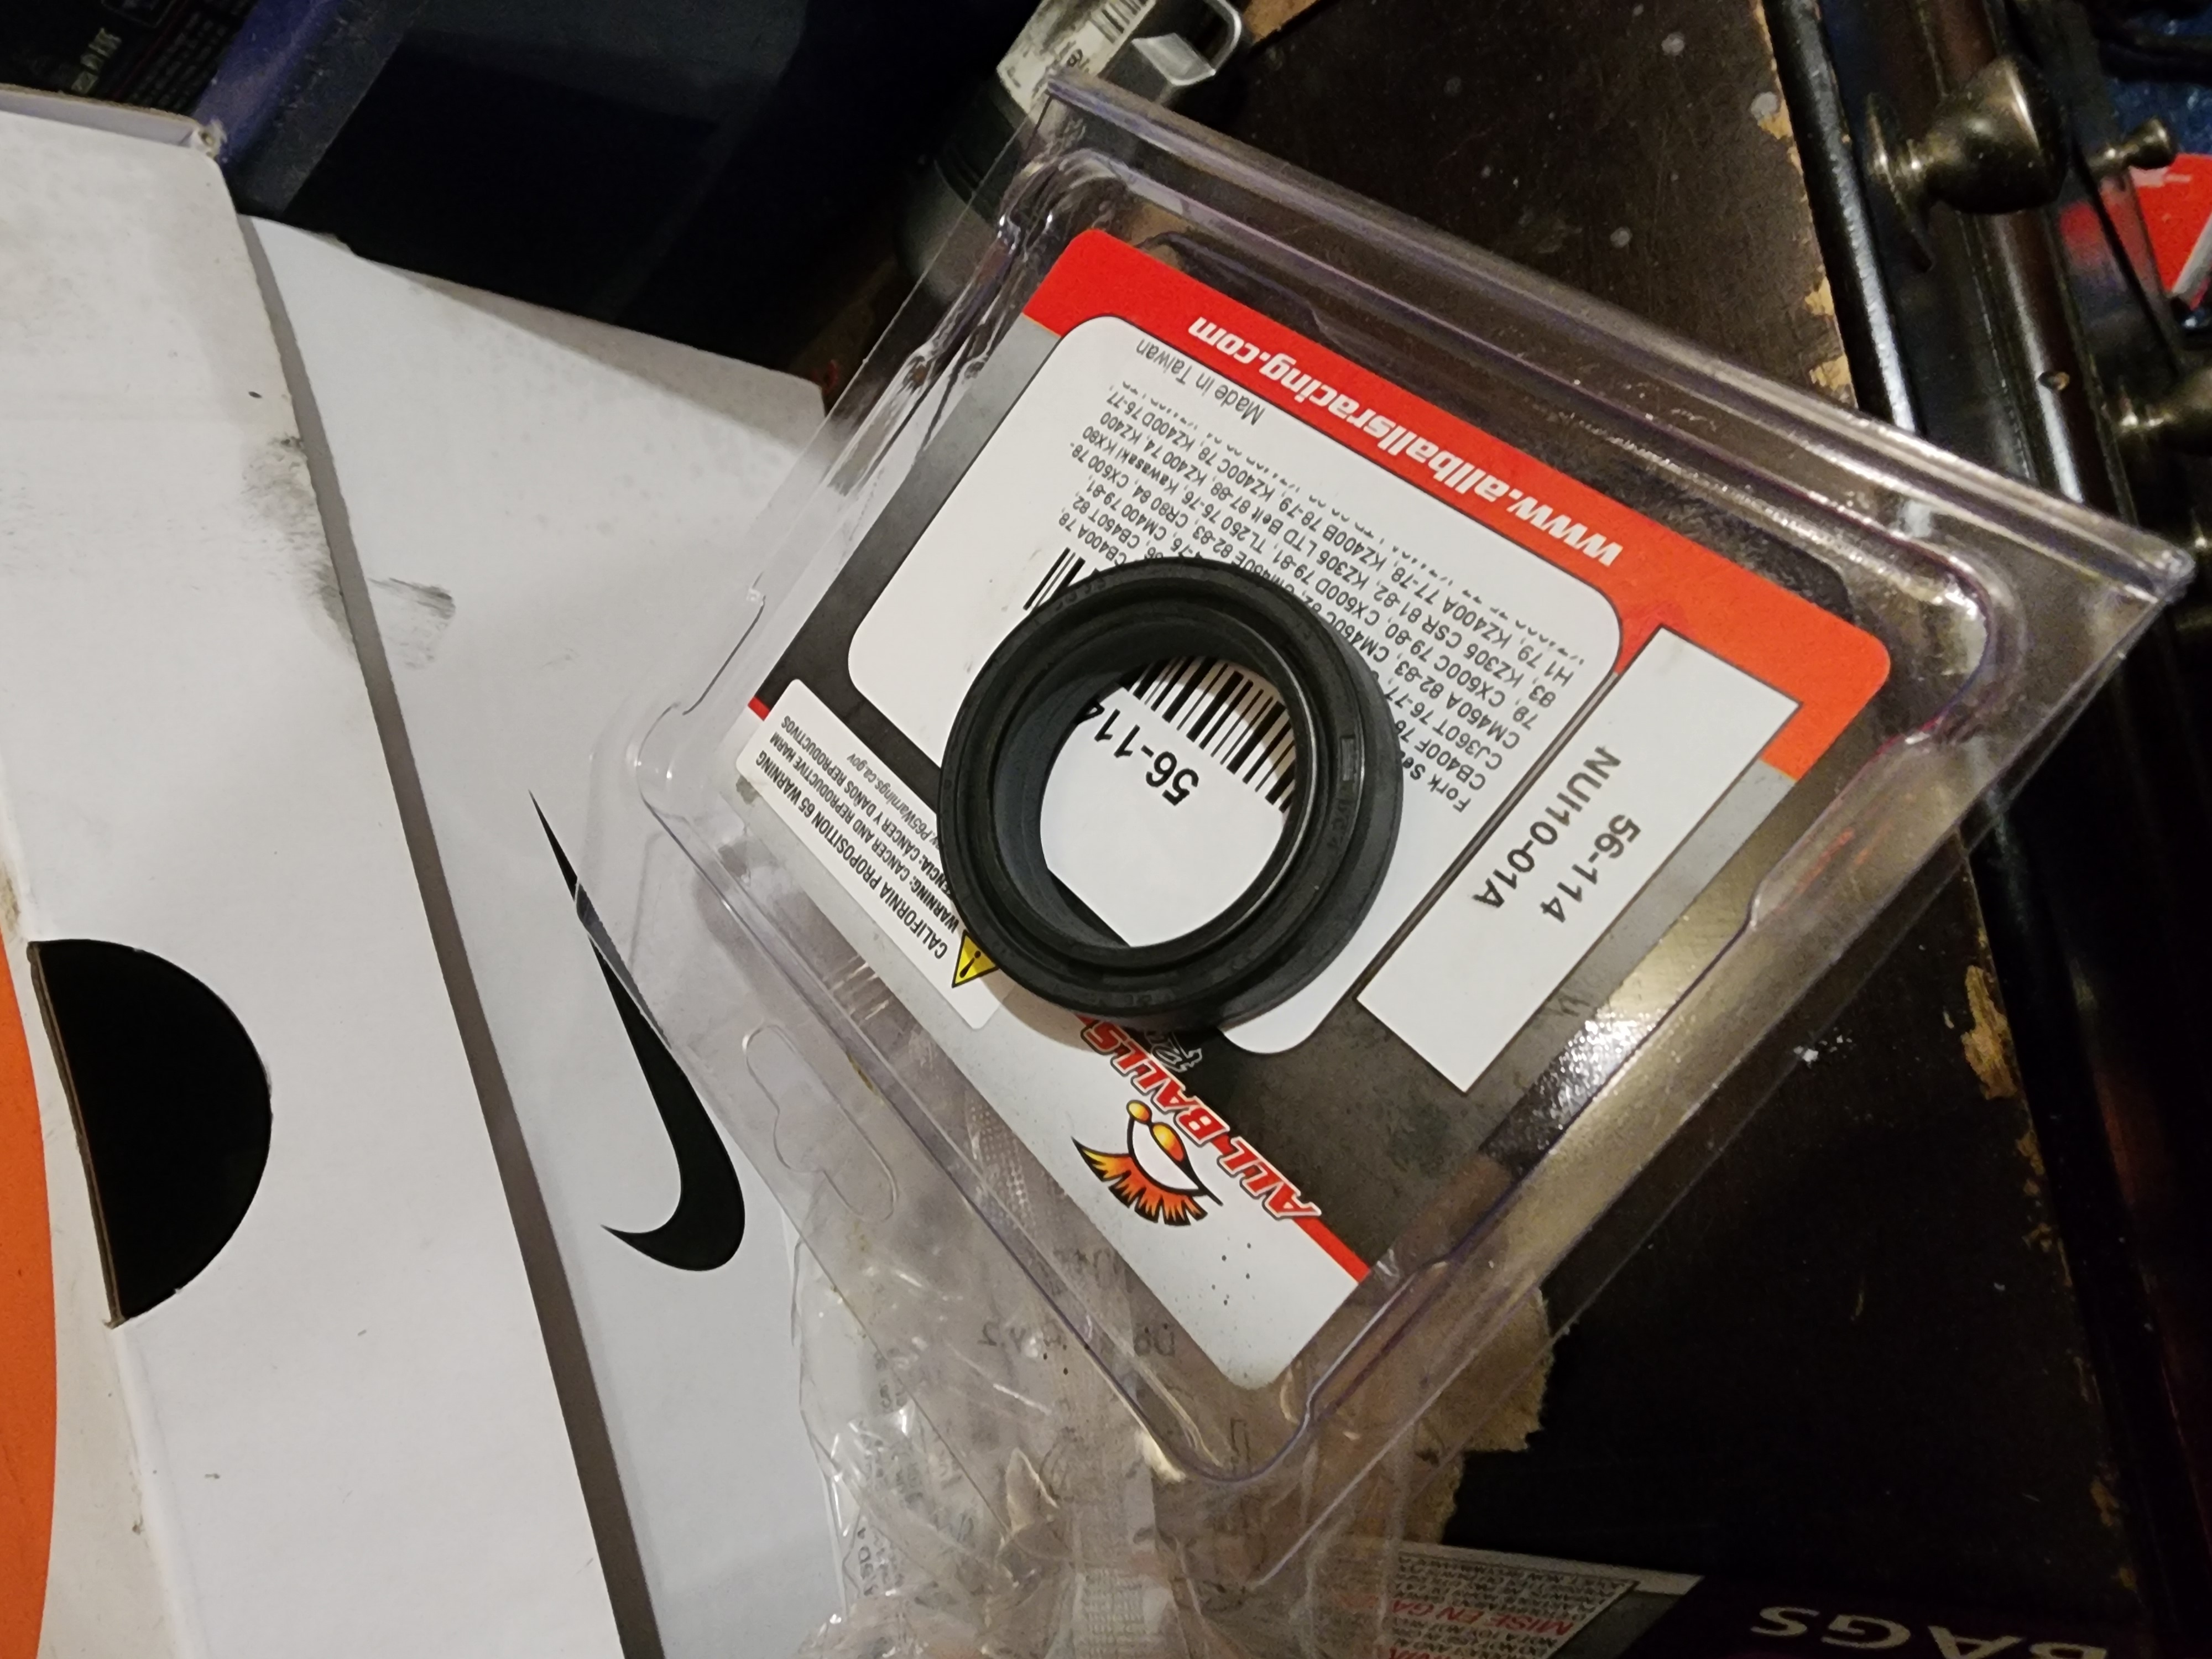 The replacement fork seals.
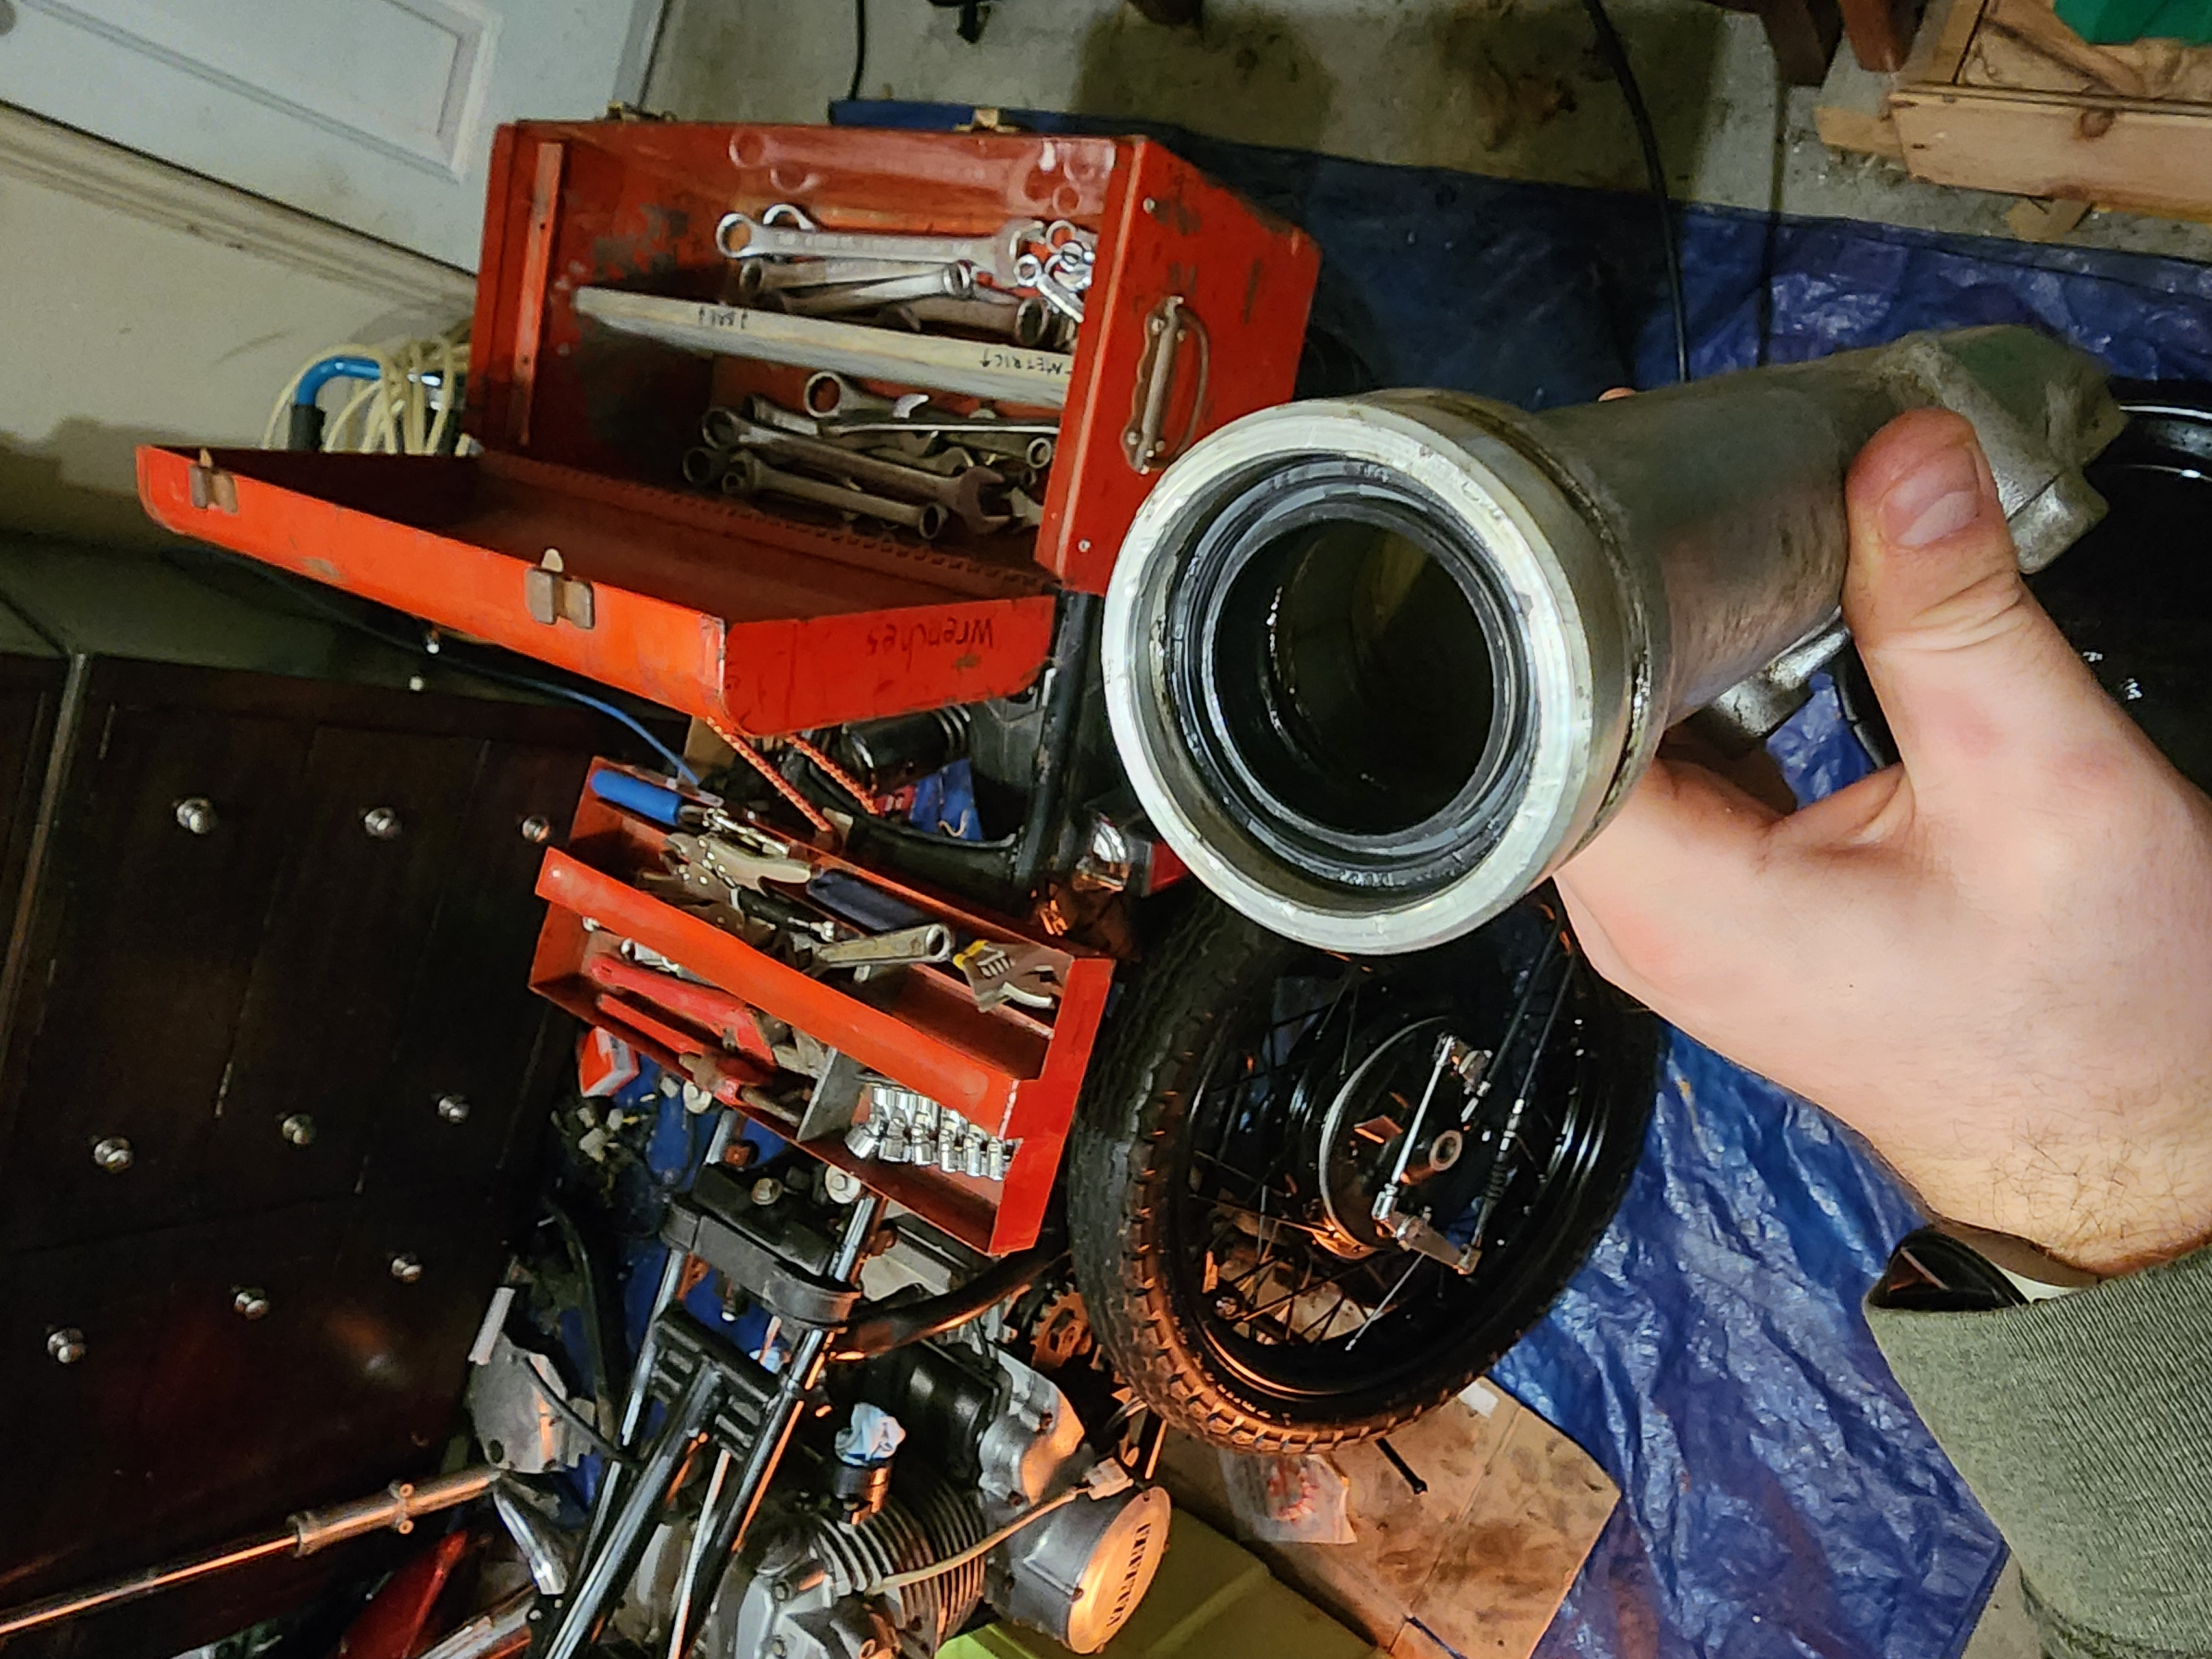 The new seal tapped into place.
Finally, the forks can be reassembled in the reverse order of disassembly and installed back on the bike. As a 260lb man, I decided to use heavier fork oil to hopefully avoid bottoming out these poor little forks. I’ll see if it is beneficial, or if it just makes the suspension too stiff. I can always drain the oil and fill it back up with lighter oil. I was intending to paint the fork bodies black while they were off the bike, but the weather was far too cold. I’m quite liking the look of mixed silver and black, so I’m gonna give it a chance for now, and can always take them back off for painting later.
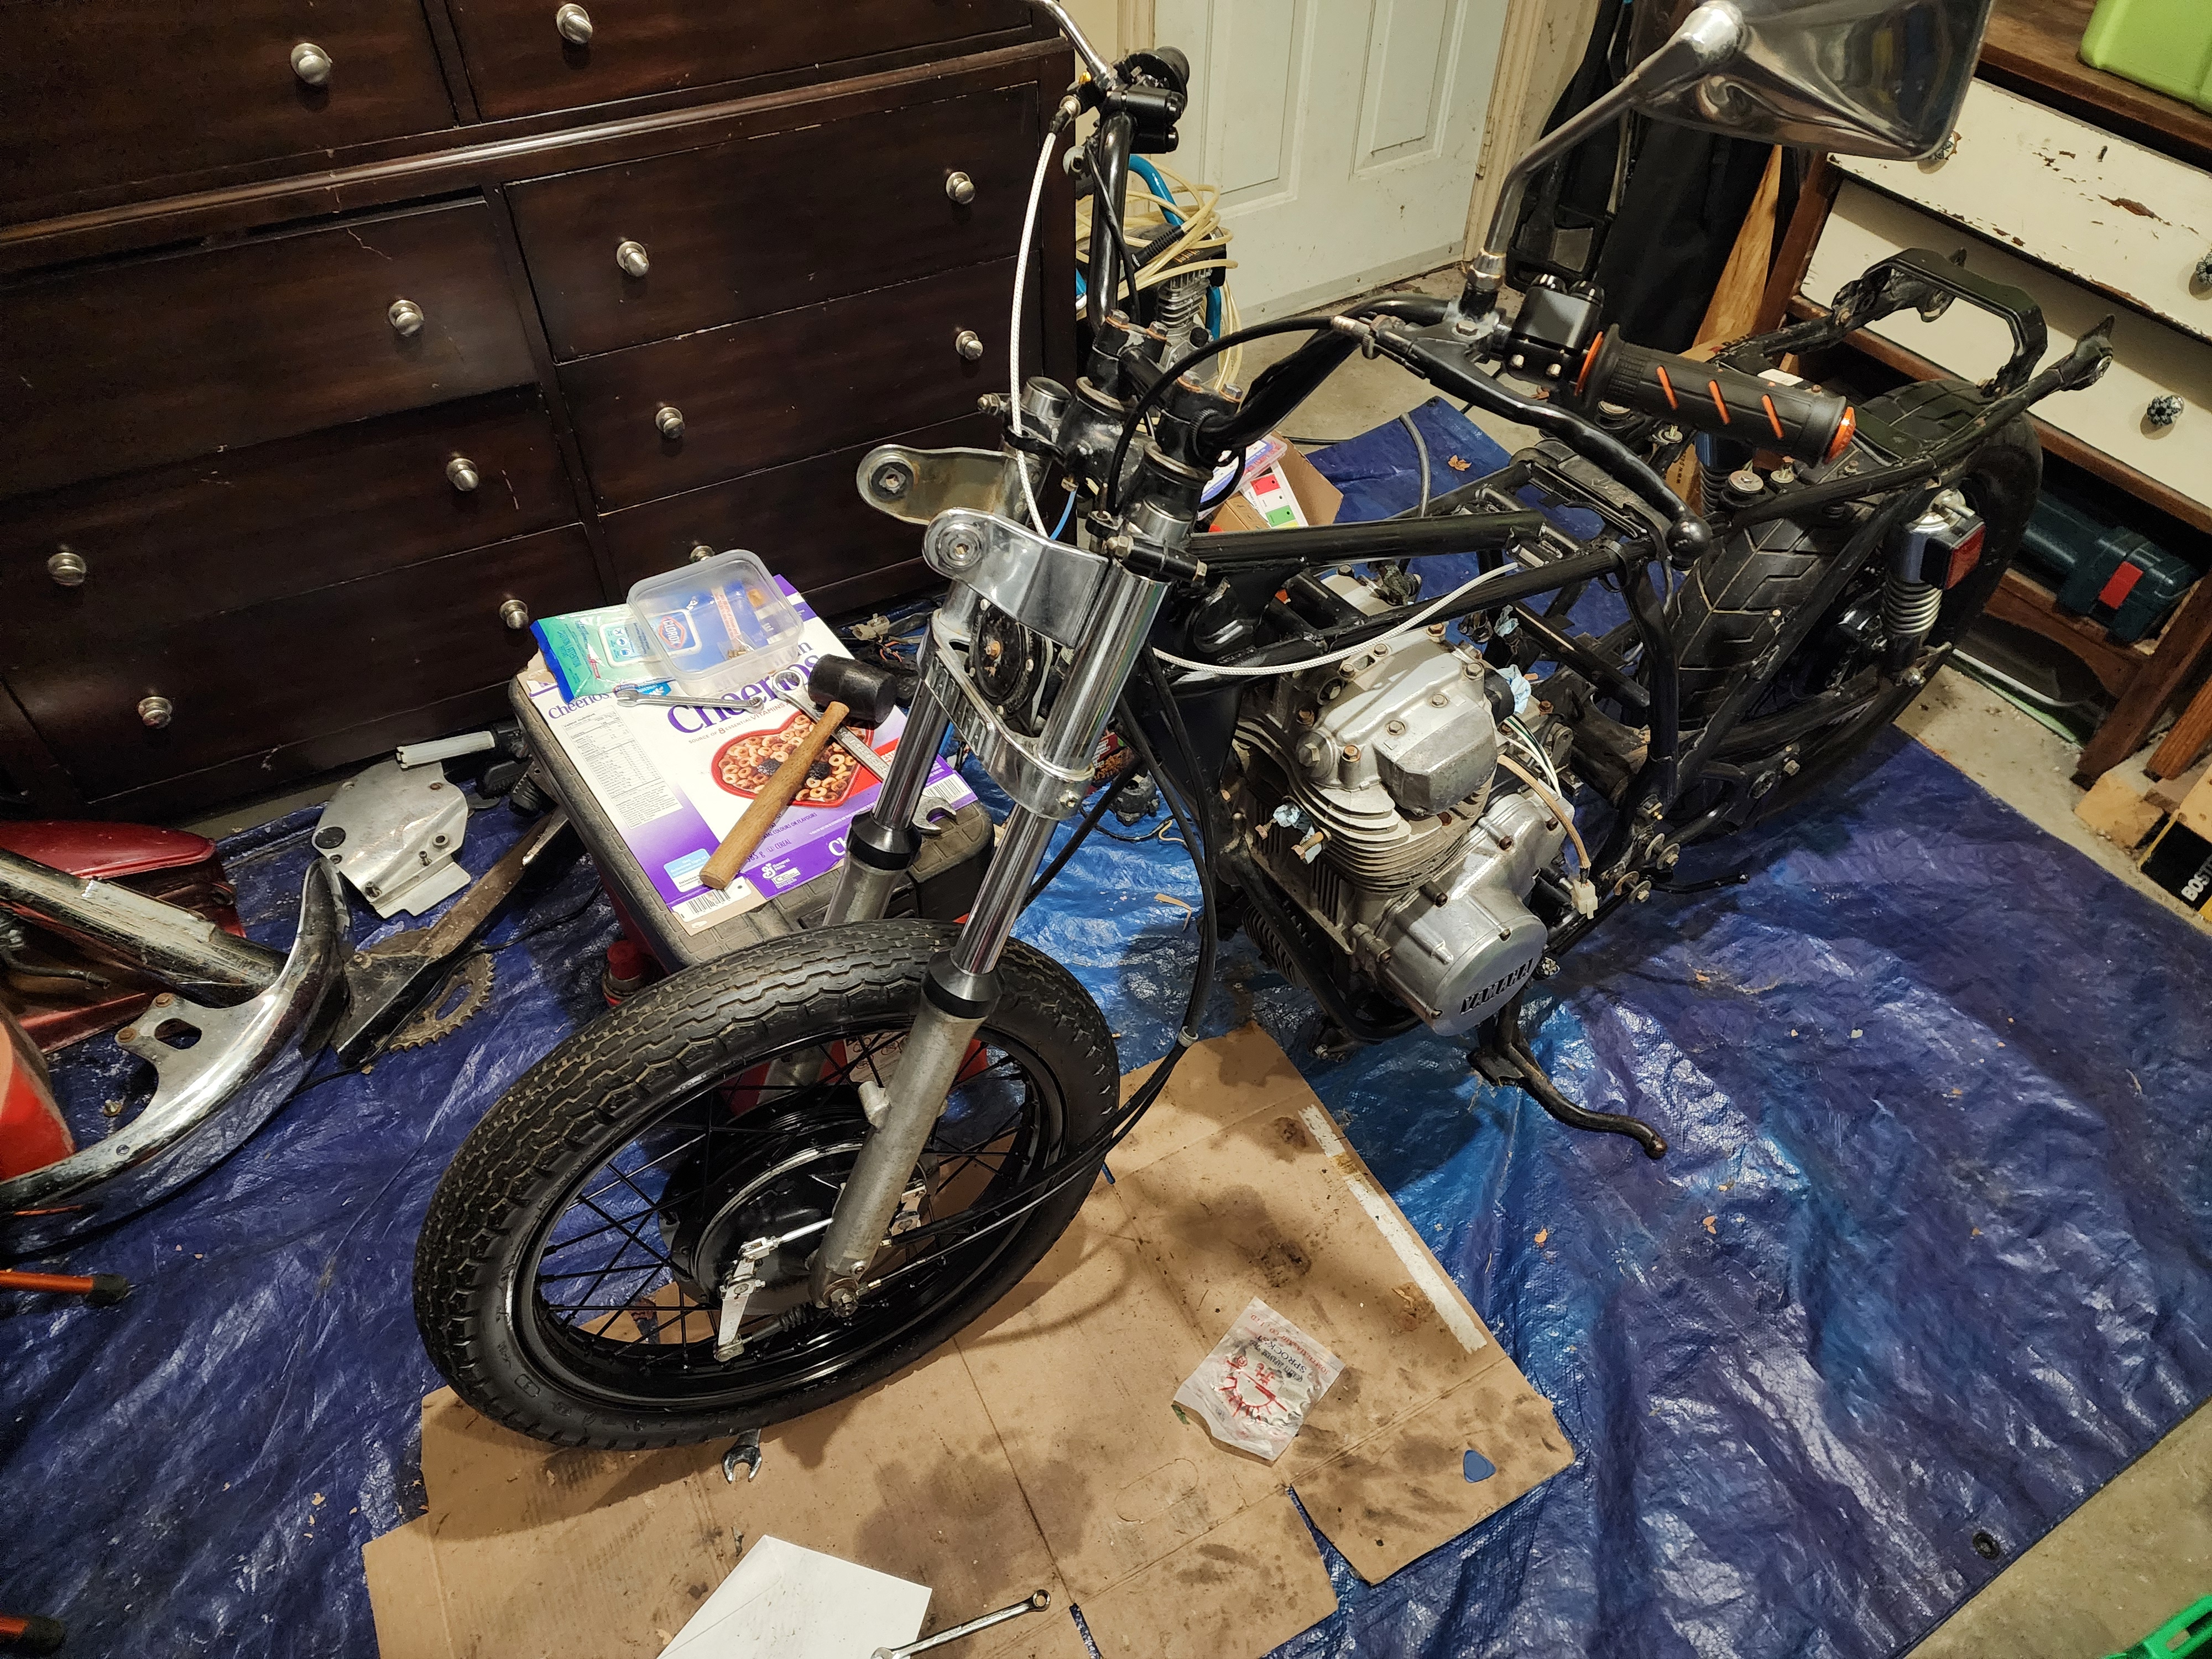 The rebuilt forks back on the bike, lowered slightly.
March, 2026
Chopping the frame
Making the modifications to the frame of the bike is the scariest part of this build for me. I have used an angle grinder before at work, but I did not own one myself, so I had to buy one. My dad bought me a small flux core welder for Christmas (2025), and I had to learn how to use it.
Before going after the frame of the bike, I practiced on the factory front fender of the bike. Since I’m going for a cafe/brat style resto-mod, I needed it to be quite a bit shorter. I drew my desired lines using a Sharpie and some yarn, then went at it with the cutoff wheel.
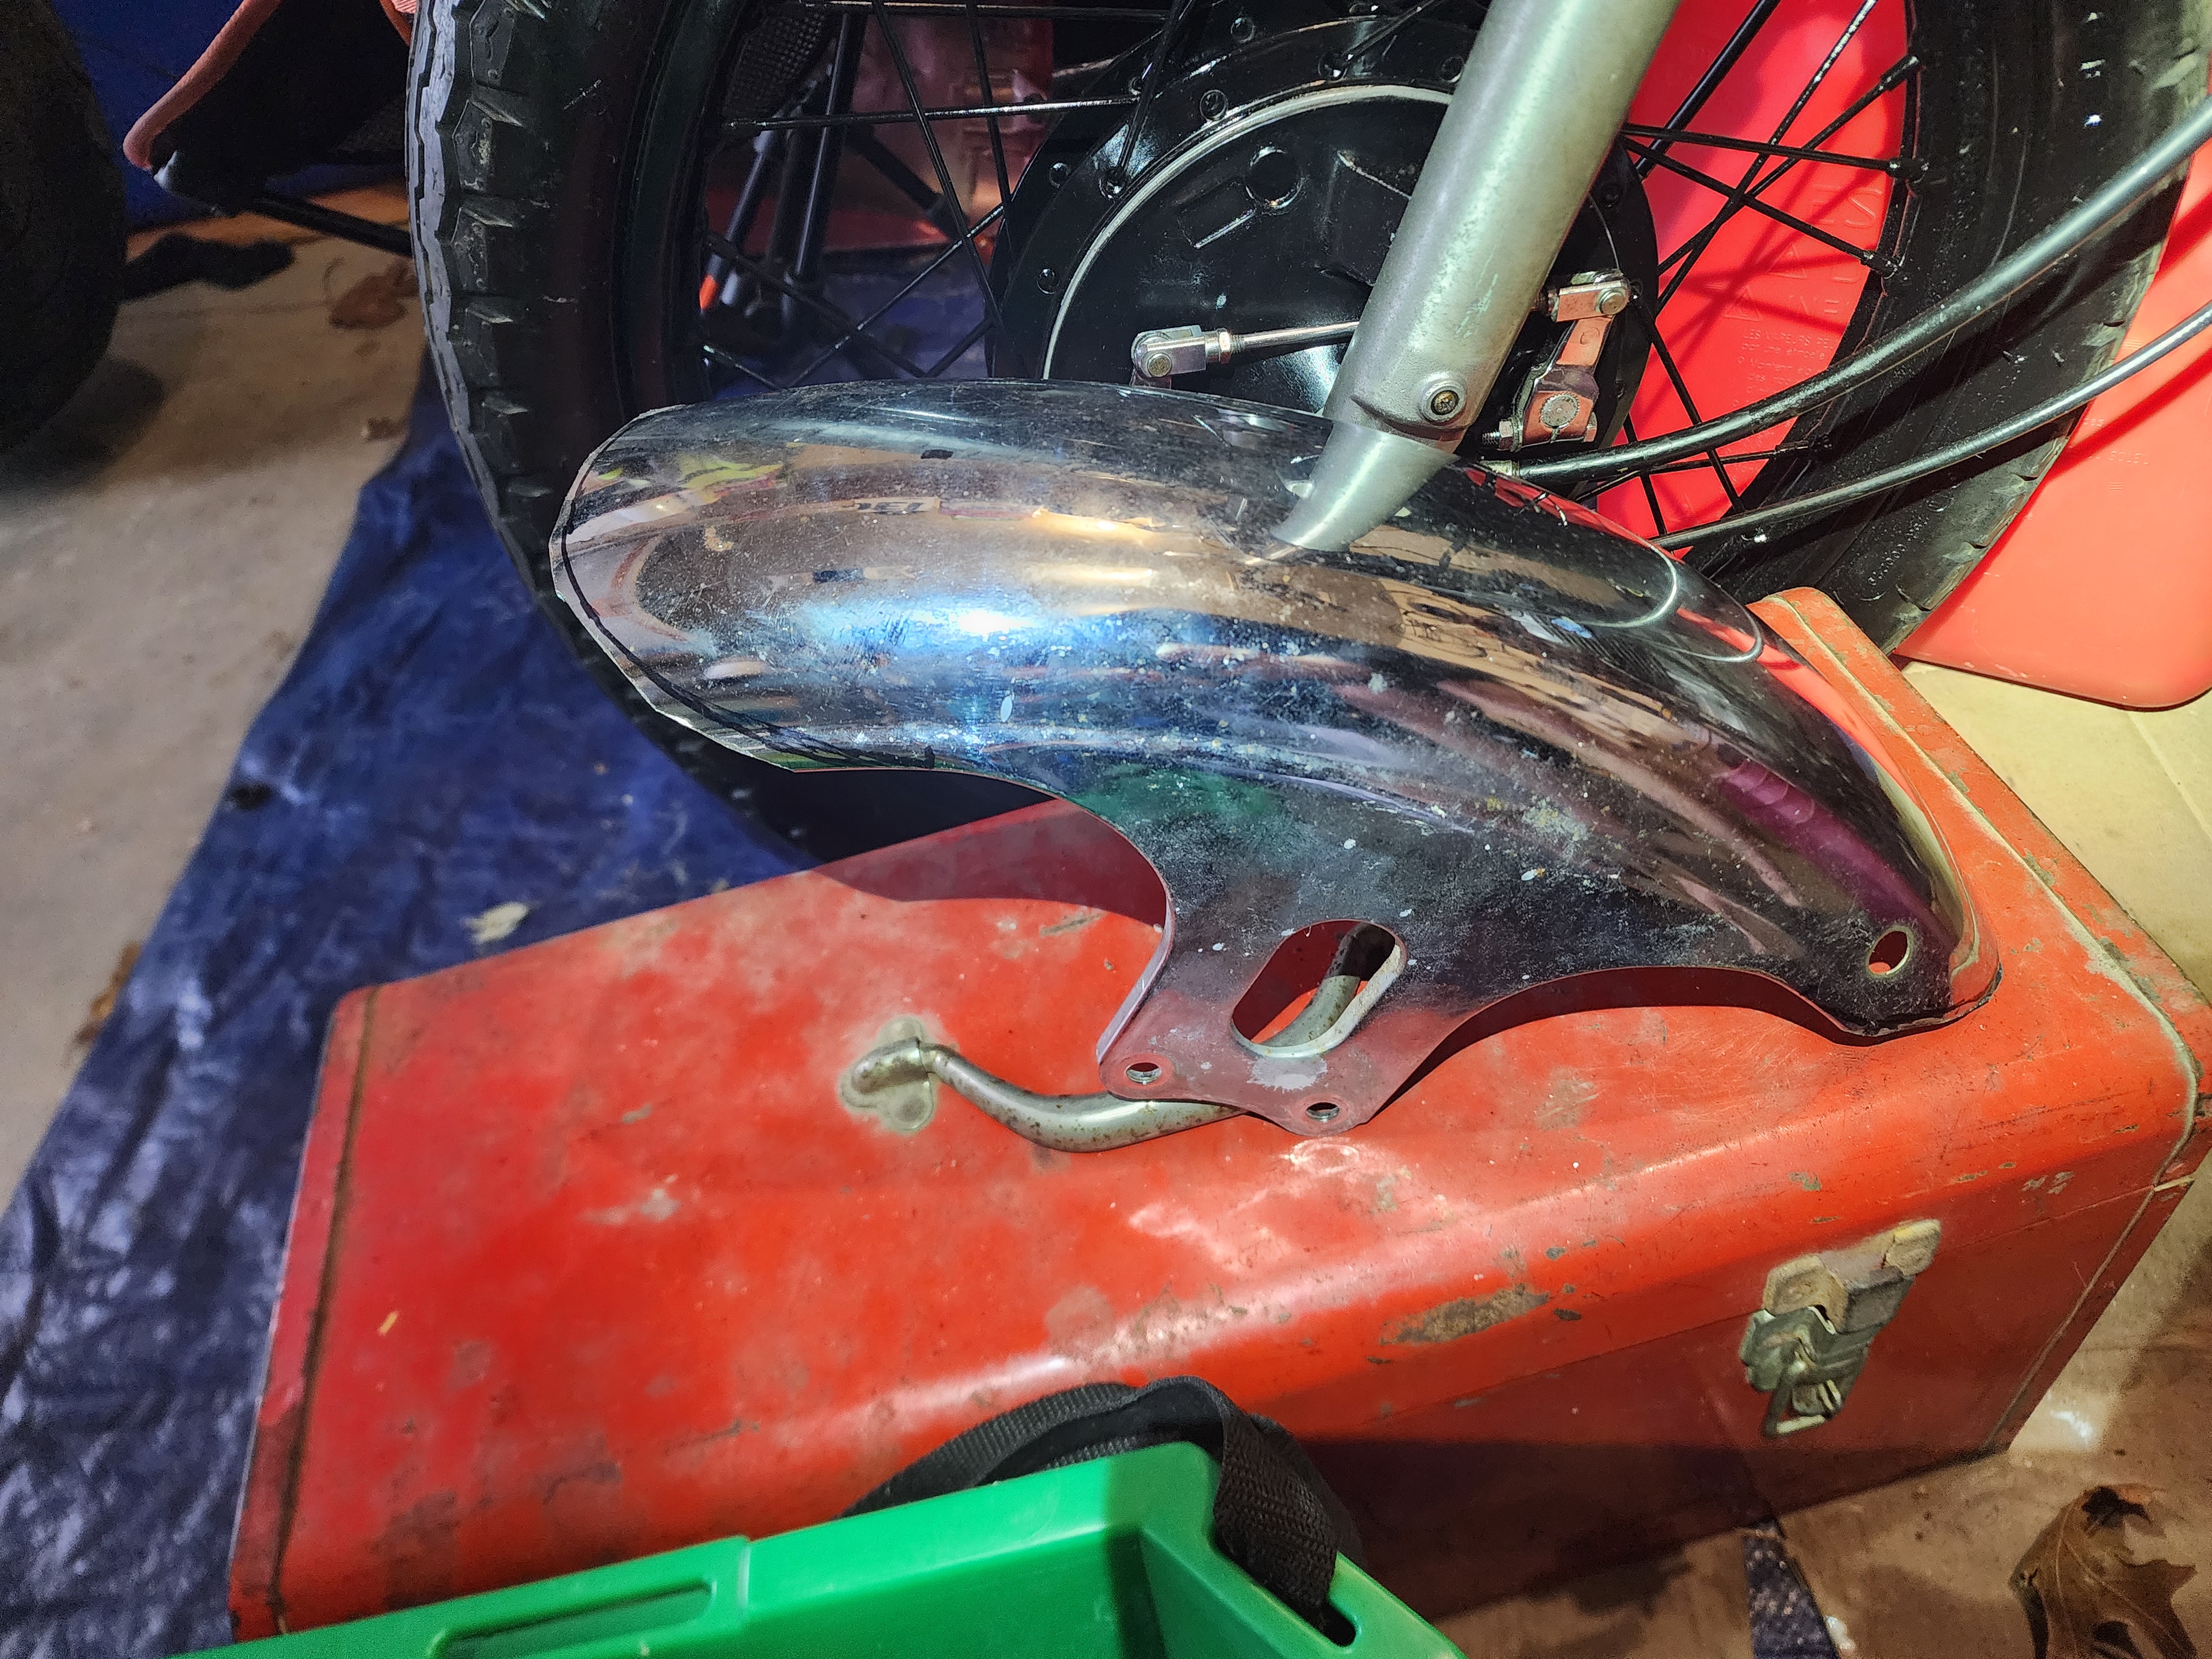 The front fender roughly trimmed.
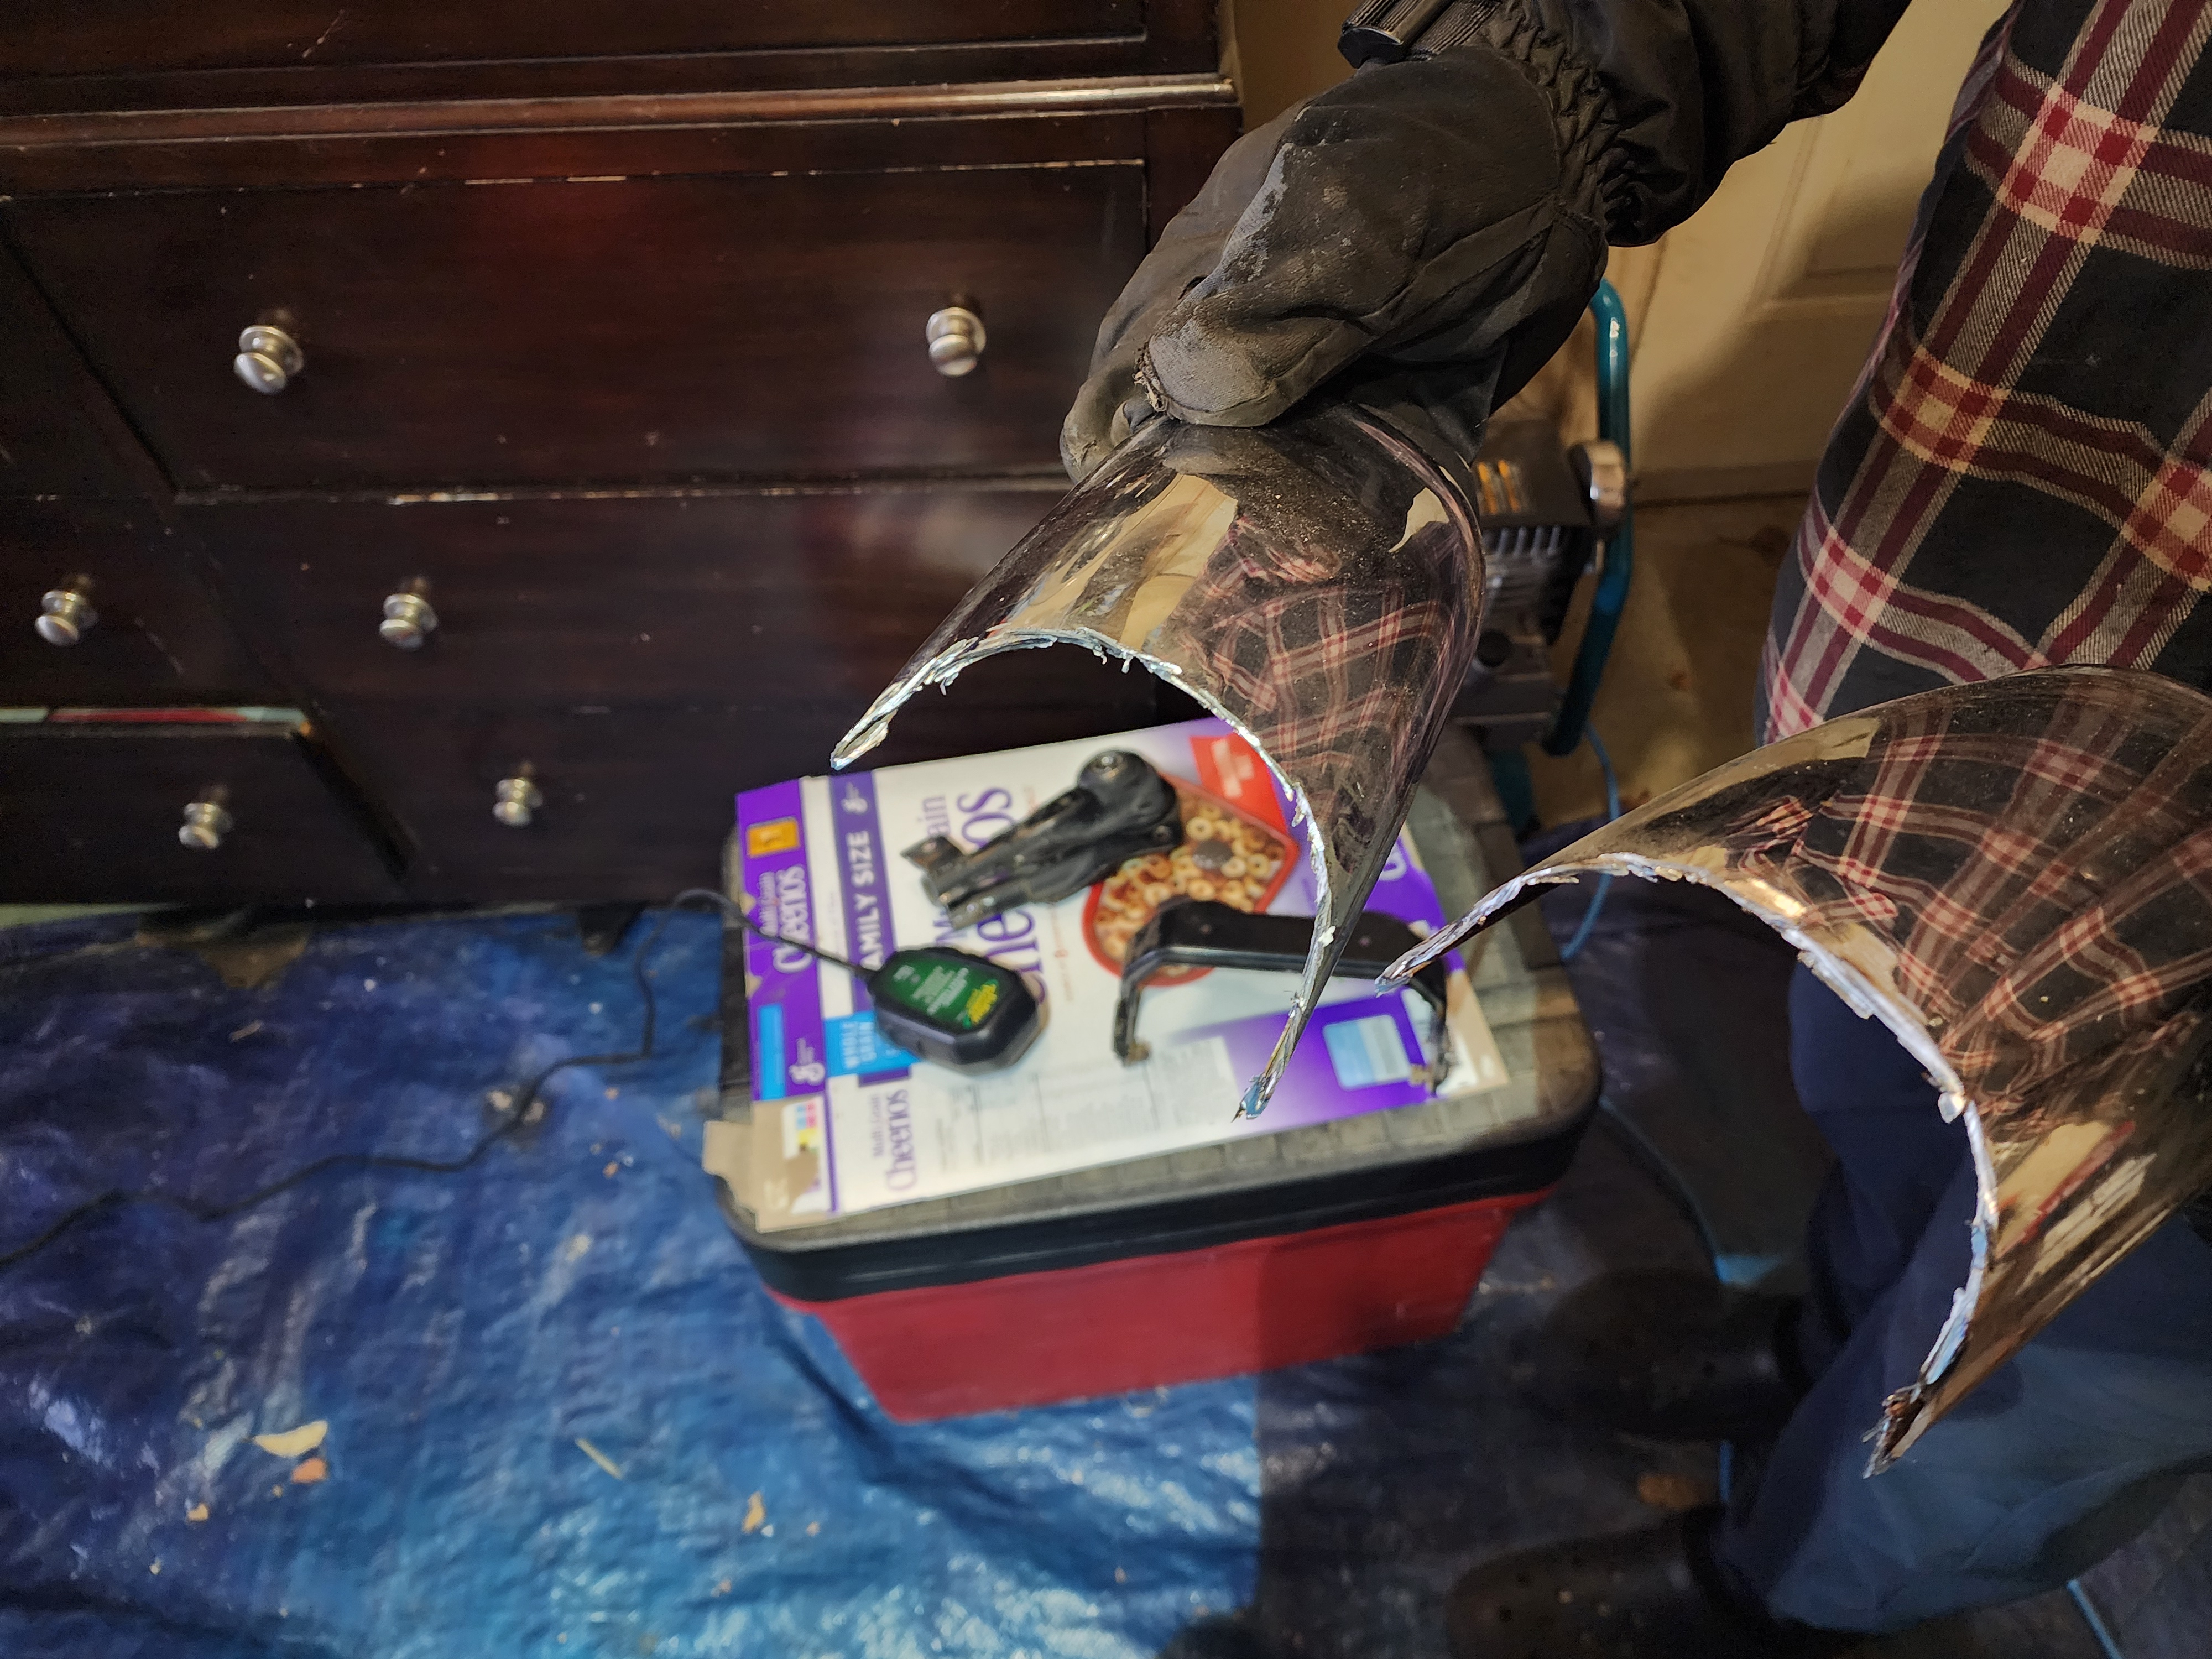 The “leftovers” of the mutilated fender.
Next, I chopped the frame, ensuring that I cut the frame evenly on both sides and as straight as possible.
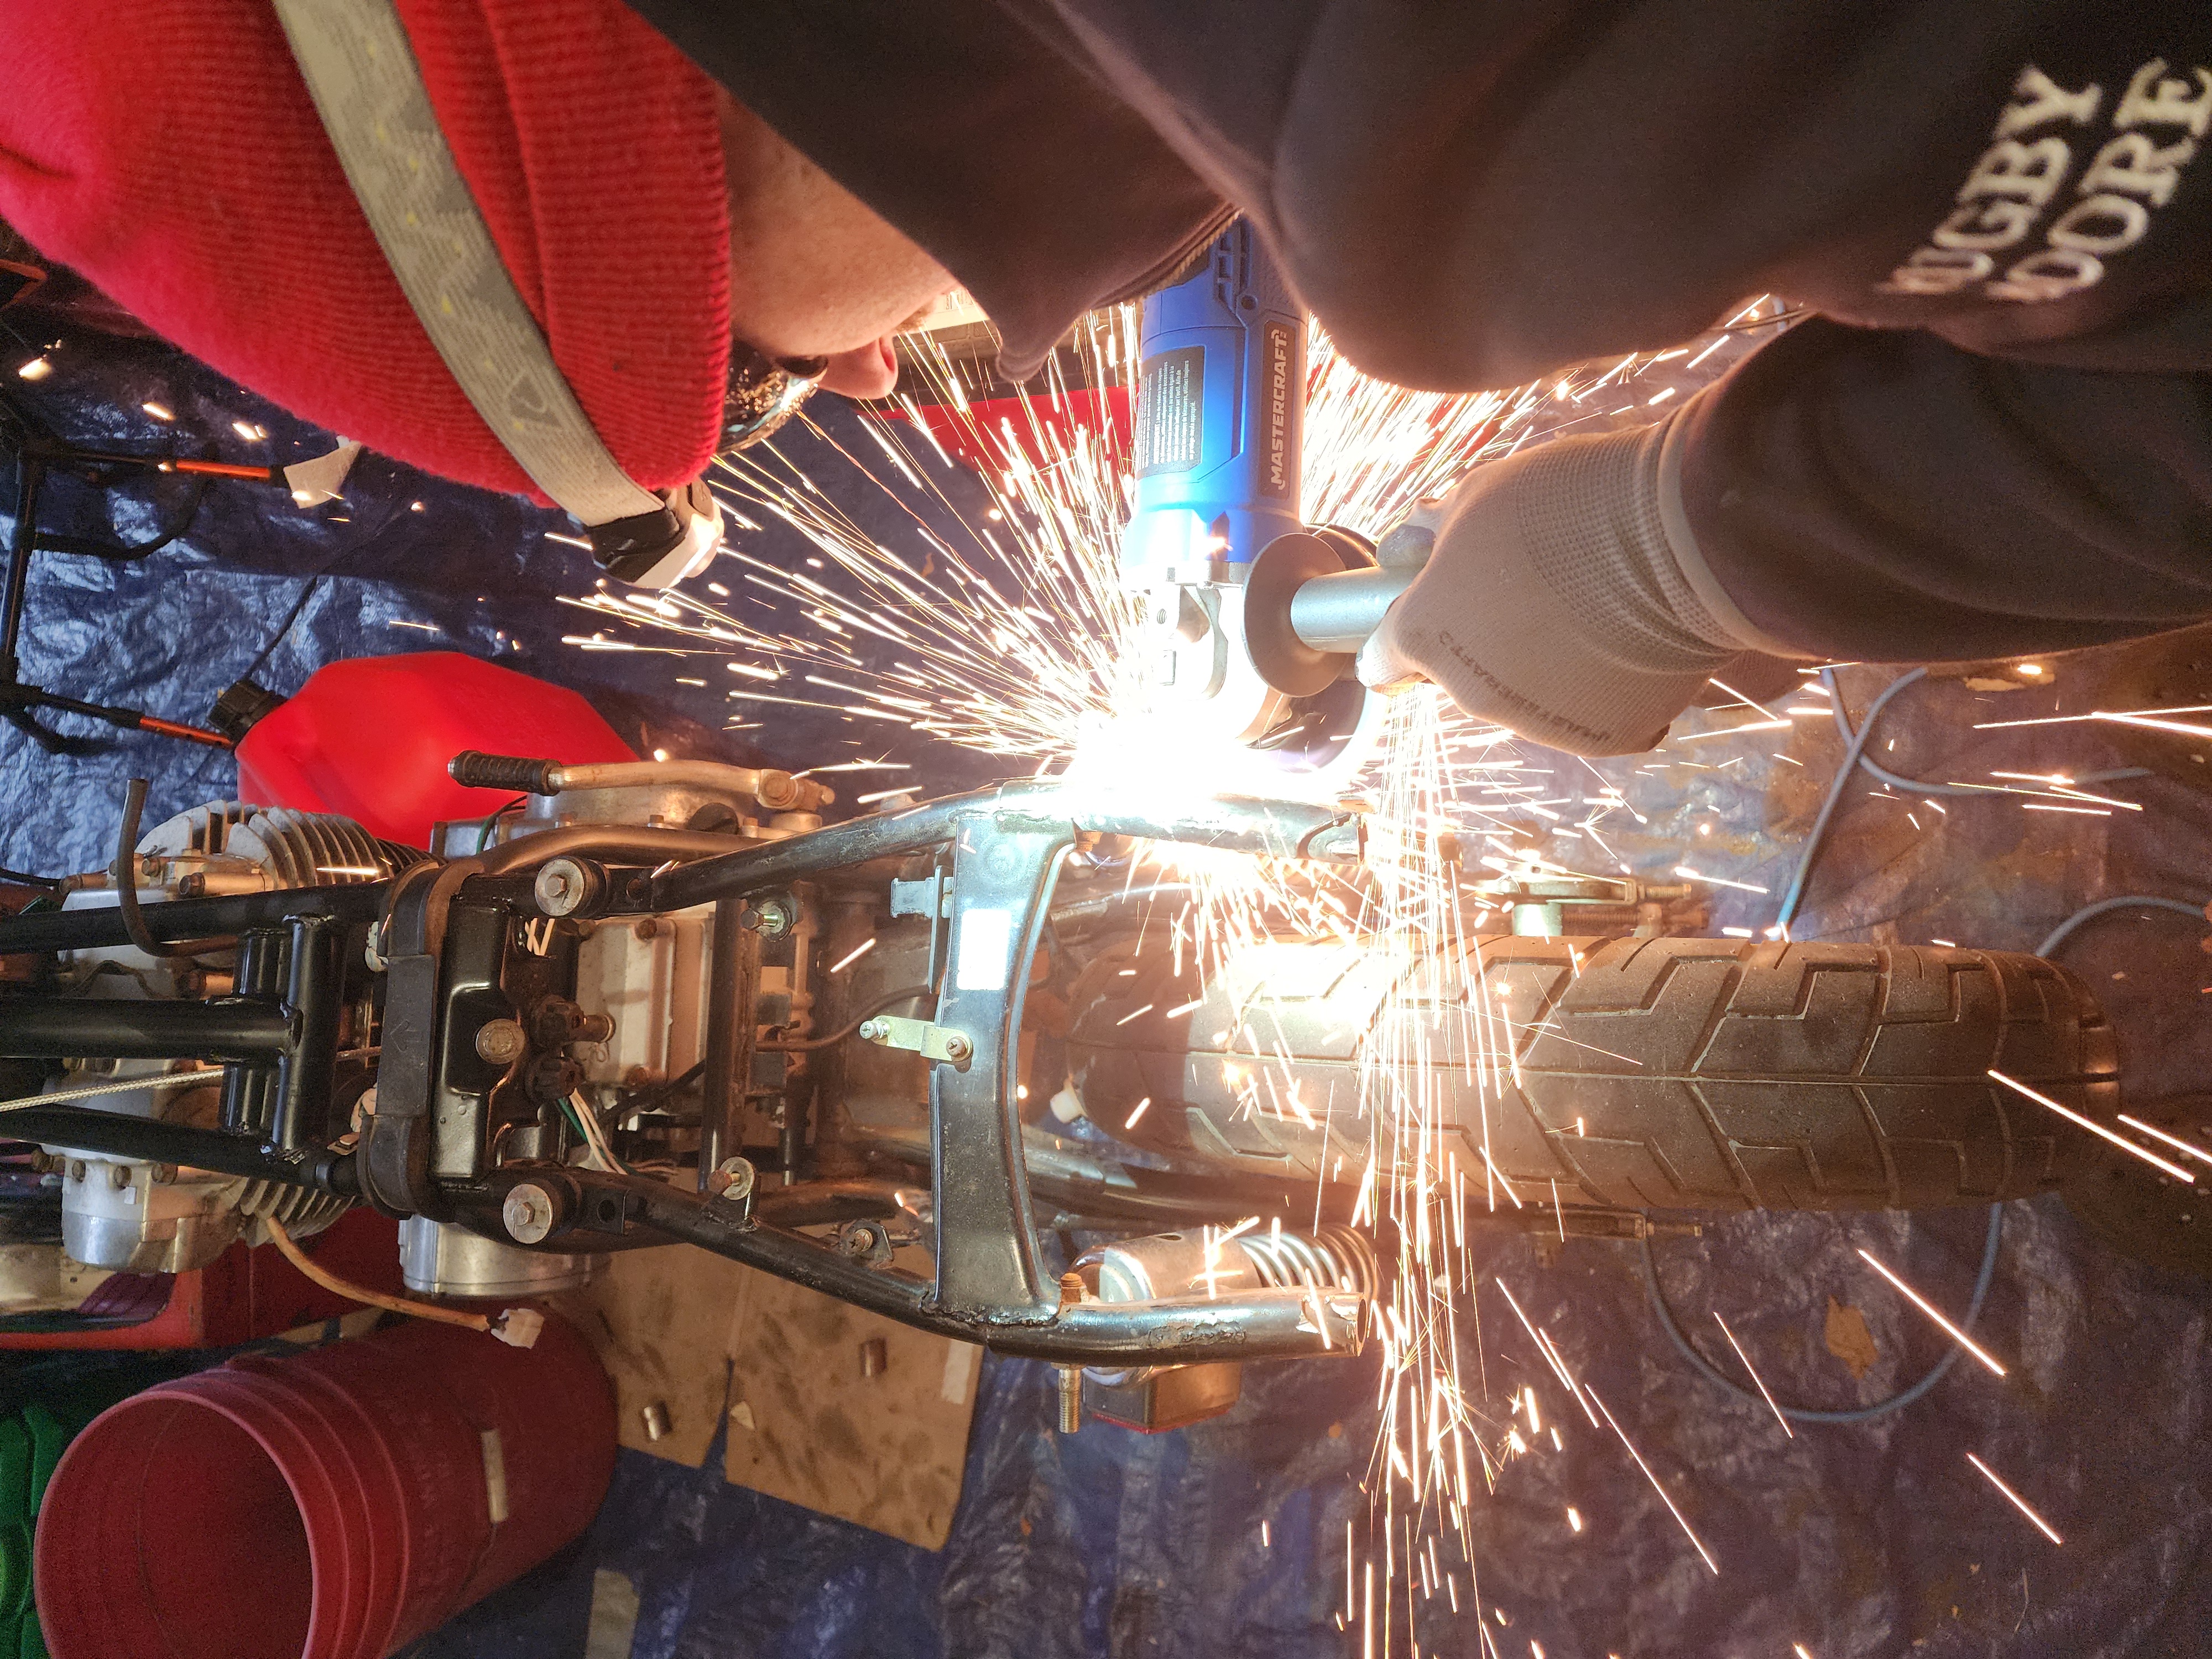 Me chopping the frame.
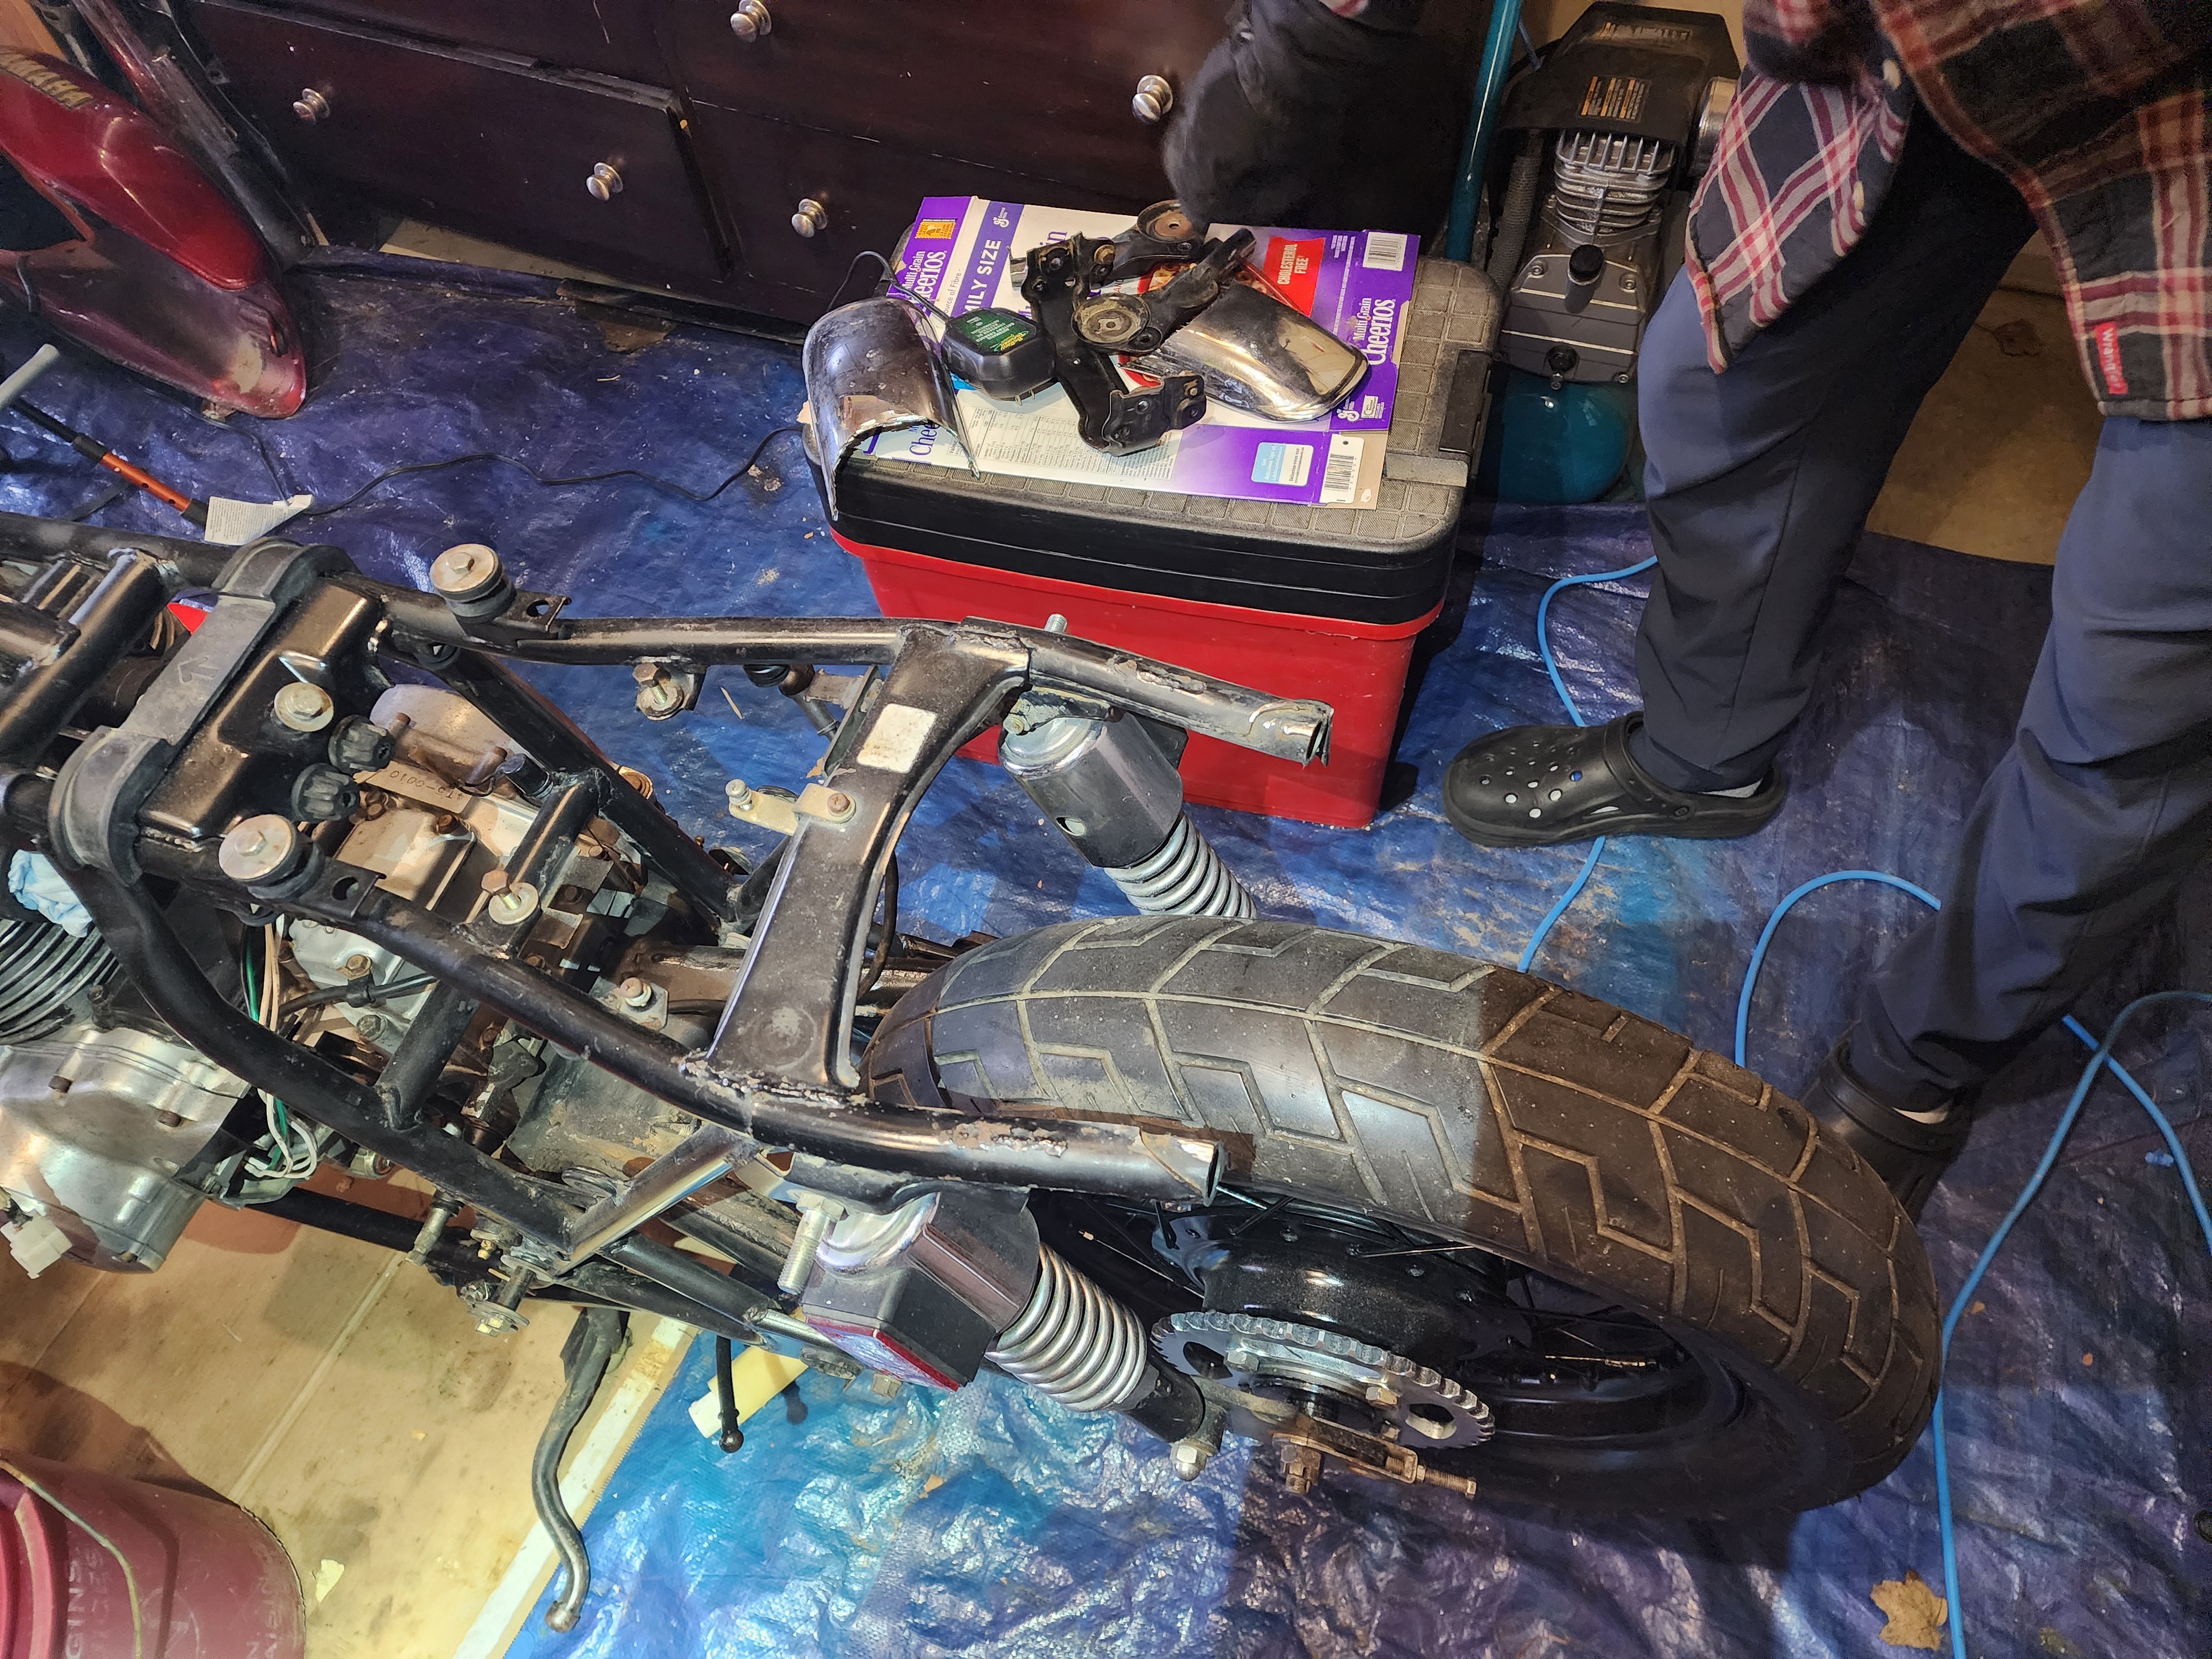 The chopped frame.
I also trimmed the hoop such that the frame will terminate at my desired length. Finally, it is time to practice some welding. I had never welded before, so I did a few practice runs on the scrap pieces from chopping the frame and hoop.
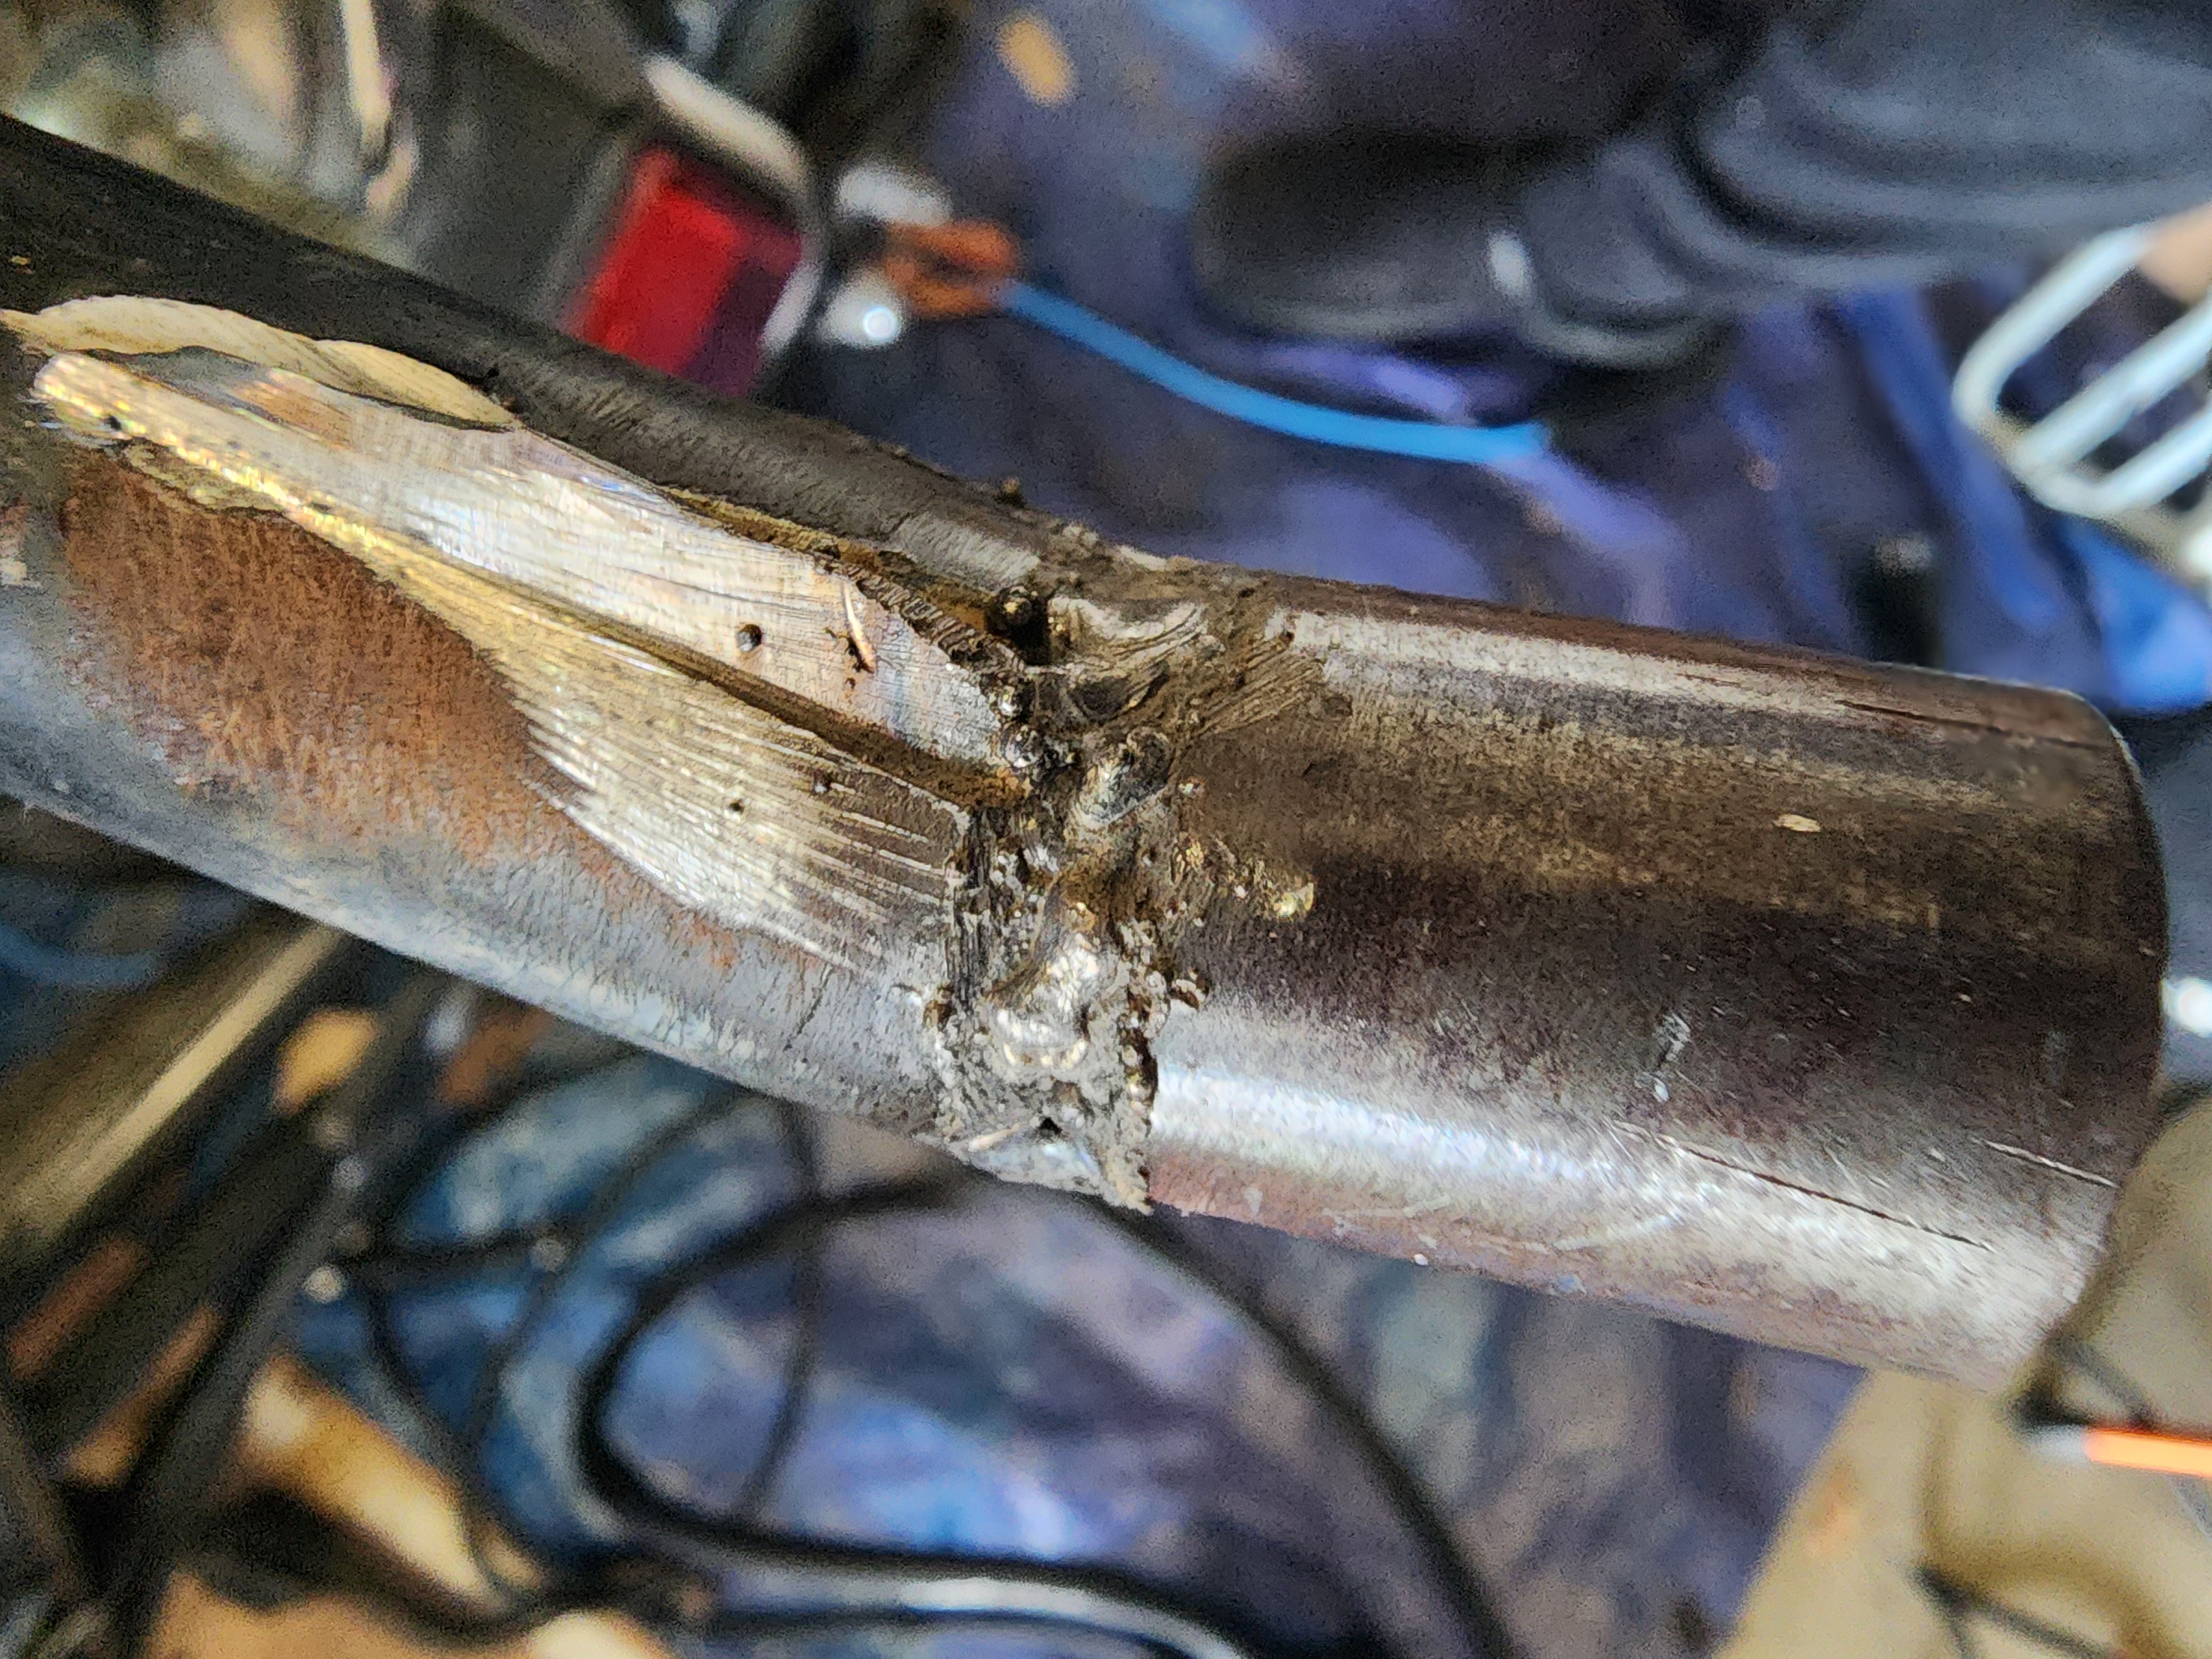 A first practice bead on an offcut from the frame.
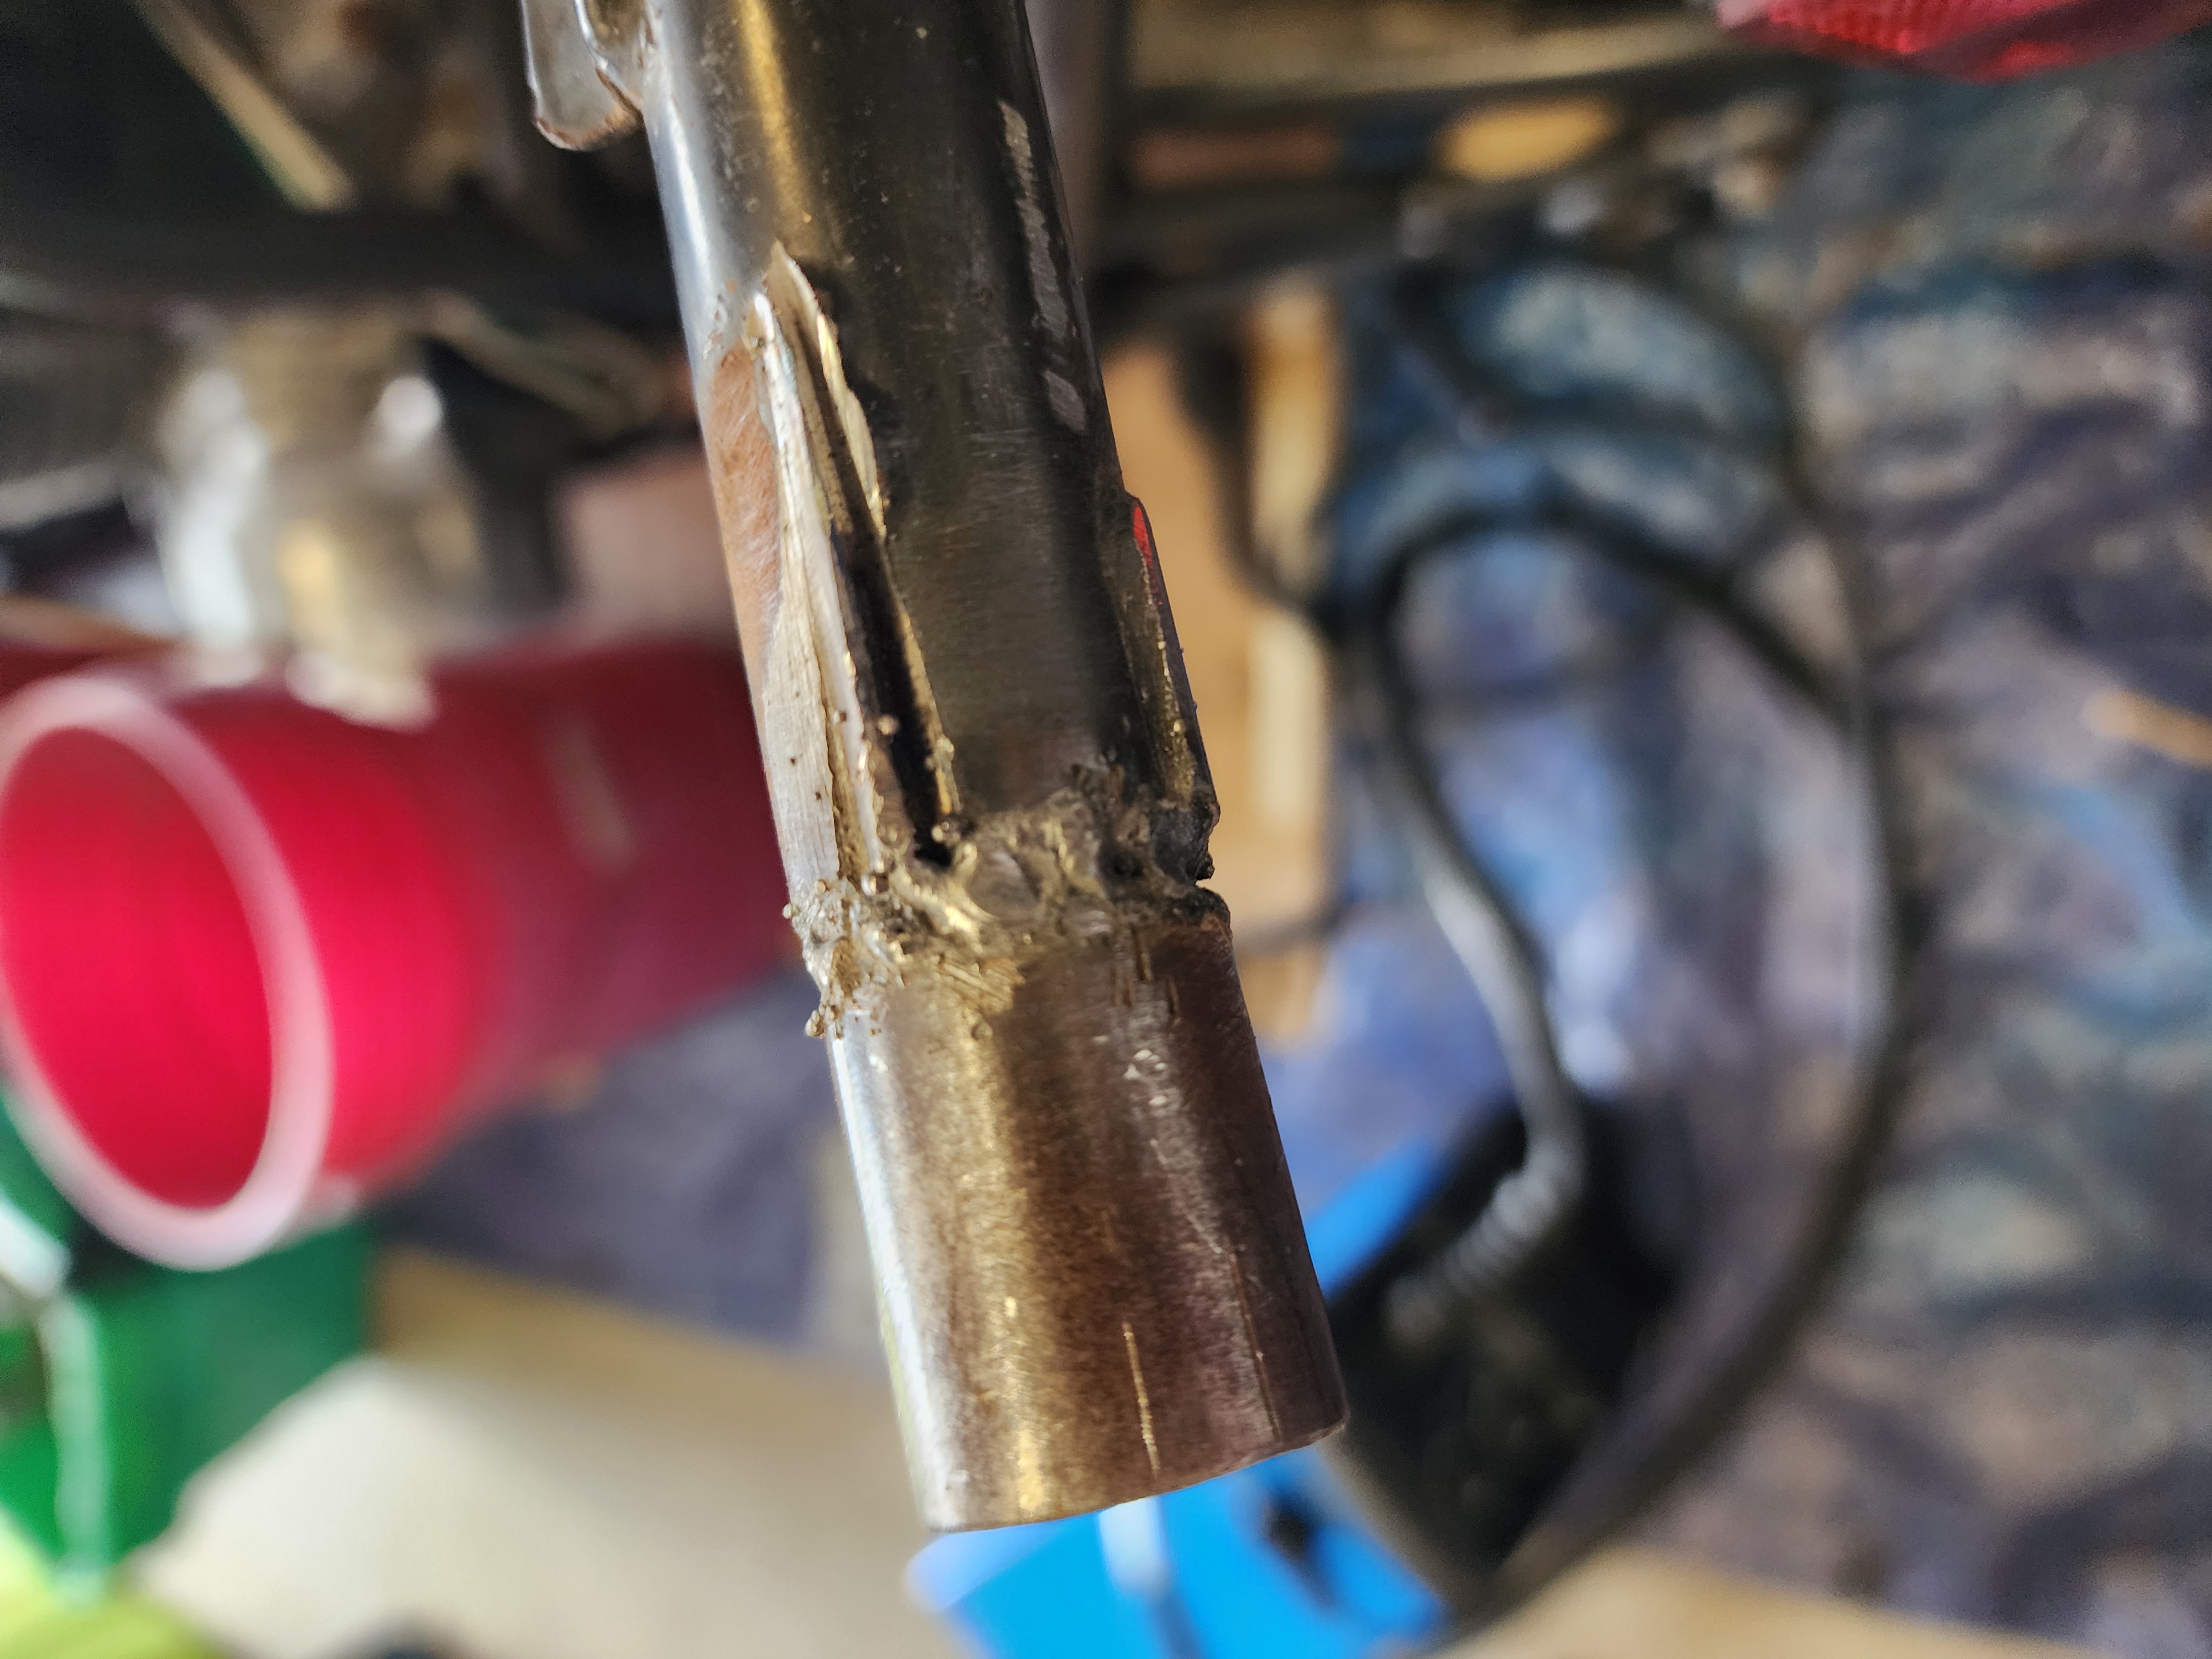 My first ever welds.
Next, I tack-welded the hoop to the frame, clamping it in place temporarily with vice grips.
After fully welding the hoop, I painted it gloss black.
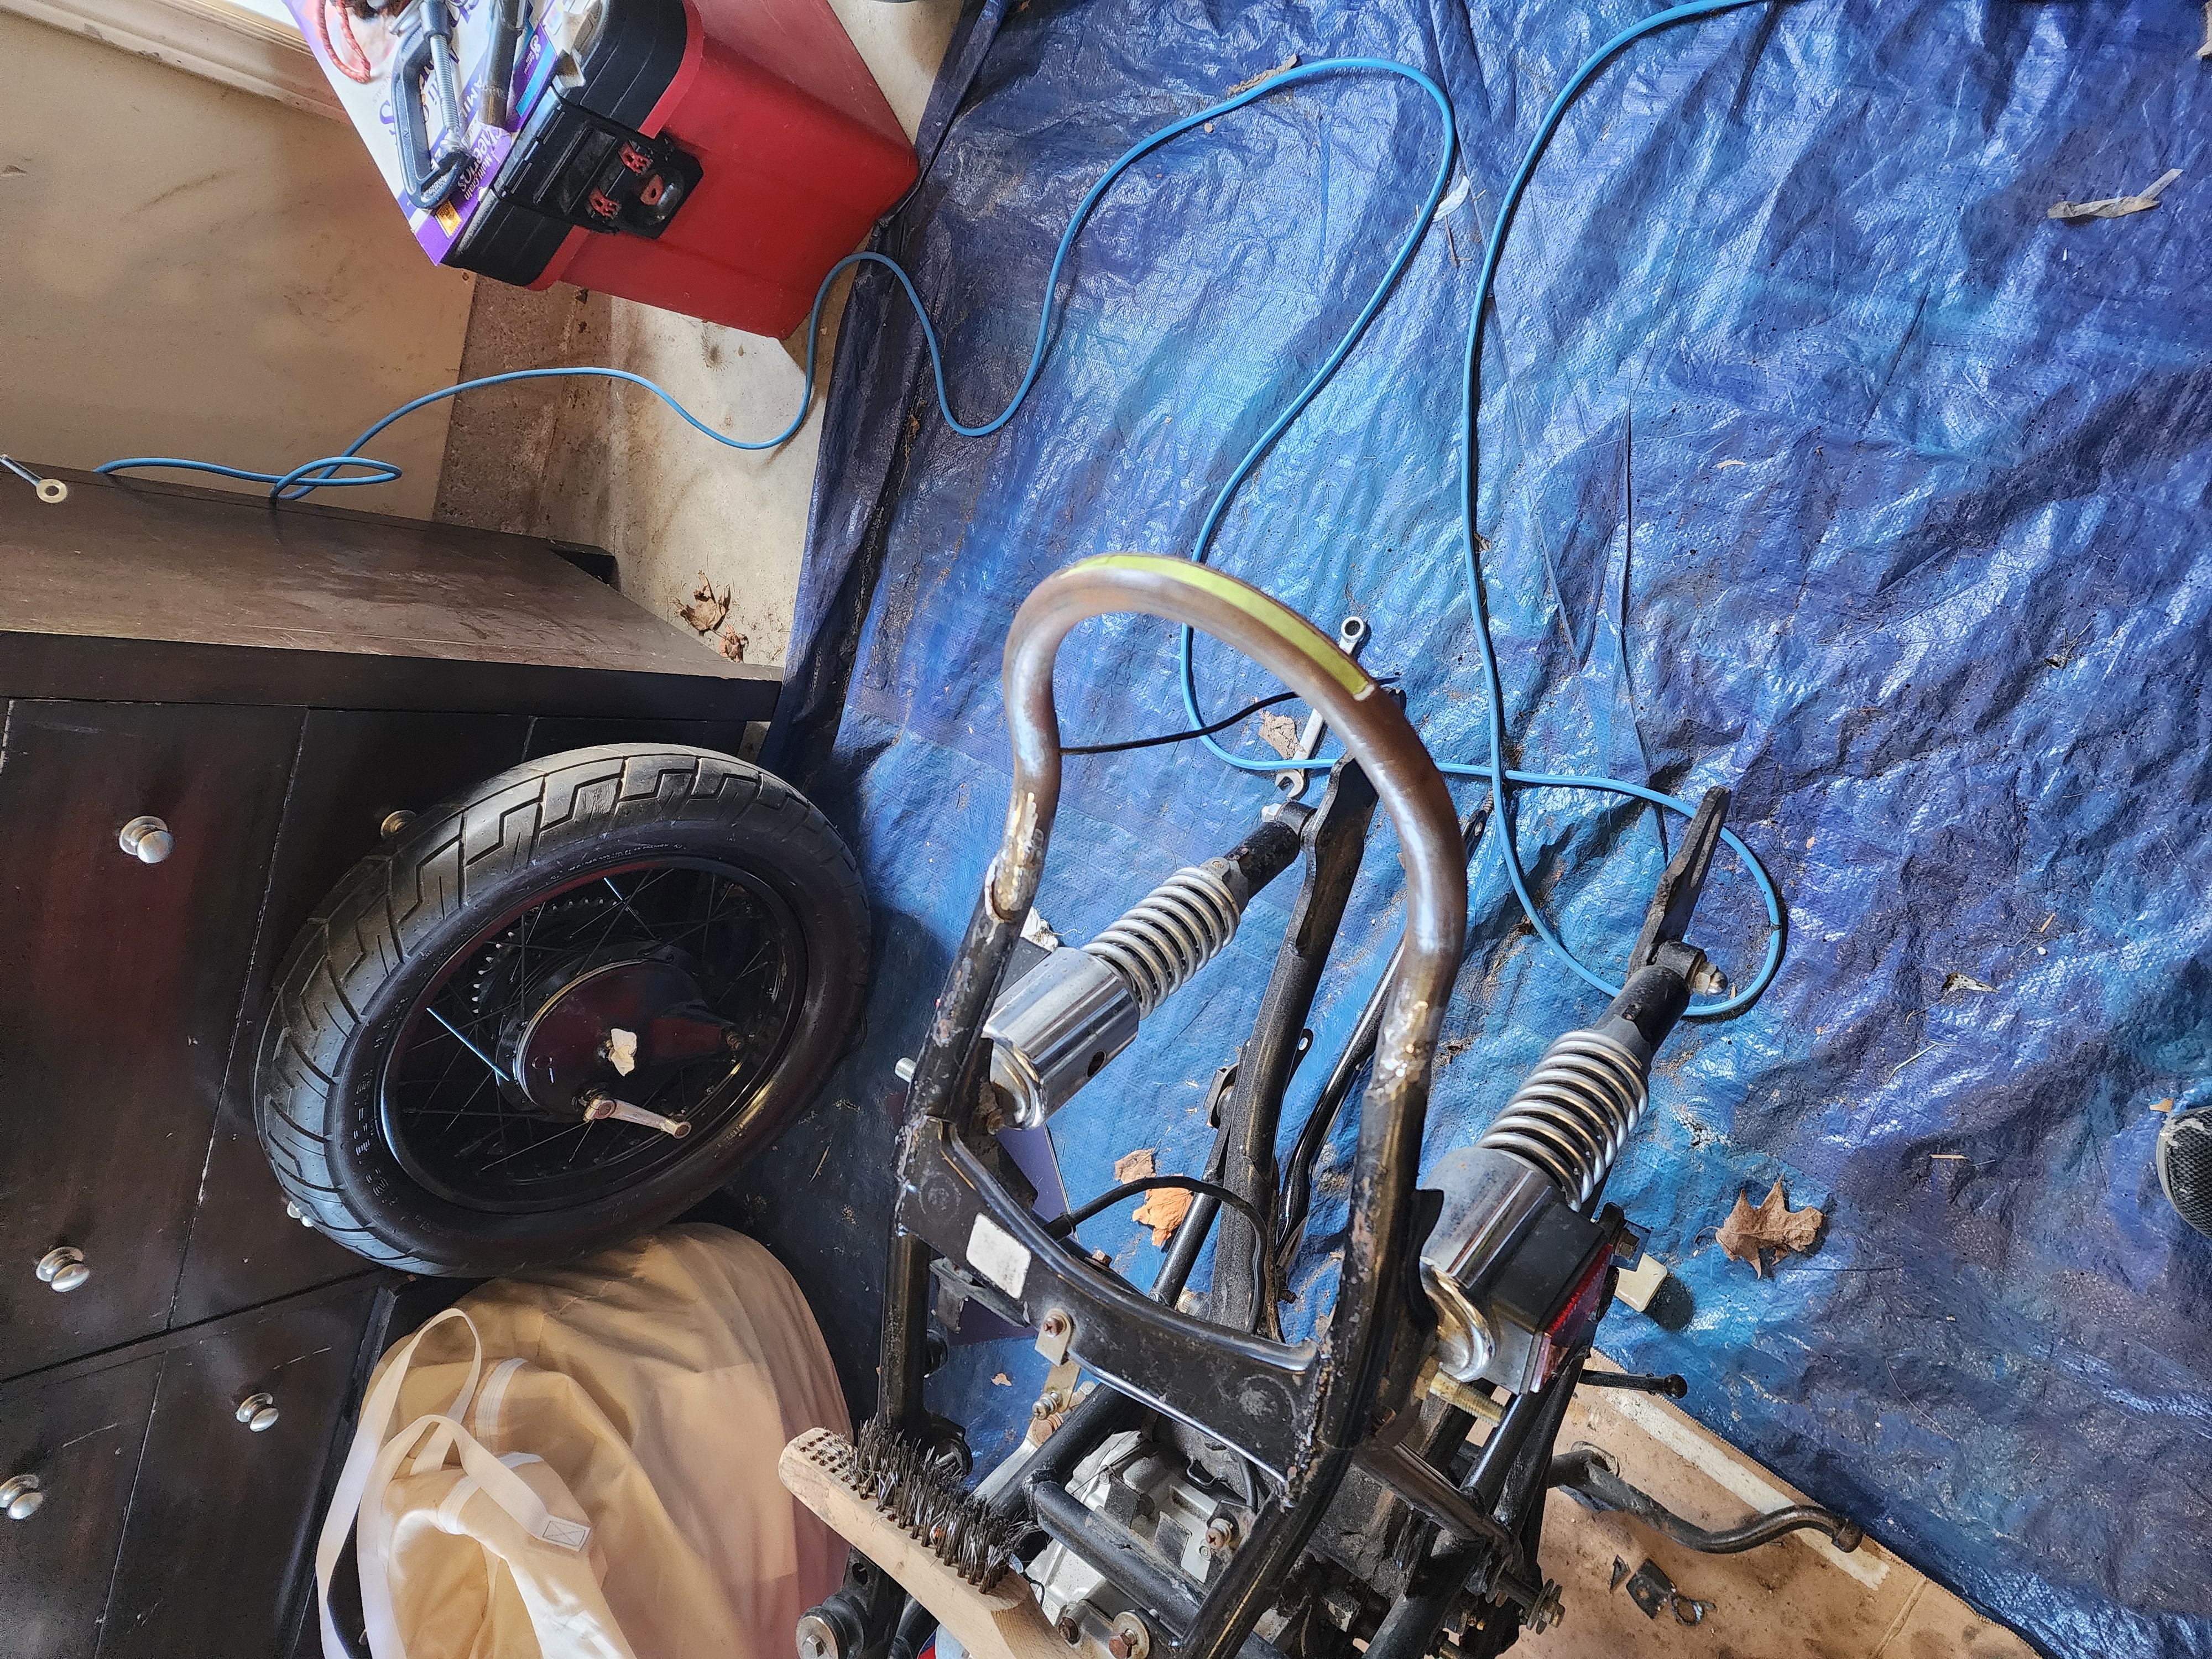 The fully welded seat hoop.
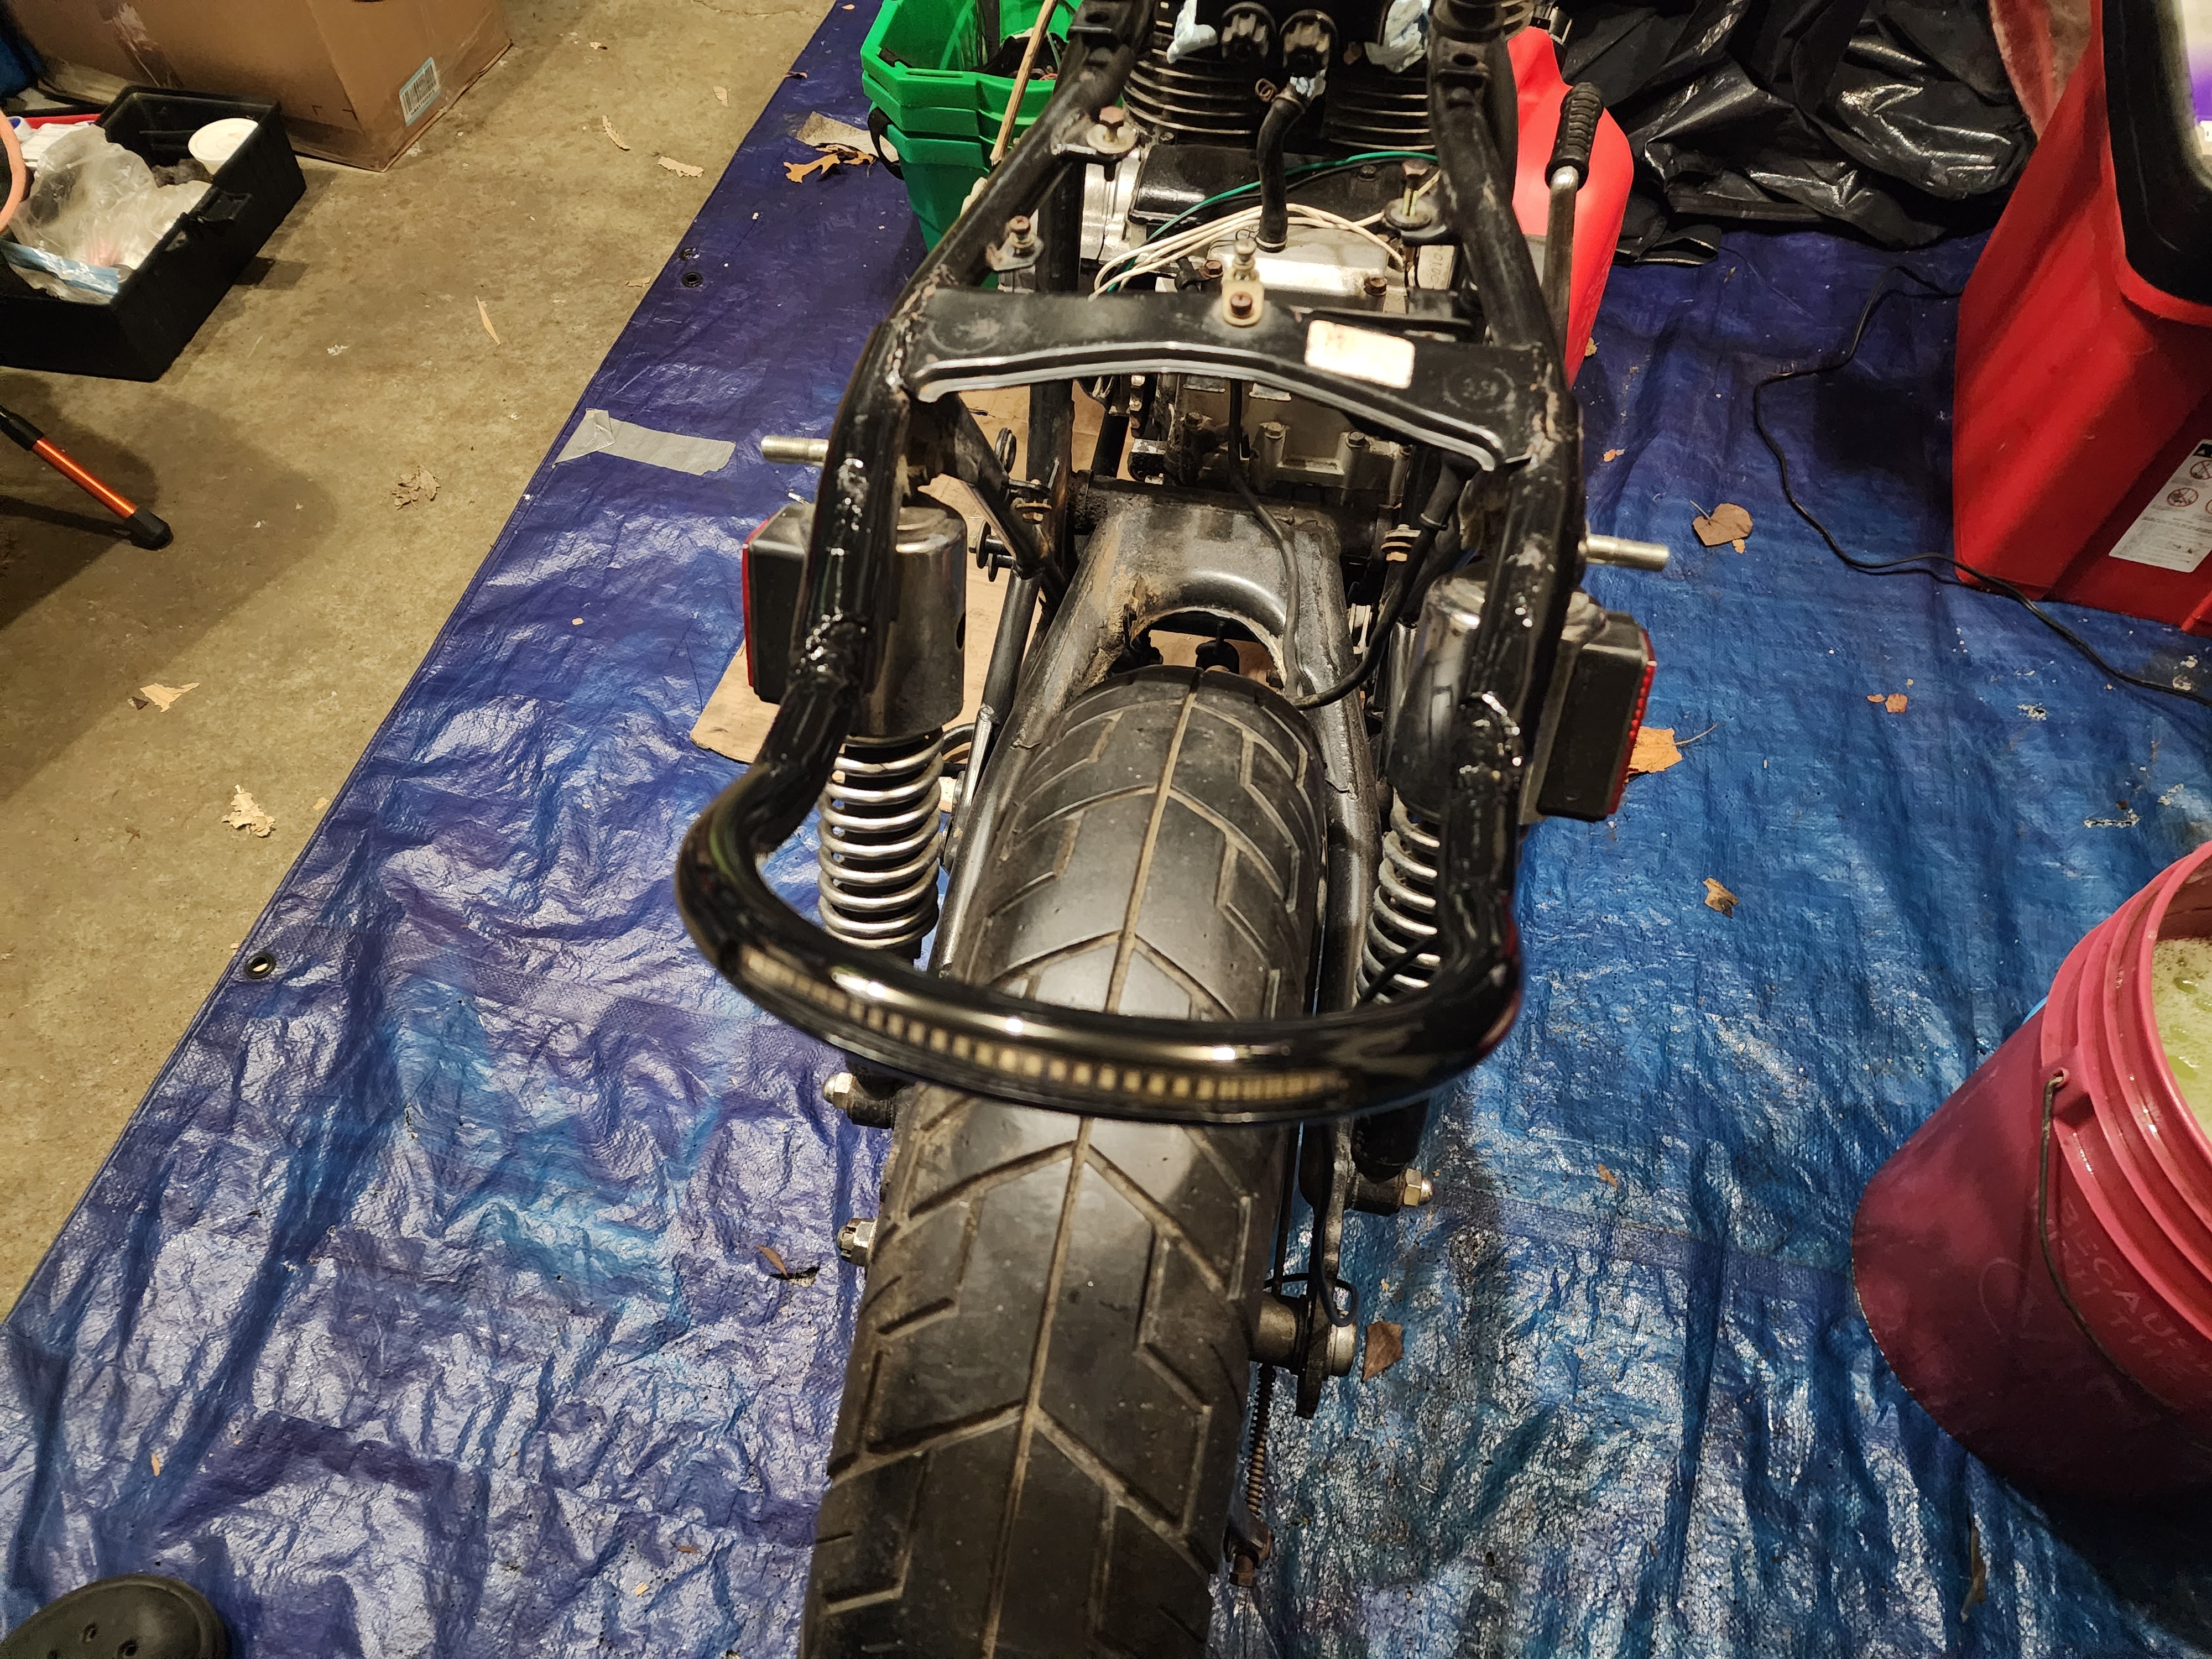 The painted seat hoop.
June, 2026
Mounting the rear fender
I got quite busy with work and school for the past couple months, only being able to work on the bike for a few hours on weekends, and with my girlfriend staying an hour and a half away this summer, I haven’t been out in the garage as much as I’d like to be.
Nonetheless I have gotten some work done… The following is the culmination of many hours spread out over a few weekends these past months.
I started by mocking up the rear fender where I wanted it to sit. Poking out just past the end of the frame hoop, and going low enough to protect the regulator. I just taped it in place with painter’s tape.
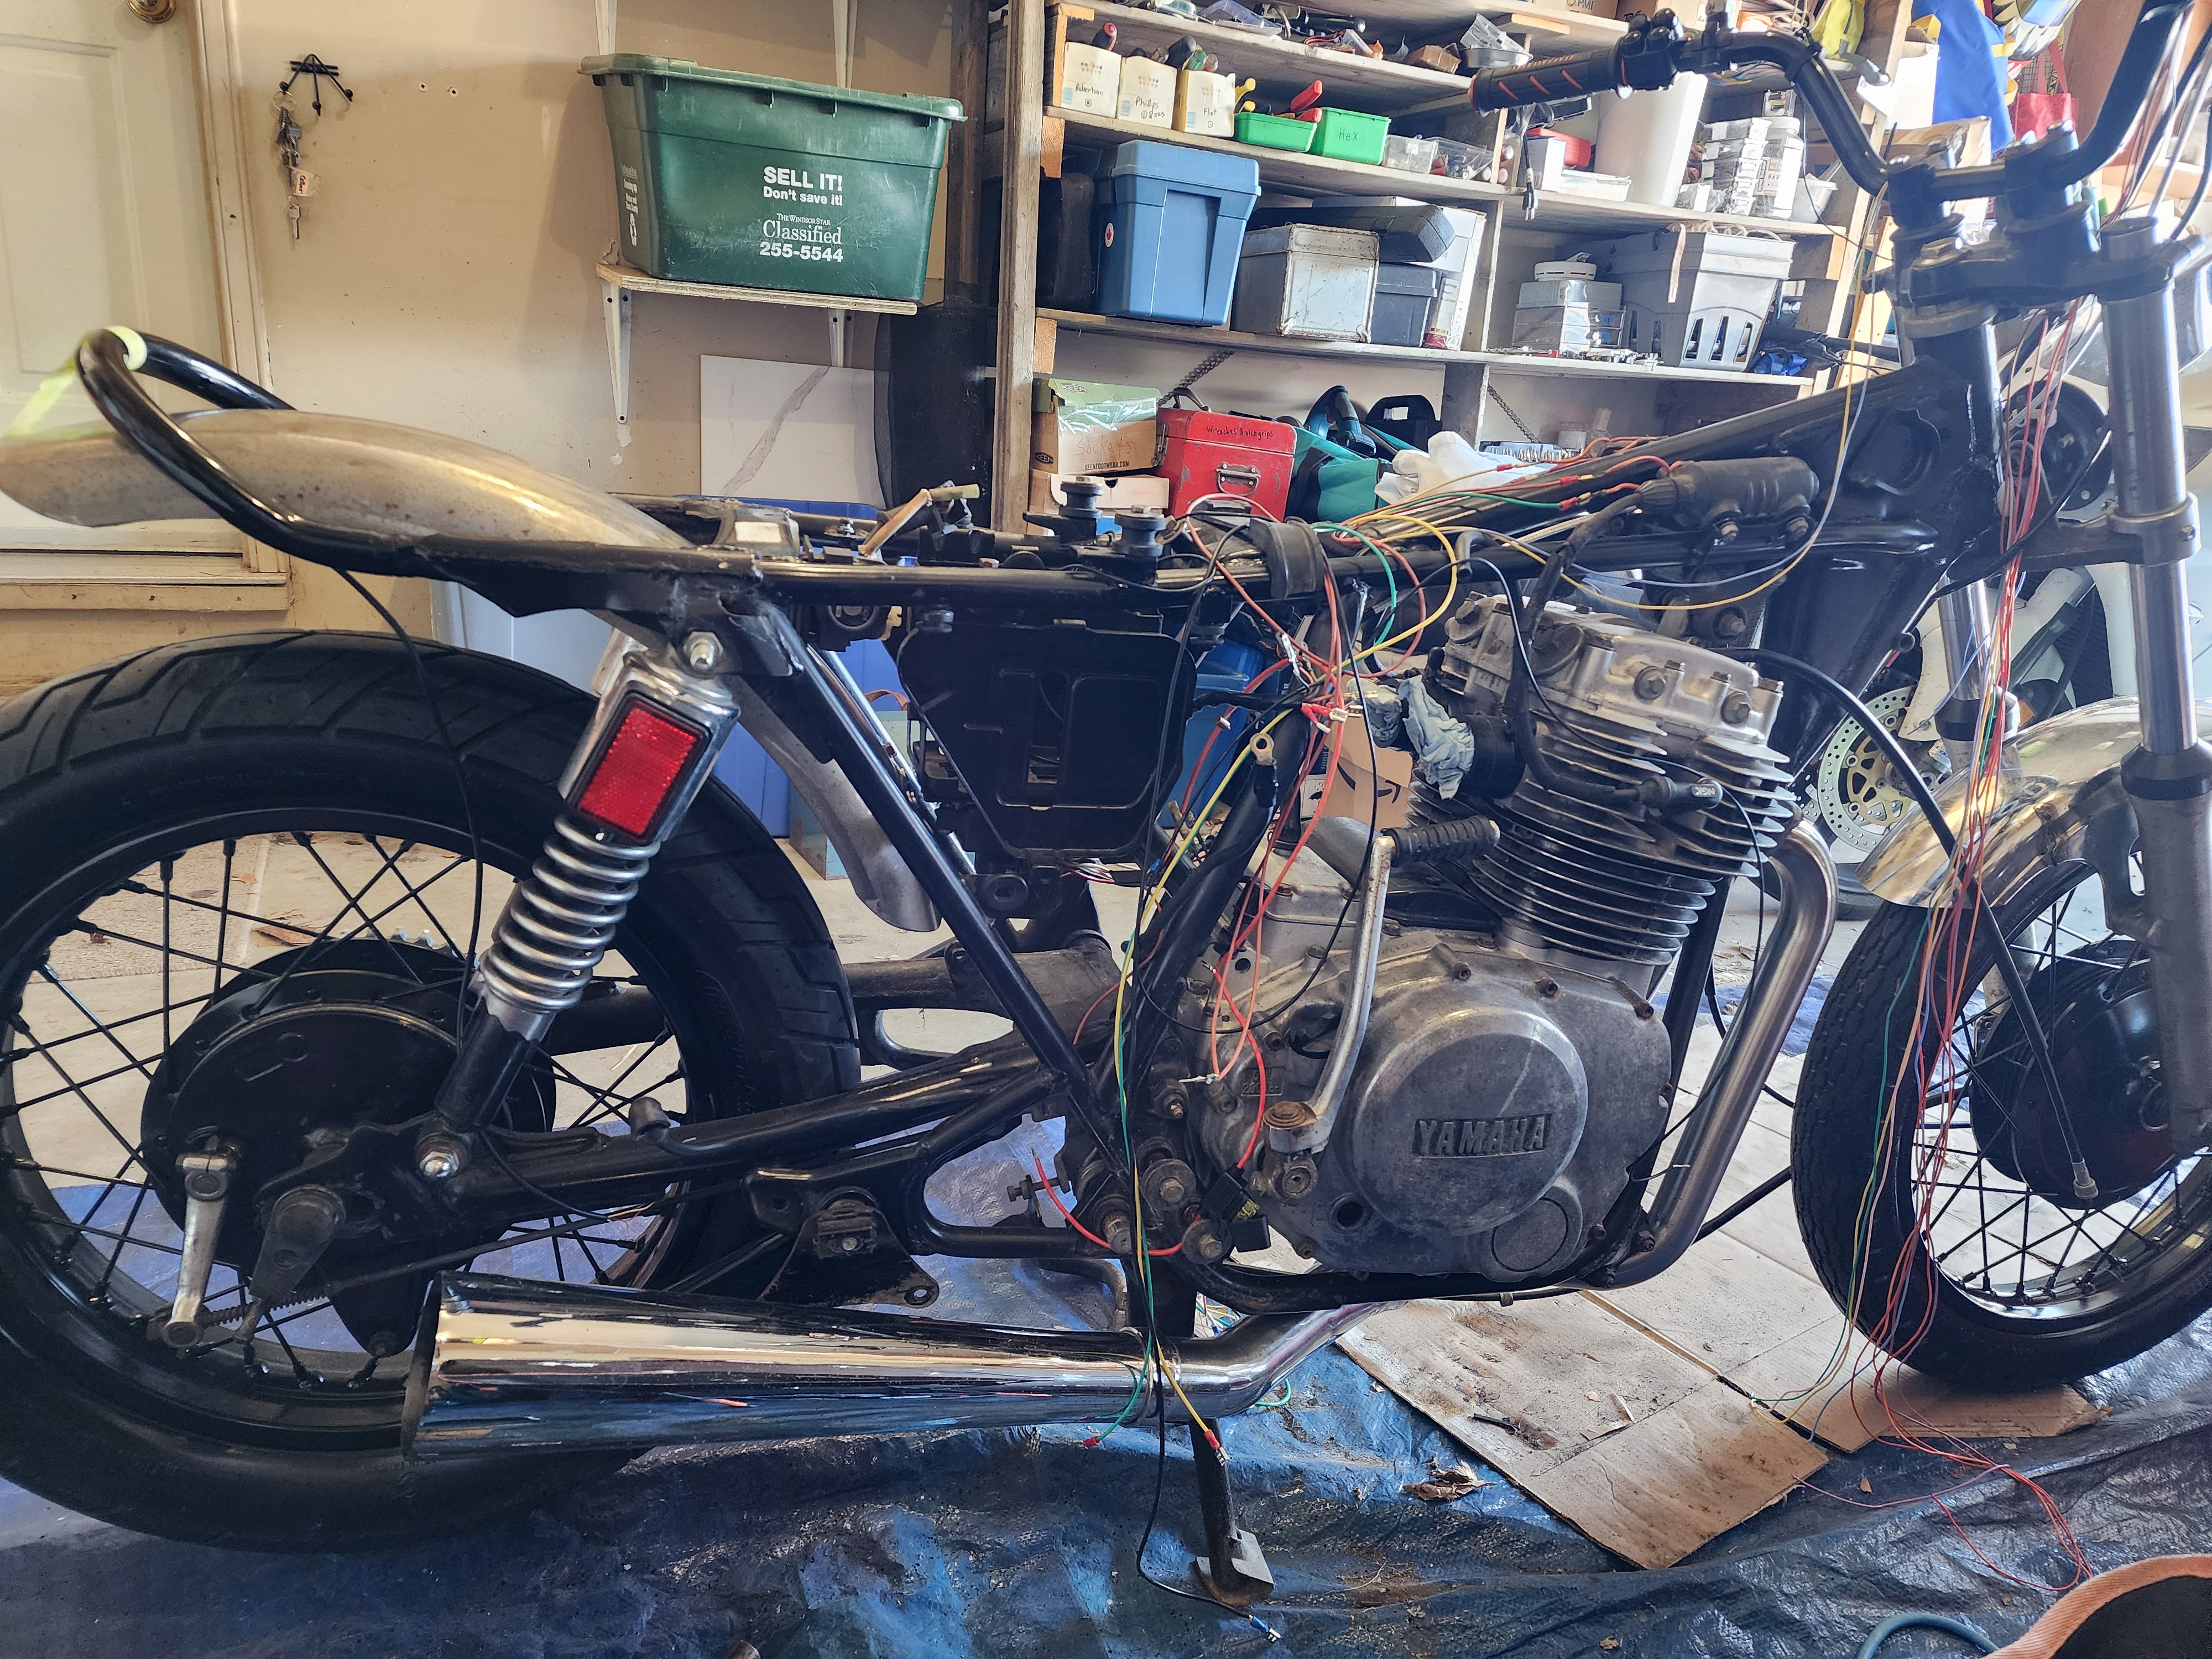 Mocking up the rear fender.
Then, using tin snips, and some left-over metal roofing, I folded up a couple of mounts, drilled holes for some hardware, and painted them black.
.jpg) One of the brackets in place.
One of the brackets in place..jpg) The rear fender mounting bracket.
The rear fender mounting bracket.I’m pretty happy with the final location of the fender. Now it just needs paint.
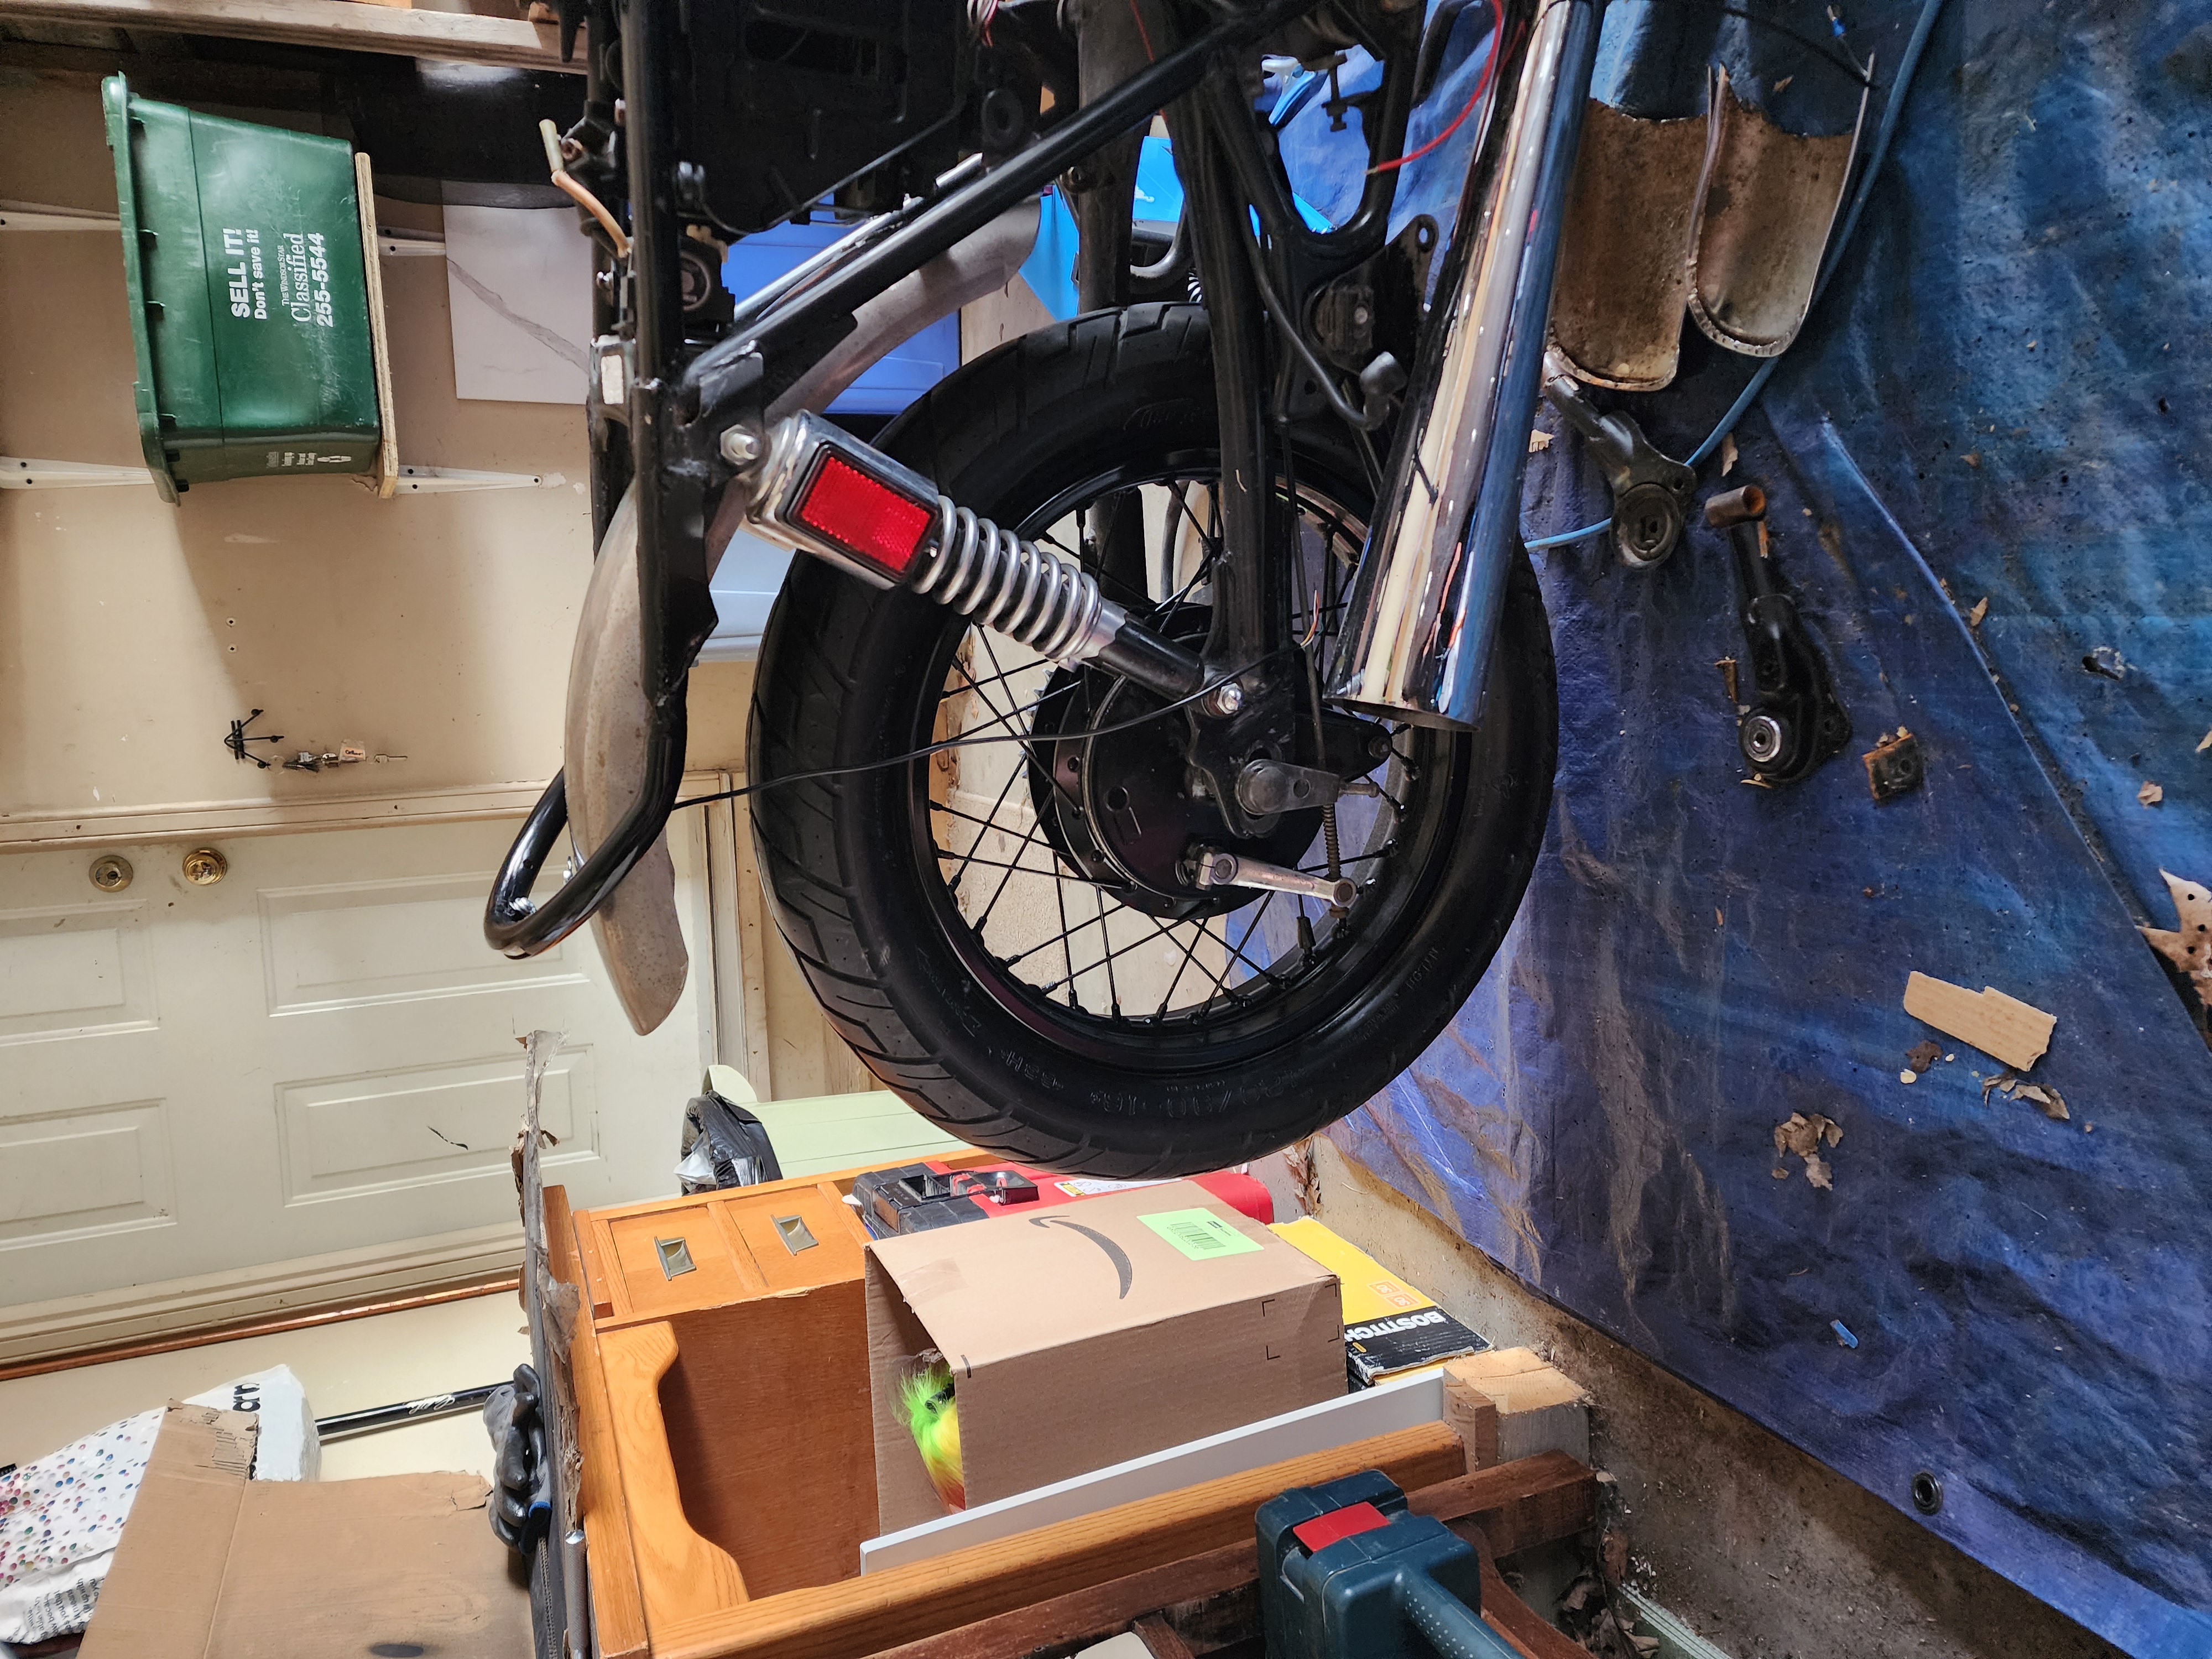 The mounted rear fender.
Wiring harness from scratch
Next I started on the tedium that is creating a wiring harness. I started with simply getting the bike running, and importantly, charging. Since the old harness was old, and nasty, and breaking in some places, I decided that it would be best if I started over from scratch. I had ordered a 7-wire reg/rec from ebay in an attempt to simplify the wiring slightly by having only one unit rather than the original separate regulator and rectifier, but it was DOA. Won’t be buying from them again. Since the original units are still working, I just used them and had no issues.
For the main fuse box, I am converting the bike to a mo.unit blue which will allow me to have only two fuses on the whole bike, as well as all LED lights, and keyless ignition. I mounted it where the original fuse box sits using some more of that old roofing steel, but this time not painting the mounting locations, as the unit grounds itself through there.
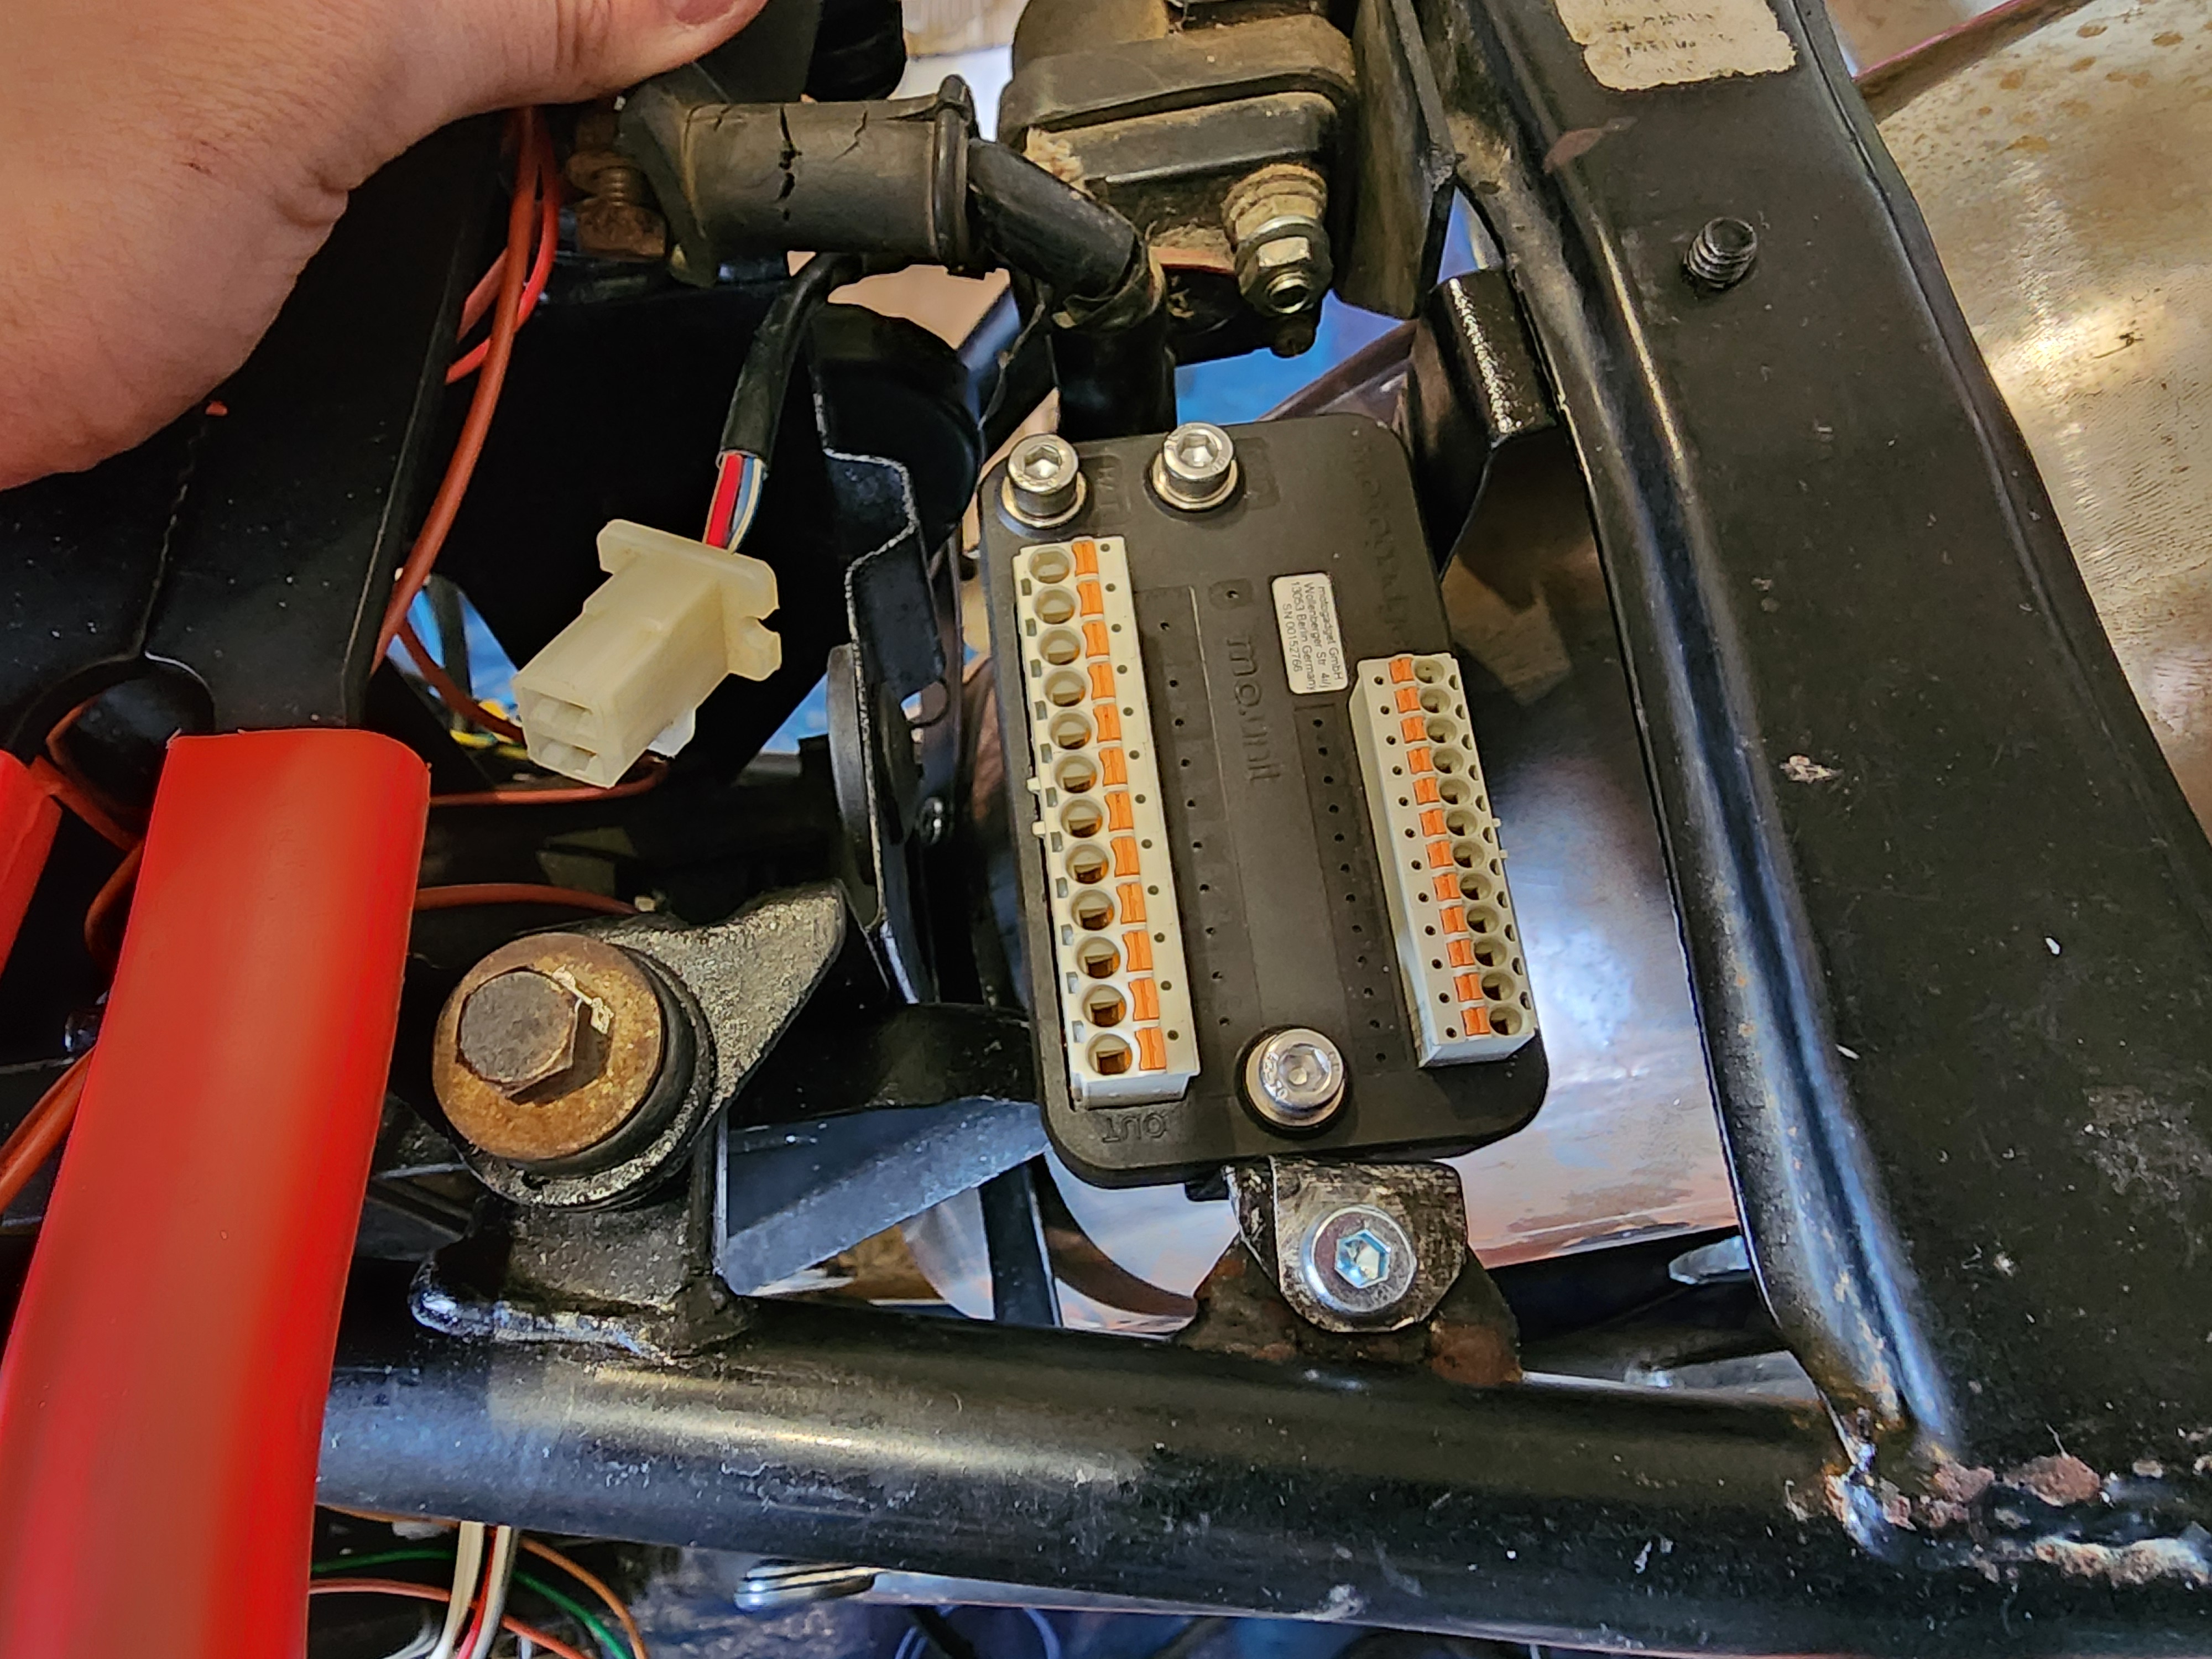 The mounted mo.unit.
It’s worth mentioning now that I do intend to add a plastic splash guard around the unit, since my fender provides less protection than the OEM one.
For the wiring, I started with adding deutsch DT connectors on each of the individual components (TCI, pickups, stator, oil and neutral switches, reg, rec, etc.) carefully noting down which color I used for what, and their purpose. In general, I went with brown as keyed power, black as ground, and red as hot. Other colors all correspond to some input/output of the unit, except the neutral and oil switches. I’ll draw up a nice diagram to put on here in the future once I’ve finalized the harness.
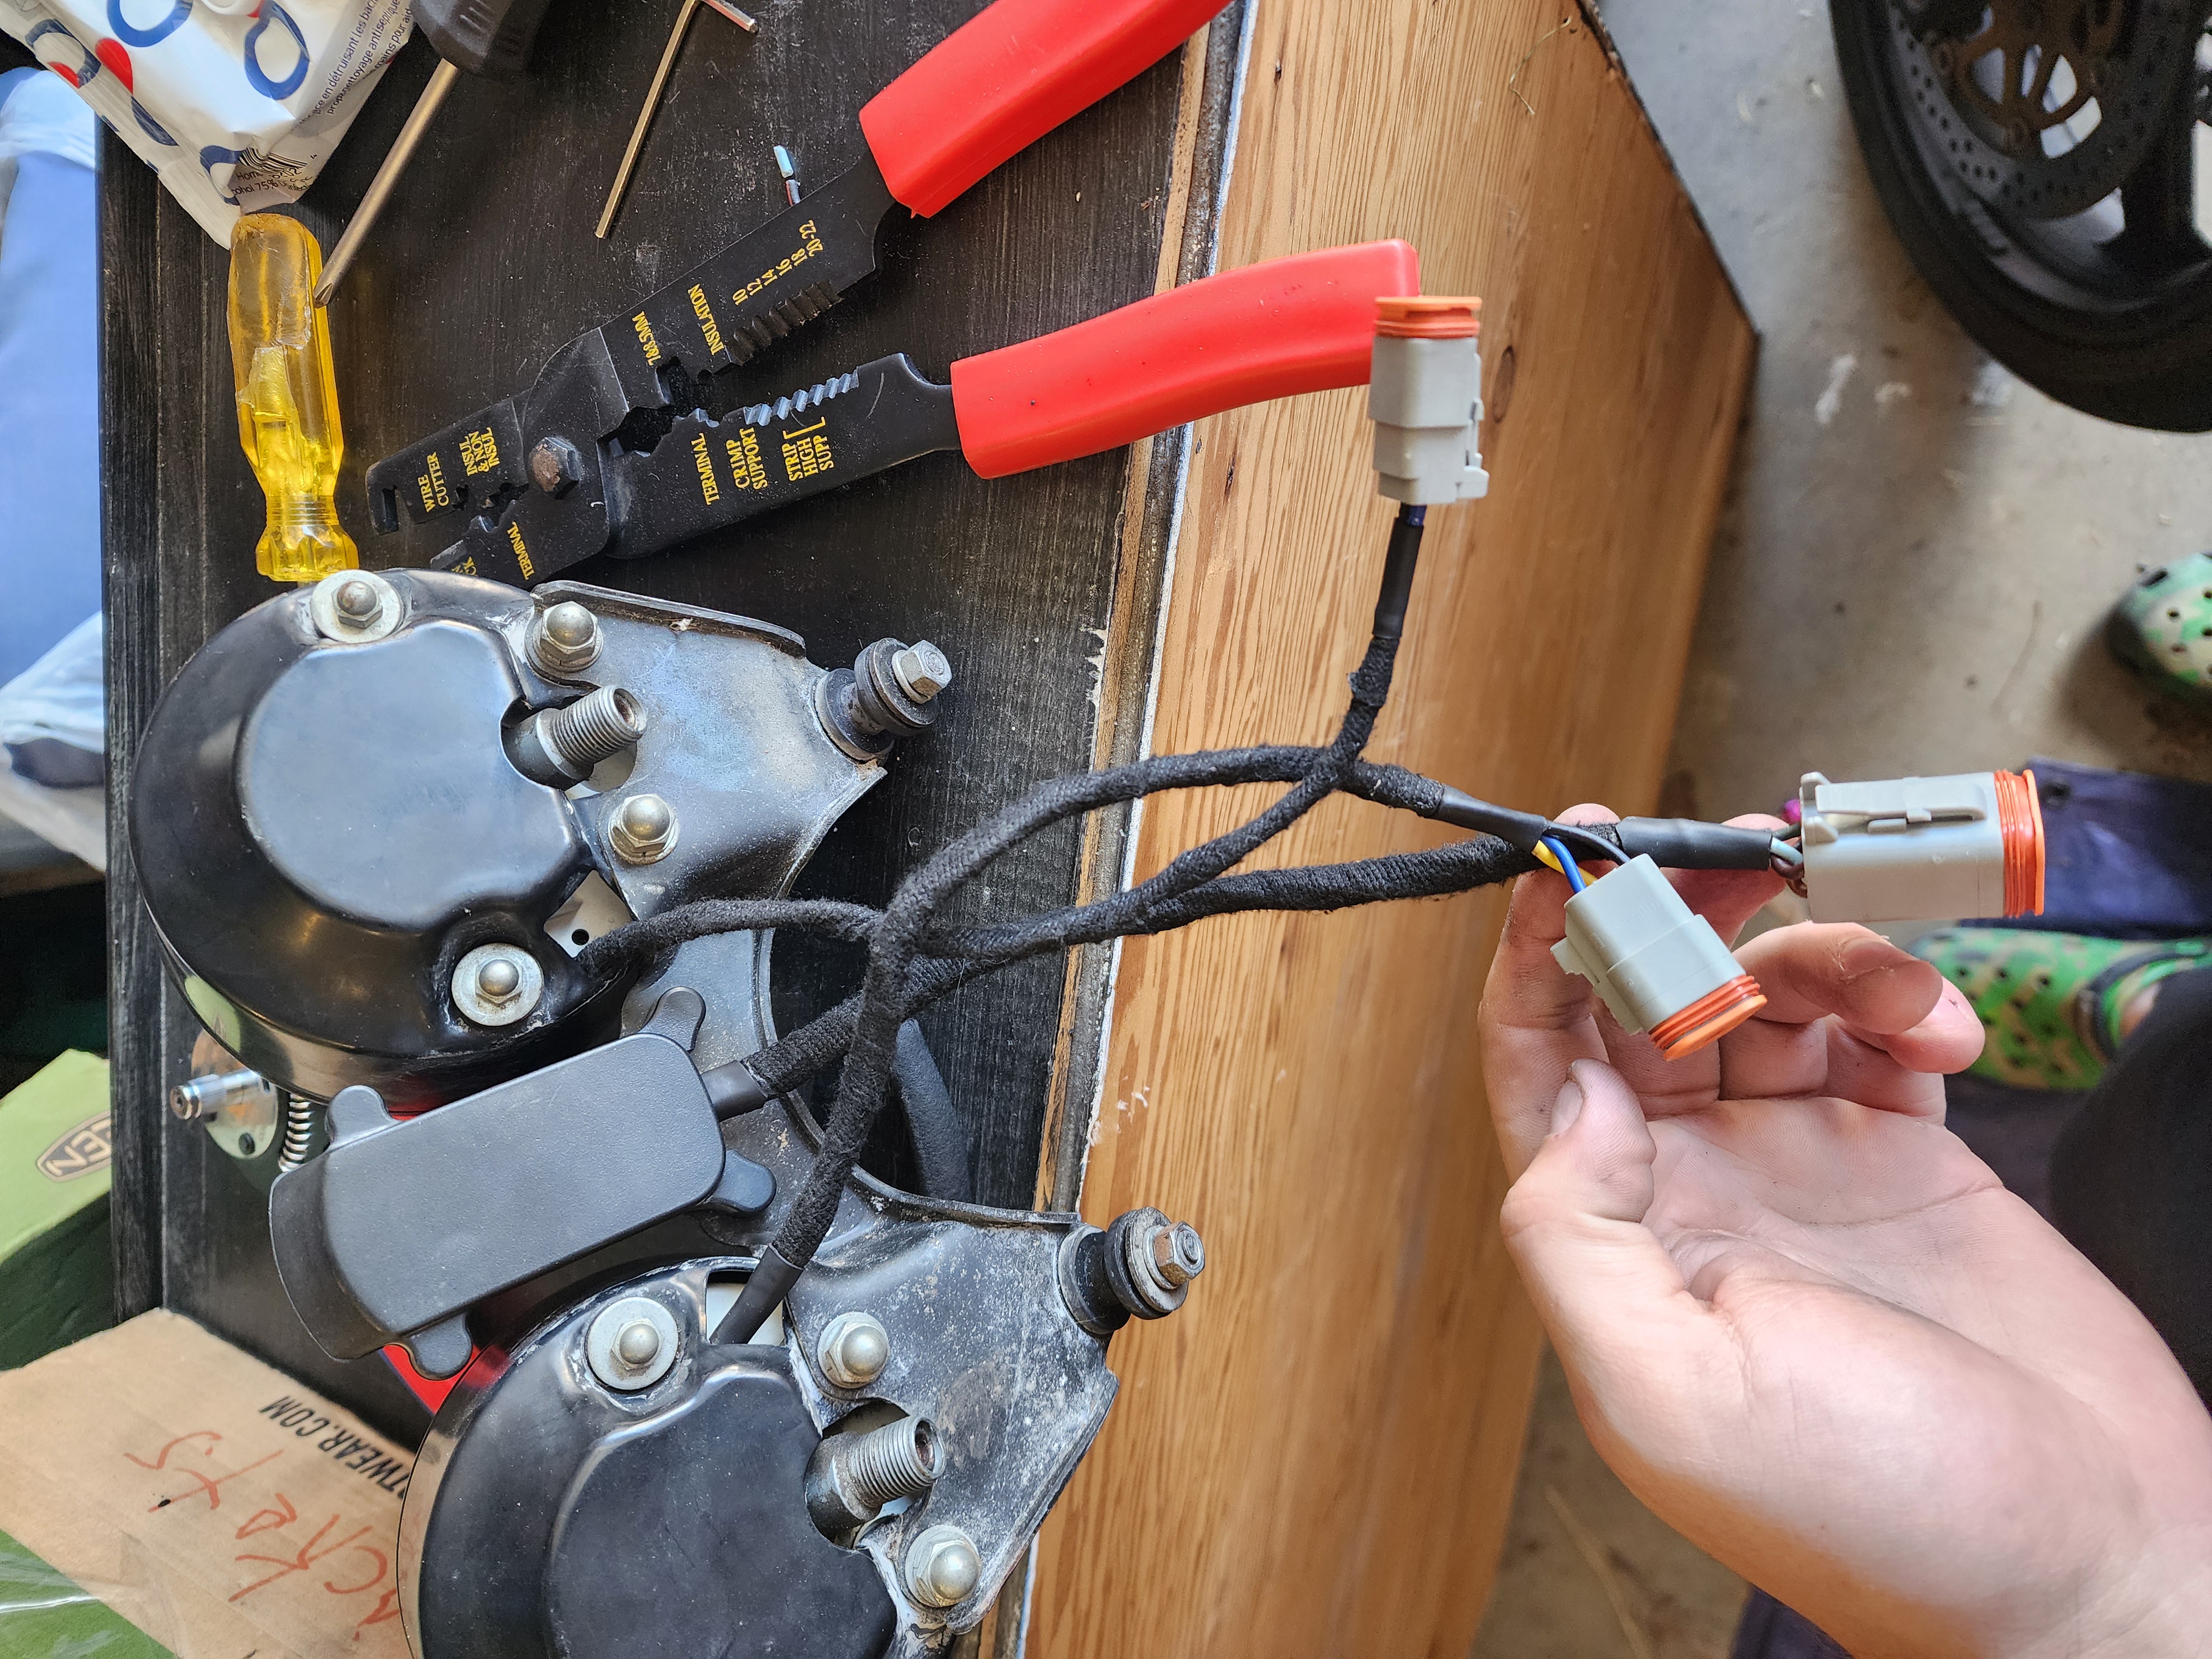 The gauge cluster, rewired.
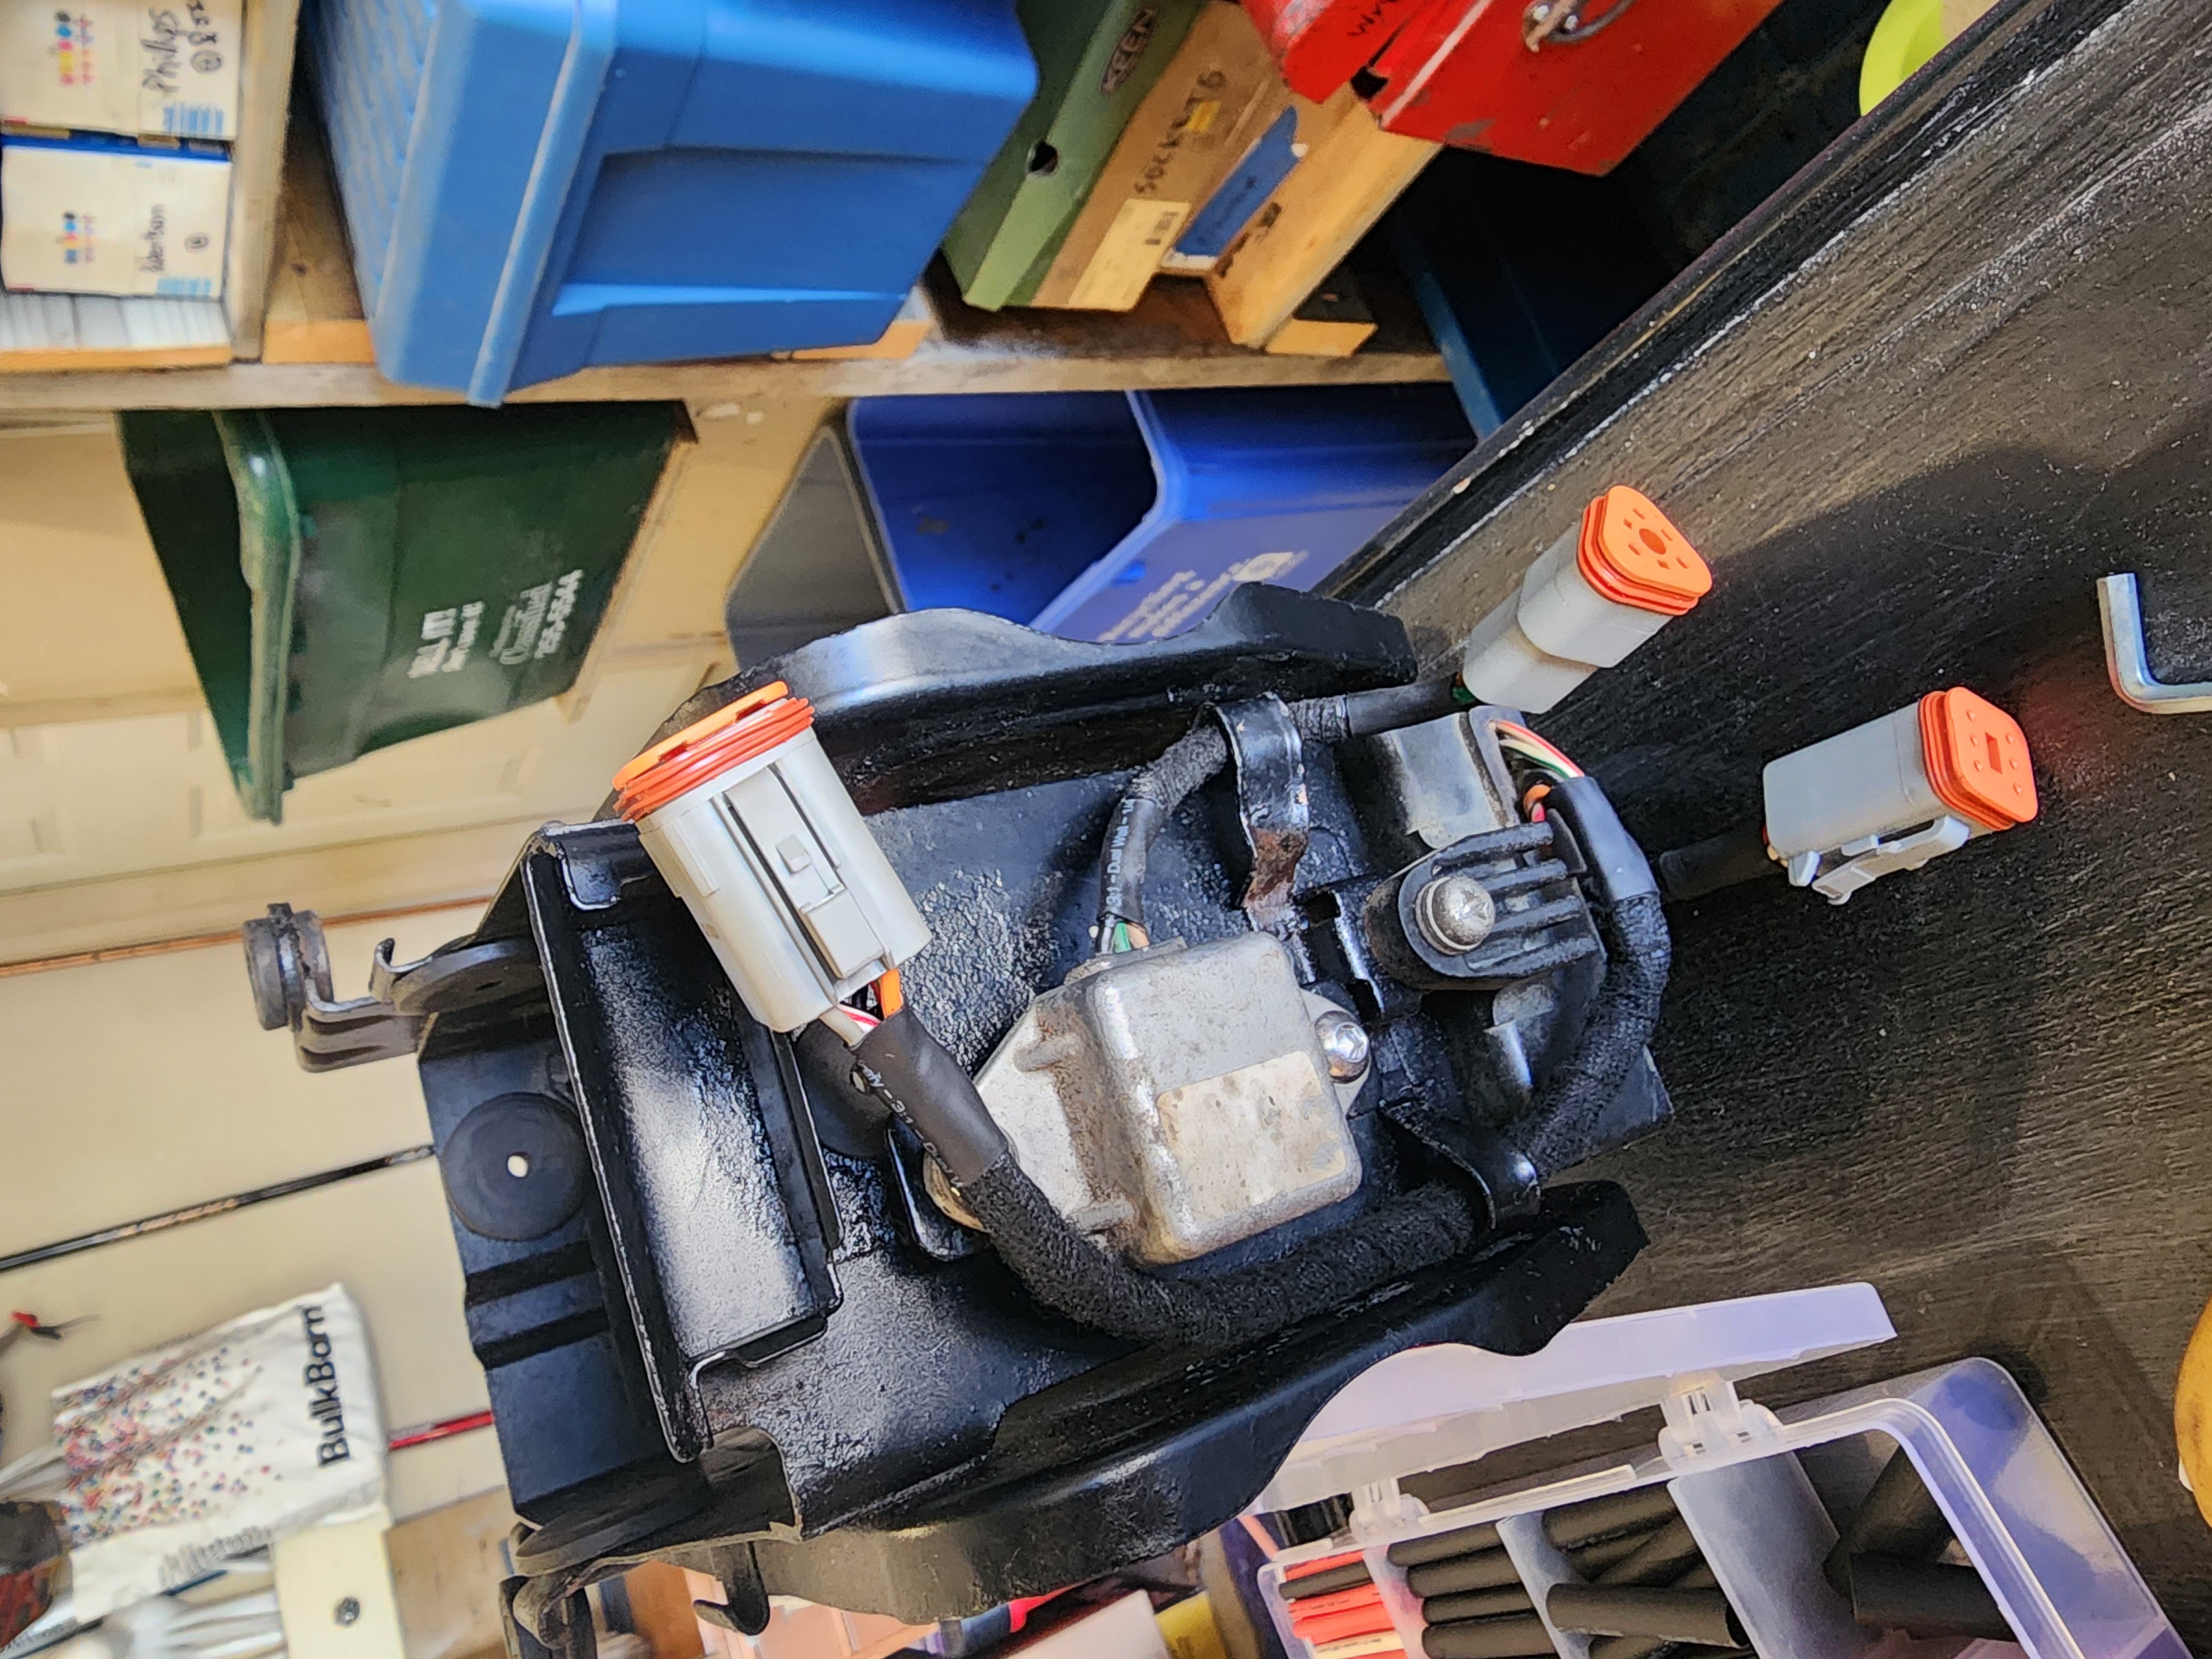 The charging system components rewired.
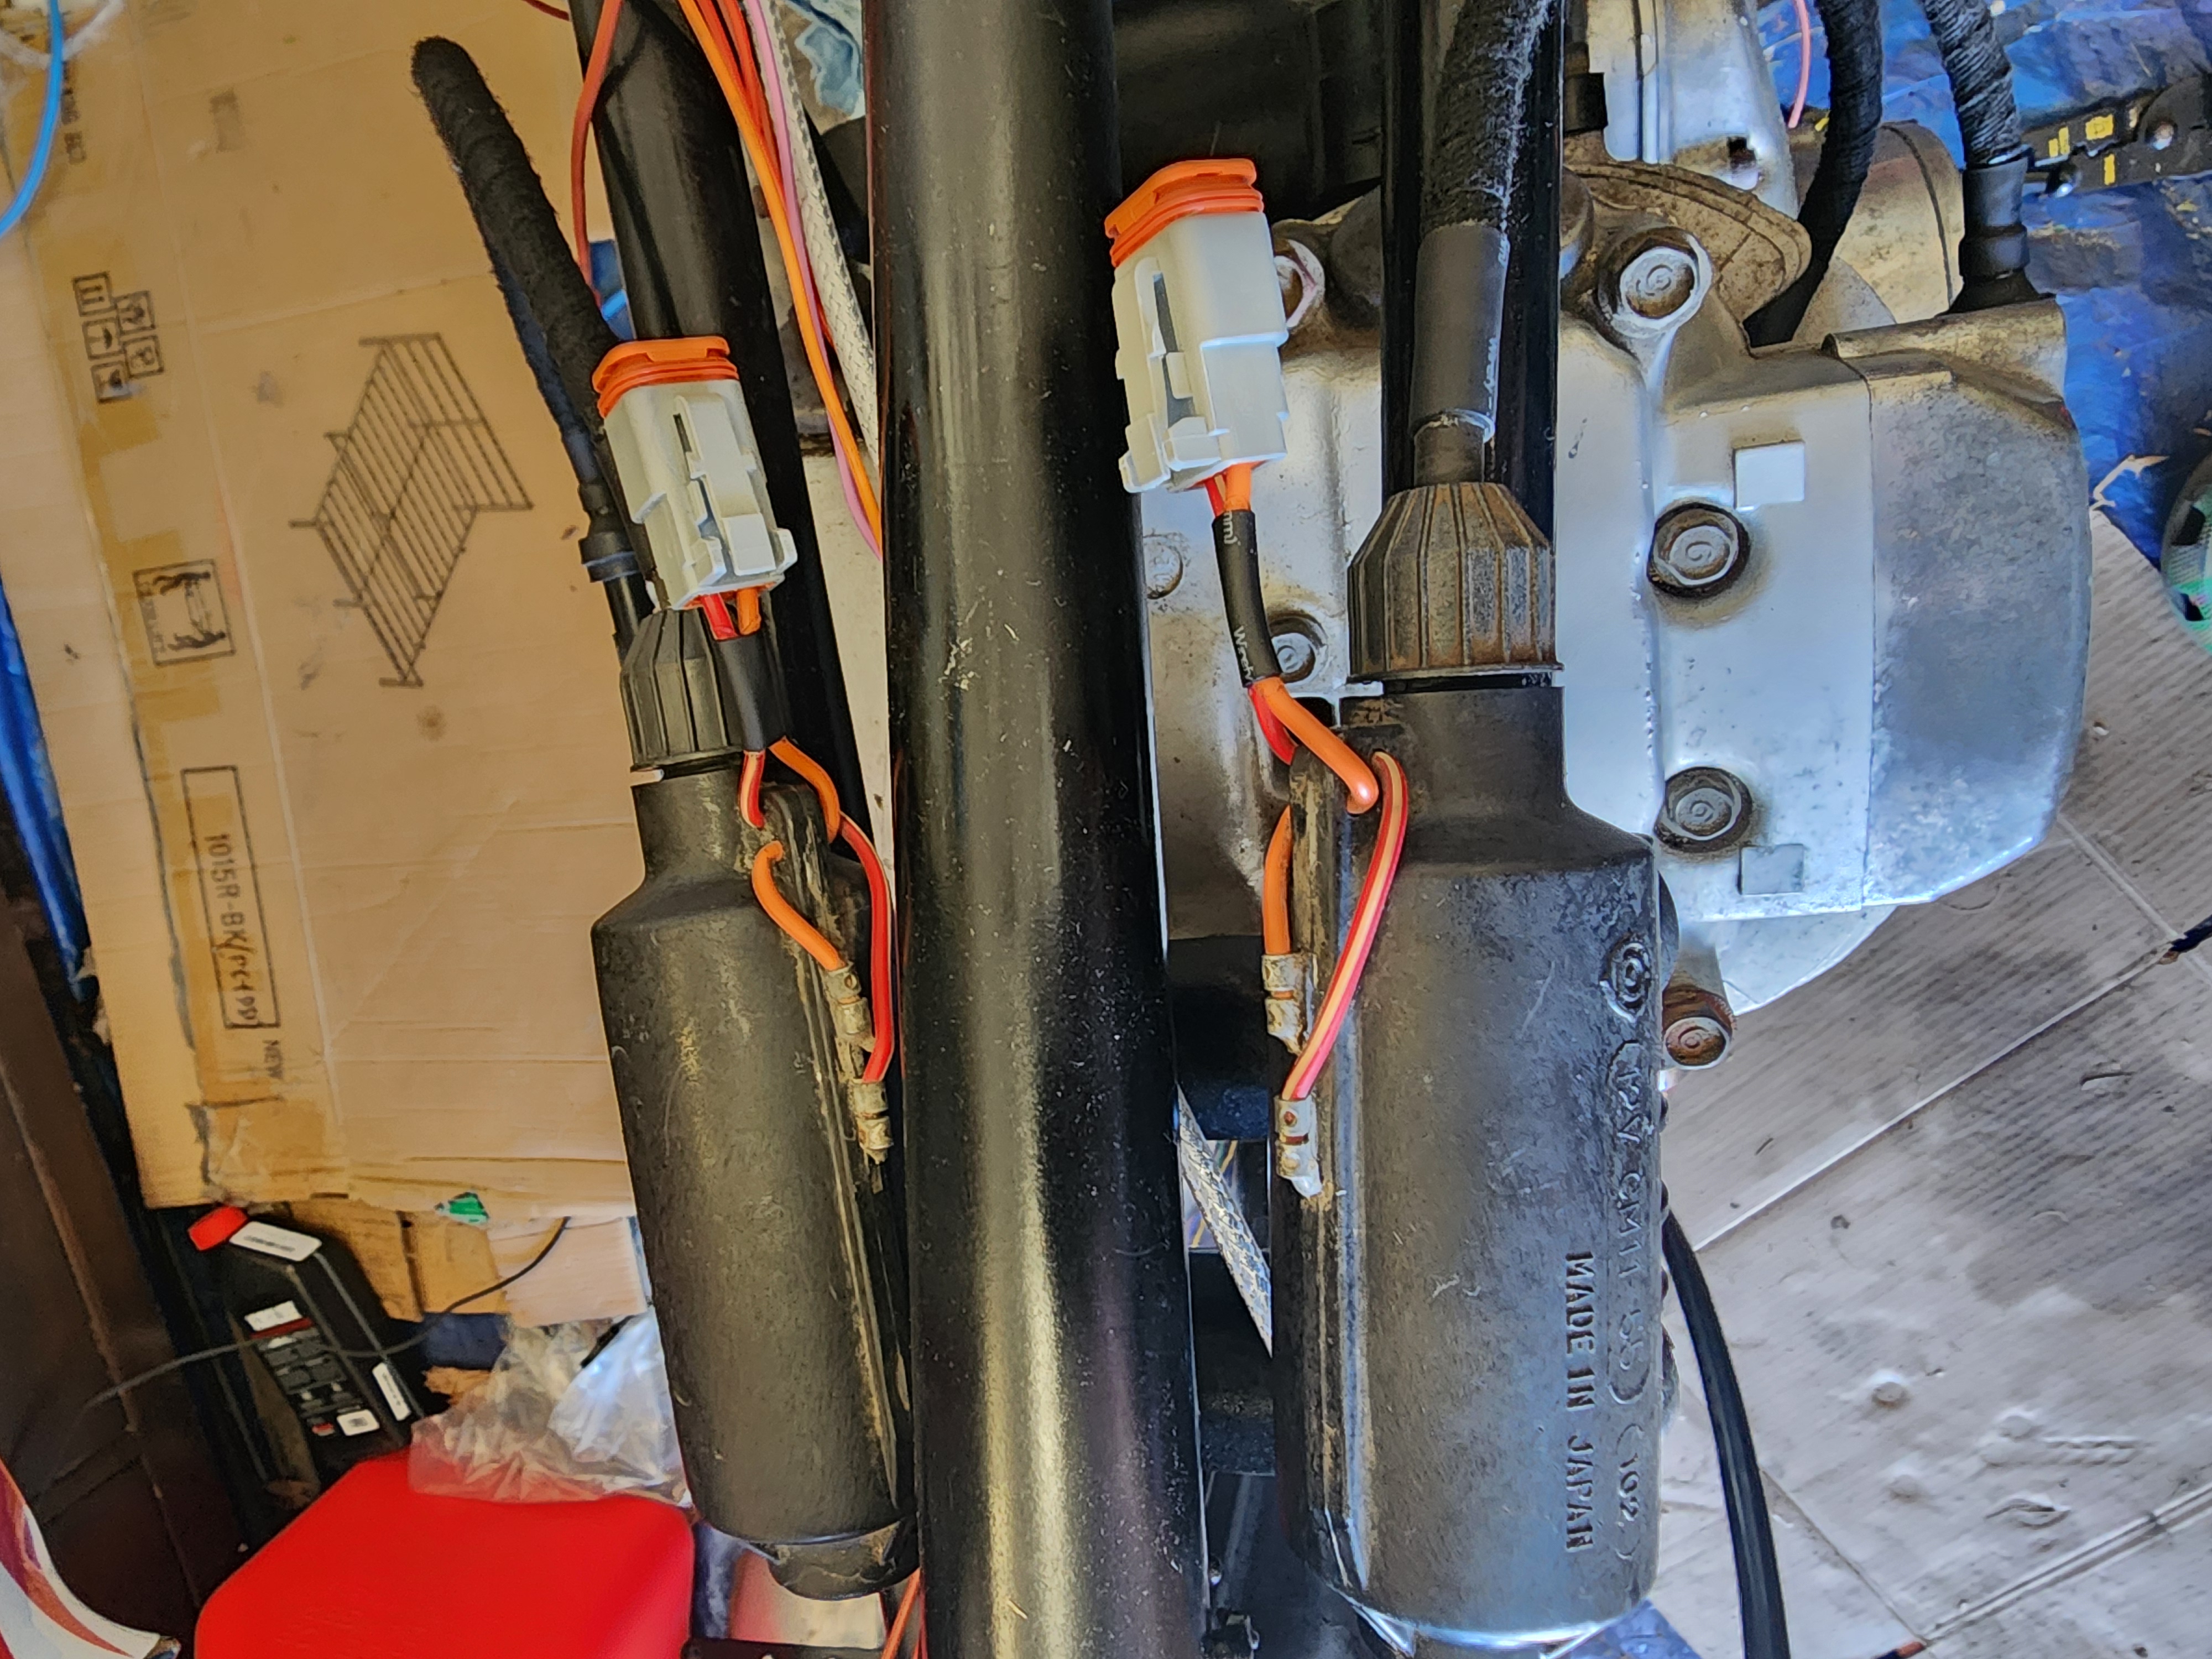 The ignition coils rewired.
.jpg) Wires soldered into the new controls
Wires soldered into the new controls.jpg) Handlebar controls mounted and wired.
Handlebar controls mounted and wired.I used some marine grade heat shrink (has adhesive lining the inside), and some amazon generic wiring harness tape. I think it makes for a very clean look. I then started running every wire to it’s proper destination, and slowly looming from outside in. I started with the lower portion of the harness (stator, charging):
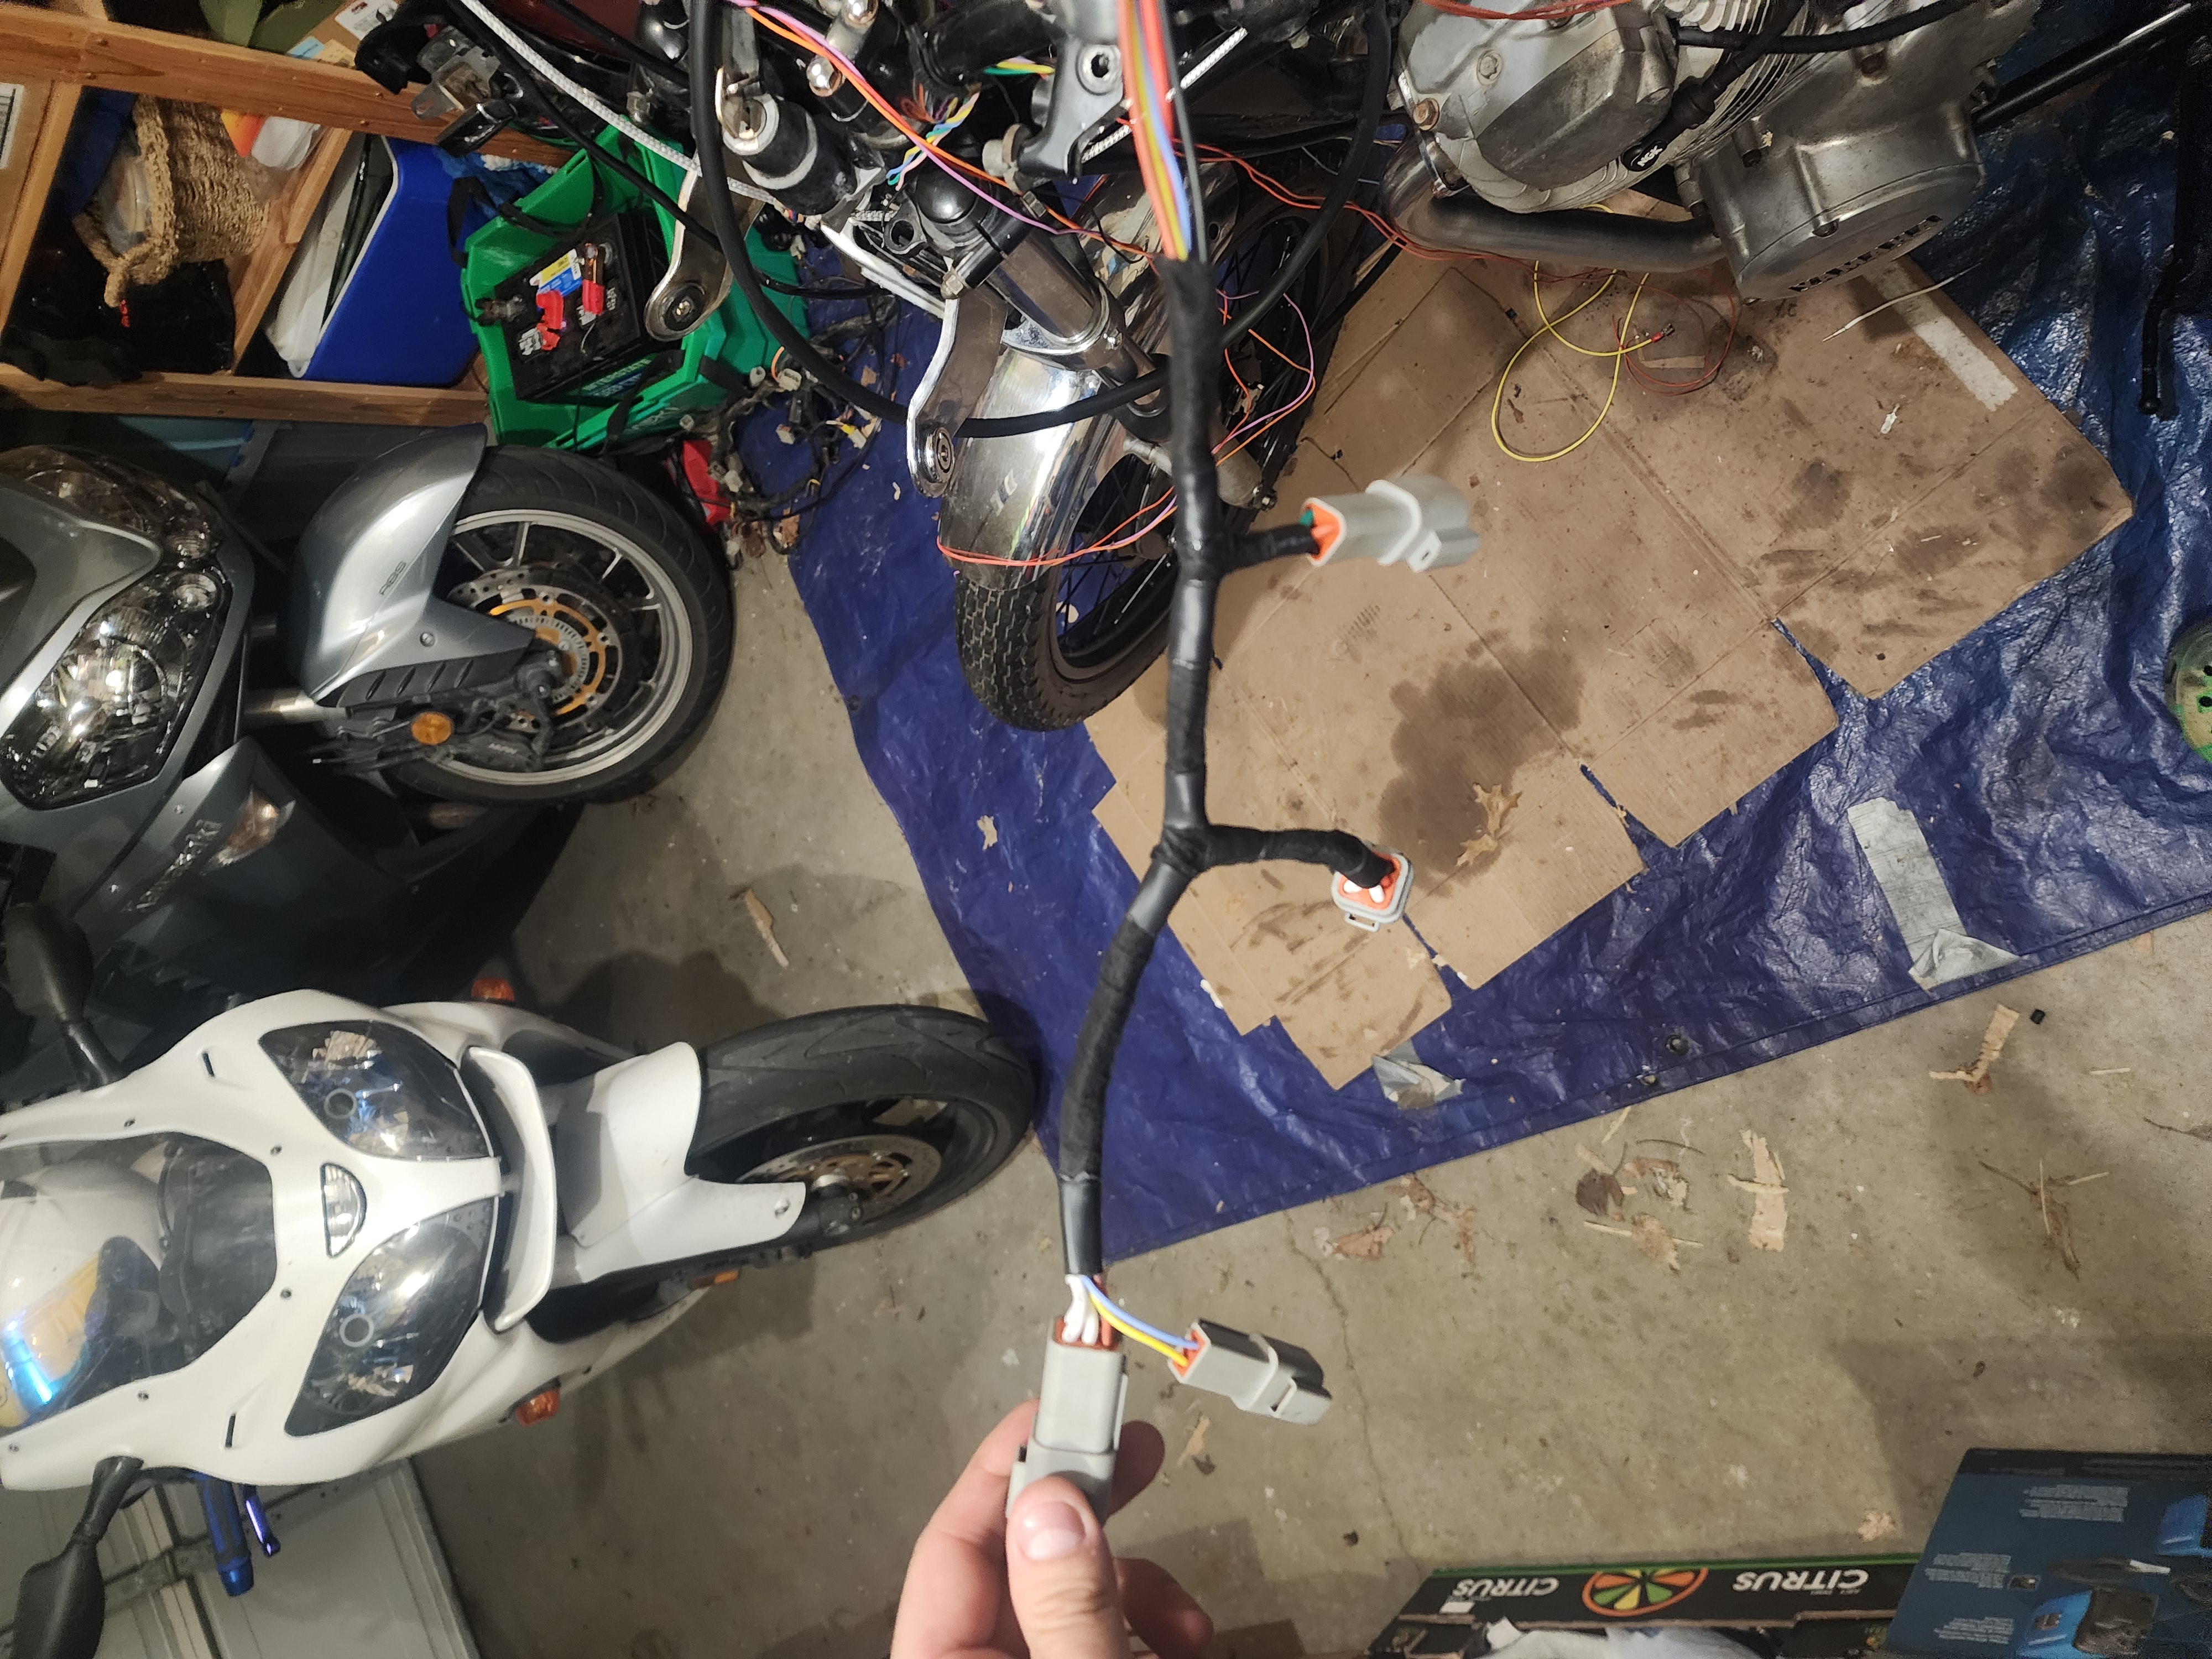 The lower portion of the wiring harness.
I also got started on the ignition portion (pickups, coils, TCI), and the front part (everything up at the handle bars):
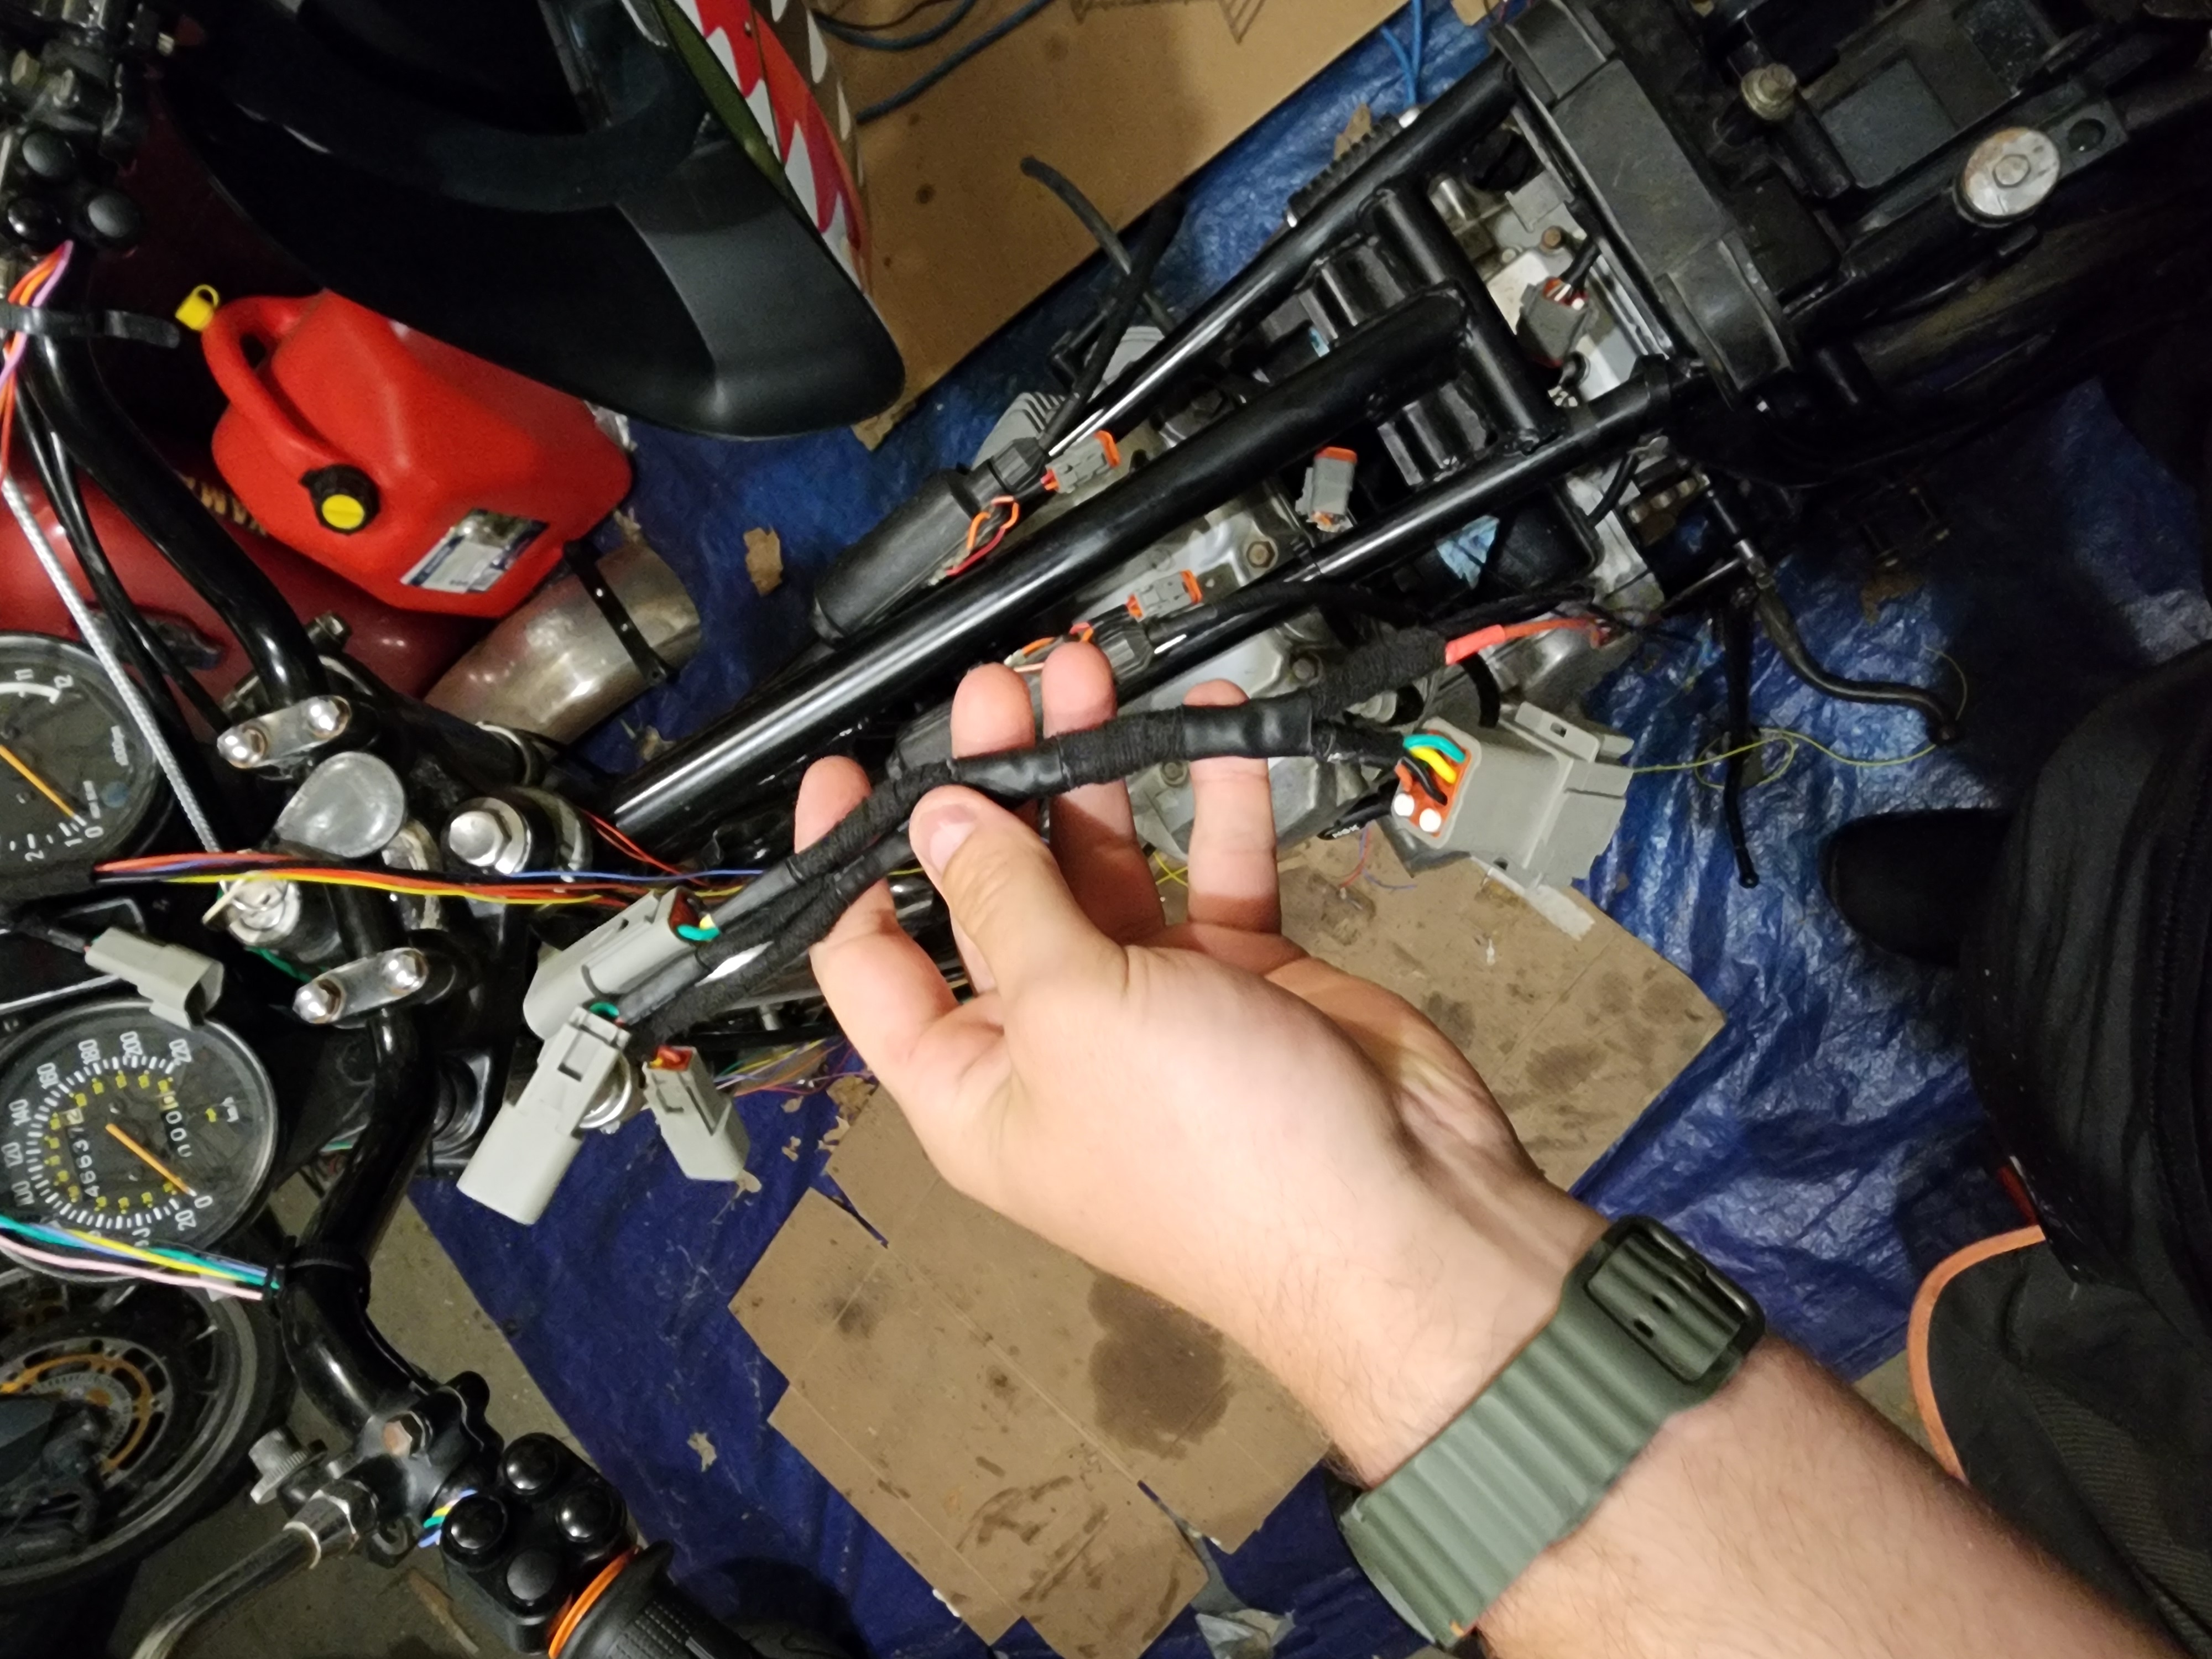 The ignition section of the harness.
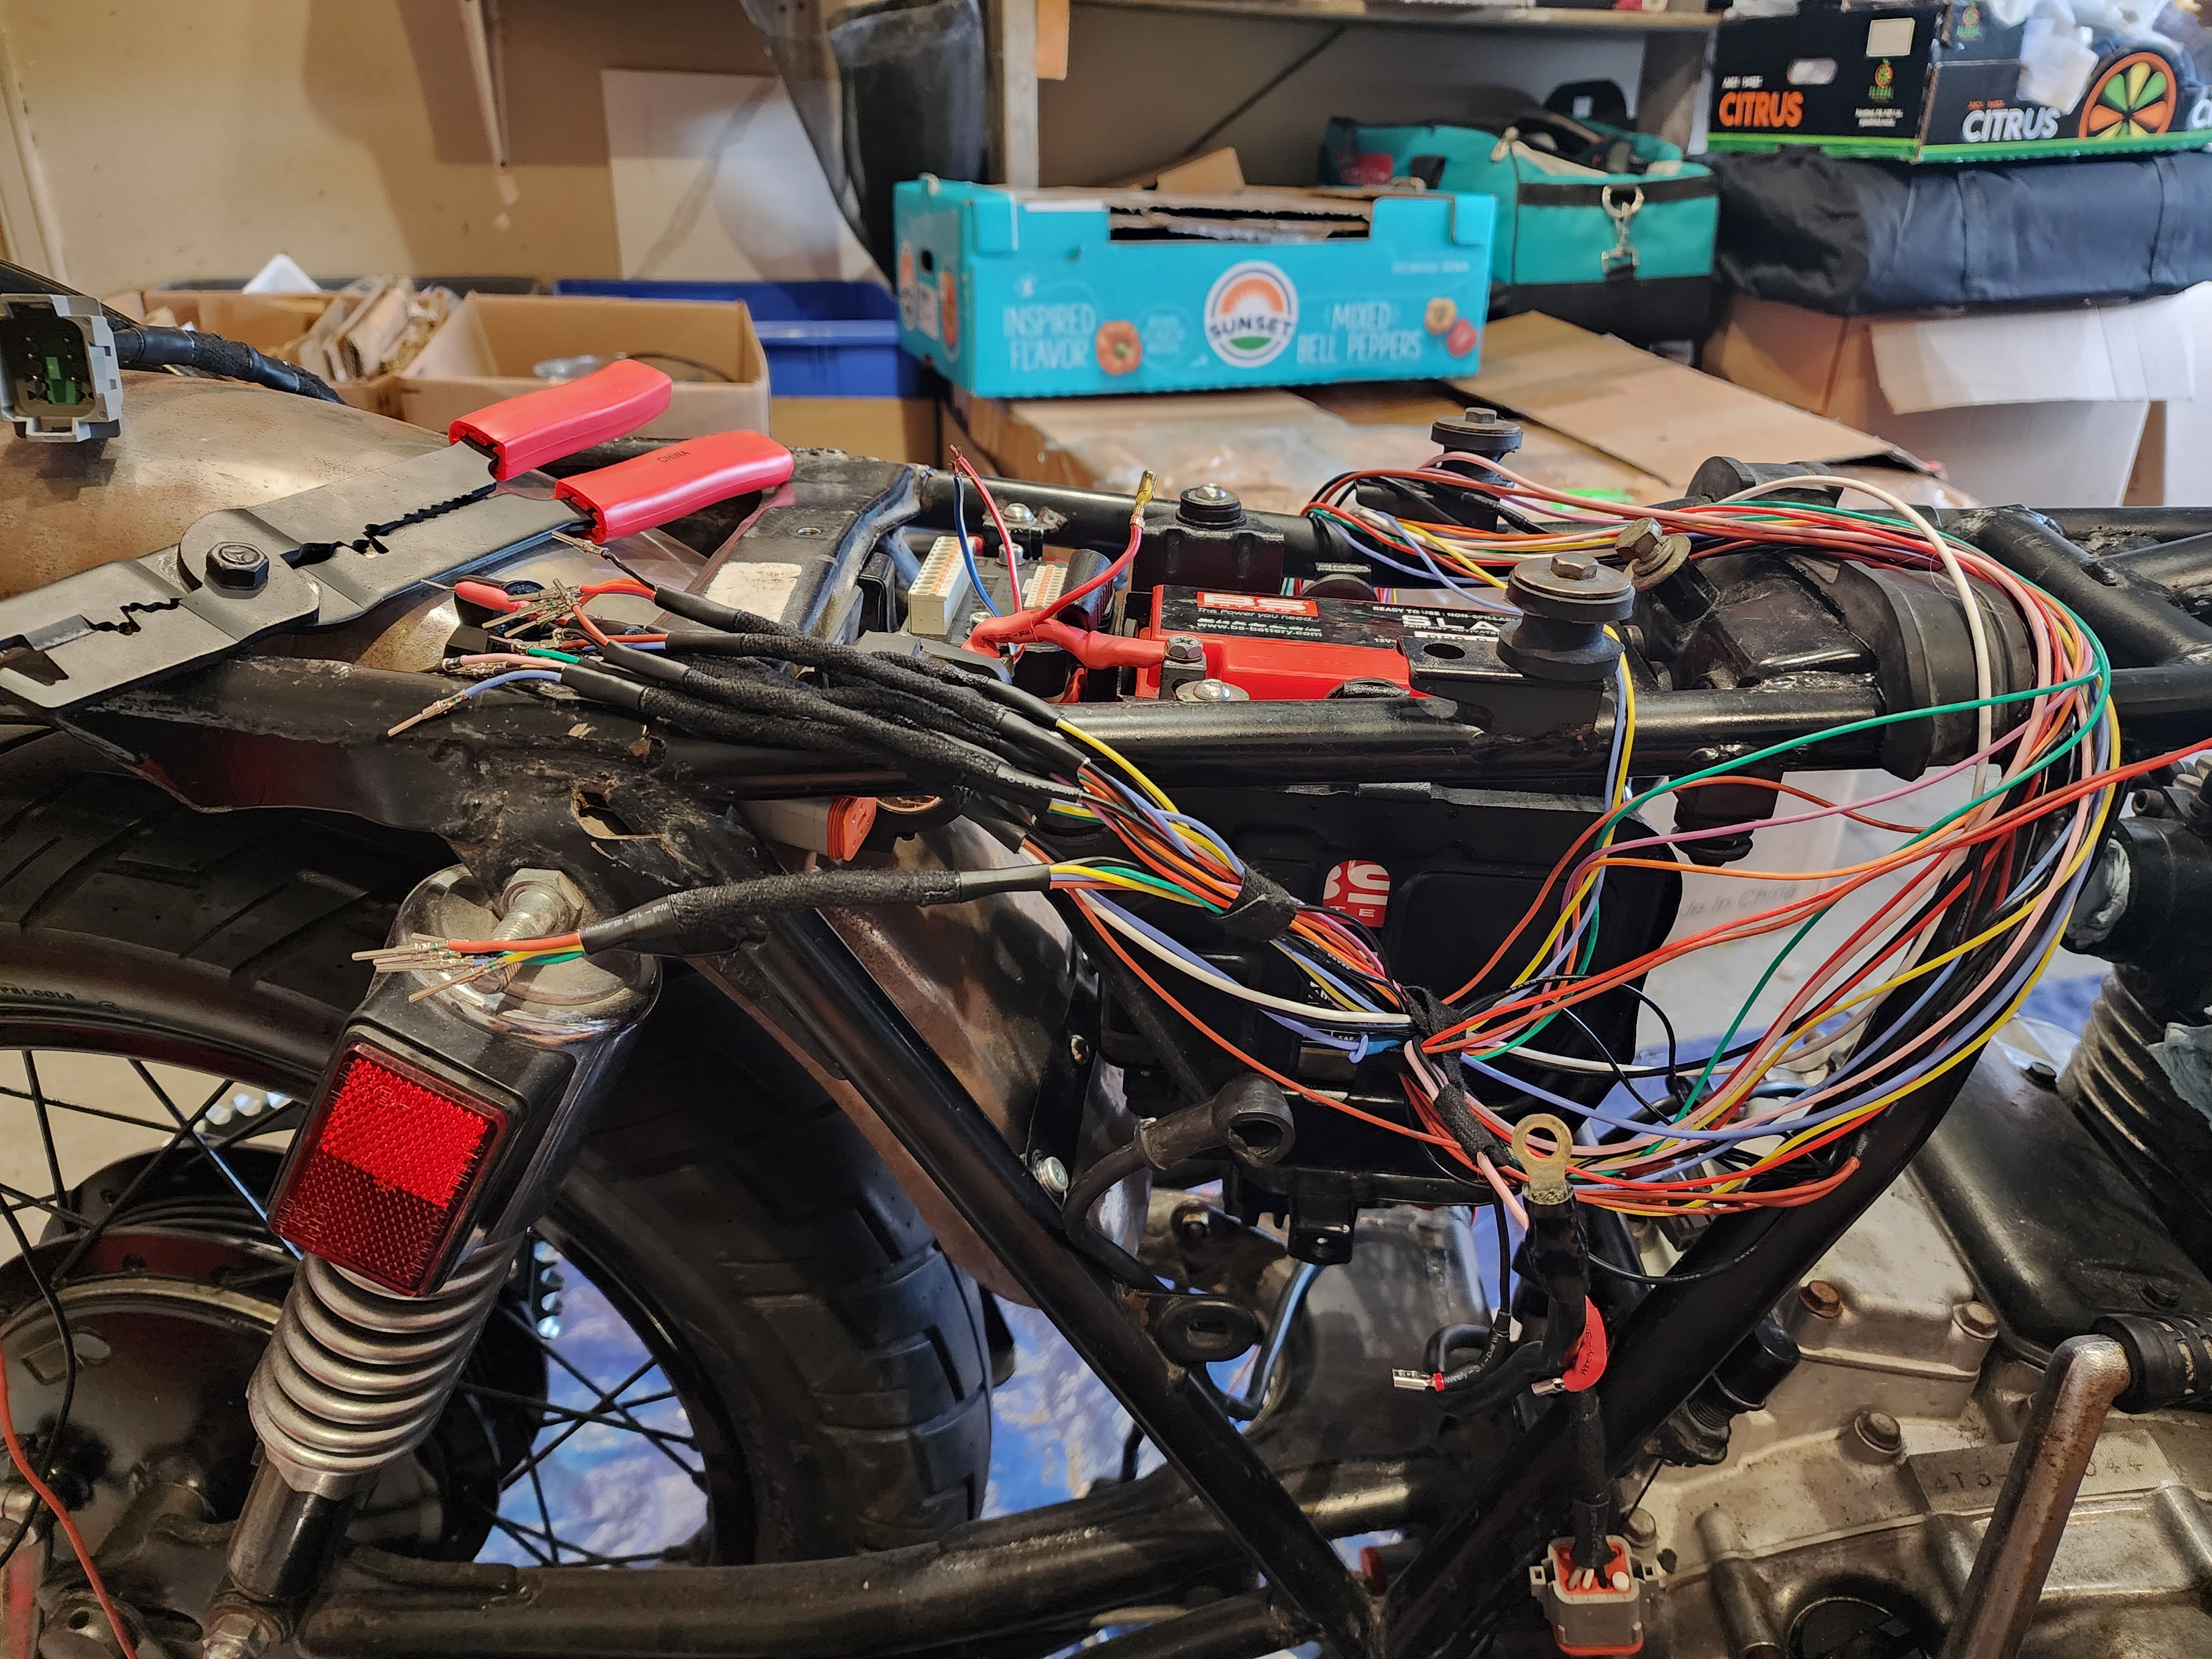 The front portion of the wiring harness.
I’m not quite ready to fully finish looming the harness, as I haven’t yet mounted my garage door opener solution, or the license plate bracket, which legally must be lit in Ontario.
Garage door opener
One of my signature moves when acquiring a bike is to add a handlebar mounted garage door opener. This is the case on my ZX-6R and on my dad’s Concours, but all they are is a remote button soldered to the contacts on the PCB. That is, they still require changing the batteries every so often. My solution to this is extremely overkill, but is one of the cooler parts of this build.
The mo.unit has optional input and outputs AUX1 and AUX2, which can be configured to activate when a button is pressed. What I did is bridge the contacts of the button together, effectively making the garage door opener on whenever it has power. Then, I removed the battery and wired a 12v to 3v step-down converter to the positive and negative battery terminals.
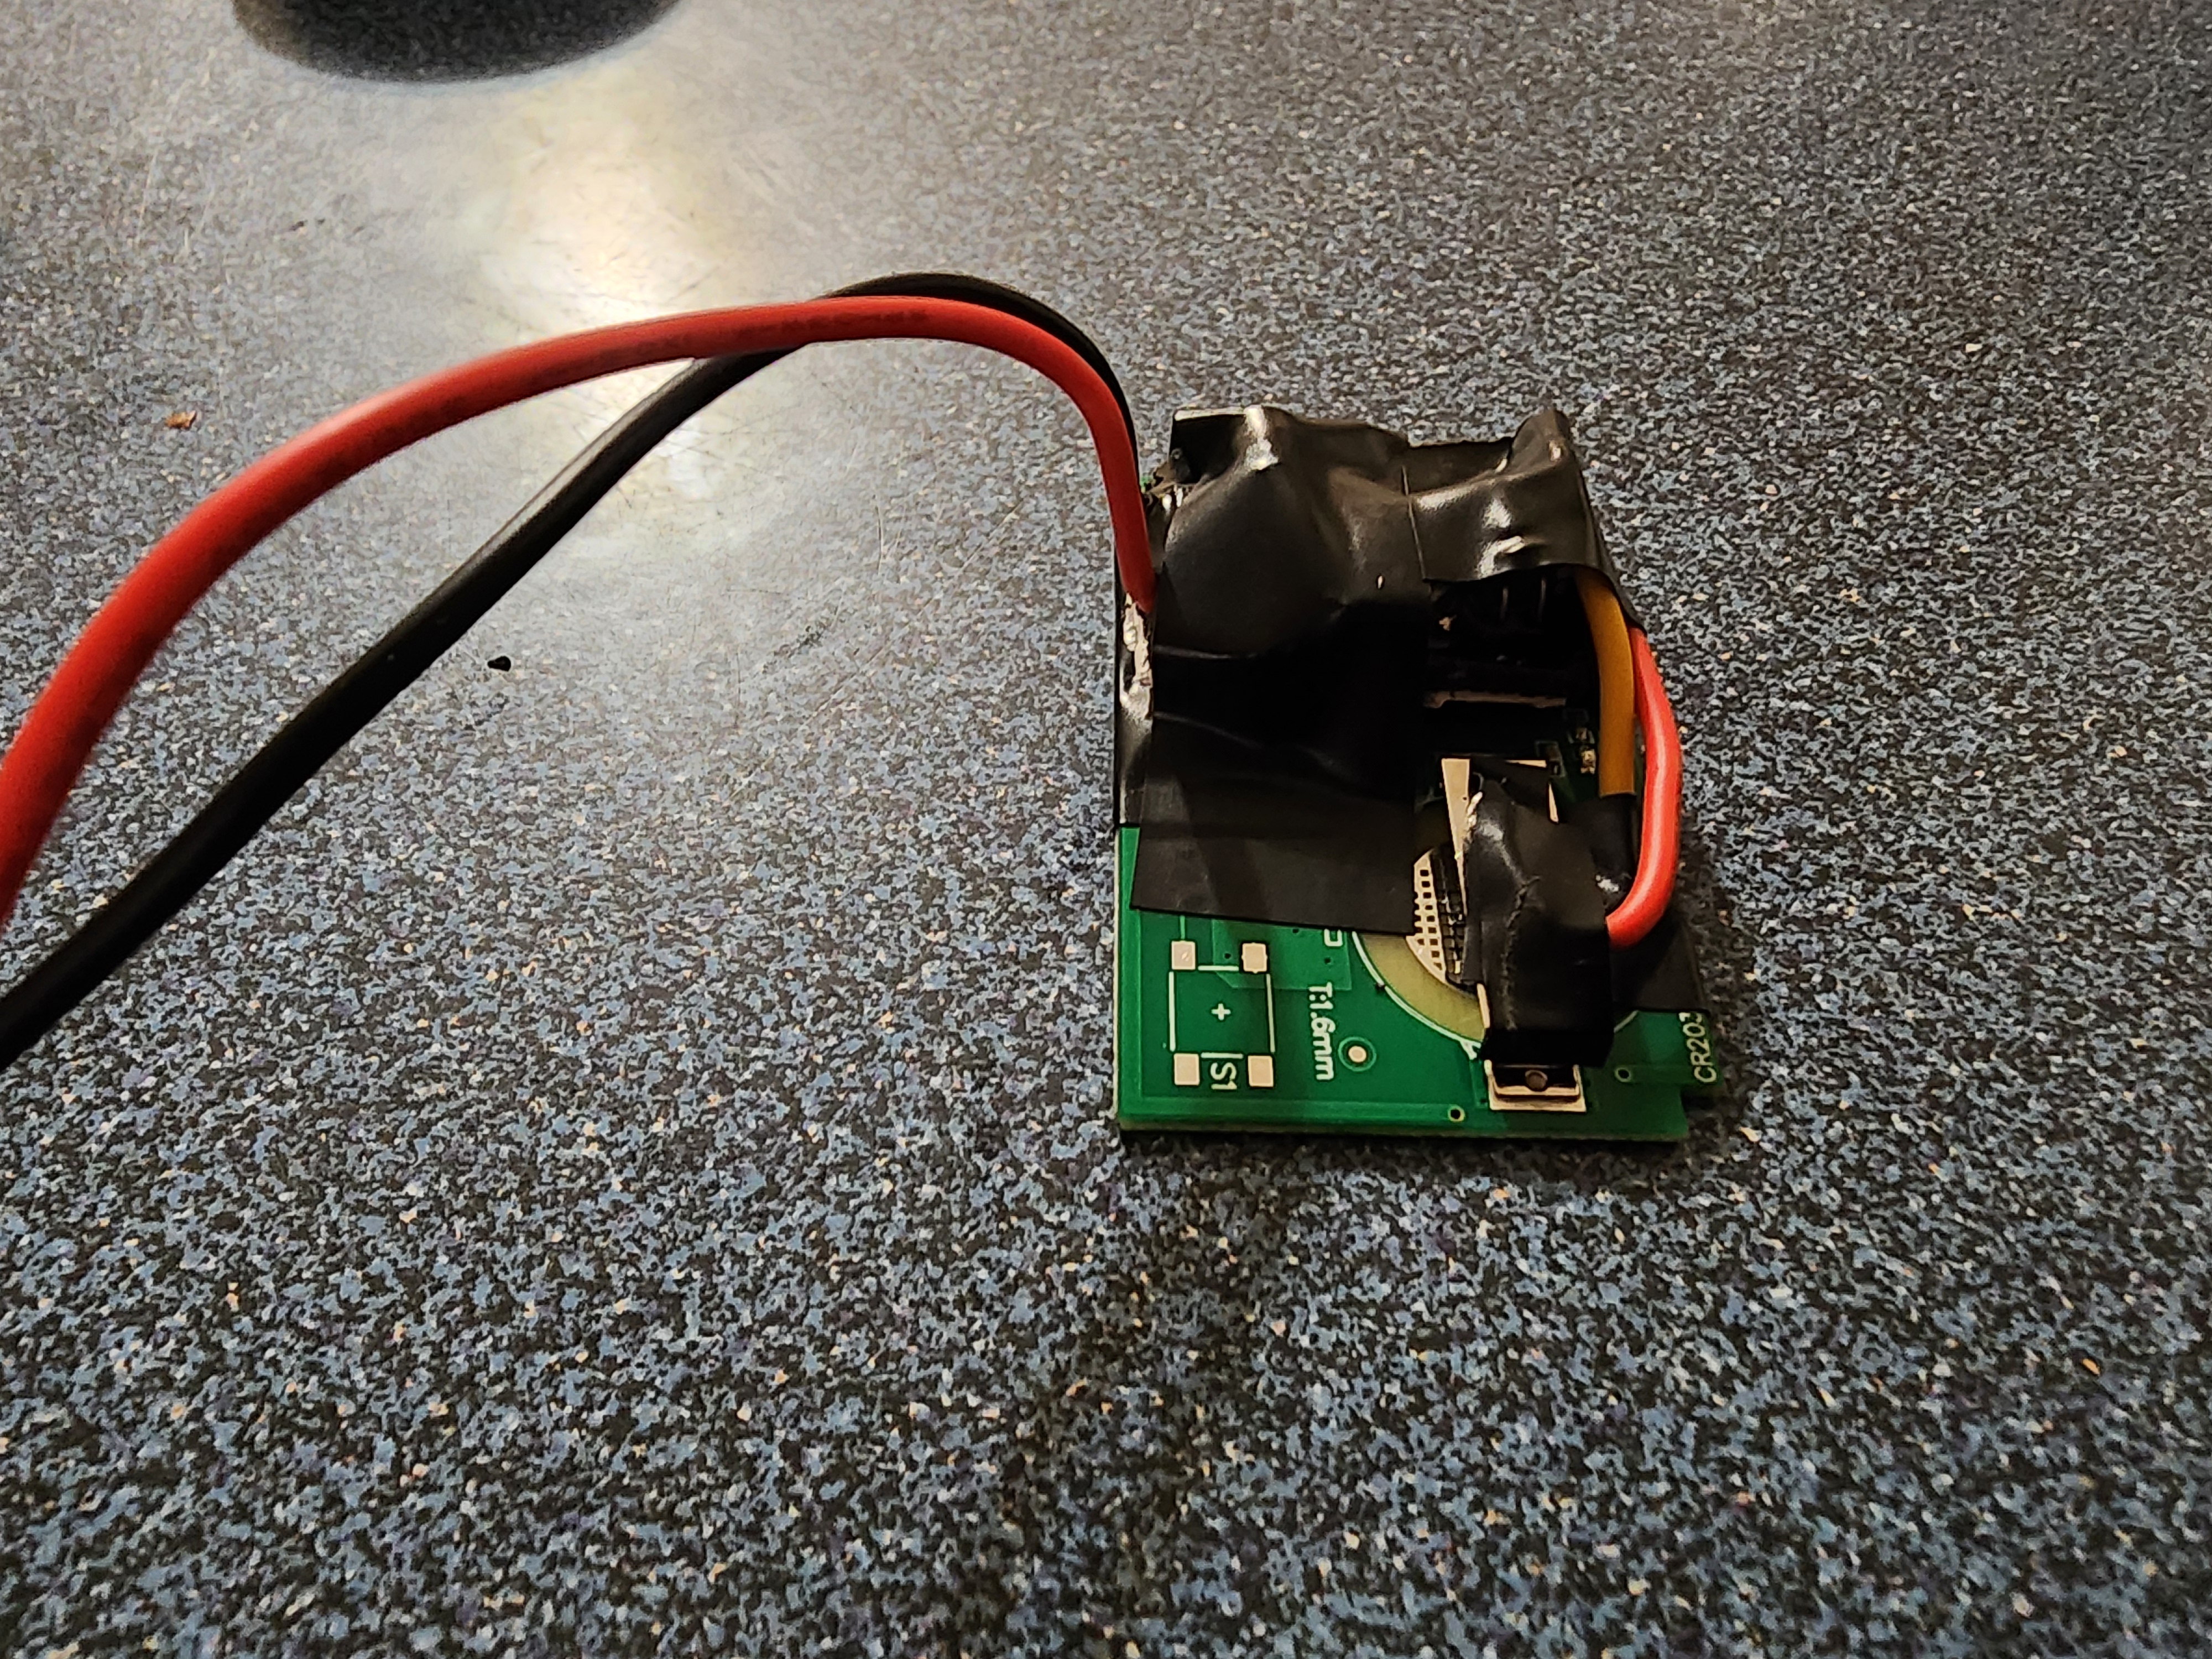 The modified garage door opener.
The result is a garage door opener that activates upon receiving 12v power, which can be hooked up the the AUX1 output of the mo.unit! I had planned to do this from the beginning and already have the push-button wired up on the right handle bar control.
The next steps are to make or buy a box to store this, mount it, and wire it into the harness. The same goes for the wires for the licence plate light.
More painting
With the weather being warmer again, it’s time to start rattle-canning some stuff black! This time, my victims were limited to just the forks, but rest assured, there will be more in the near future…
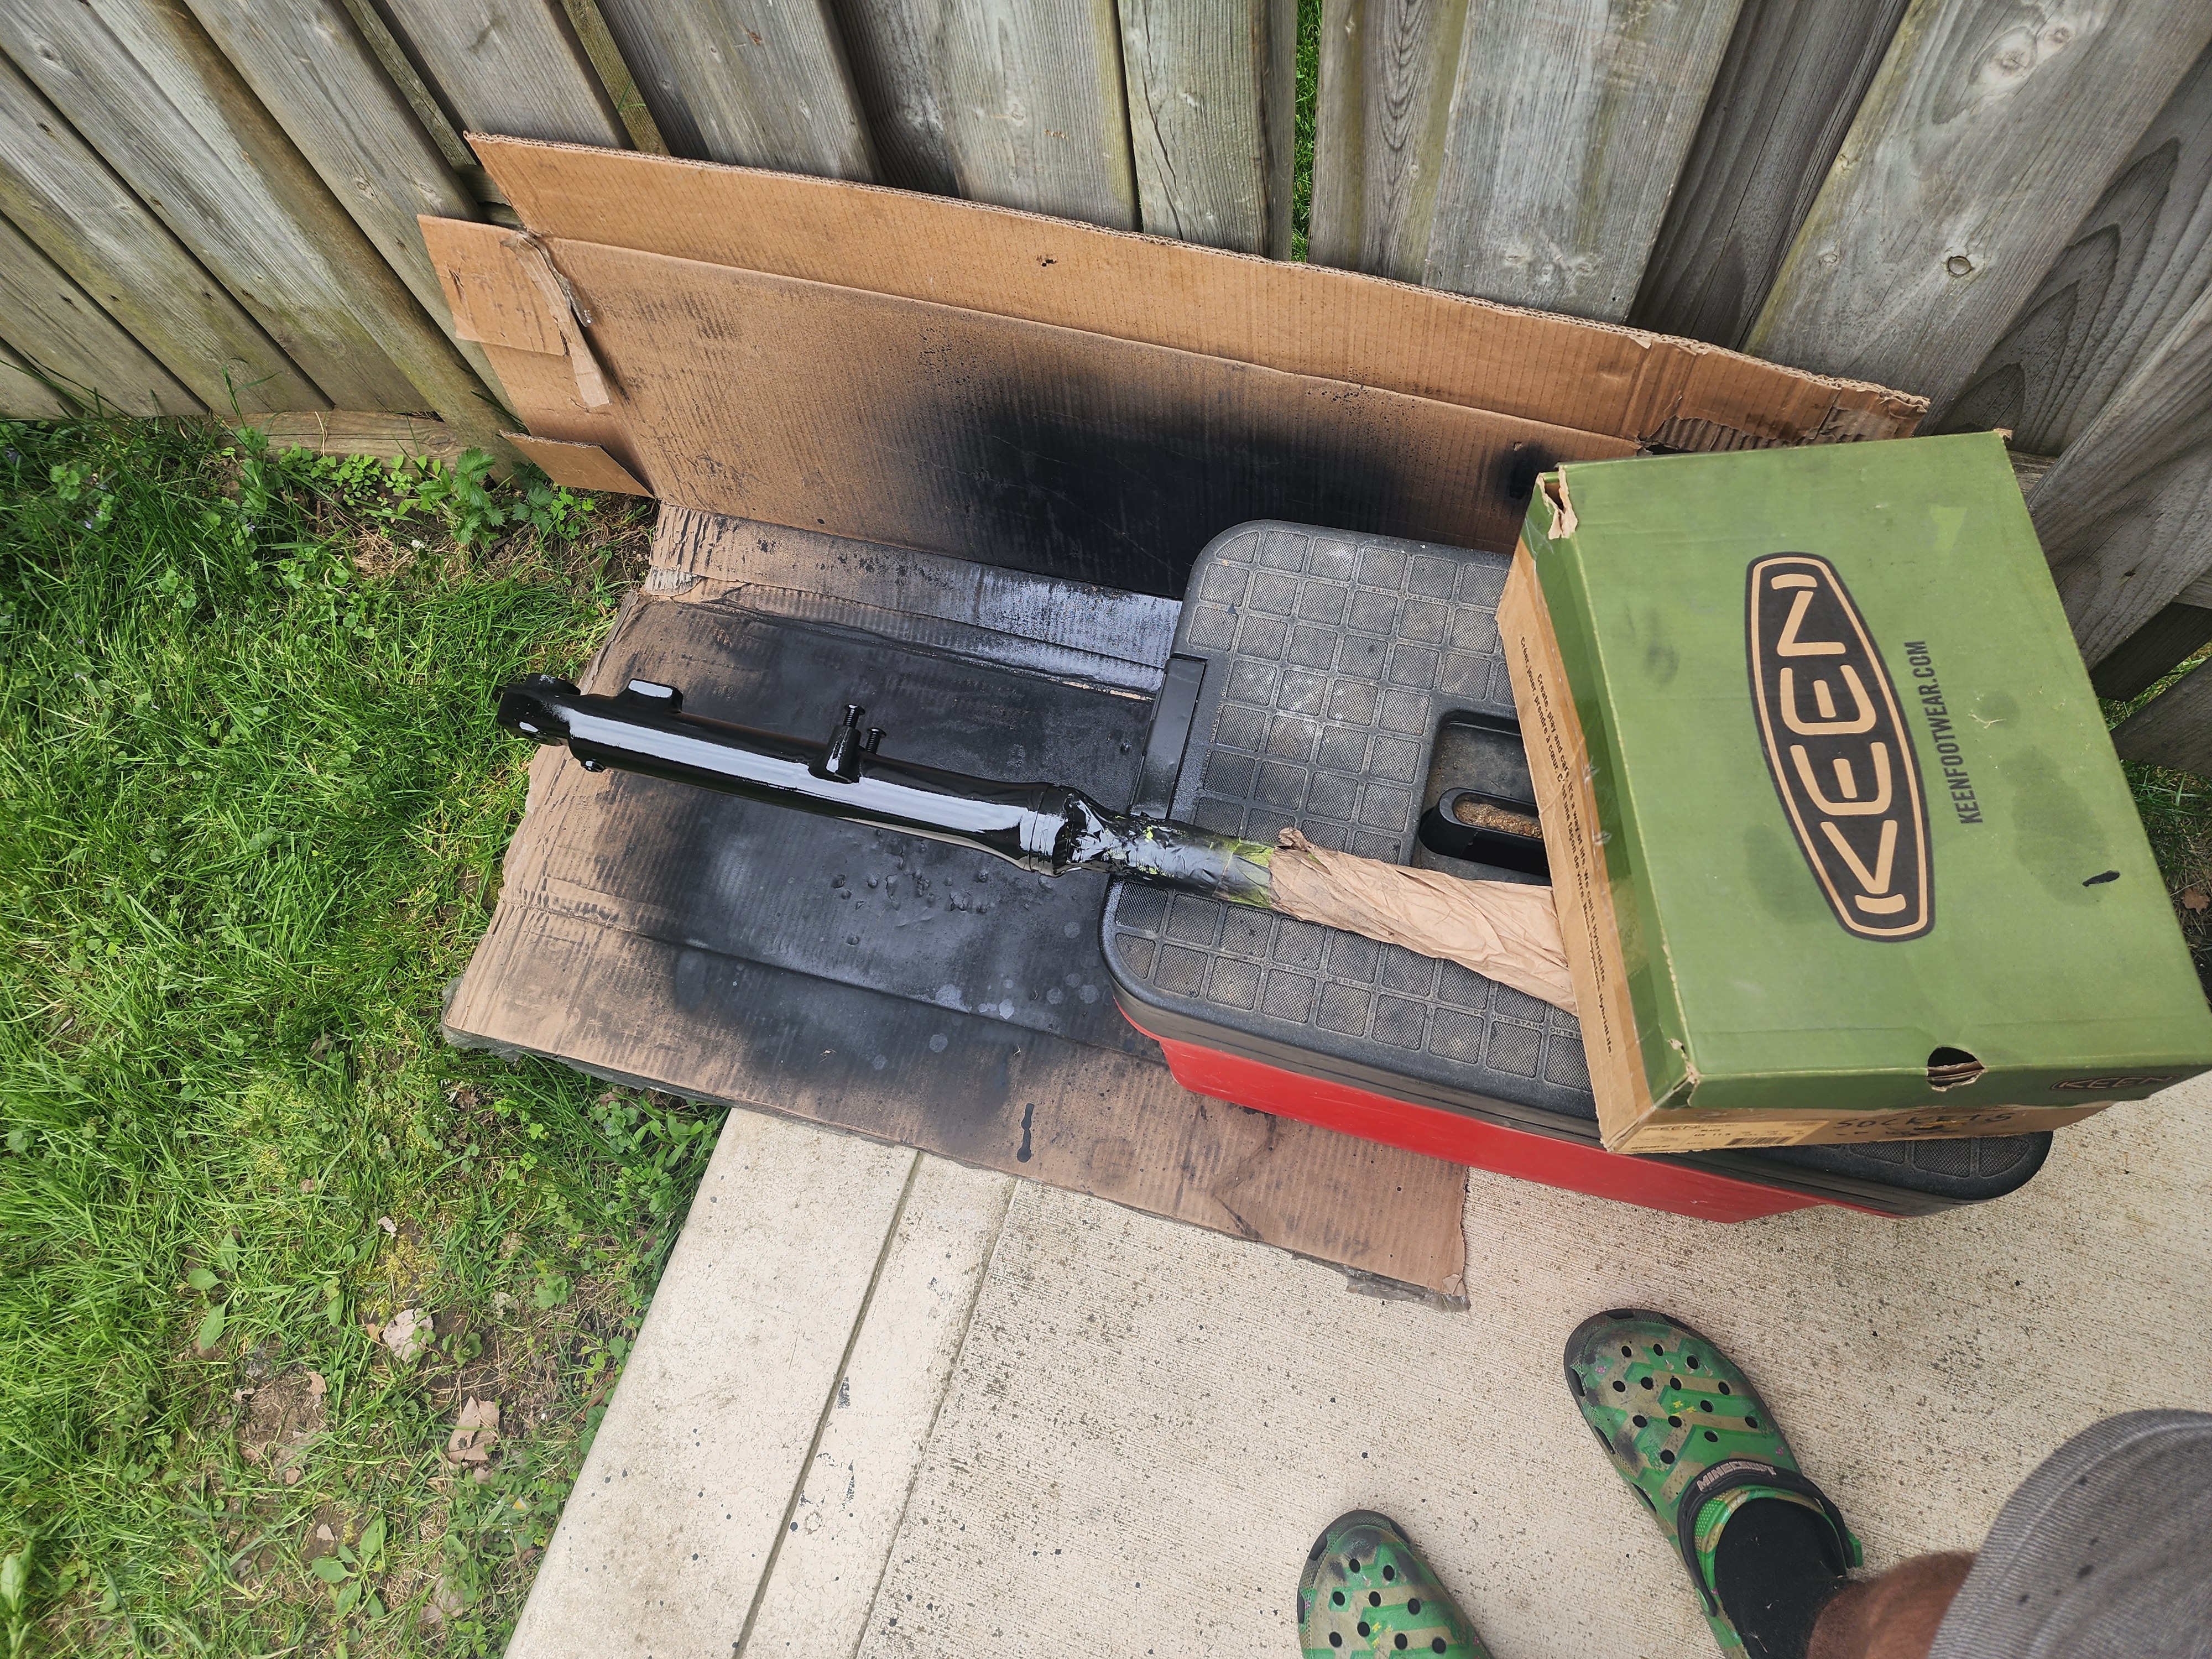 Rattle-canning the forks.
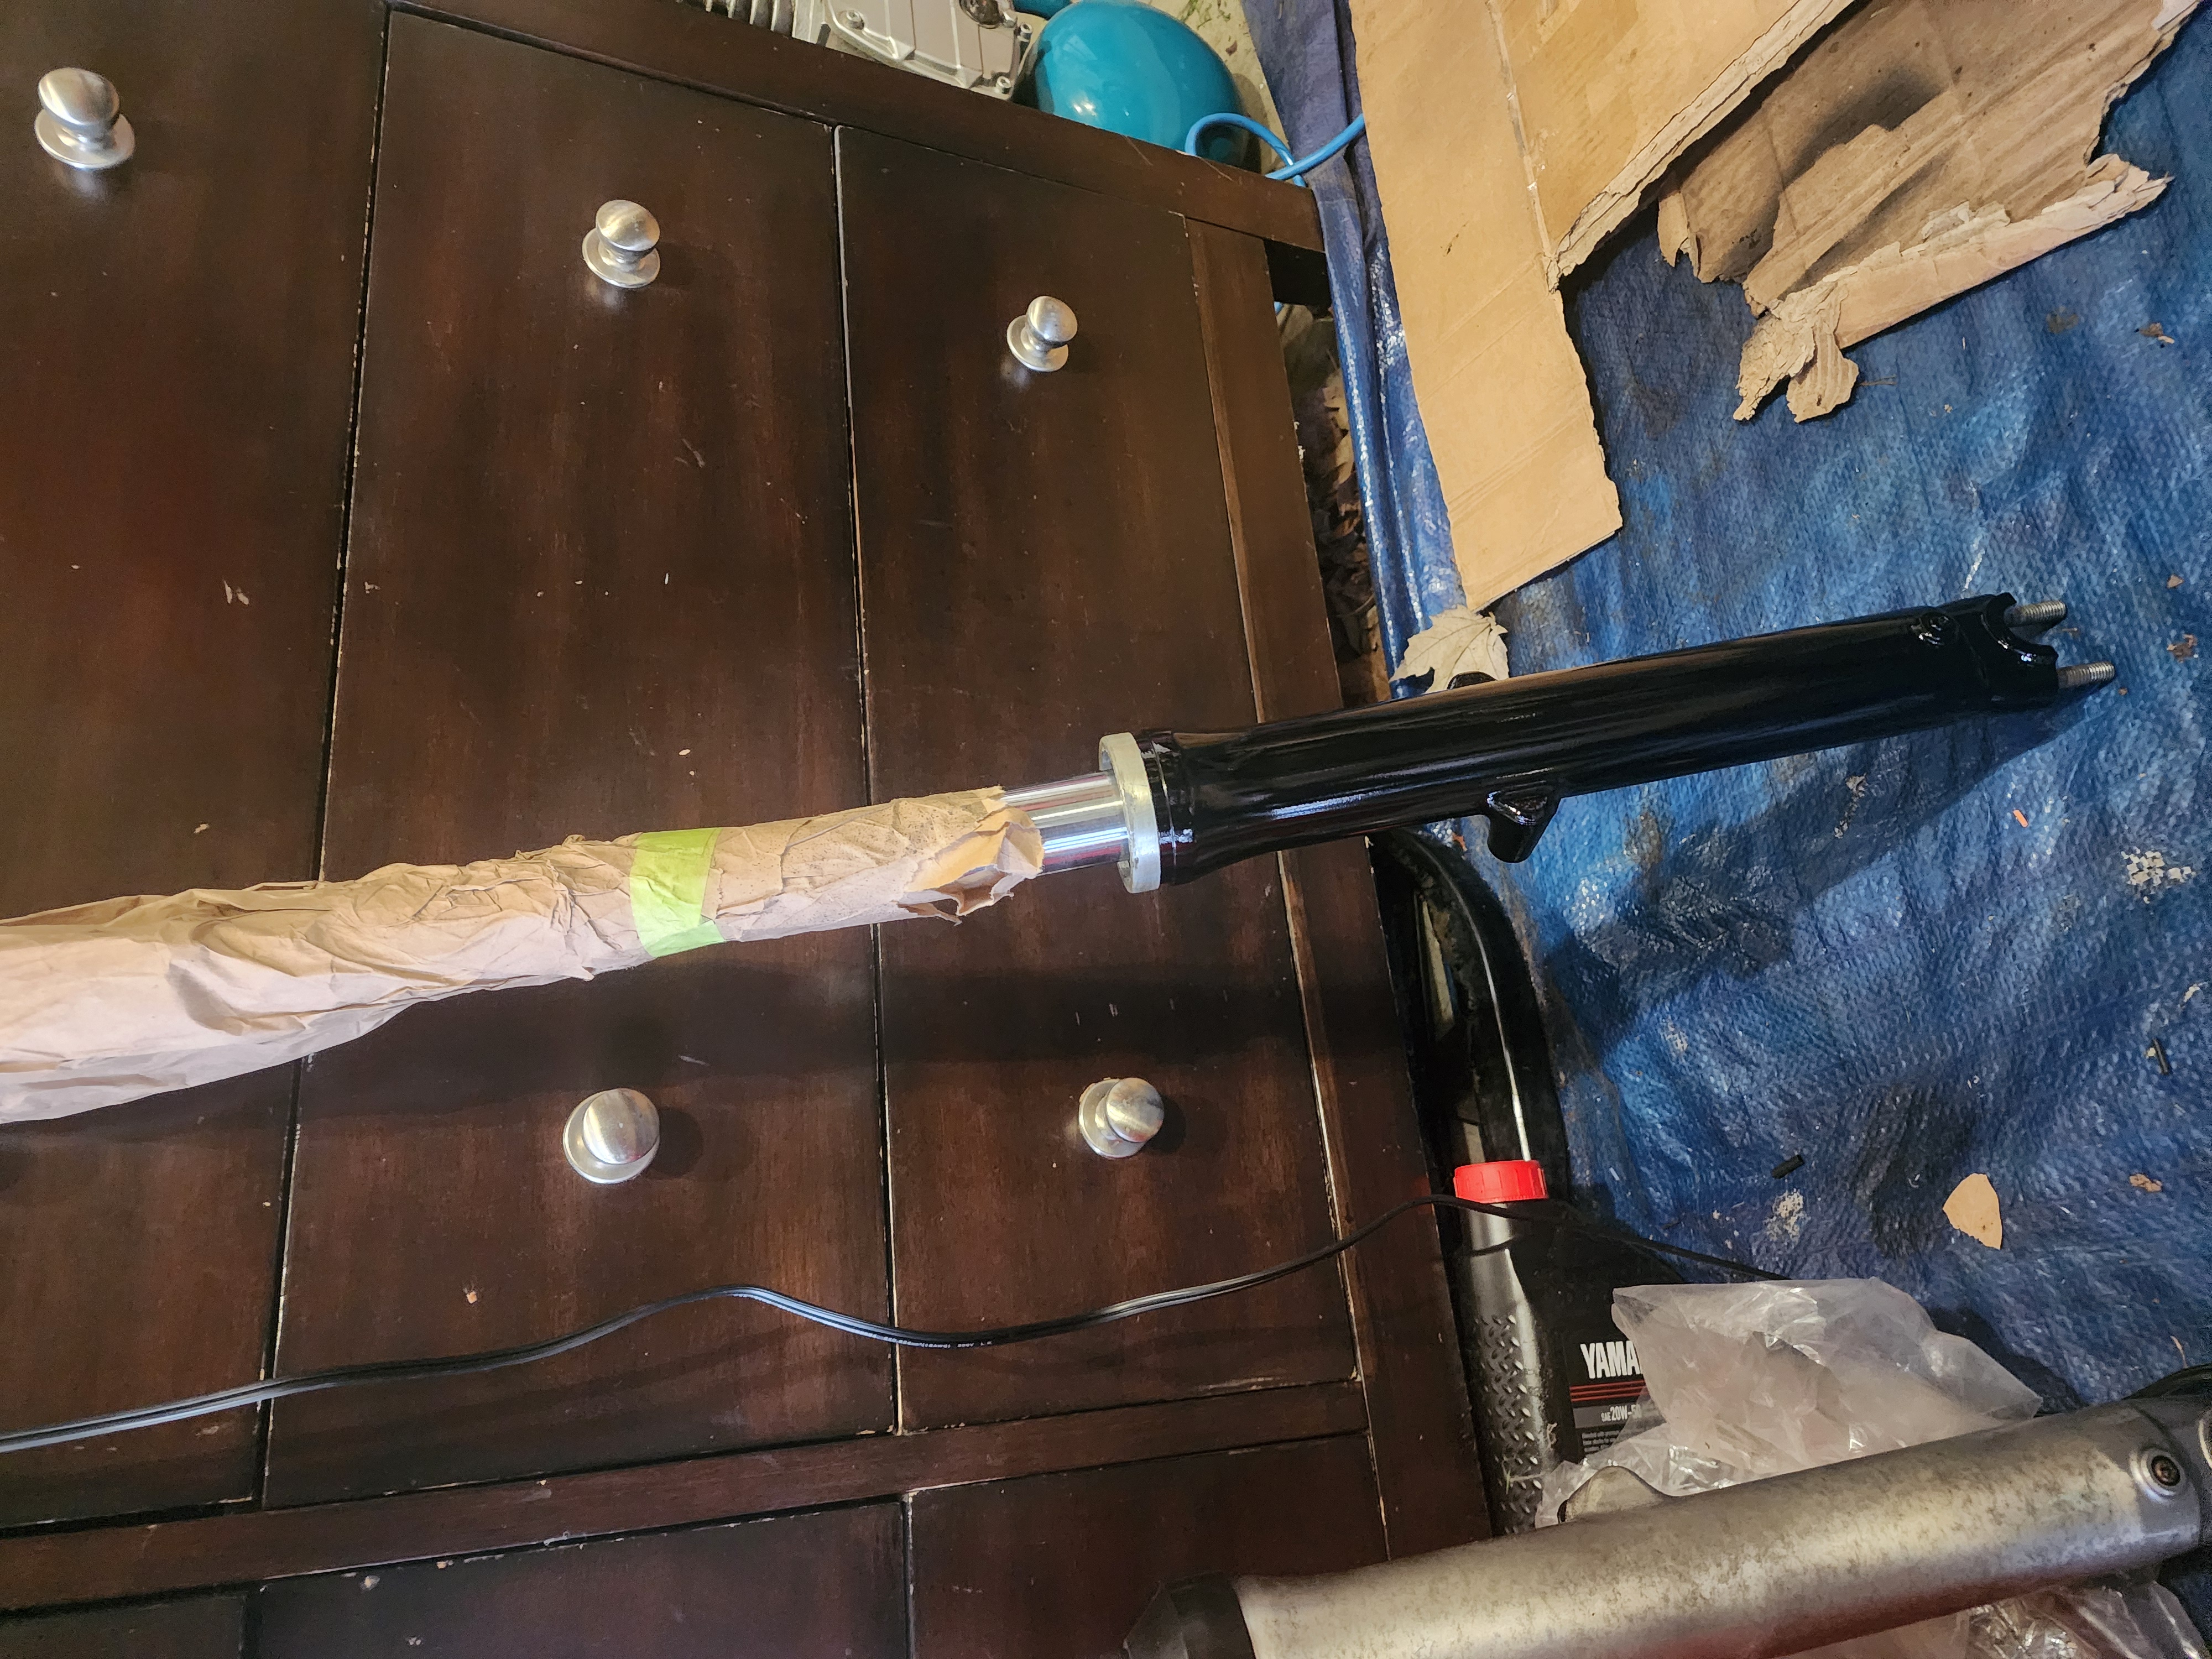 A finished fork leg.
They actually turned out really nice, a good shine to them.
Headlight system pivot
I originally intended to use the original headlight bucket and housing, but decided that if I’m going through all the trouble of creating a fancy wiring harness, and using a product like the mo.unit, which gives the bike keyless ignition, flashing brake lights, digital fuses, etc. I might as well just convert the entire bike to LEDs, including the headlight. I bought a generic amazon LED headlight, and an ebay headlight bucket that fits it. The LED headlight really makes the bike look modern.
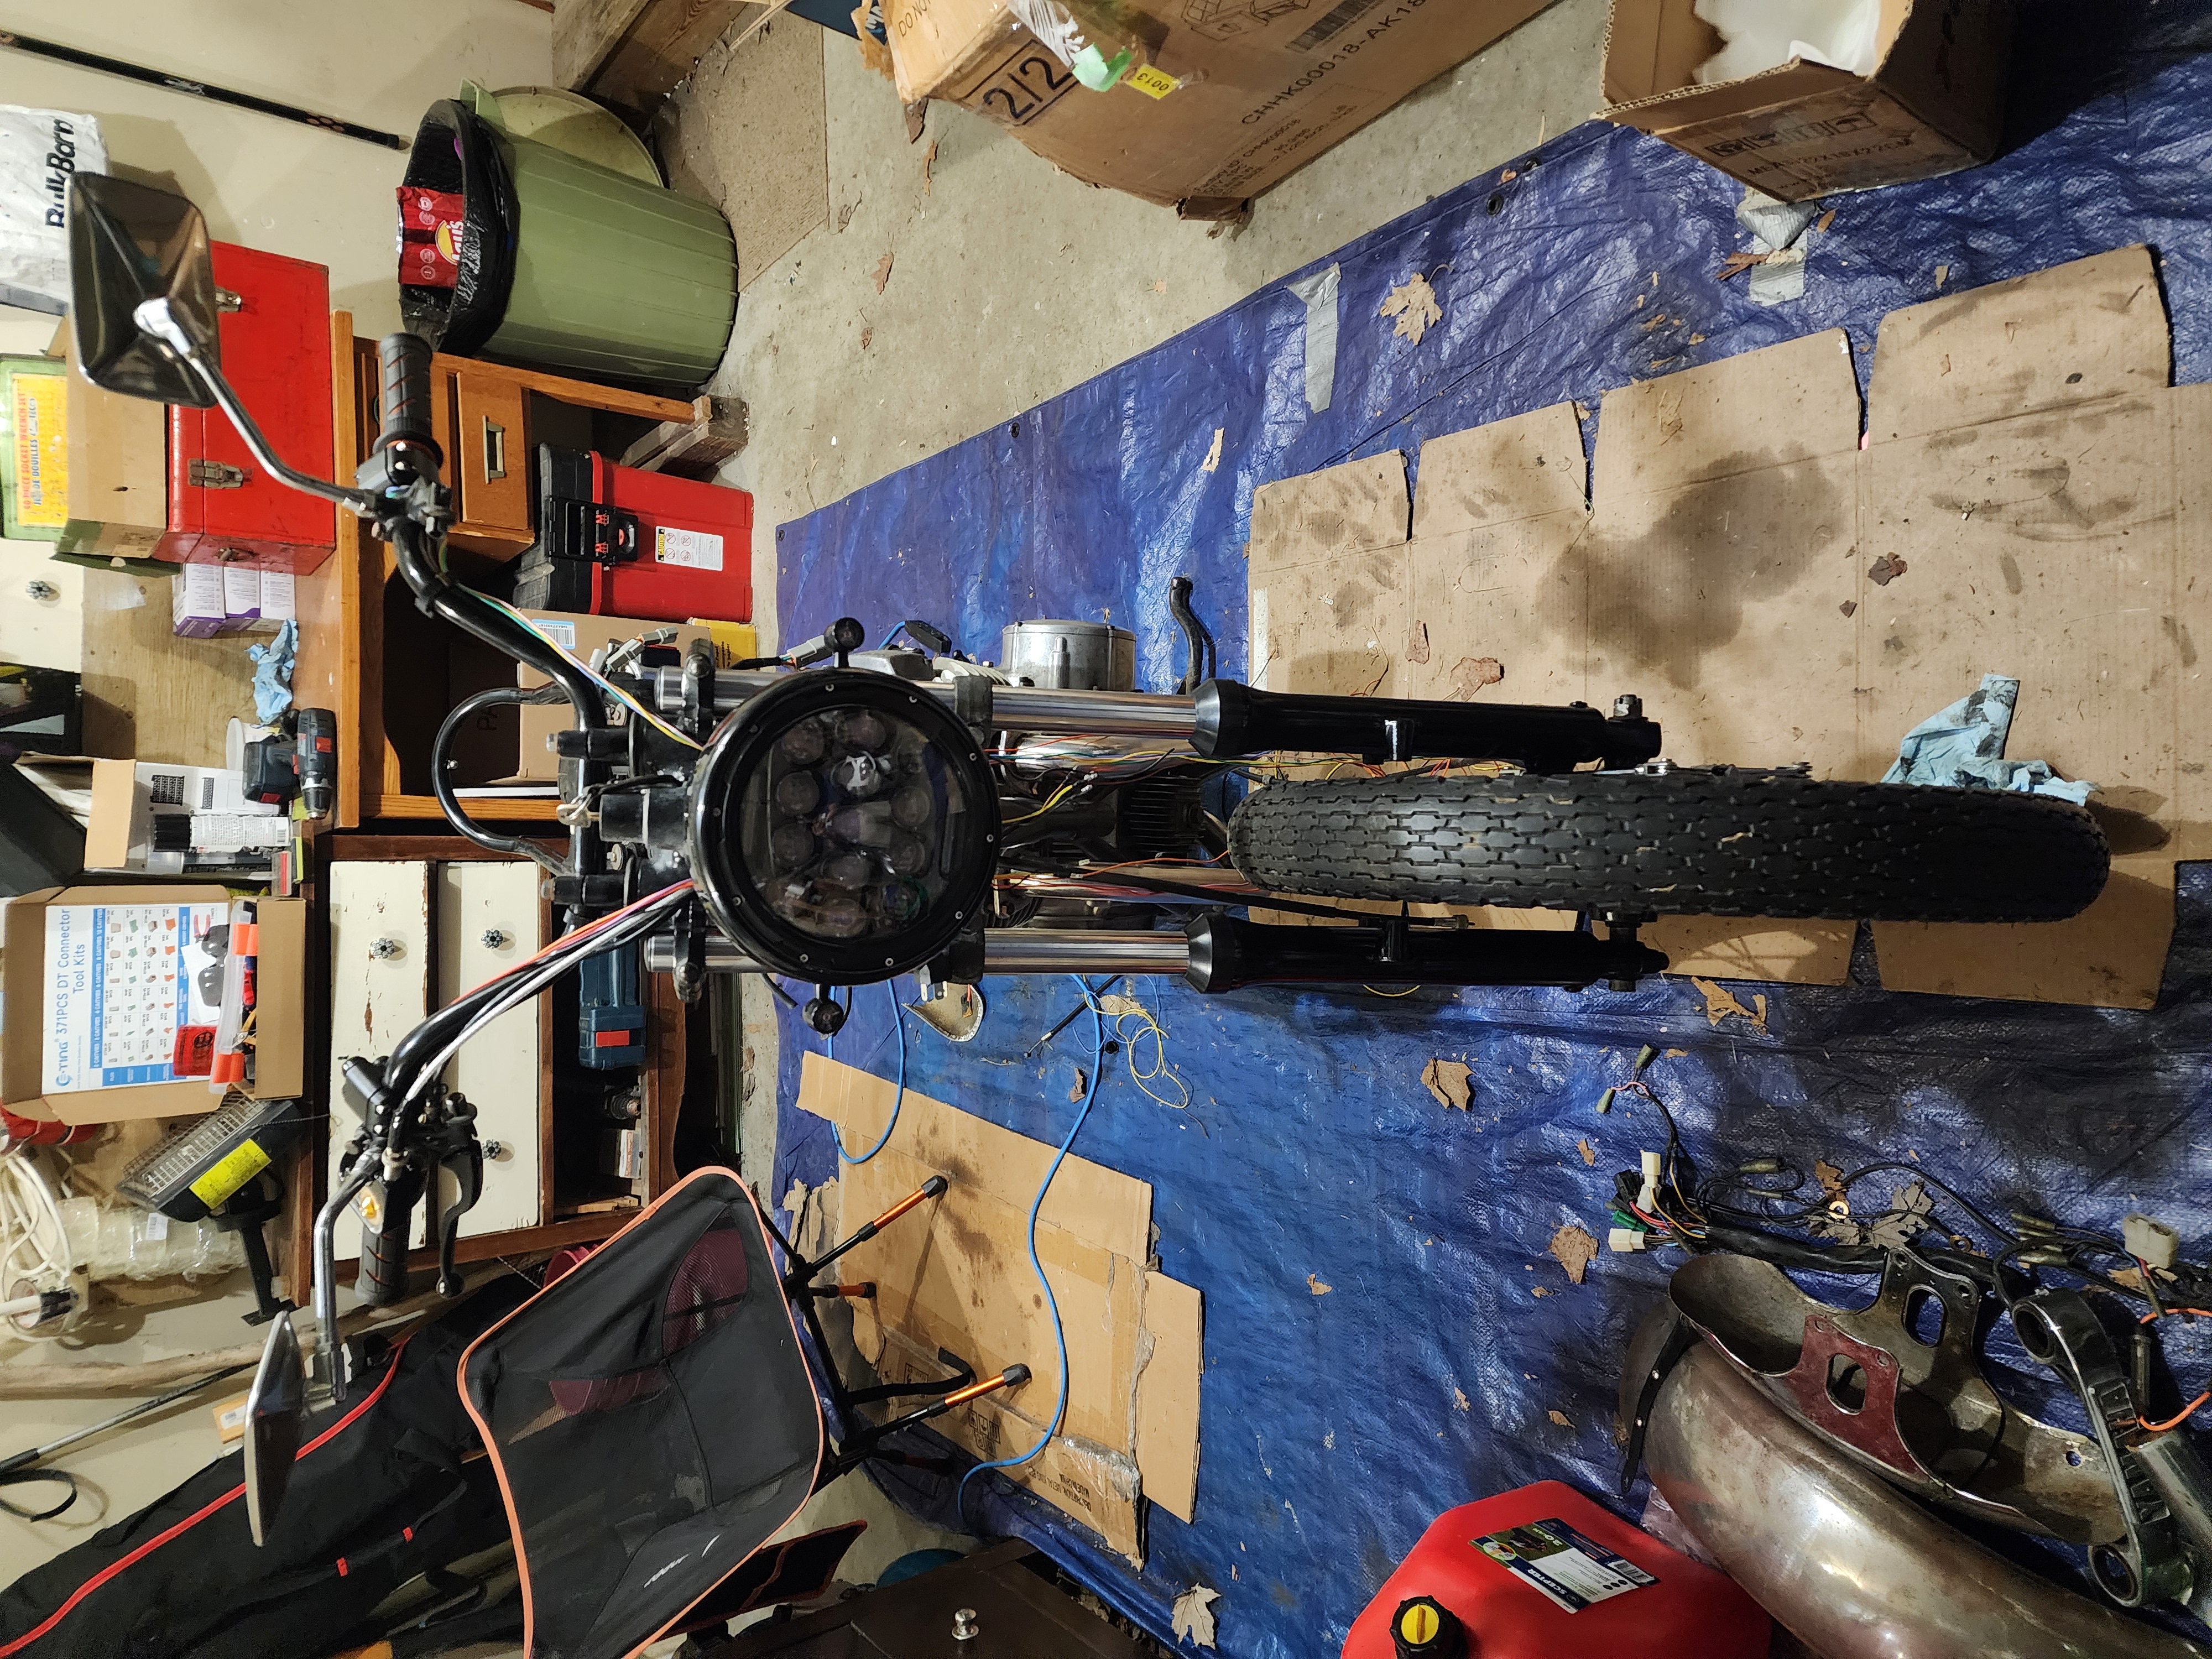 The new headlight mounted.
July, 2026 (1)
Front sprocket and clutch cable
After a parts order arrived at the dealership, I was able to install my new sprocket, and test fit the chain to make sure I got the correct rear sprocket (some of these bikes needed a special rear sprocket).
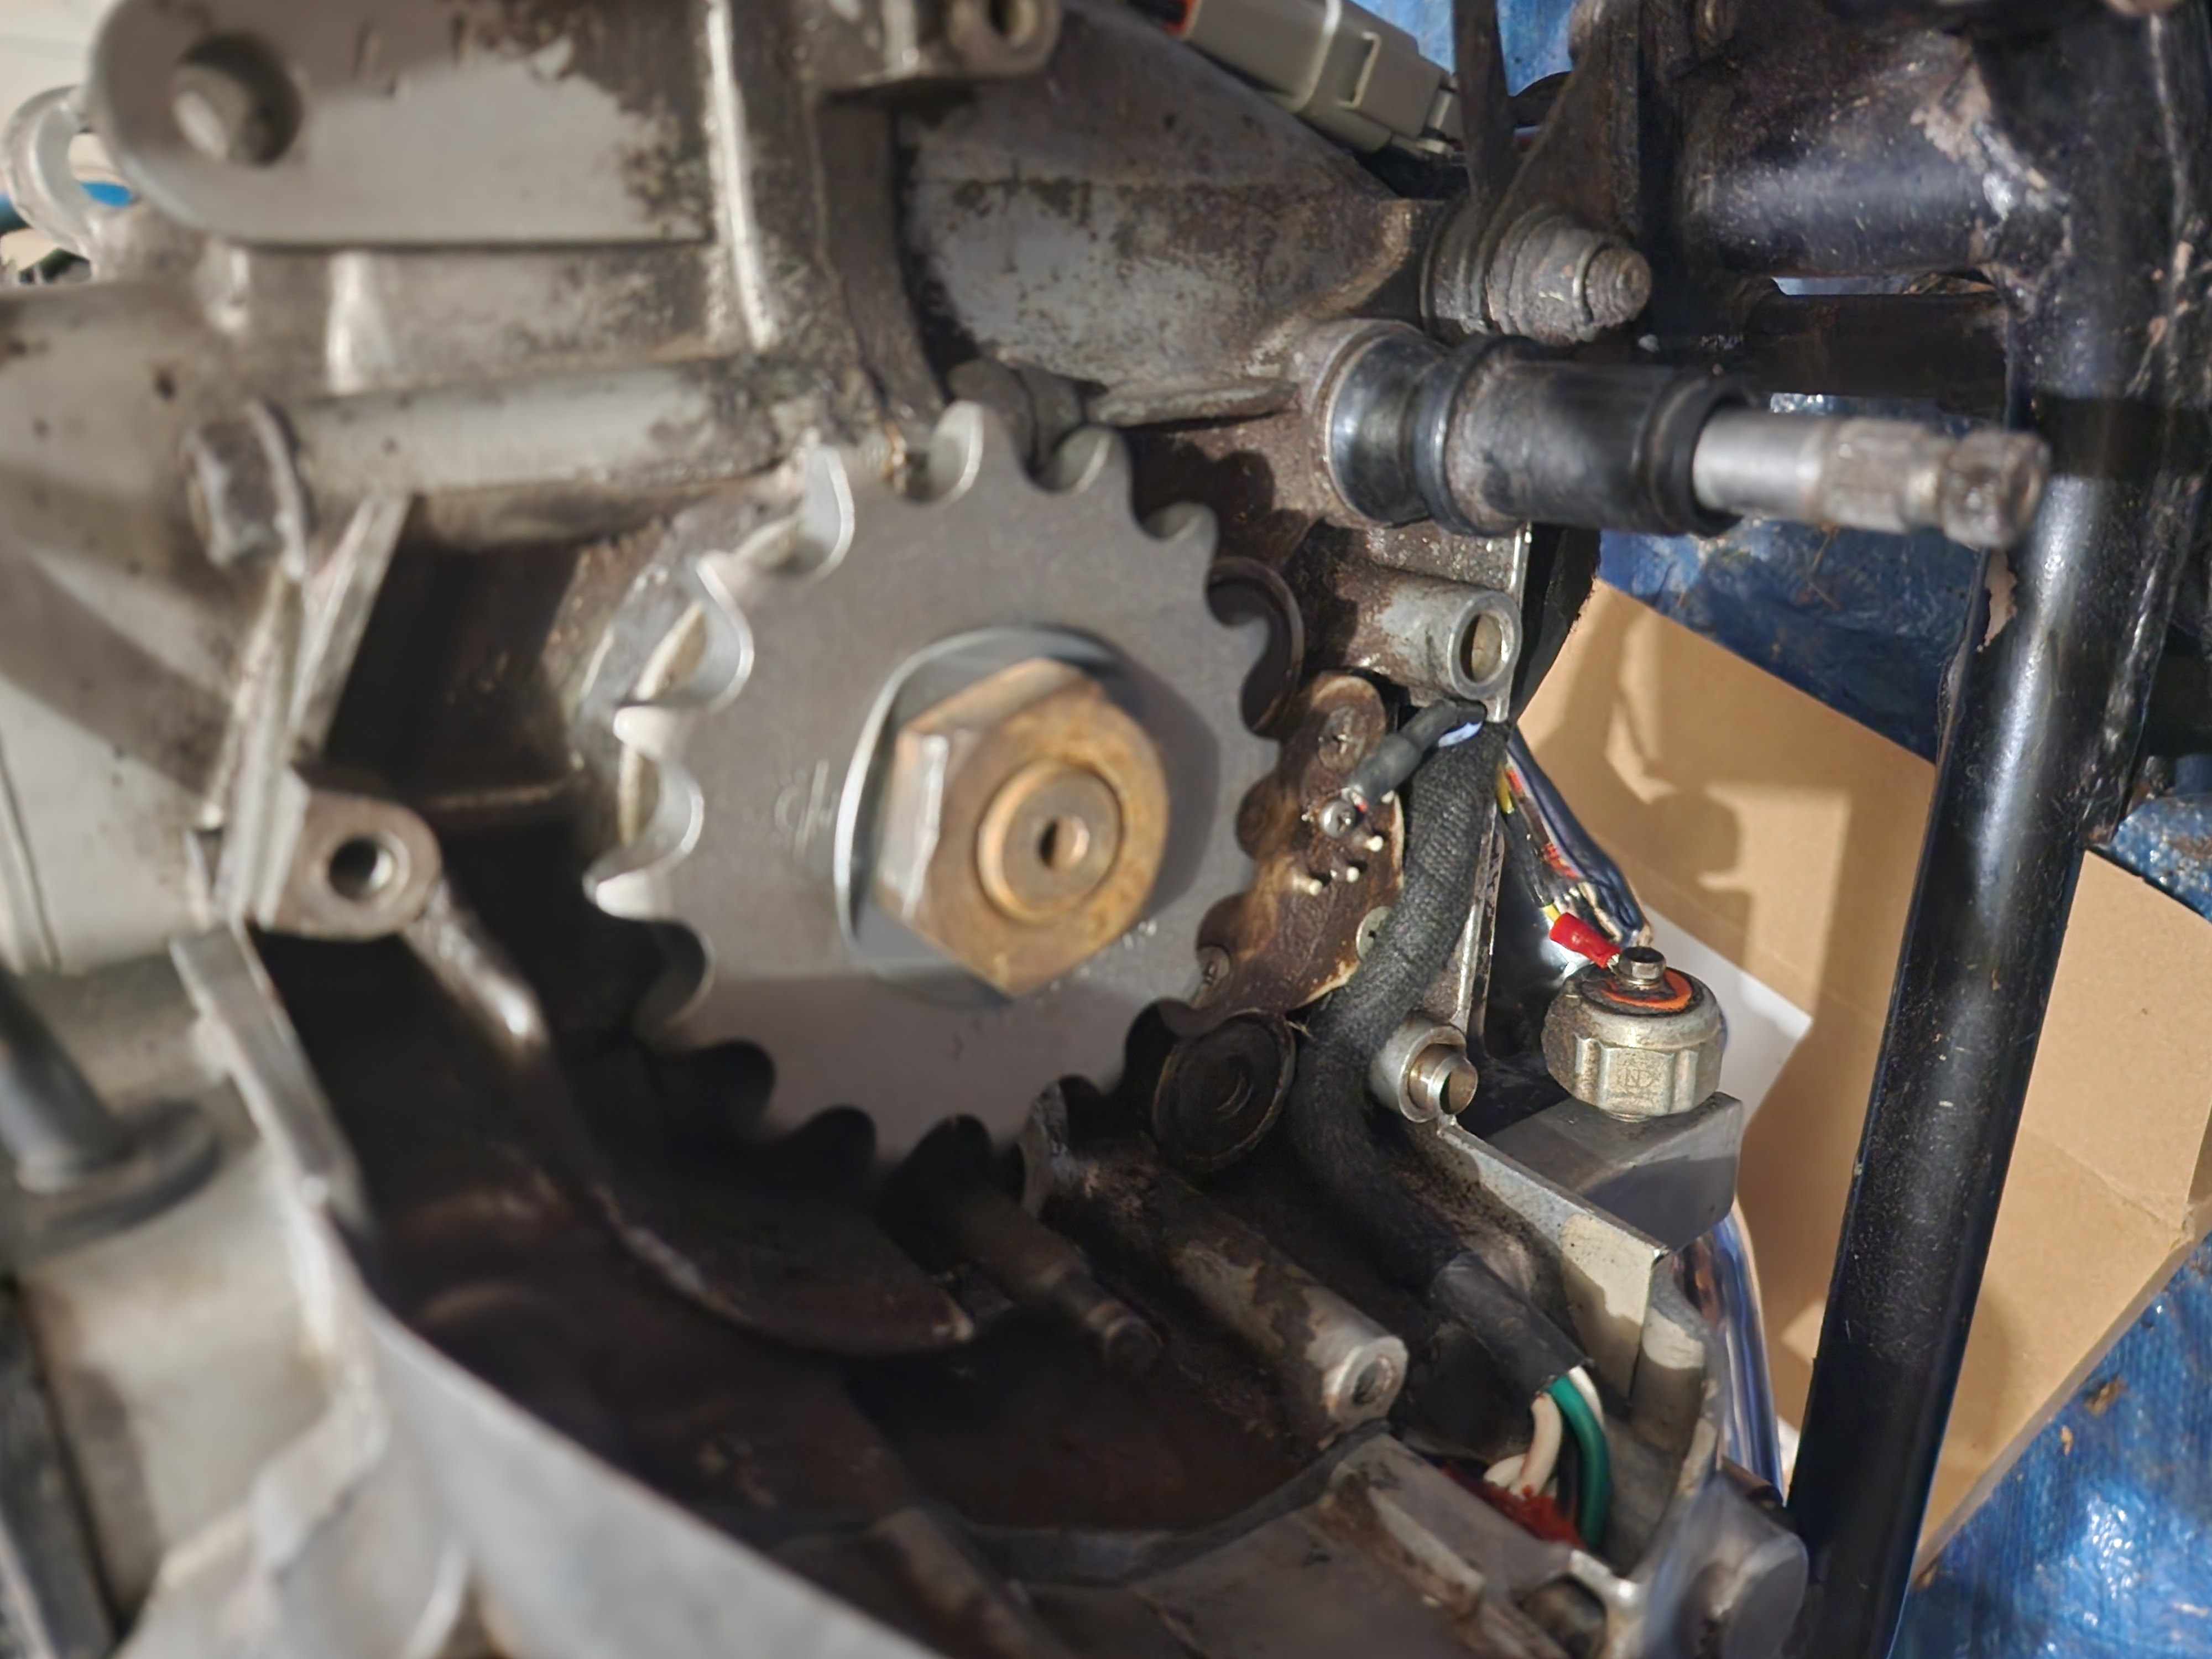 The new front sprocket installed.
With chain fitment confirmed, I also reattached the cluch cable, and cover, but didn’t bolt it all up yet, as I still need to change the rear tire. No point in fully installing everything if it’s all coming back apart in a week.
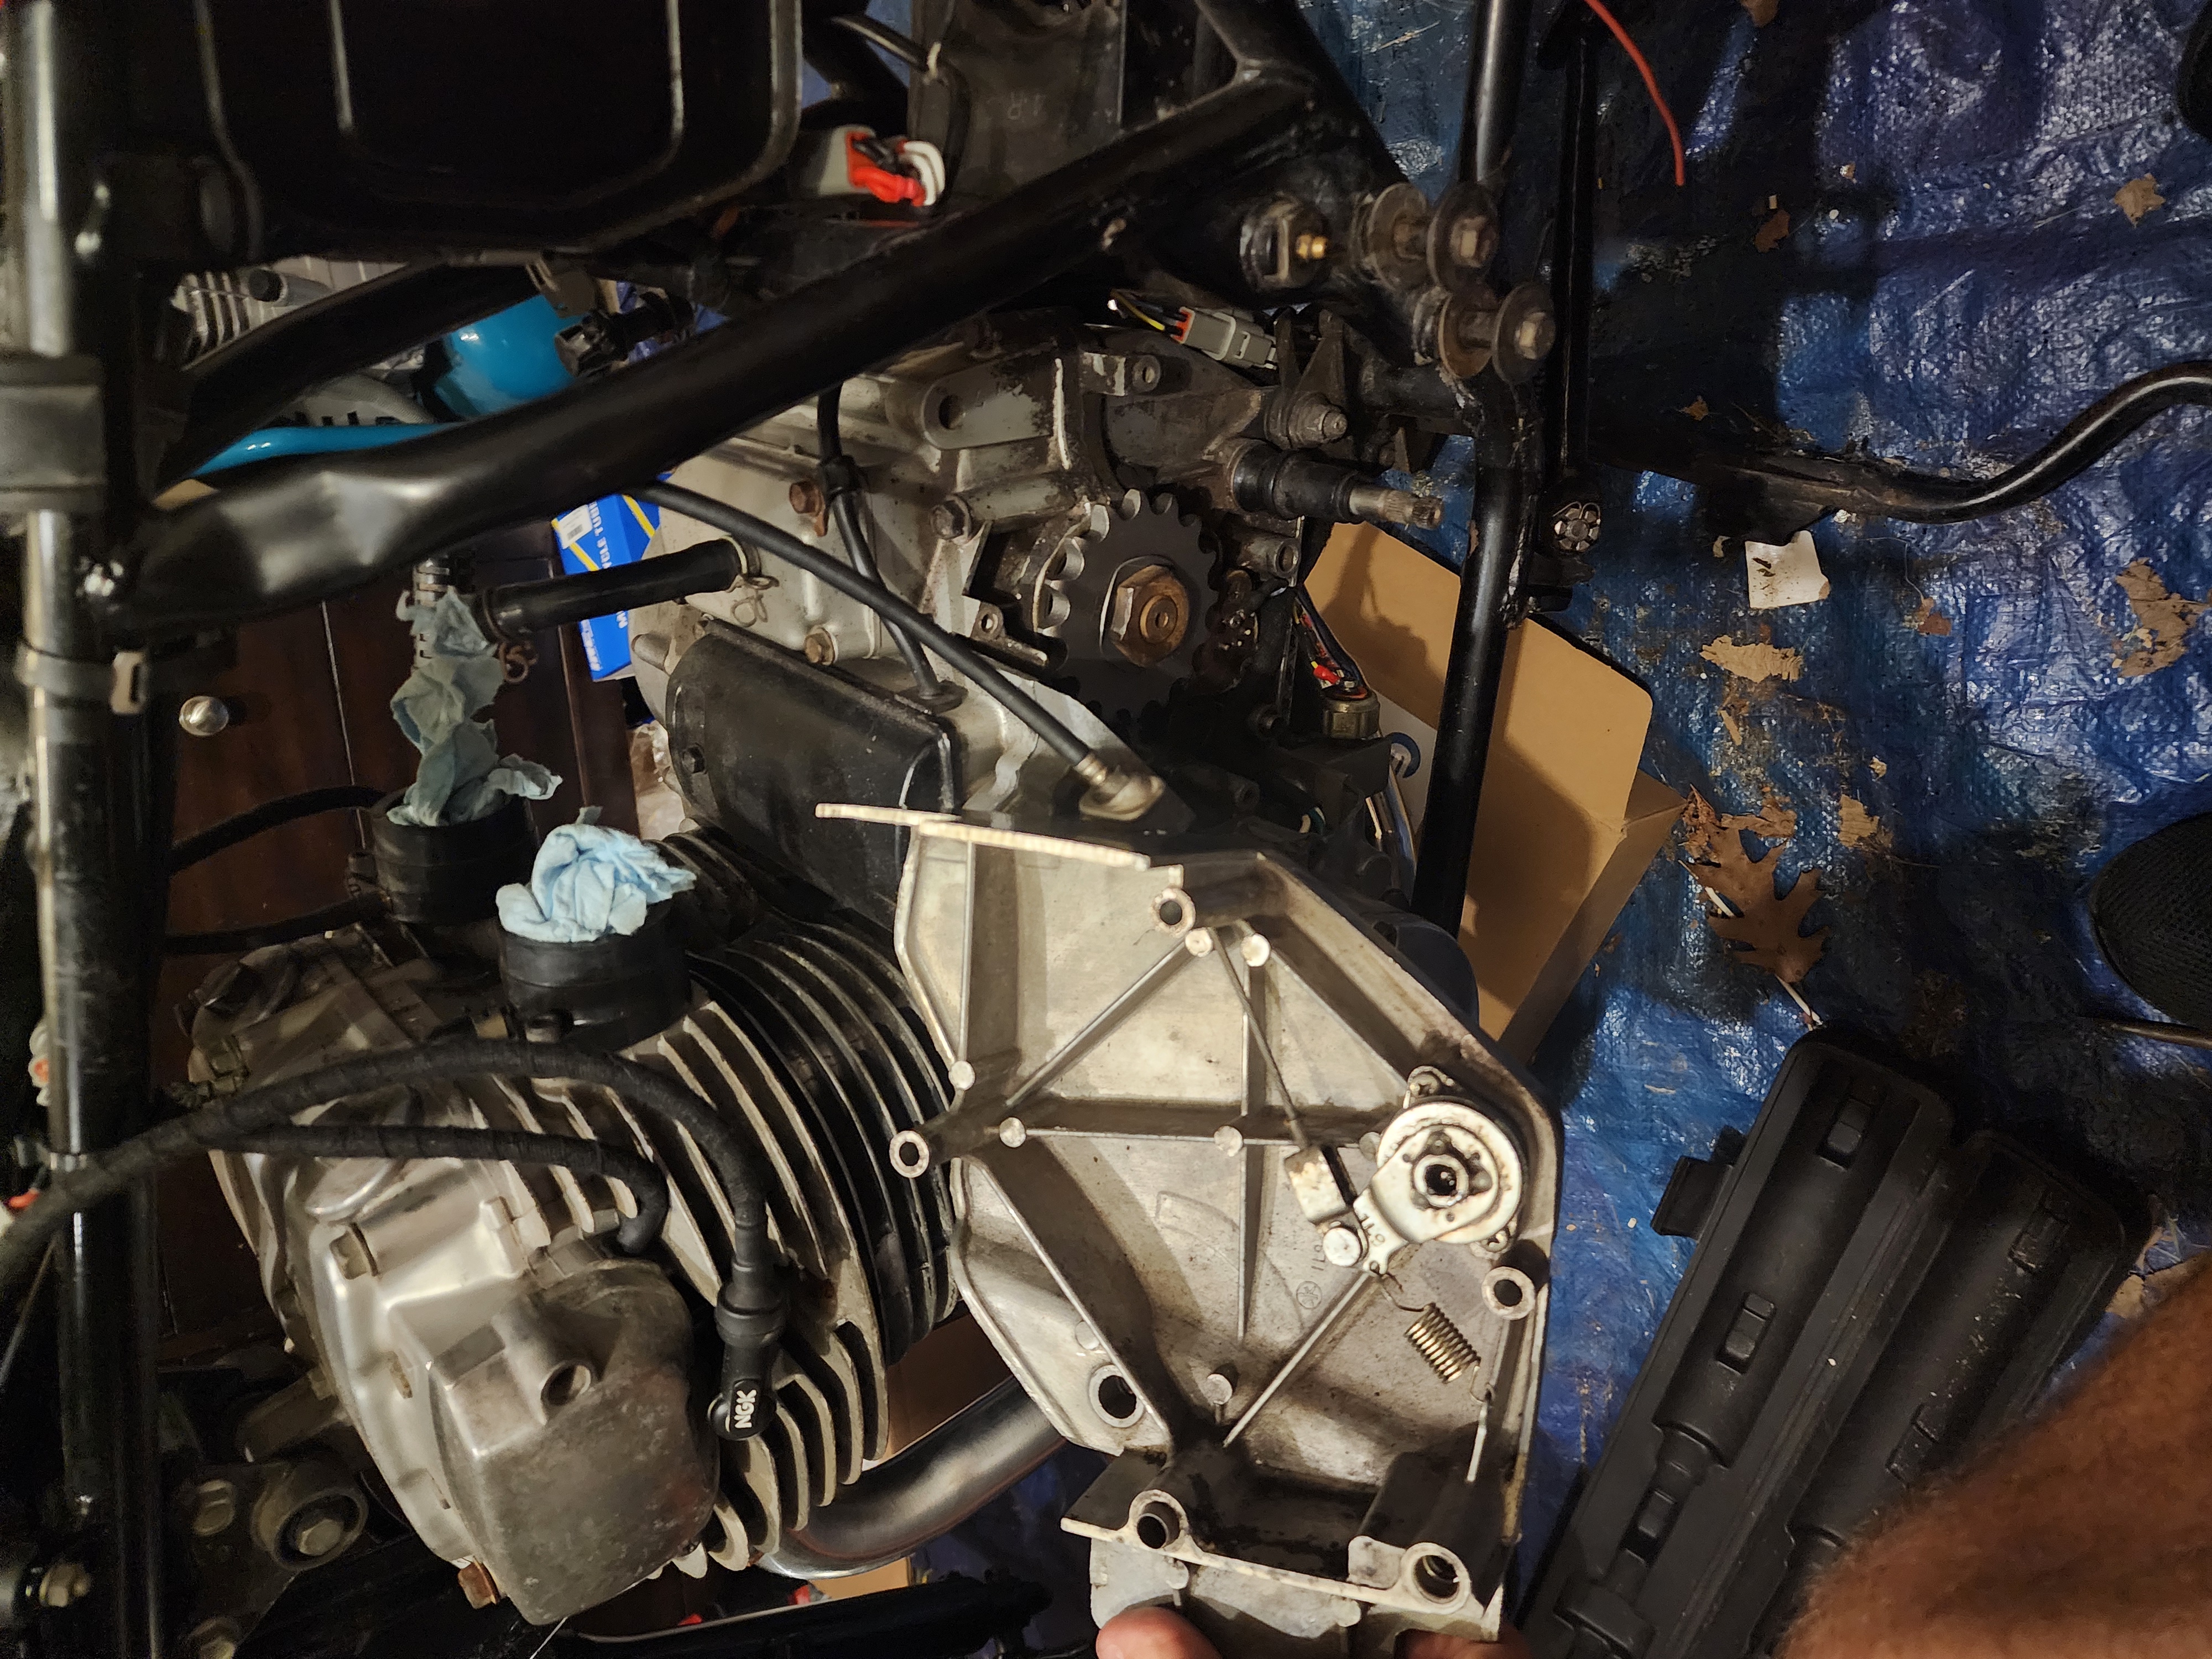 The clutch cable reattached to the cover.
Rear shocks
In order for the bike to have the “leveled” stance I’m looking for, I need to raise the rear slightly, in addition to lowering the front. To do this, I replaced the original shocks with slightly longer 340mm RFY shocks from ebay (which was a bit of a shipping nightmare, thanks DHL). As a bonus, the RFY shocks have adjustable preload, and a hight adjustment if I need a bit more out of them.
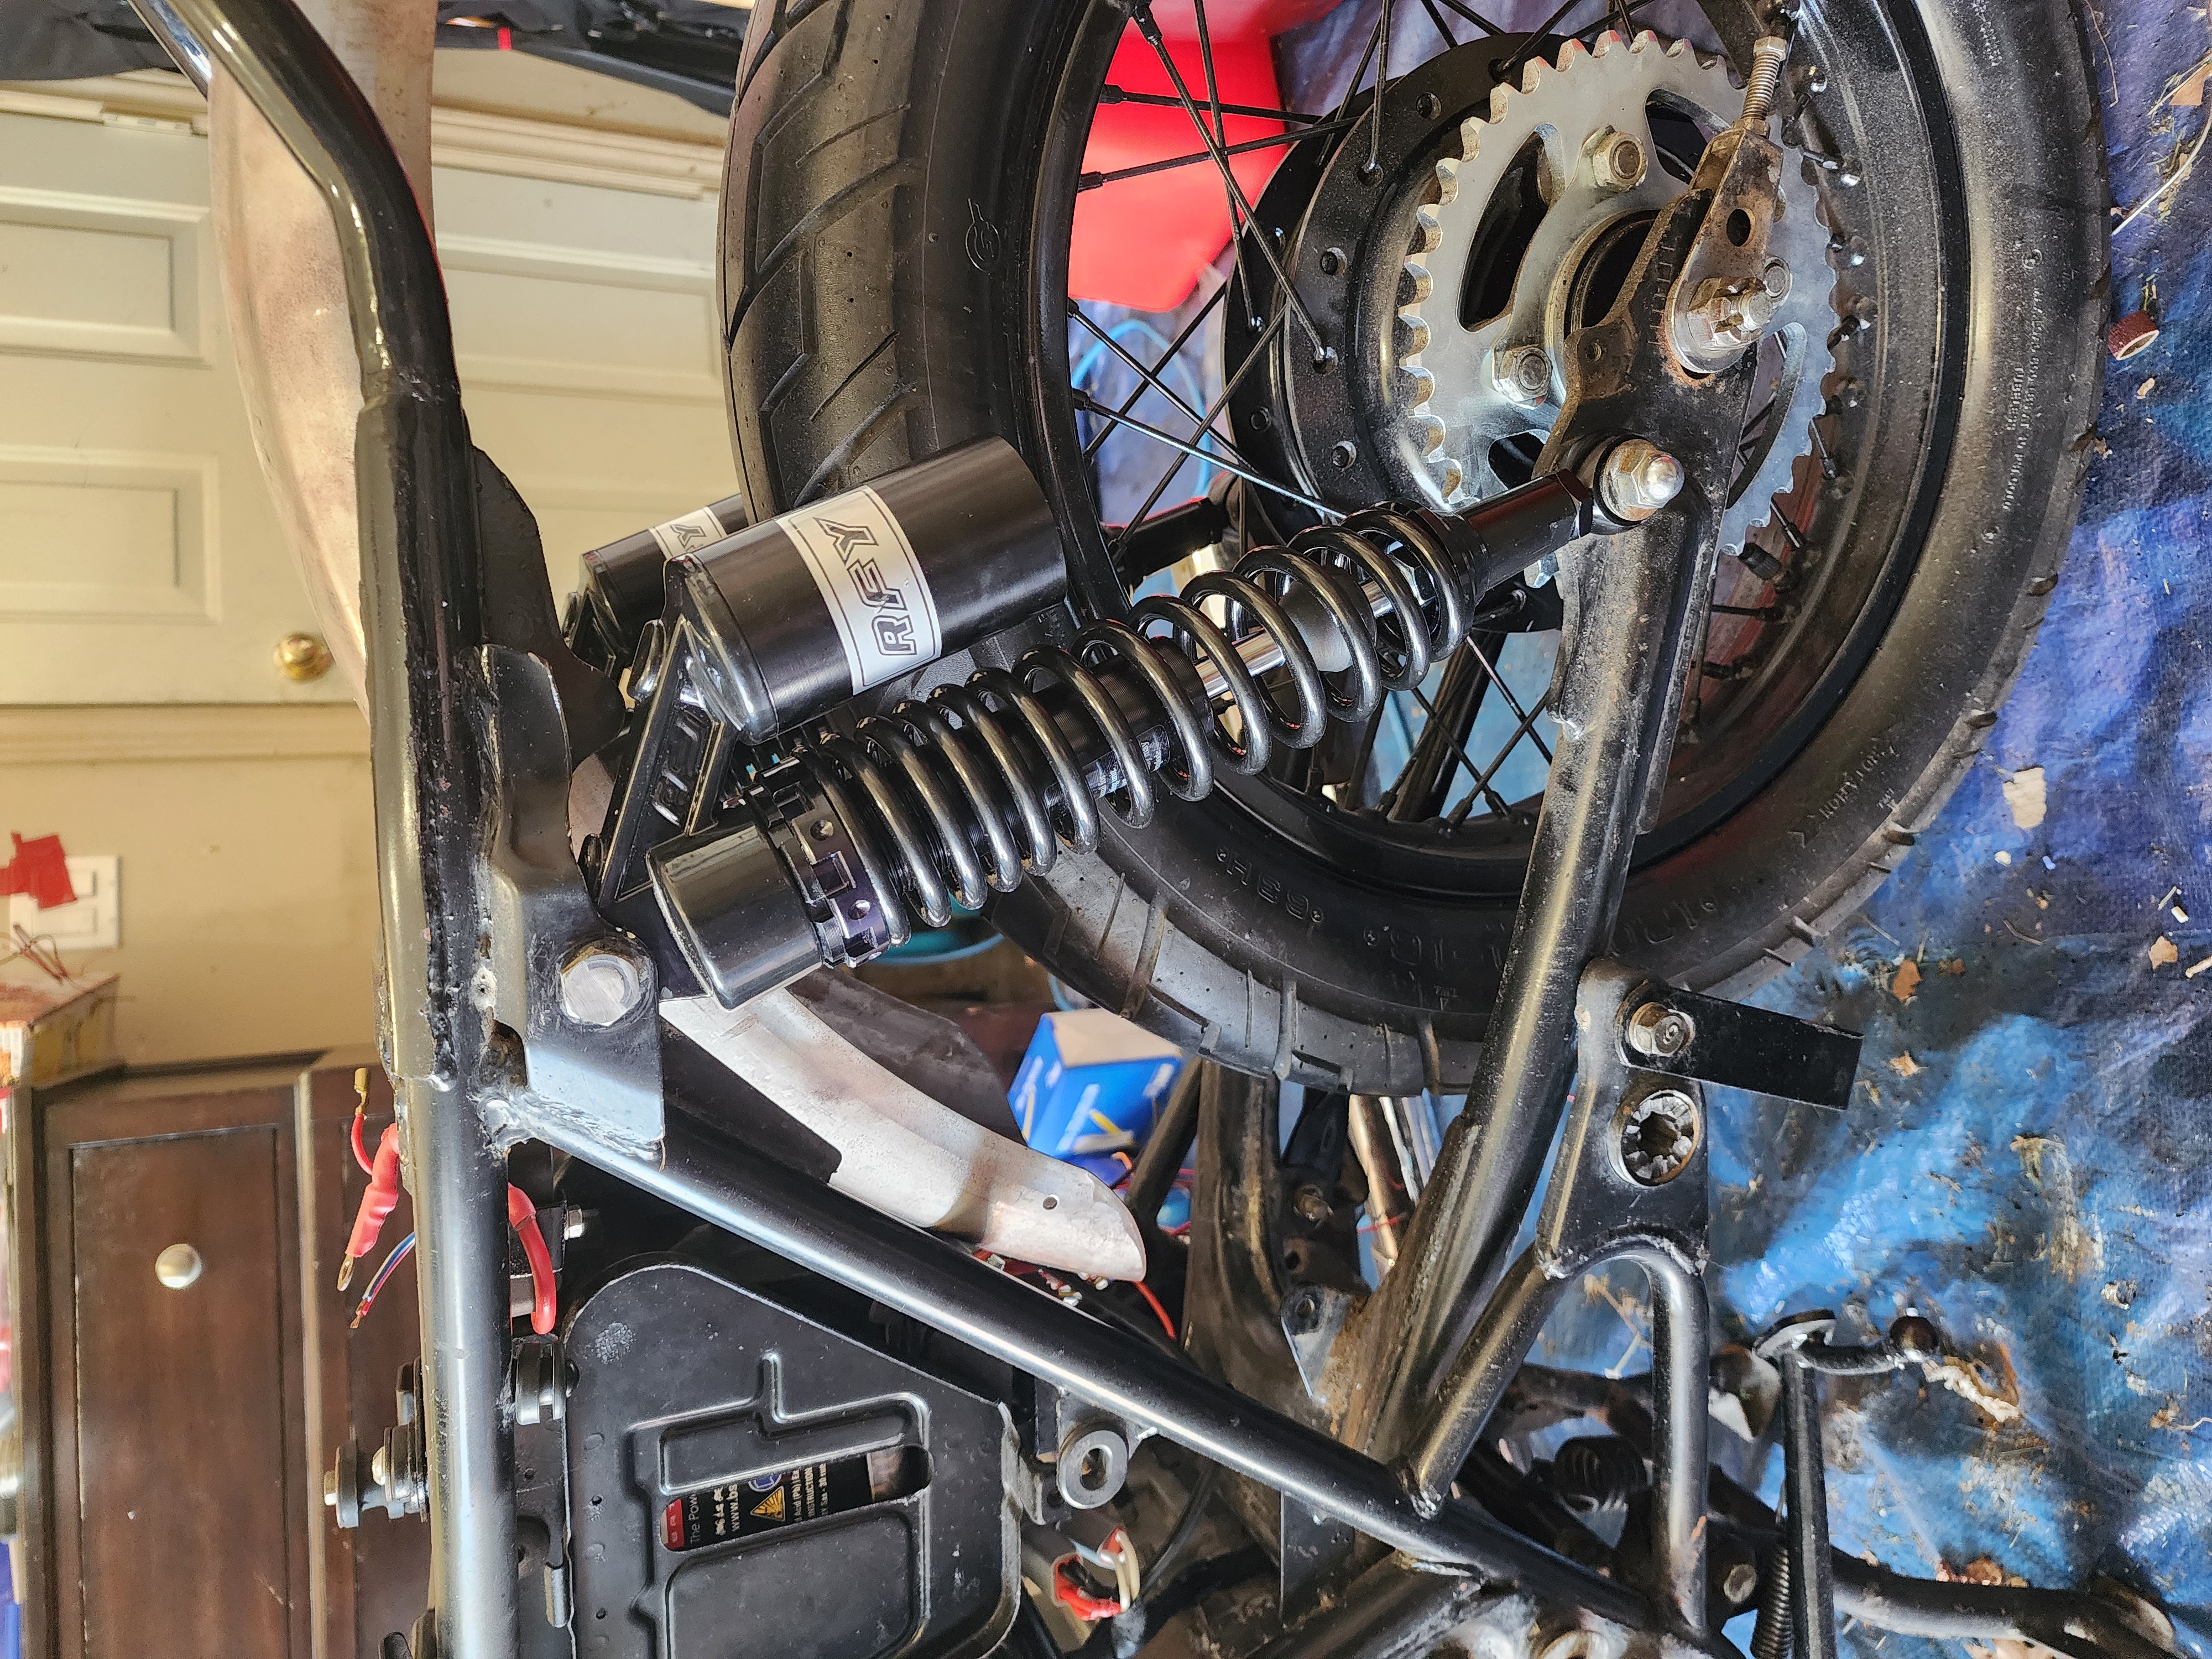 The new rear shocks fitted.
Not to mention that they look cool, and the black/chrome look matches the front suspension better!
License plate bracket
In order to protect the clean tail/rear fender look I have going here, I decided to mount the license plate on the swing arm. Doing this is a bit of a legal gray area here in Ontario, but most people online say cops don’t usually bother you for it unless you are being a hooligan already. Luckily, a 400 twin from the 80s is not really conducive to hooligan activities, so I’m rolling with it. I purchased a couple of LED license plate bolts so I can have a clean lighting solution with the simple bracket I got on ebay.
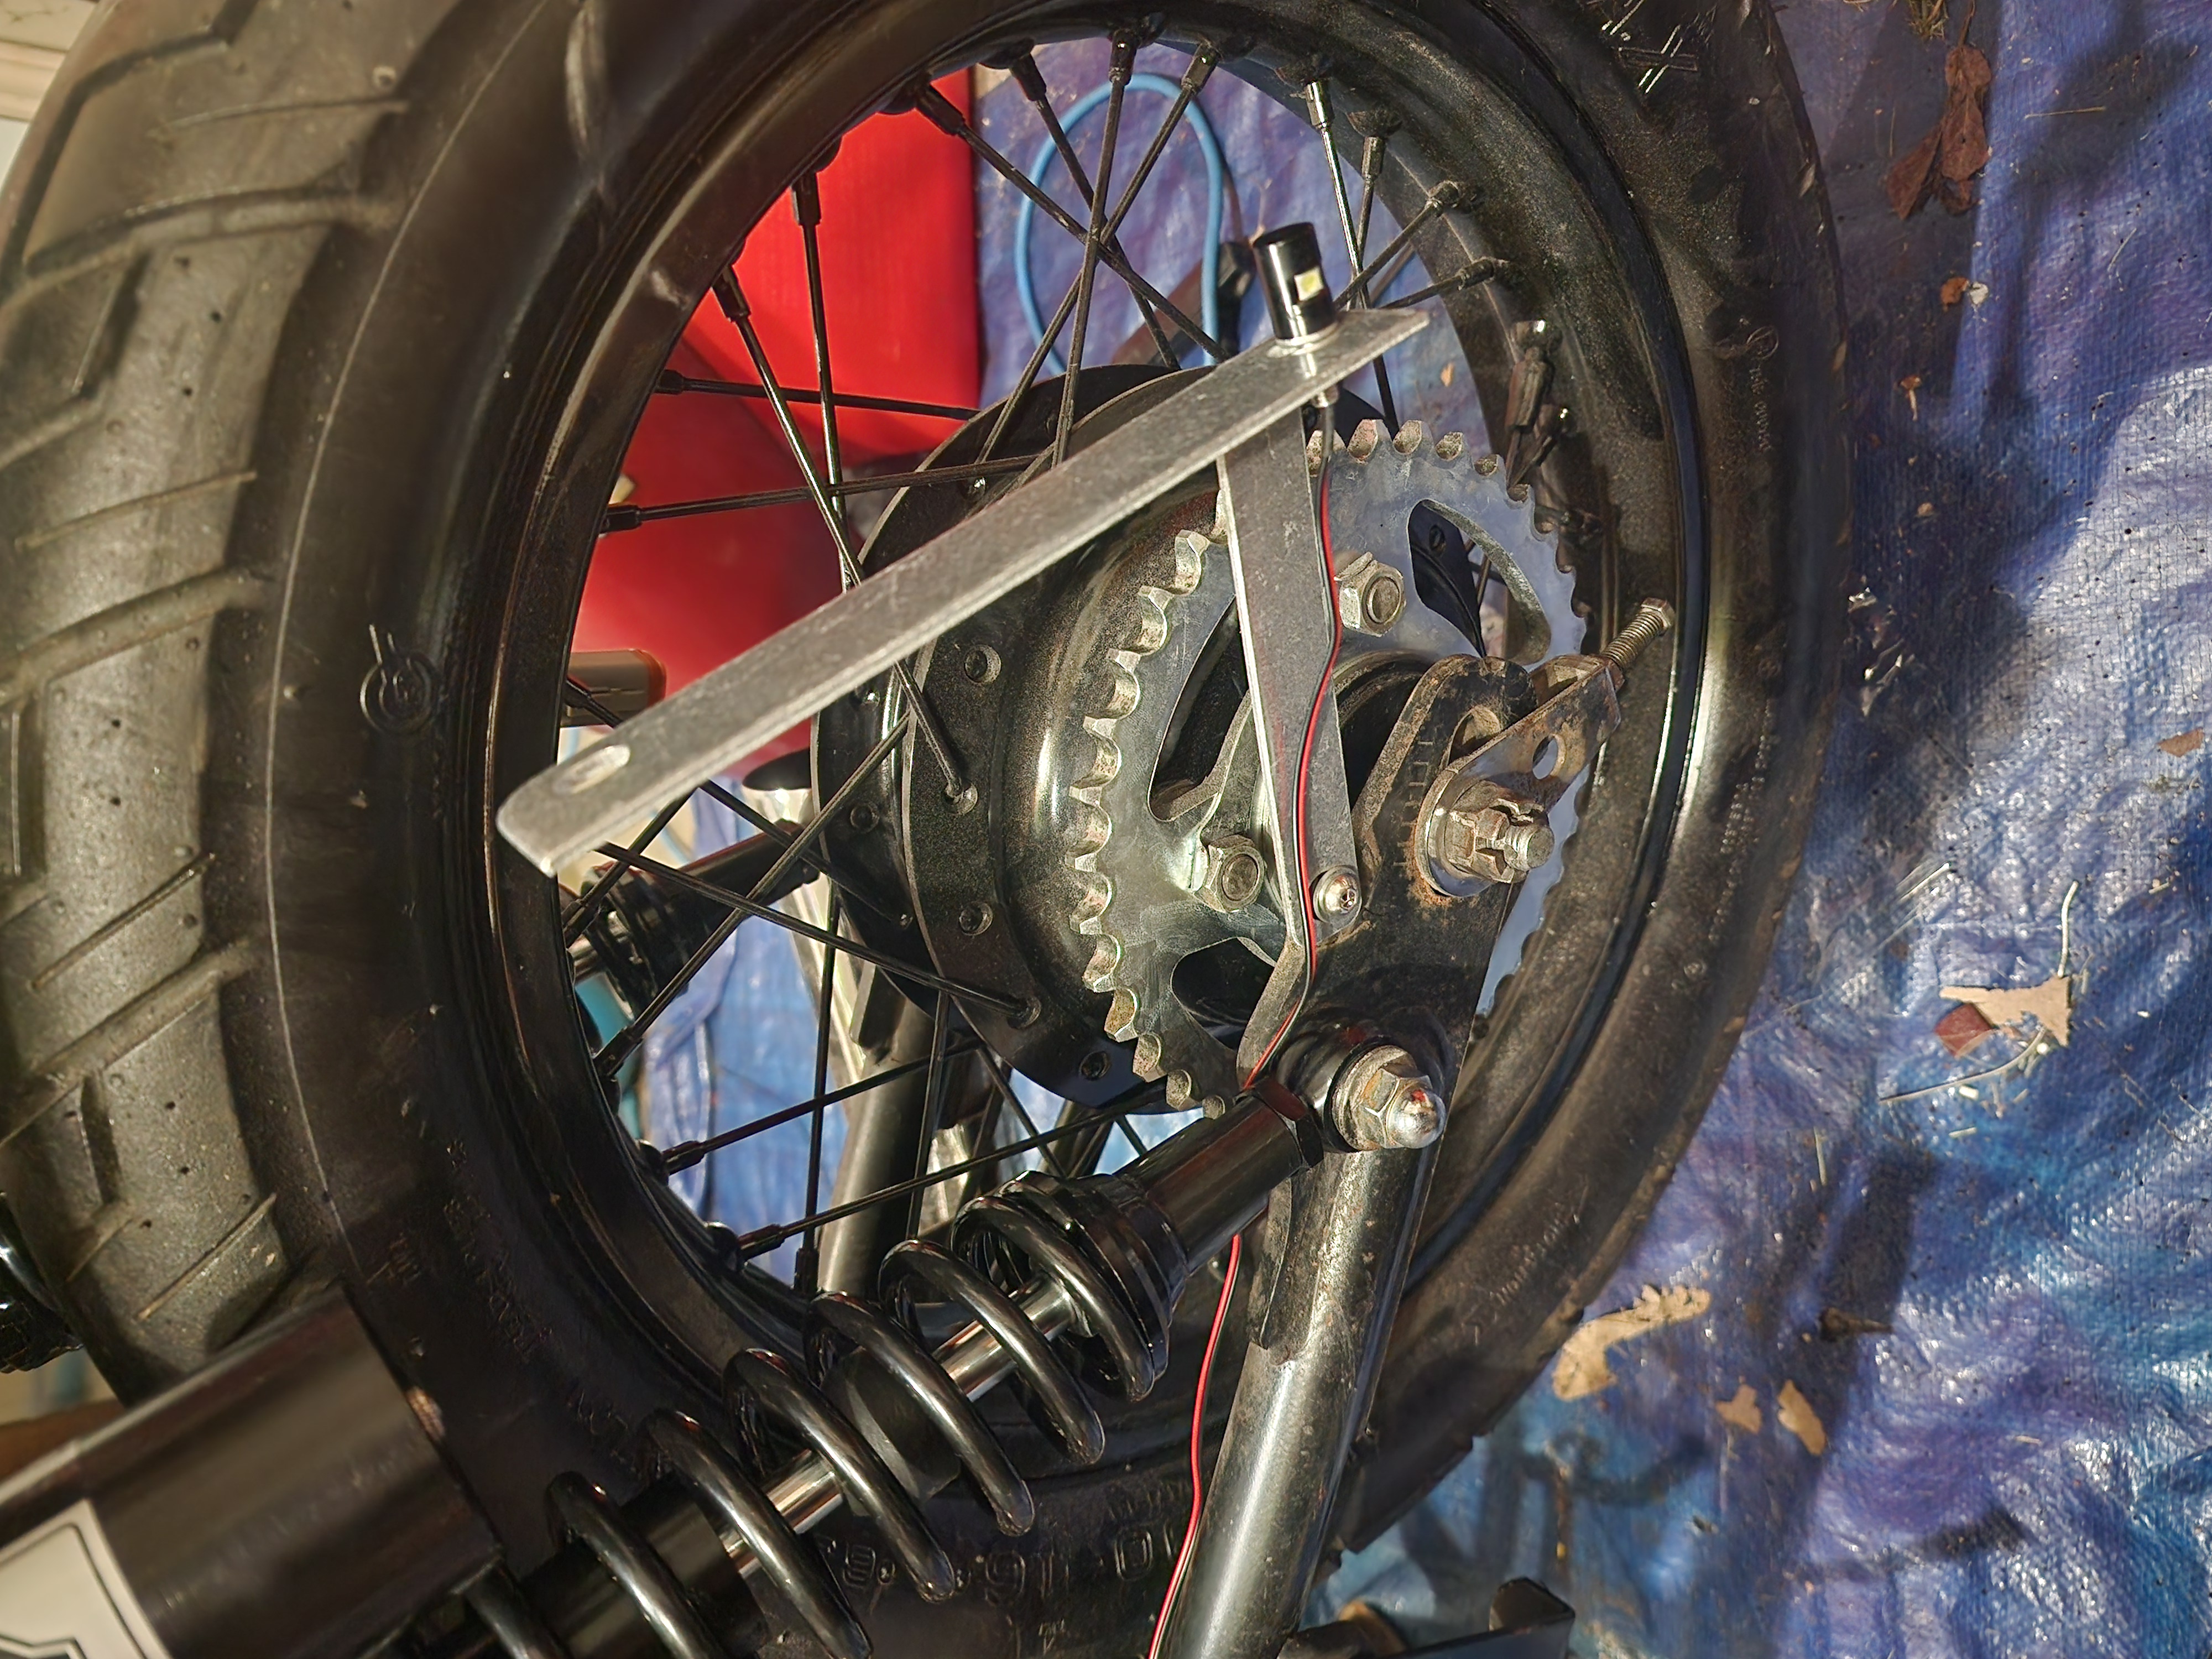 The bracket mounted to the swing arm, before paint.
I did also add a Deutsche connector there on the bracket, and wrap the wires as I did the rest of the harness. I will be painting the bracket black, as well as the connector so it blends in a bit better.
Wiring harness completed
I finally finished the wiring harness. It took many hours, and swear words, but here we are. I mounted it to the bike and confirmed that everything works as intended, all buttons, lights, bells, whistles, etc. The bike starts immediately upon pressing the button, and the battery charges at around 12.5v at idle, increasing with RPM.
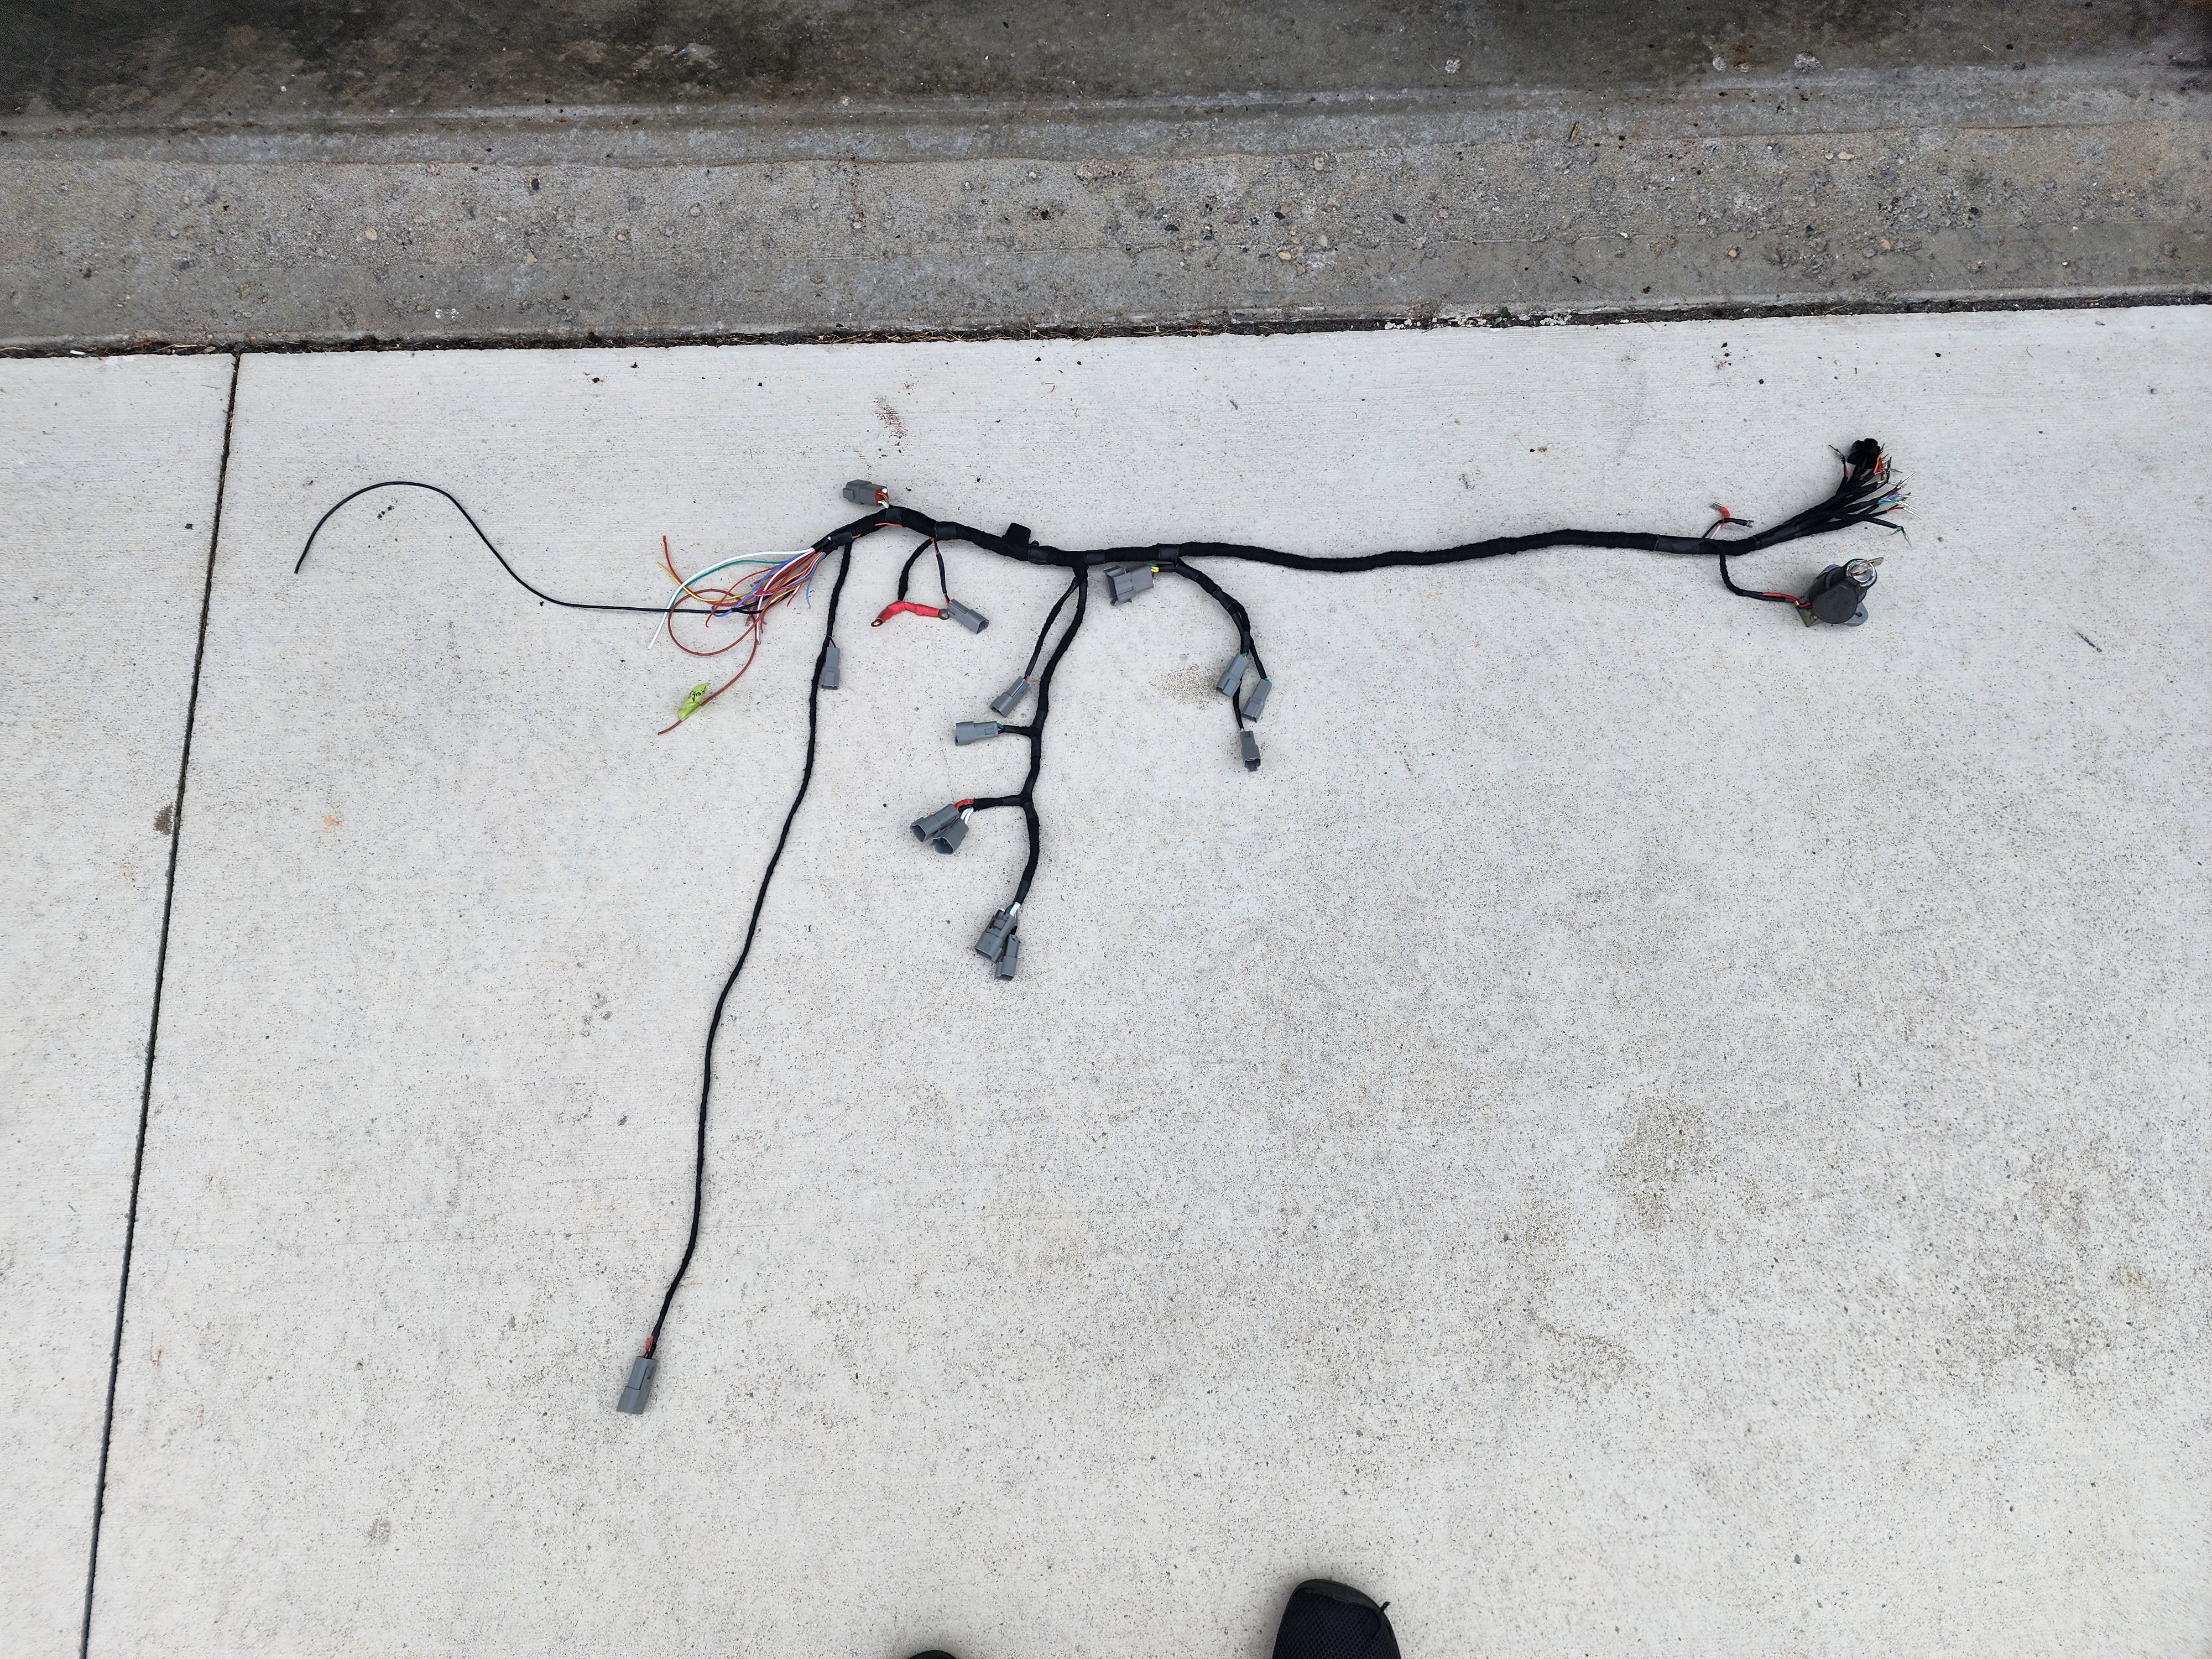 The finished harness, laid out.
Since my harness isn’t really a “simplified” harness, and actually has more buttons at the controls (garage door opener), this bike has quite the spaghetti situation in the headlight bucket!
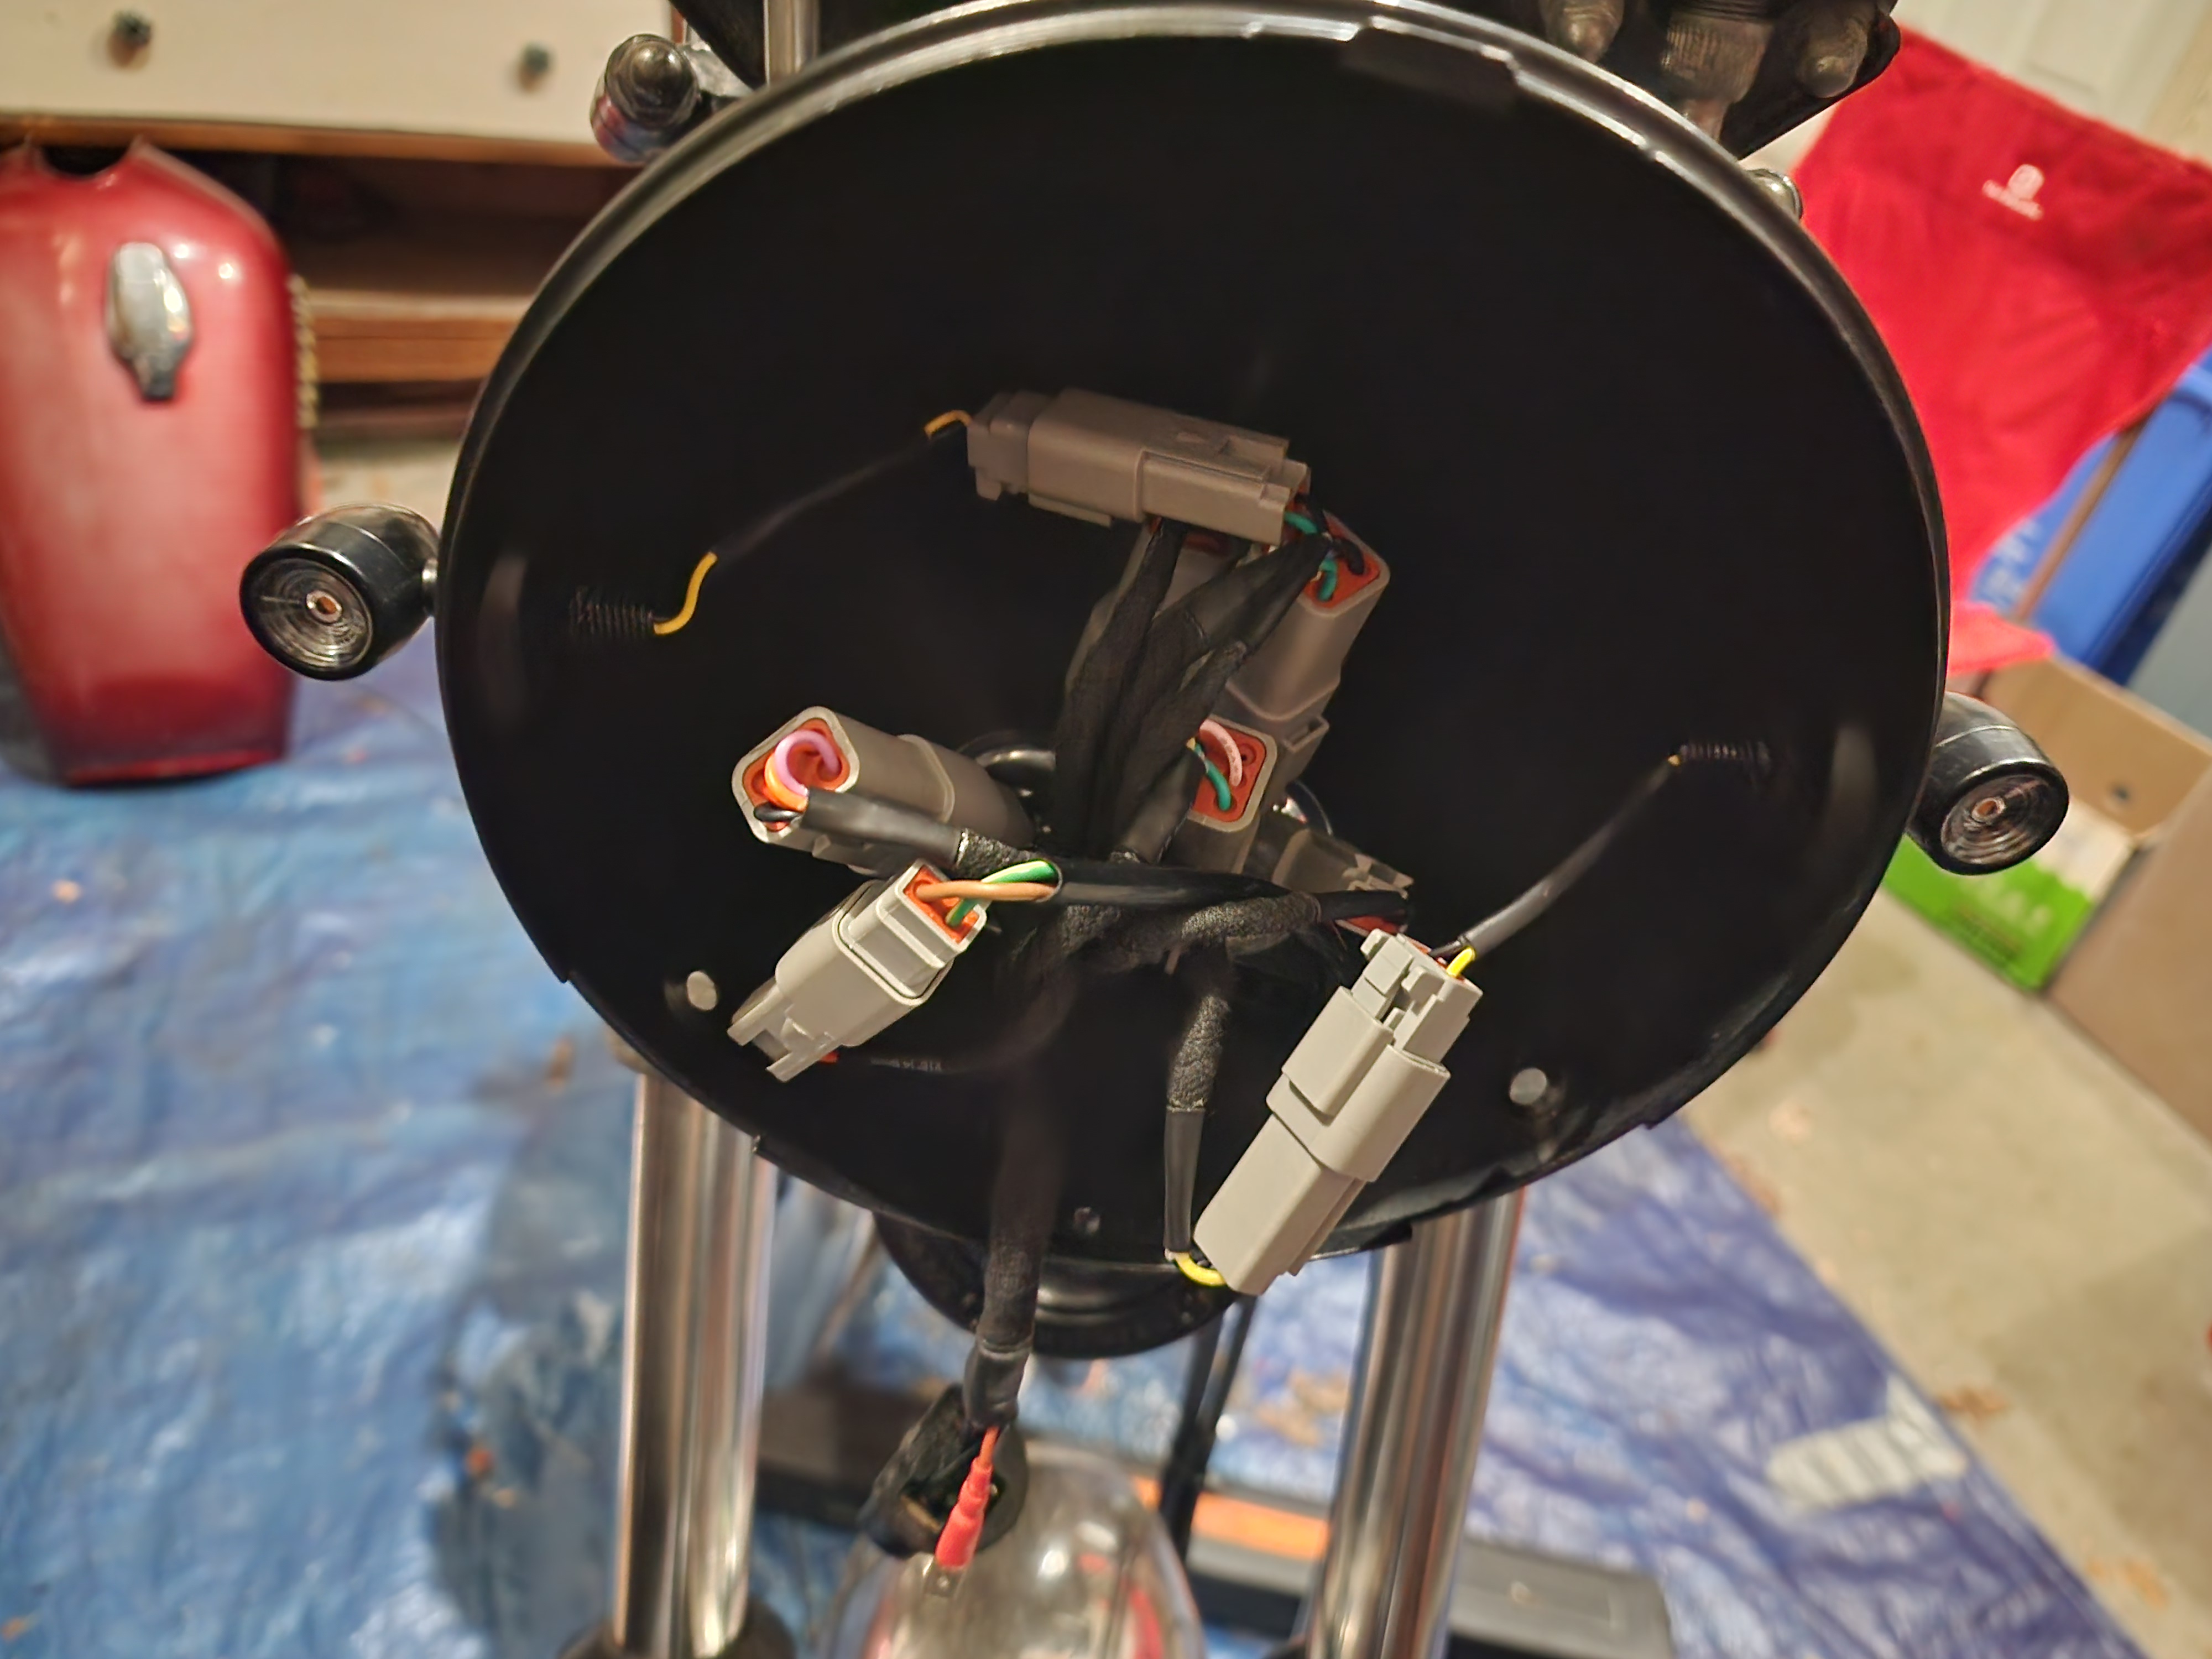 The spaghetti in question, inside the headlight bucket.
Thankfully, I took my time, and really tried my best to make the harness professional, and easy to install, so everything just fits. All that’s left to do for the wiring is trimming the excess wire at the mo.unit so that it looks clean under the seat aswell, but that should be a 20 minute job at most. Overall, I’m very happy about how it turned out. There isn’t too much more to be done before this build is finished!
July, 2026 (2)
TCI Scare
Since my last update, I had a little scare because of my wiring. One of the pins in the connector going to the TCI box was no good, leading to no spark on the left cylinder. I tested everything, plugs, plug wires, coils, pickups, and the wires going to that connector. I ended up ordering some parts in preparation for reverting the bike to the mechanical advance/points system, as well as an aftermarket electronic ignition system to go with it. I posted to the forum and was inspired by one of the replies to go back and check everything again. That time, I thought to check the connector and wired that go into the TCI and found my problem. Quick fix and we were back.
Wiring Complete
With the bike running on both cylinders, I fully finished the wiring harness, trimming the excess length, and securing it to the frame where applicable
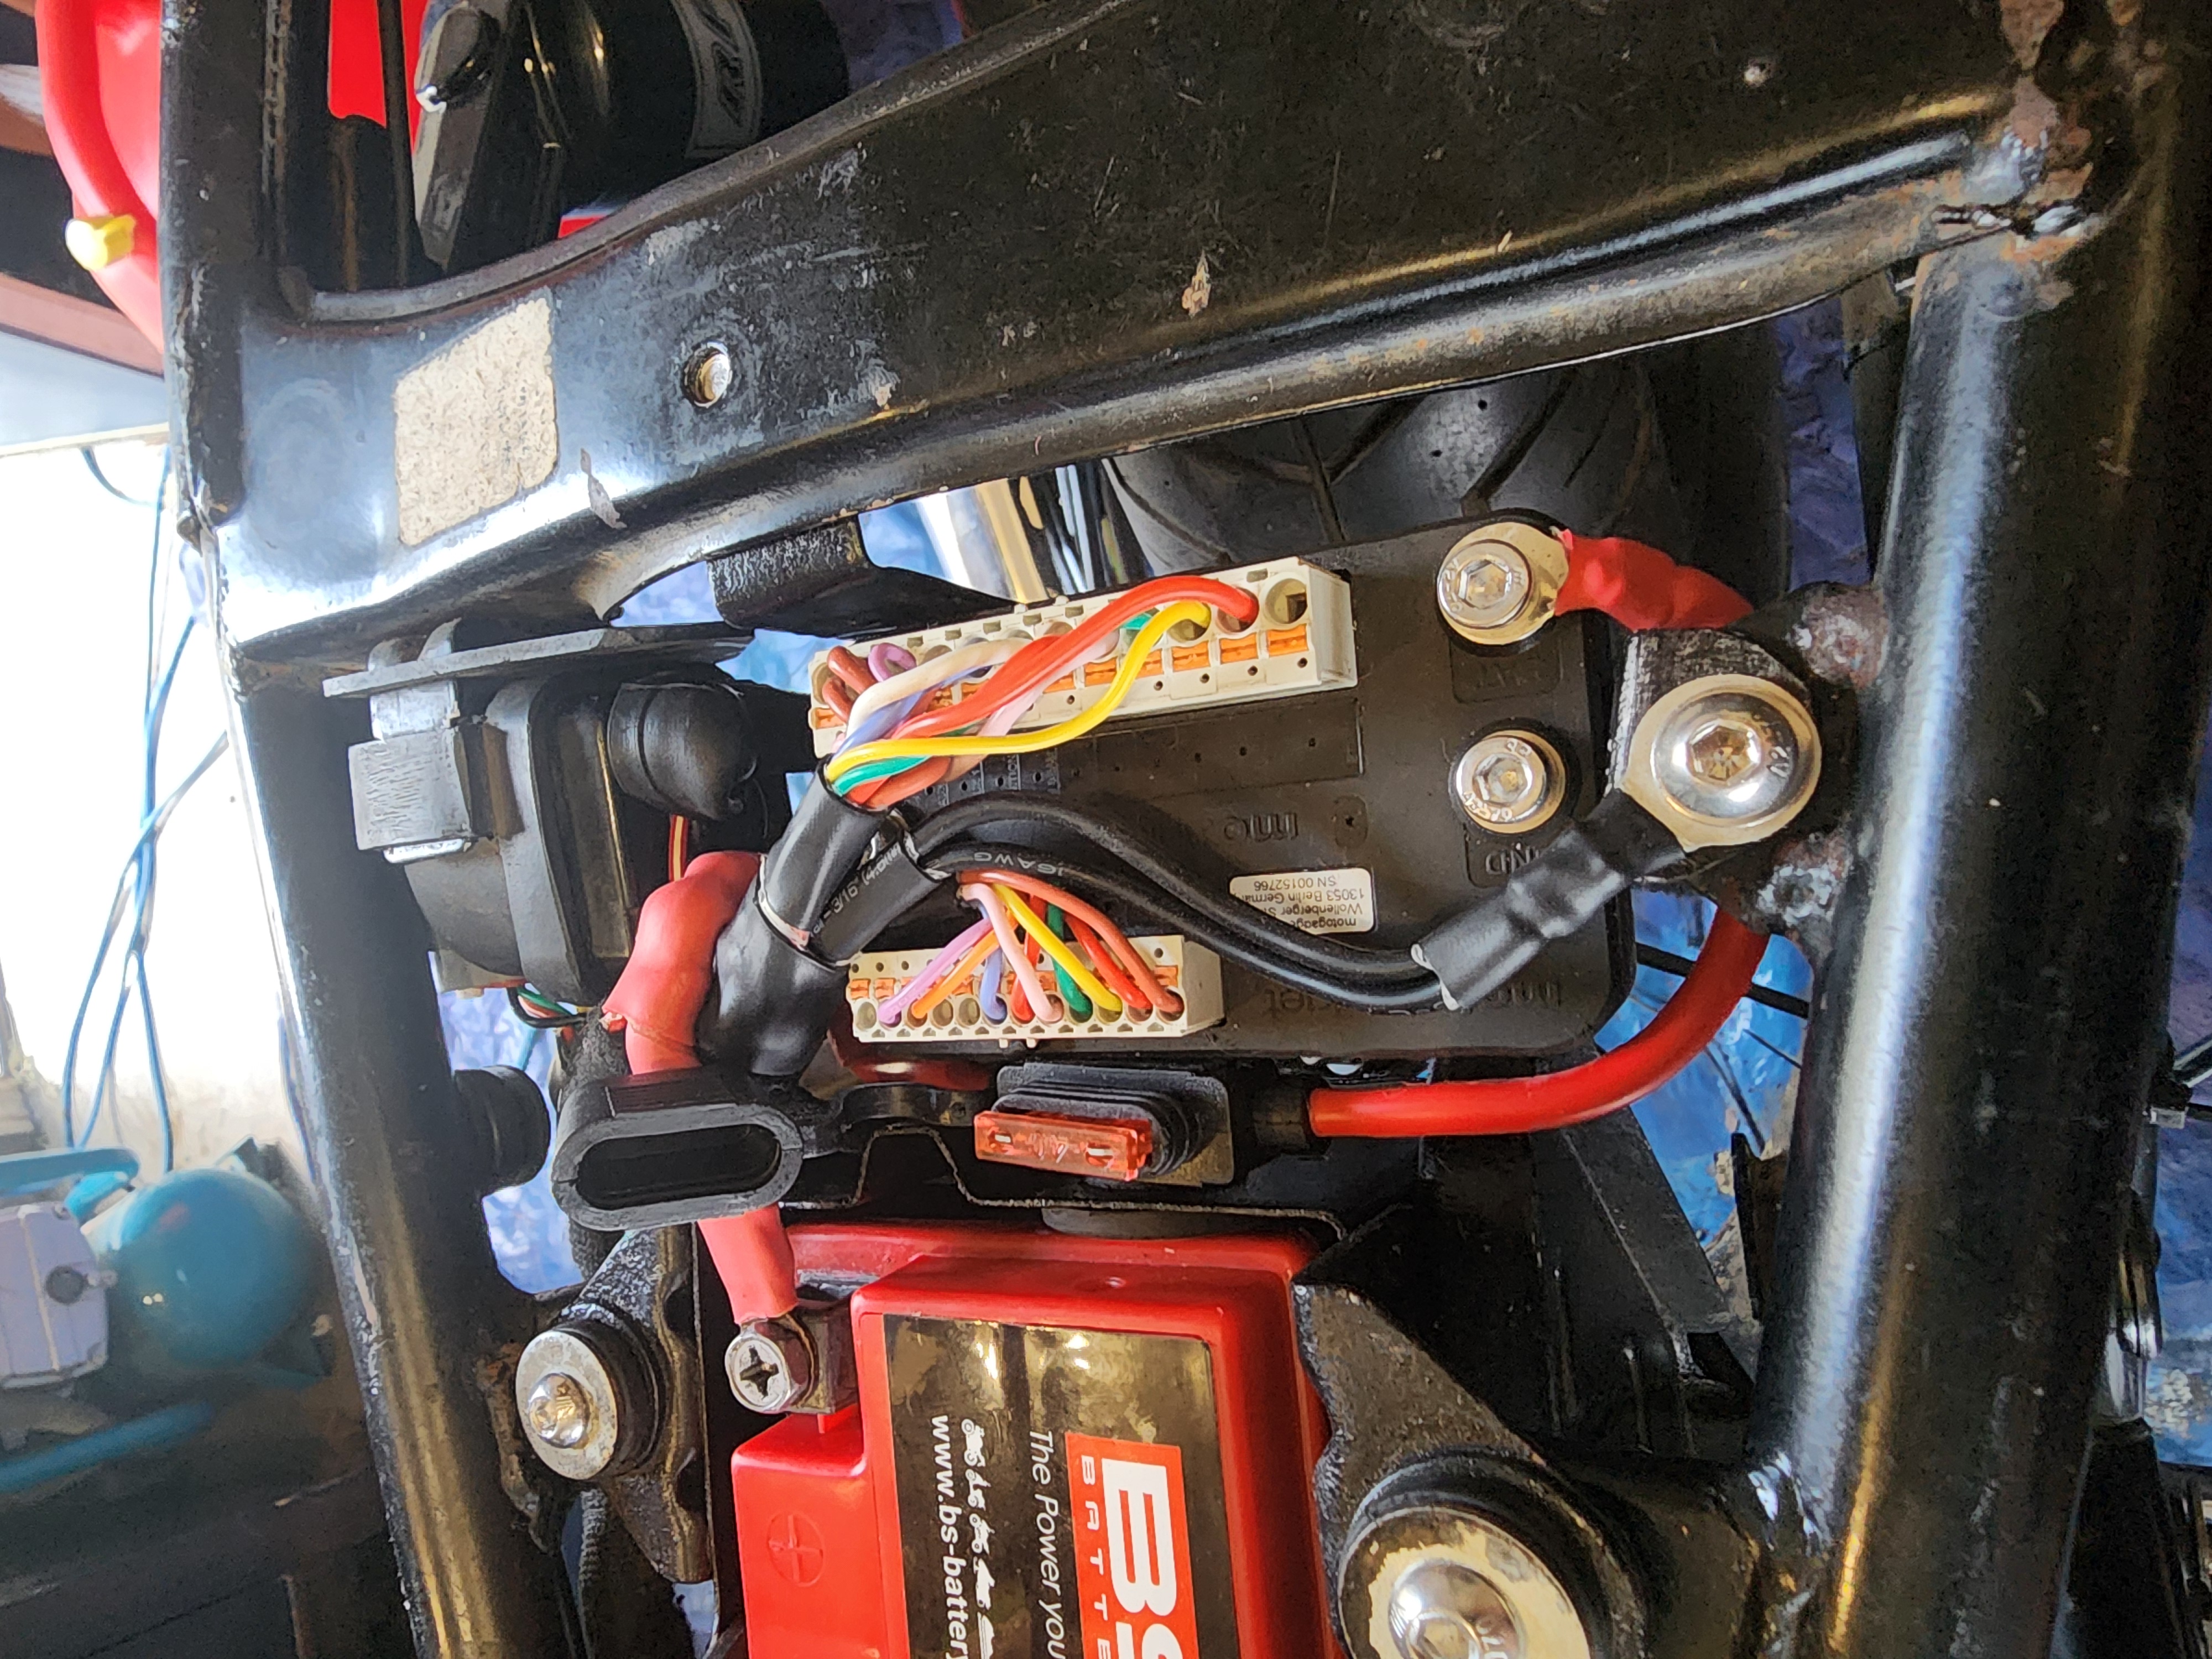 The wires going to the mo.unit trimmed, and grounds terminated.
Paint
I added a couple new additions to my list of victims… The rattlecan special claims the gas cap, the license plate bracket, and the brackets that hold the airboxes in place.
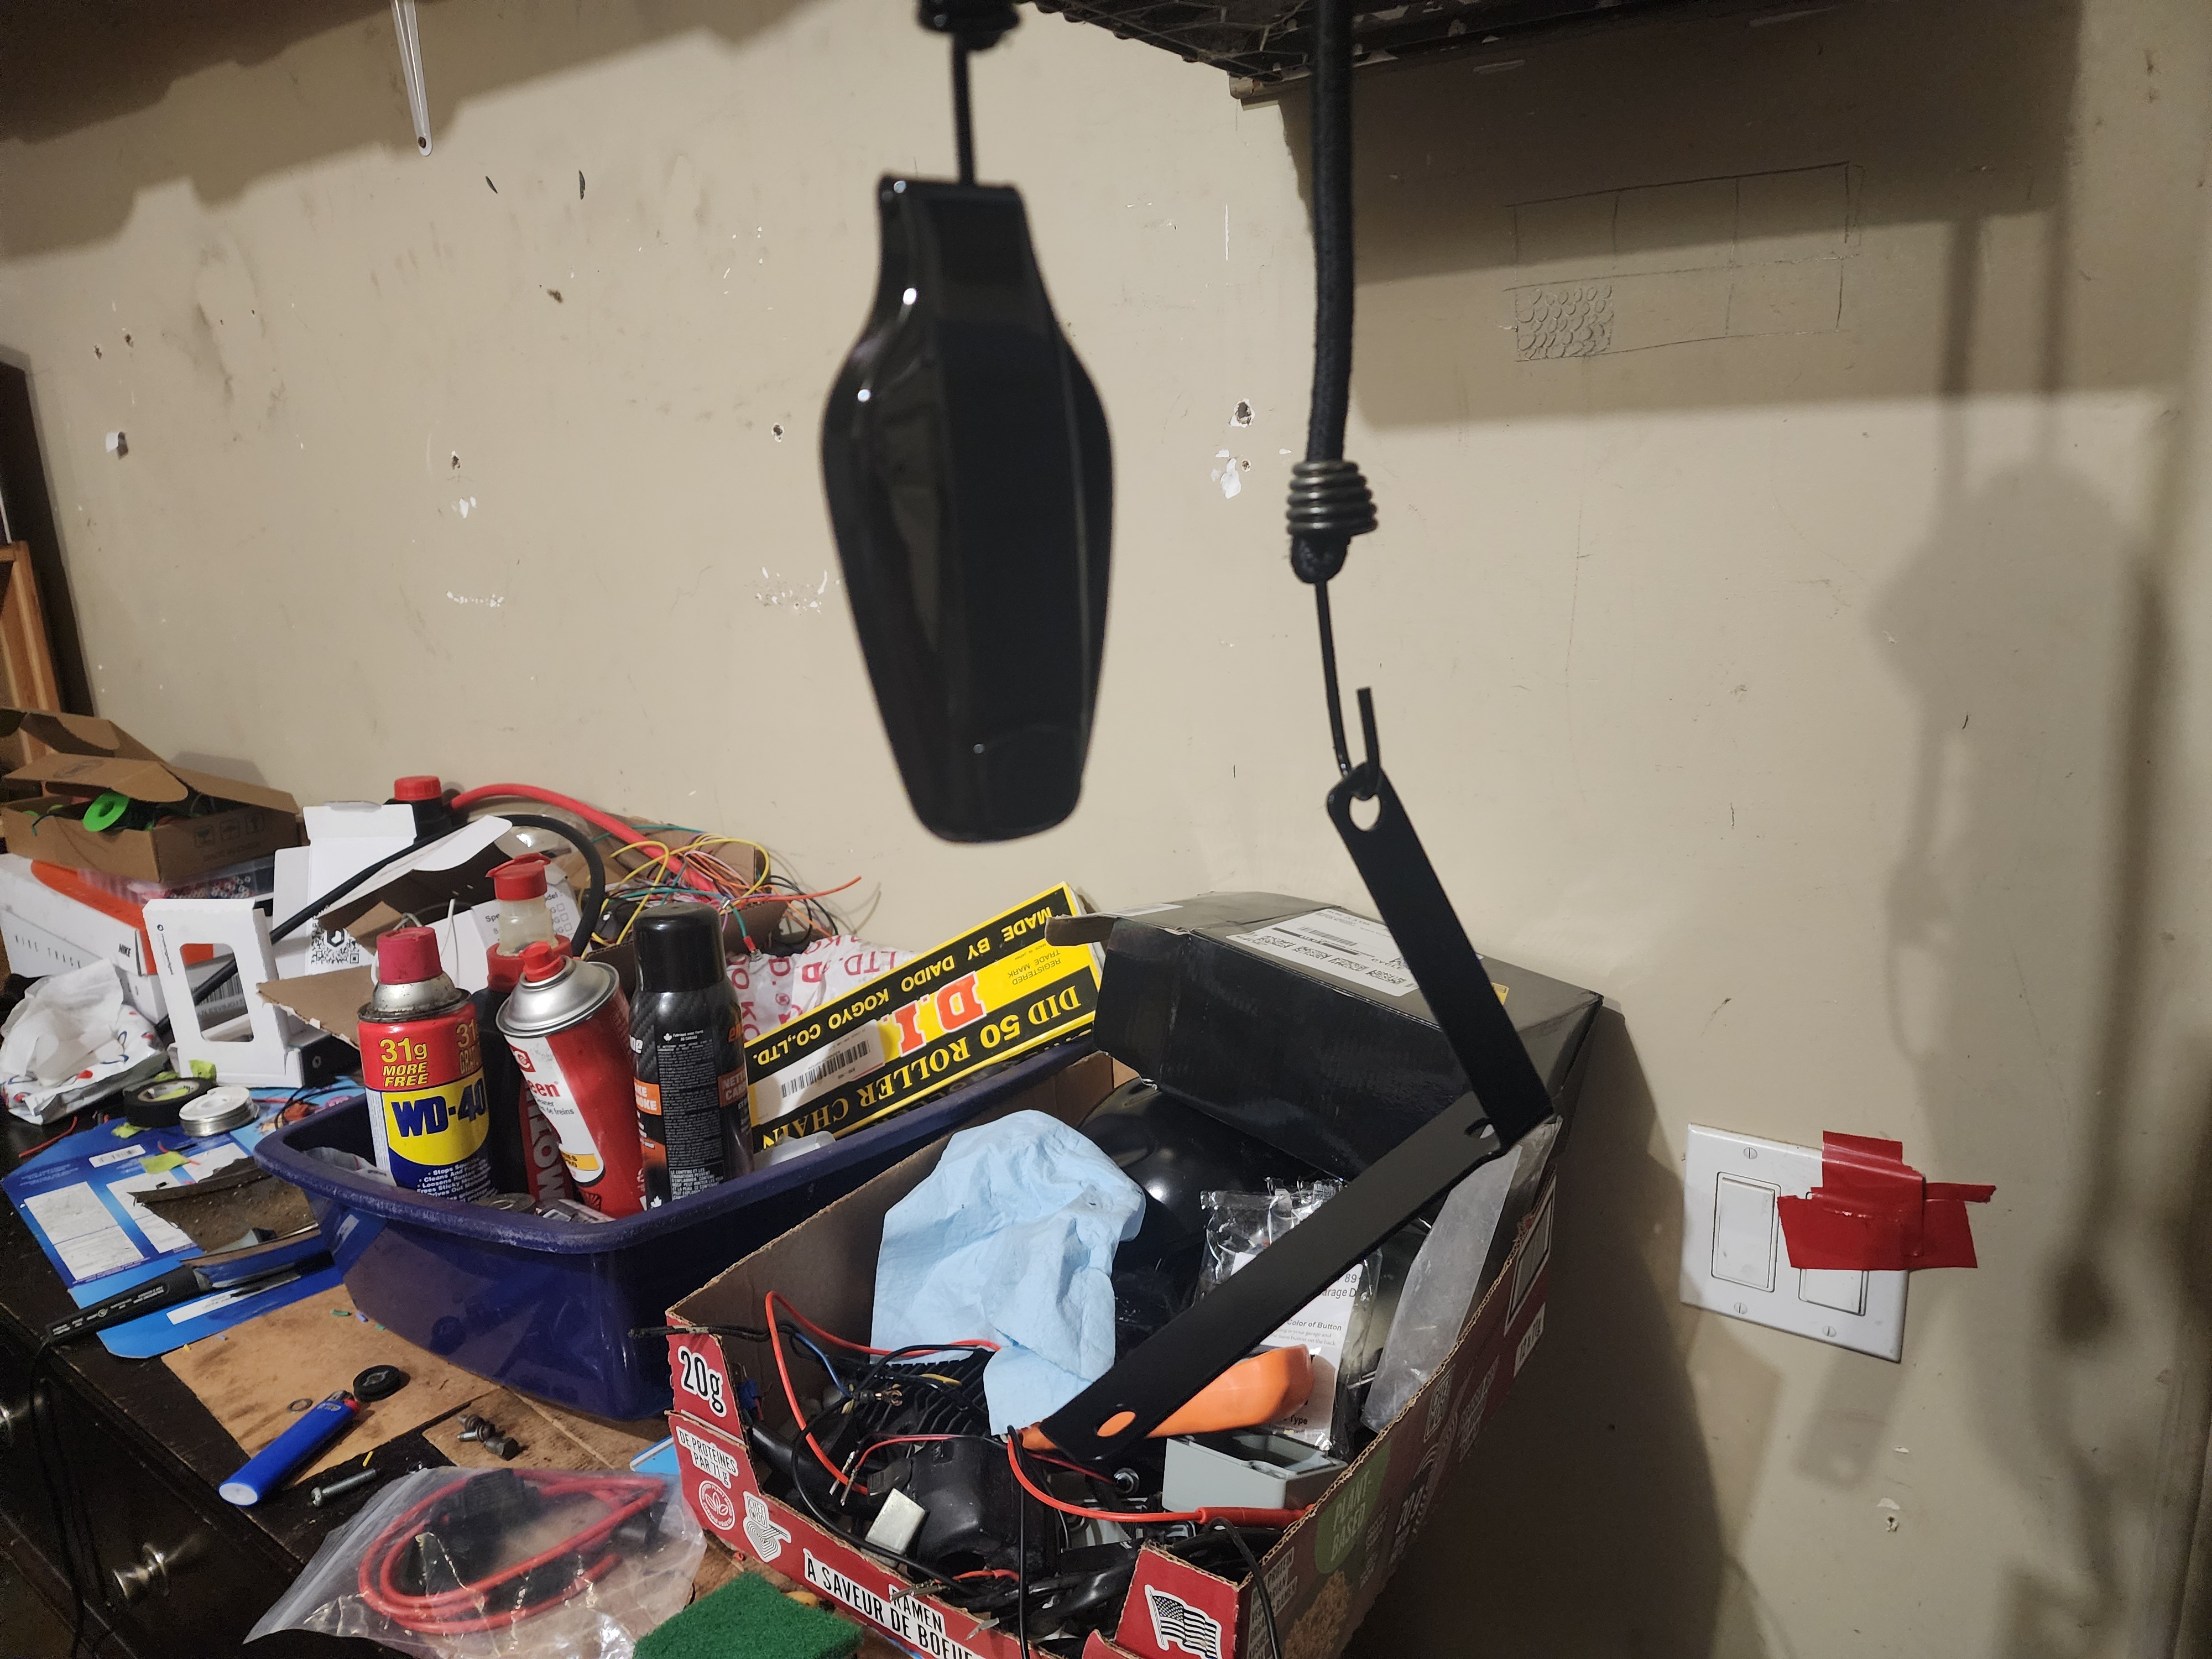 The painted gas cap and license plate bracket.
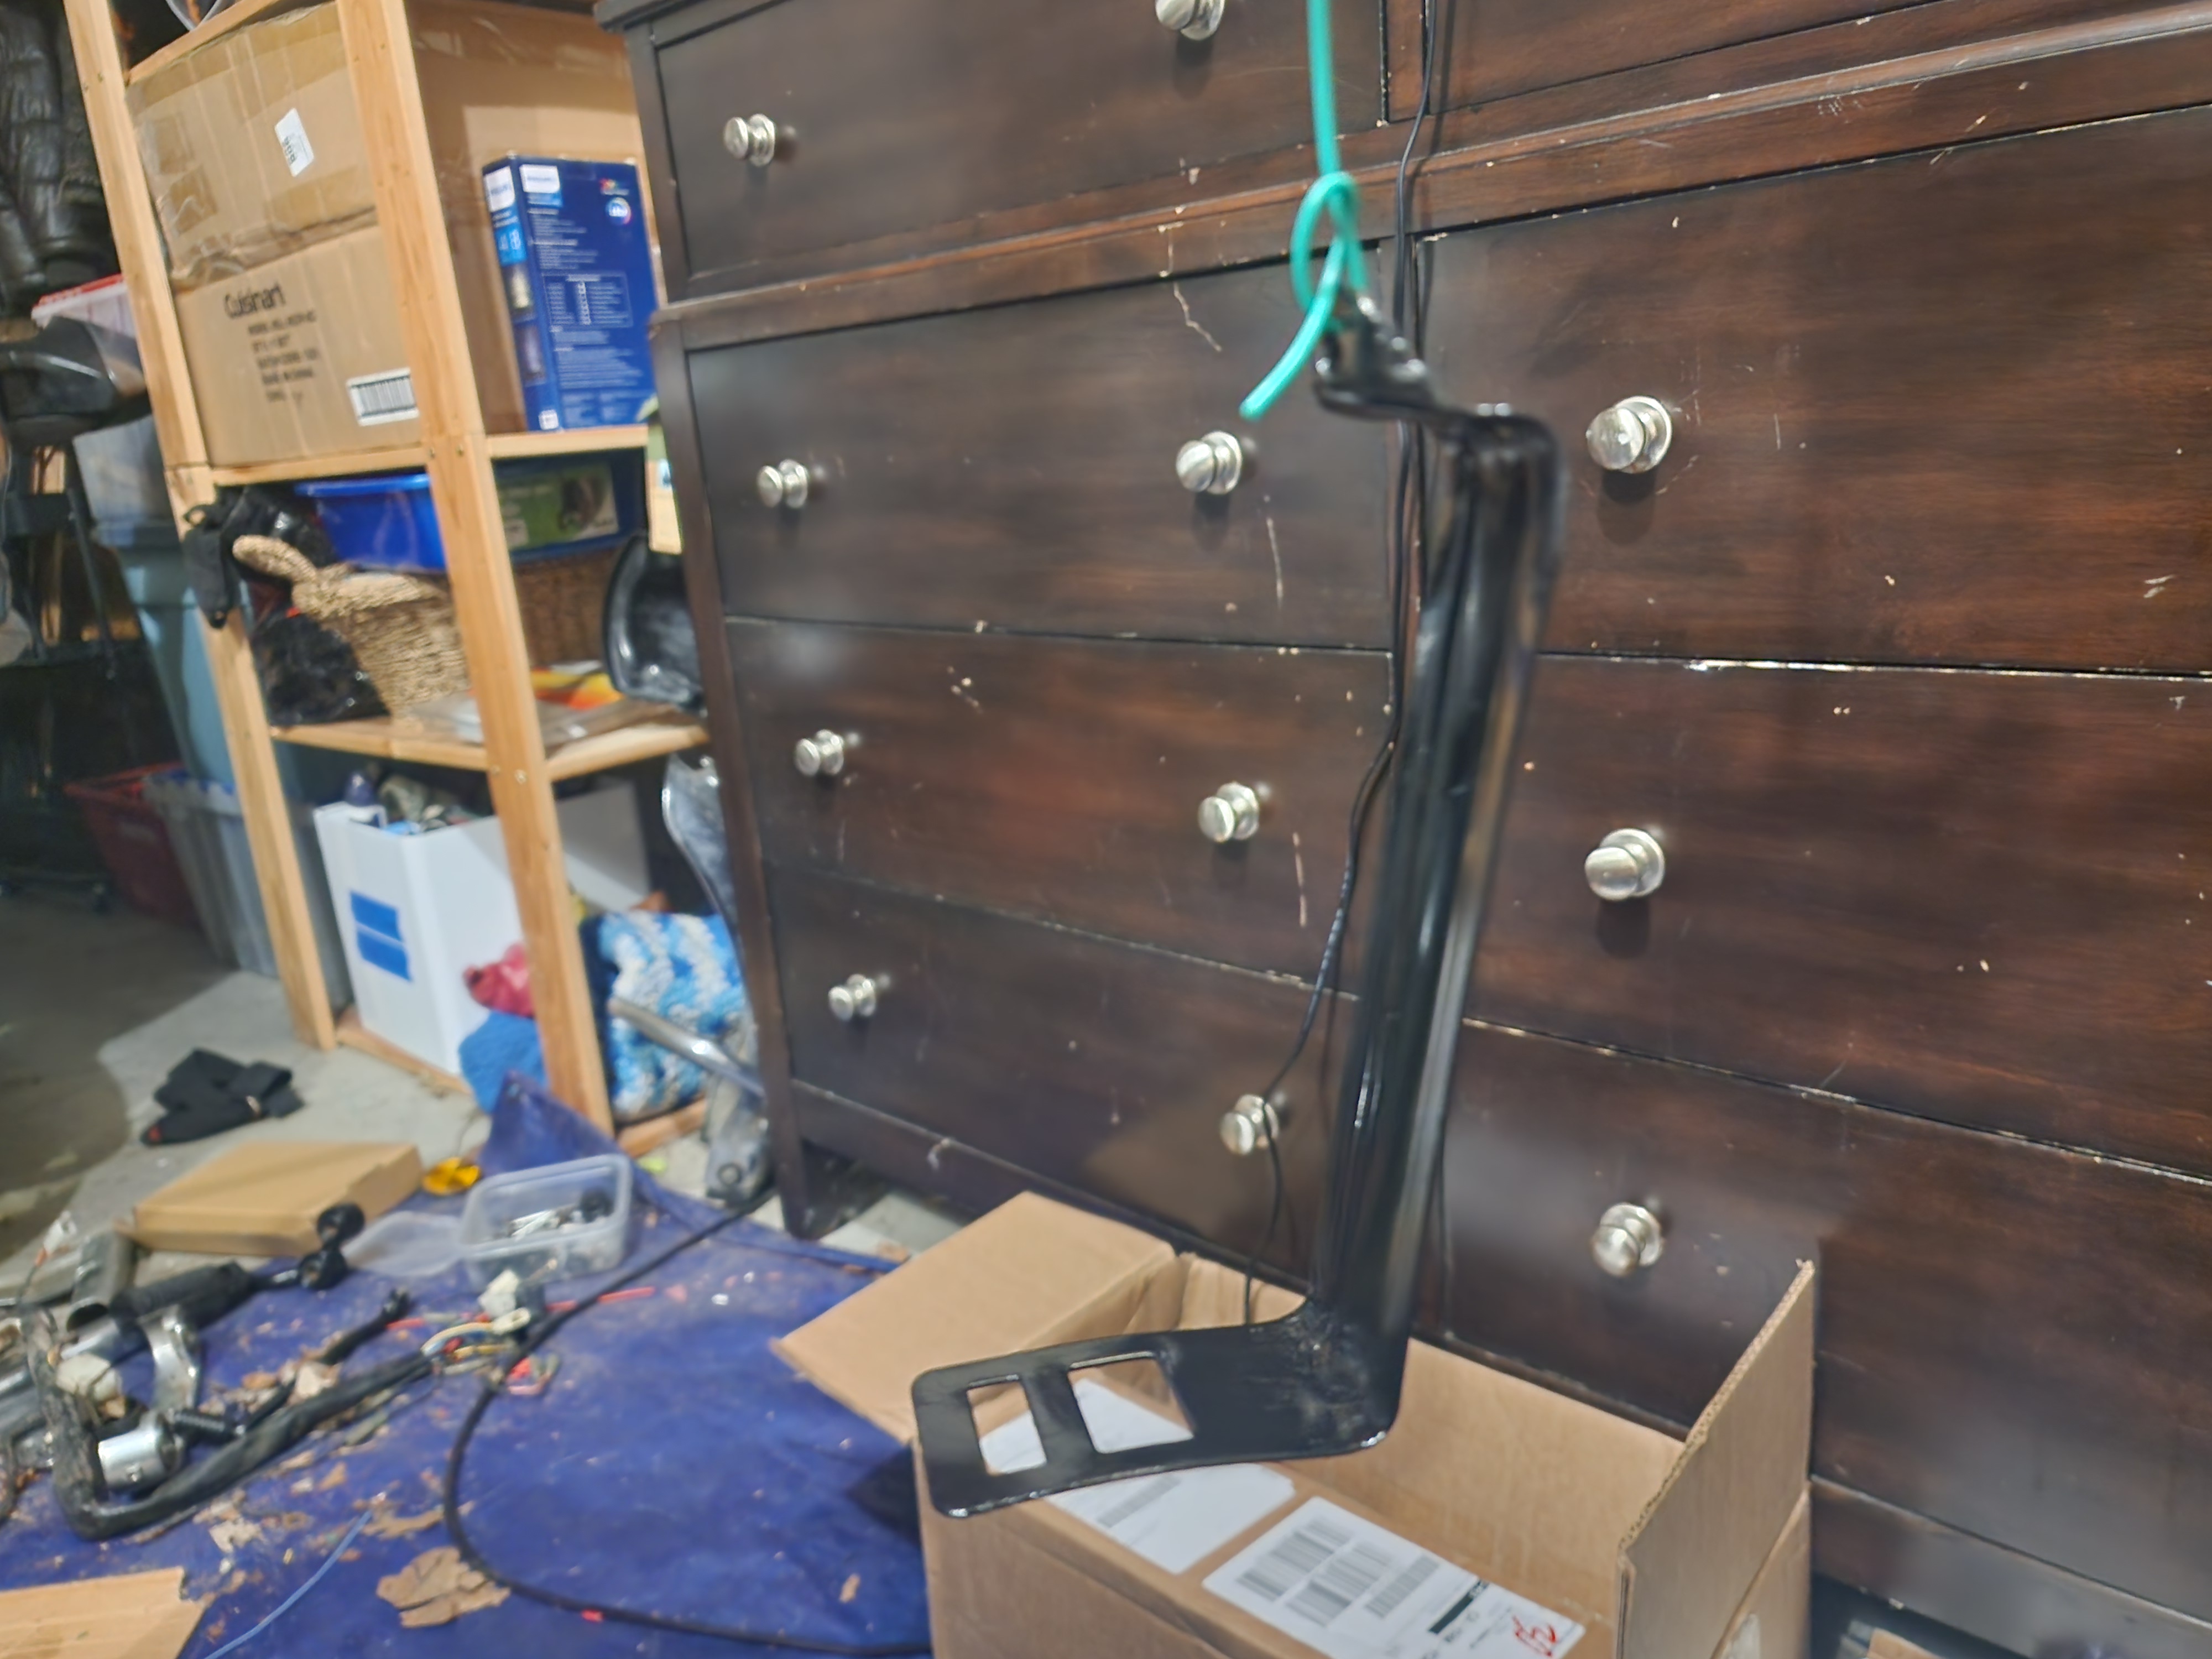 The painted airbox bracket.
I also dropped the tank, side covers, and fenders off at a local painter to get done properly. These smaller, black paint jobs will look fine with cheap paint, but the eye-catchy parts I wanted to be done right. The color I chose is Monarch Orange Metallic. It’s a Nissan colour with code EBB, and I think will be very unique looking on an old bike like the xs400.
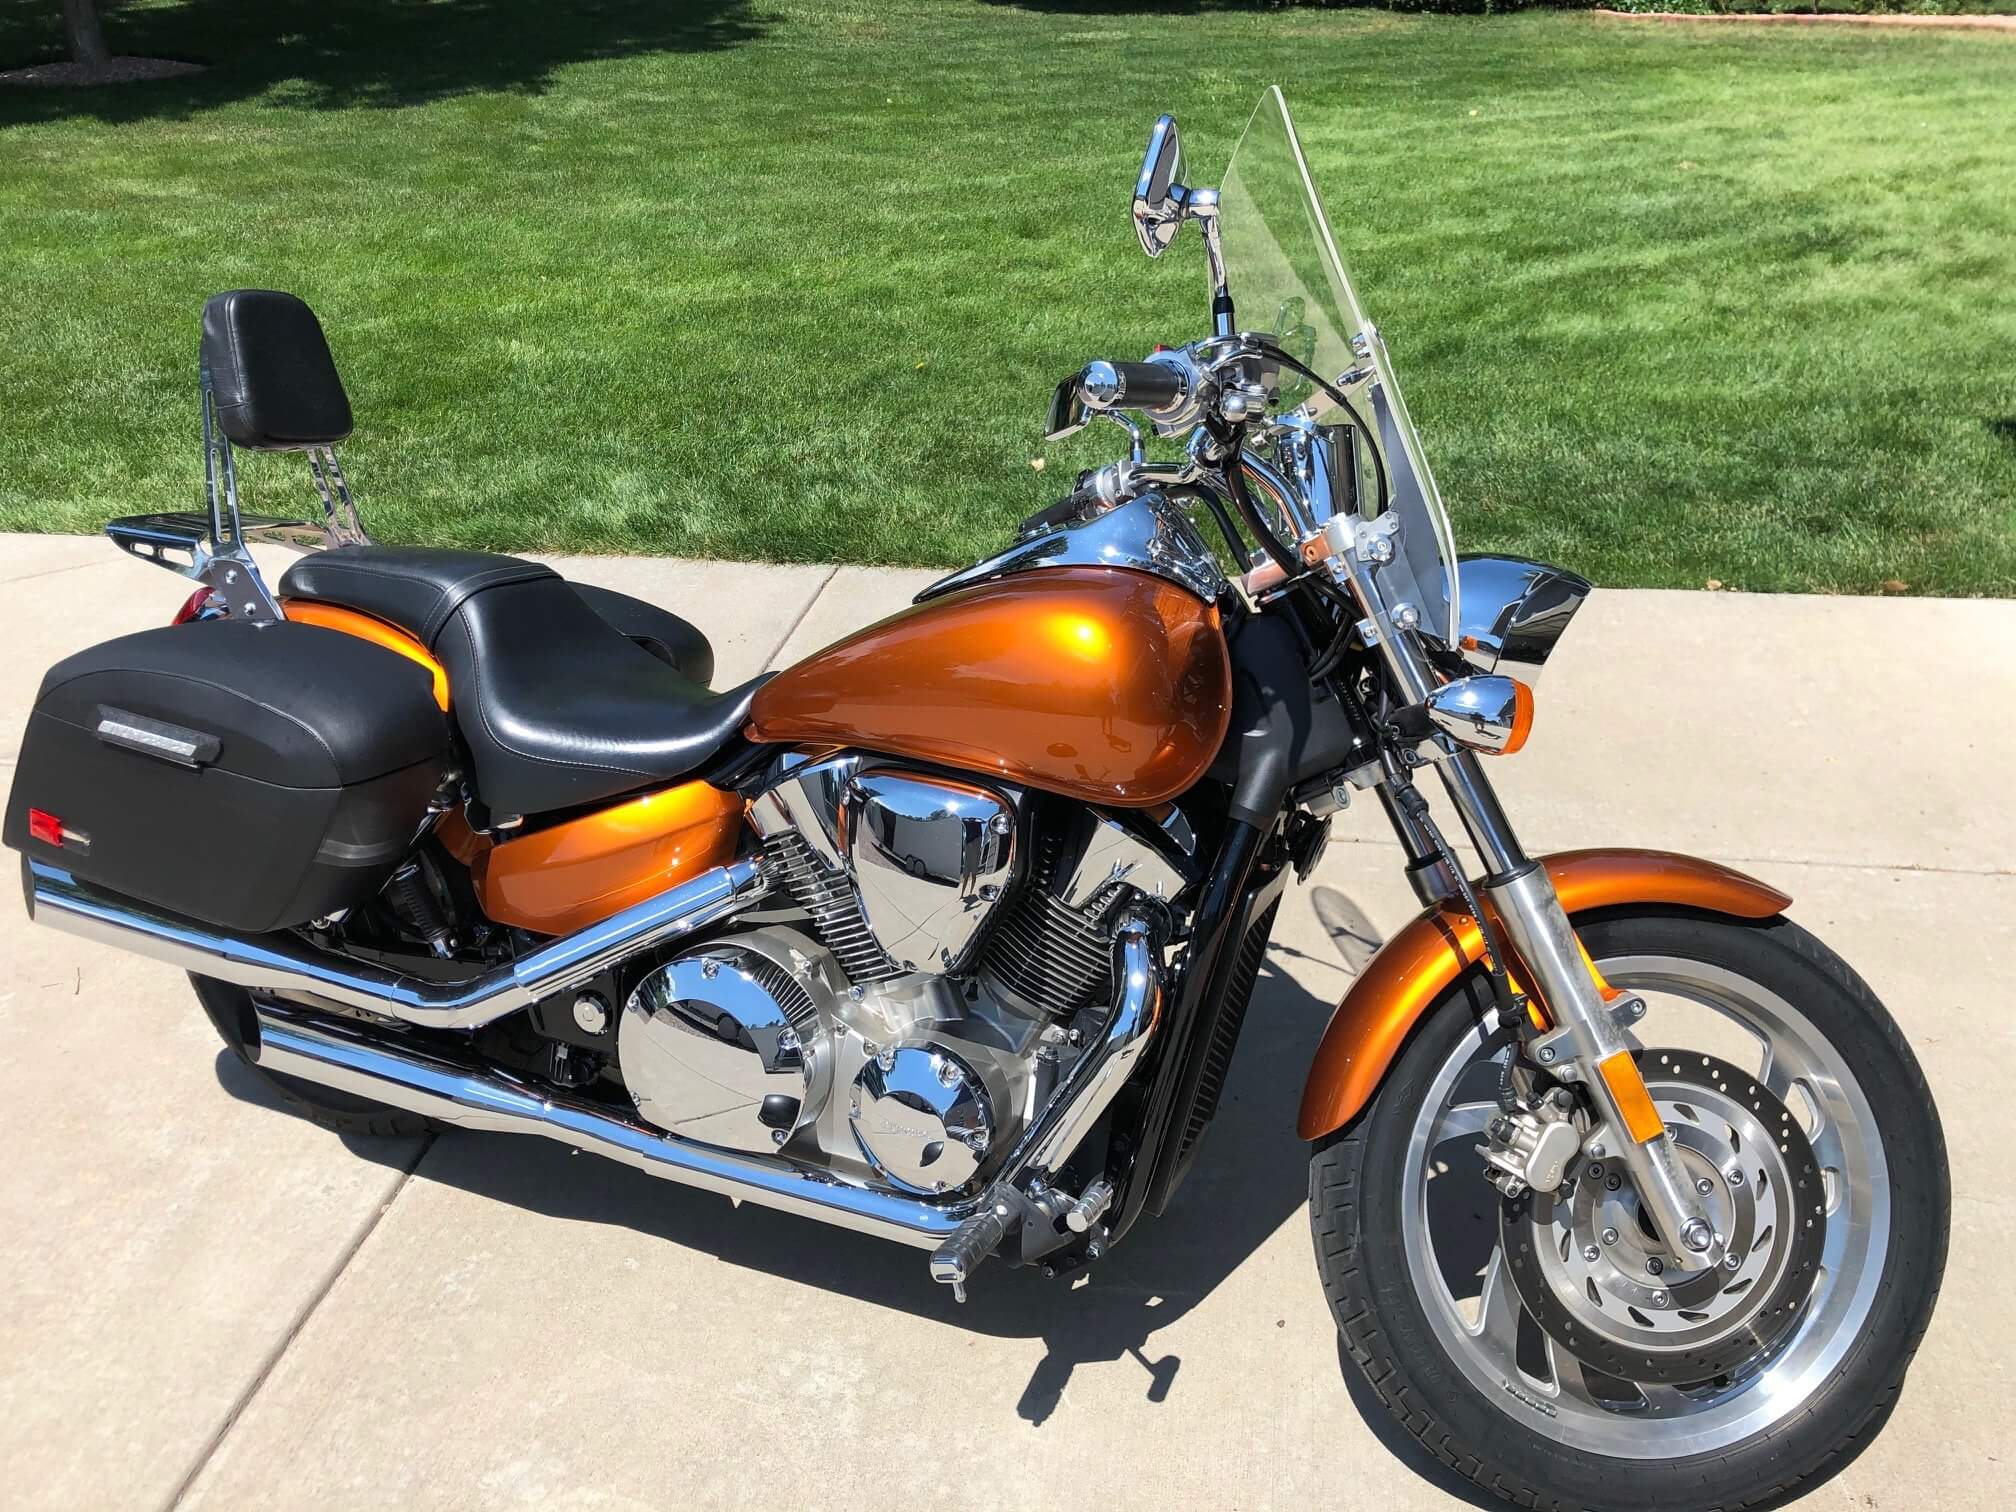 Monarch Orange Metallic on a bike.
I’m looking forward to getting the parts back. Up to this point I didn’t have a name for the bike. When I revealed the name of the paint colour, my sister pointed out that monarch is a sick name for a paint, and I decided then to name the bike Monarch.
Custom seat
I also have started the process of building the custom seat. I started by getting in contact with the local Polymershapes branch in London, who were able to put in a custom order for some 4.5mm thick black ABS plastic sheet. This will be easier to work with than fibreglass. Based on Caferacergarage’s thermoplastic seat base video, I’ll cut the sheet to the size I need, and shape it using a heat gun. I’ll also use some to make an additional cover to protect the battery box and mo.unit from road debris that gets past the fender. The only thing is that the minimum size of sheet I could get is 4ft x 8ft haha…
For the foam and cover I haven’t gotten as far, but I do have a lead for at least the foam. London Foam & Cushion is a local business ran out of the owner’s home who was very helpful to me on the phone chatting about which type of foam I would need for my specific application, so I feel inclined to continue doing business with her. For the cover, the plan is to convince my sister to help make a vinyl cover and add some embroidery of monarch butterflies in orange stitching (Since the bike’s name is monarch now).
August, 2026
With the new school year approaching, progress has slowed down a bit again. Only a few things have changed since the last update, but they are significant.
Paint finished!
The local painter I hired to do the important parts finished last week. He did an amazing job (Streicher Auto Body). I resealed the gas cap and replaced the tank emblems, as the original ones were falling apart. I got the replacements from xs650direct.
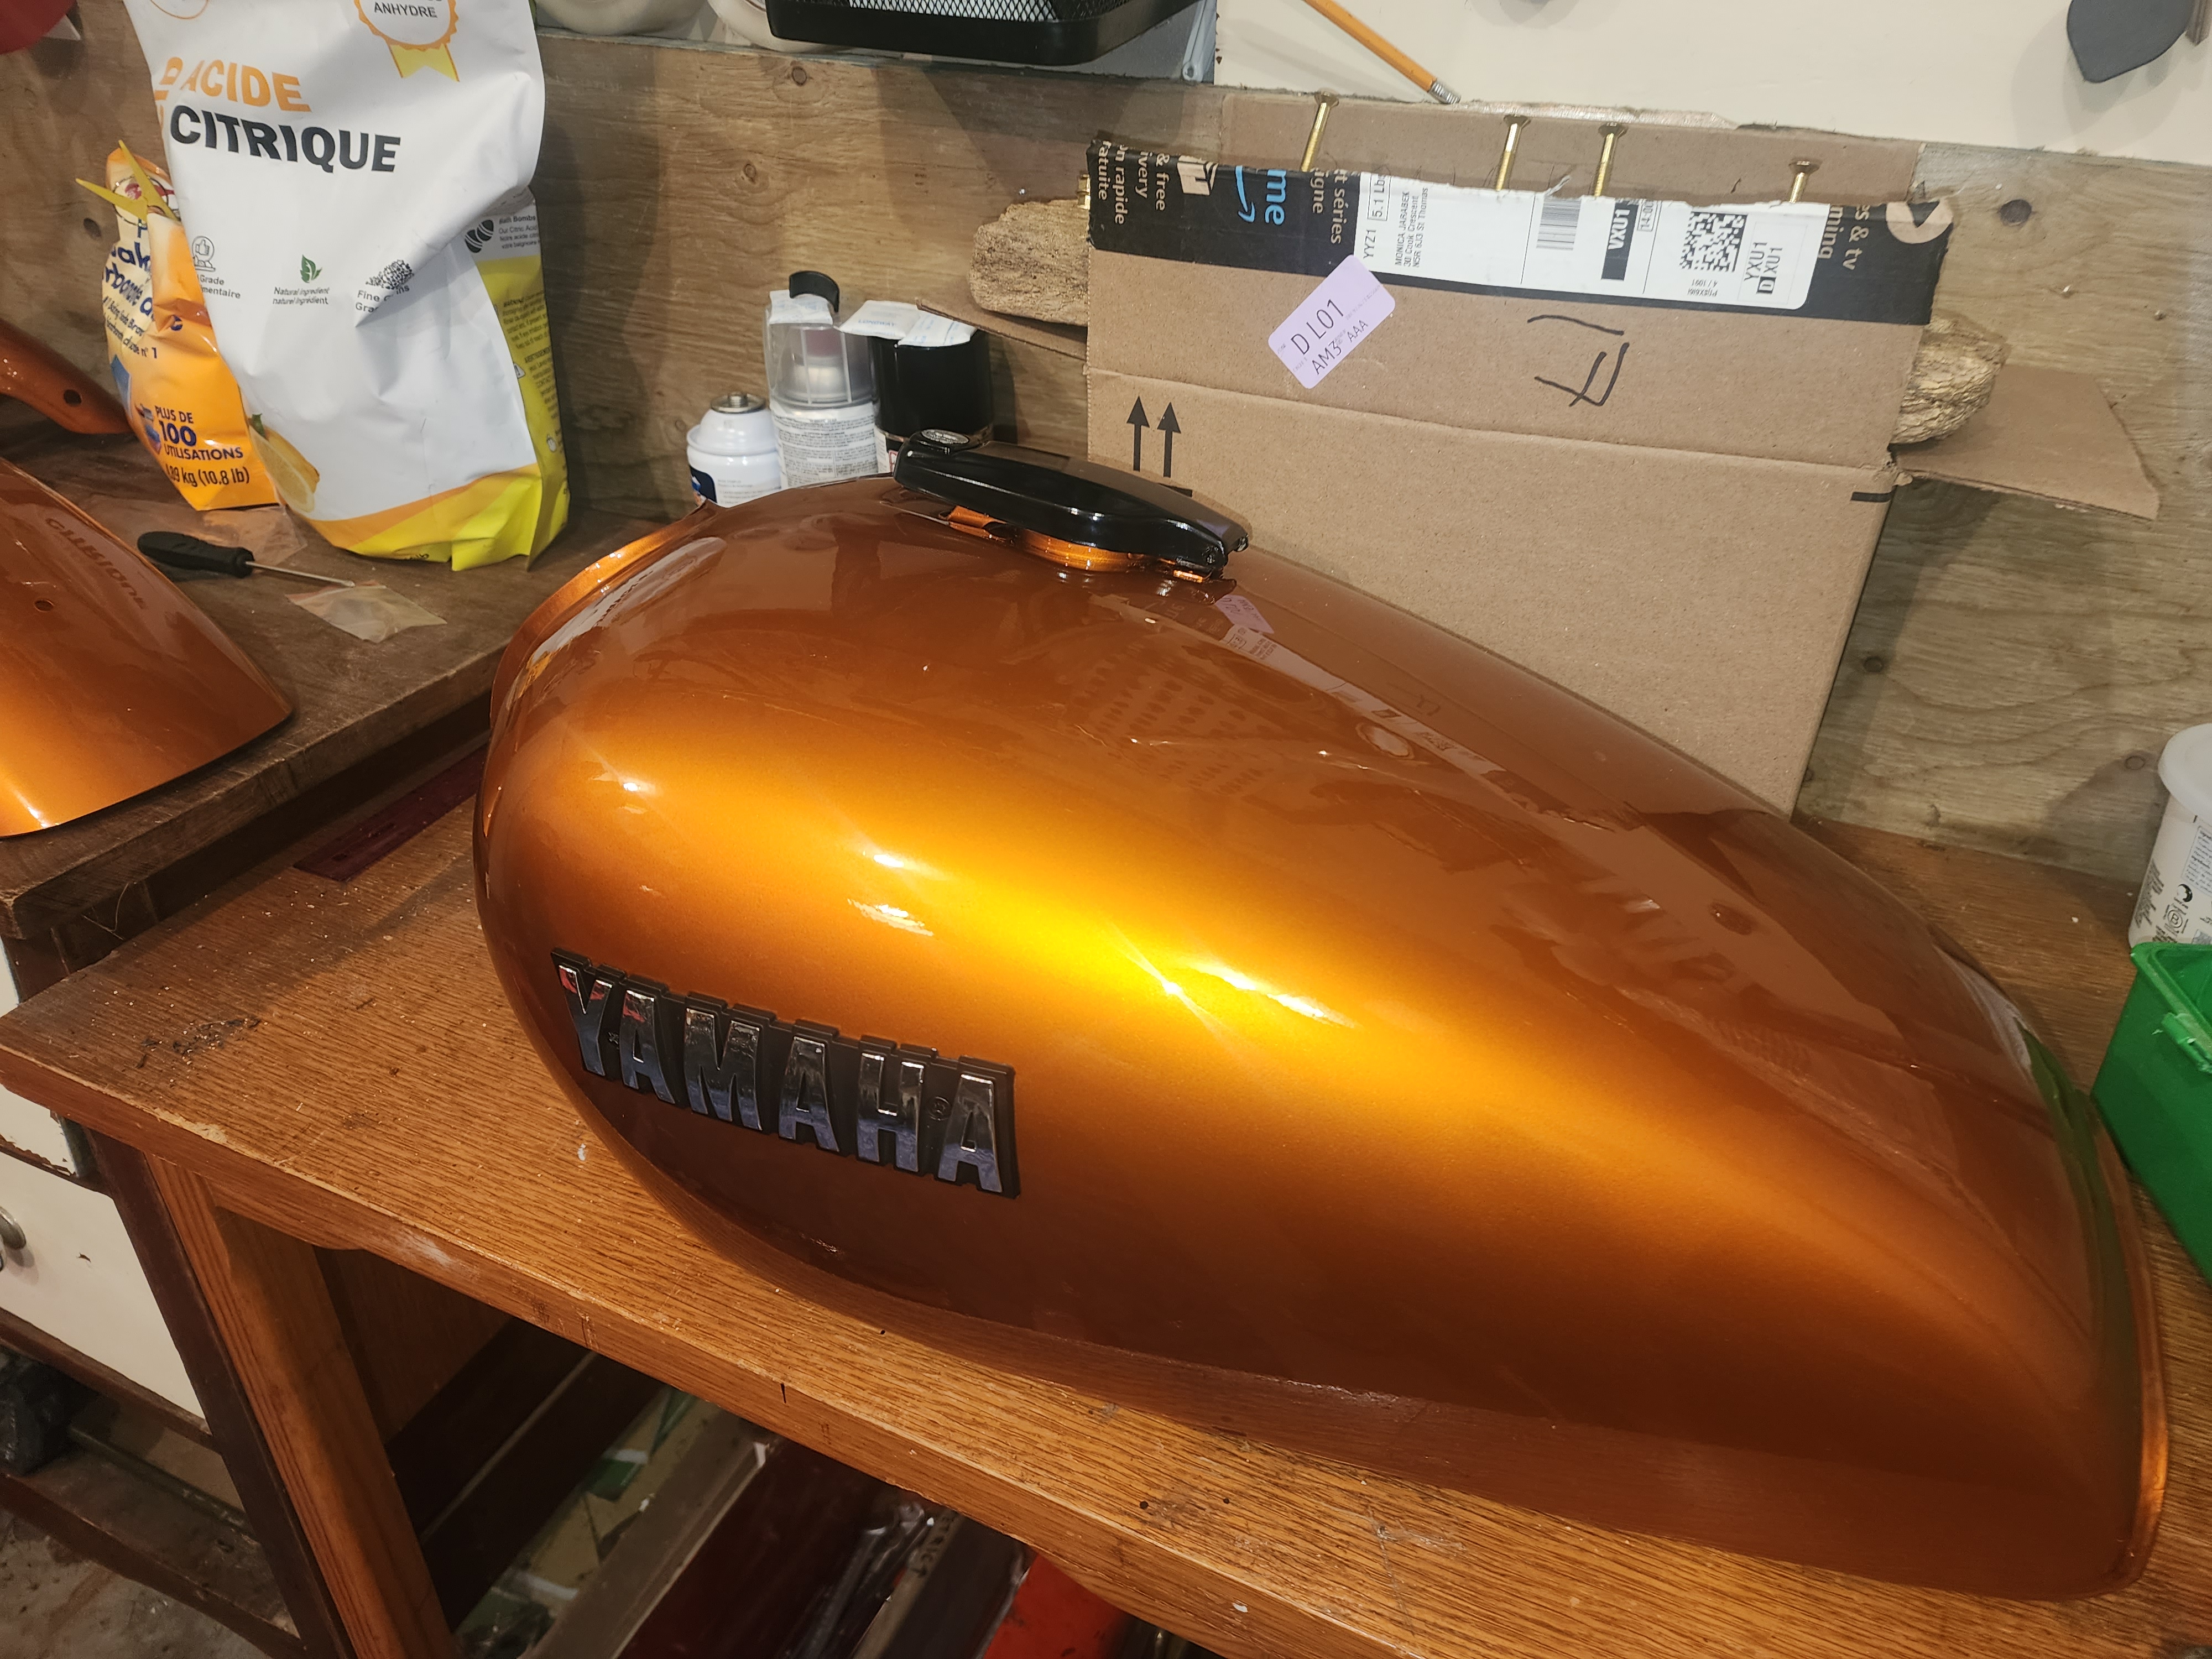 Painted tank
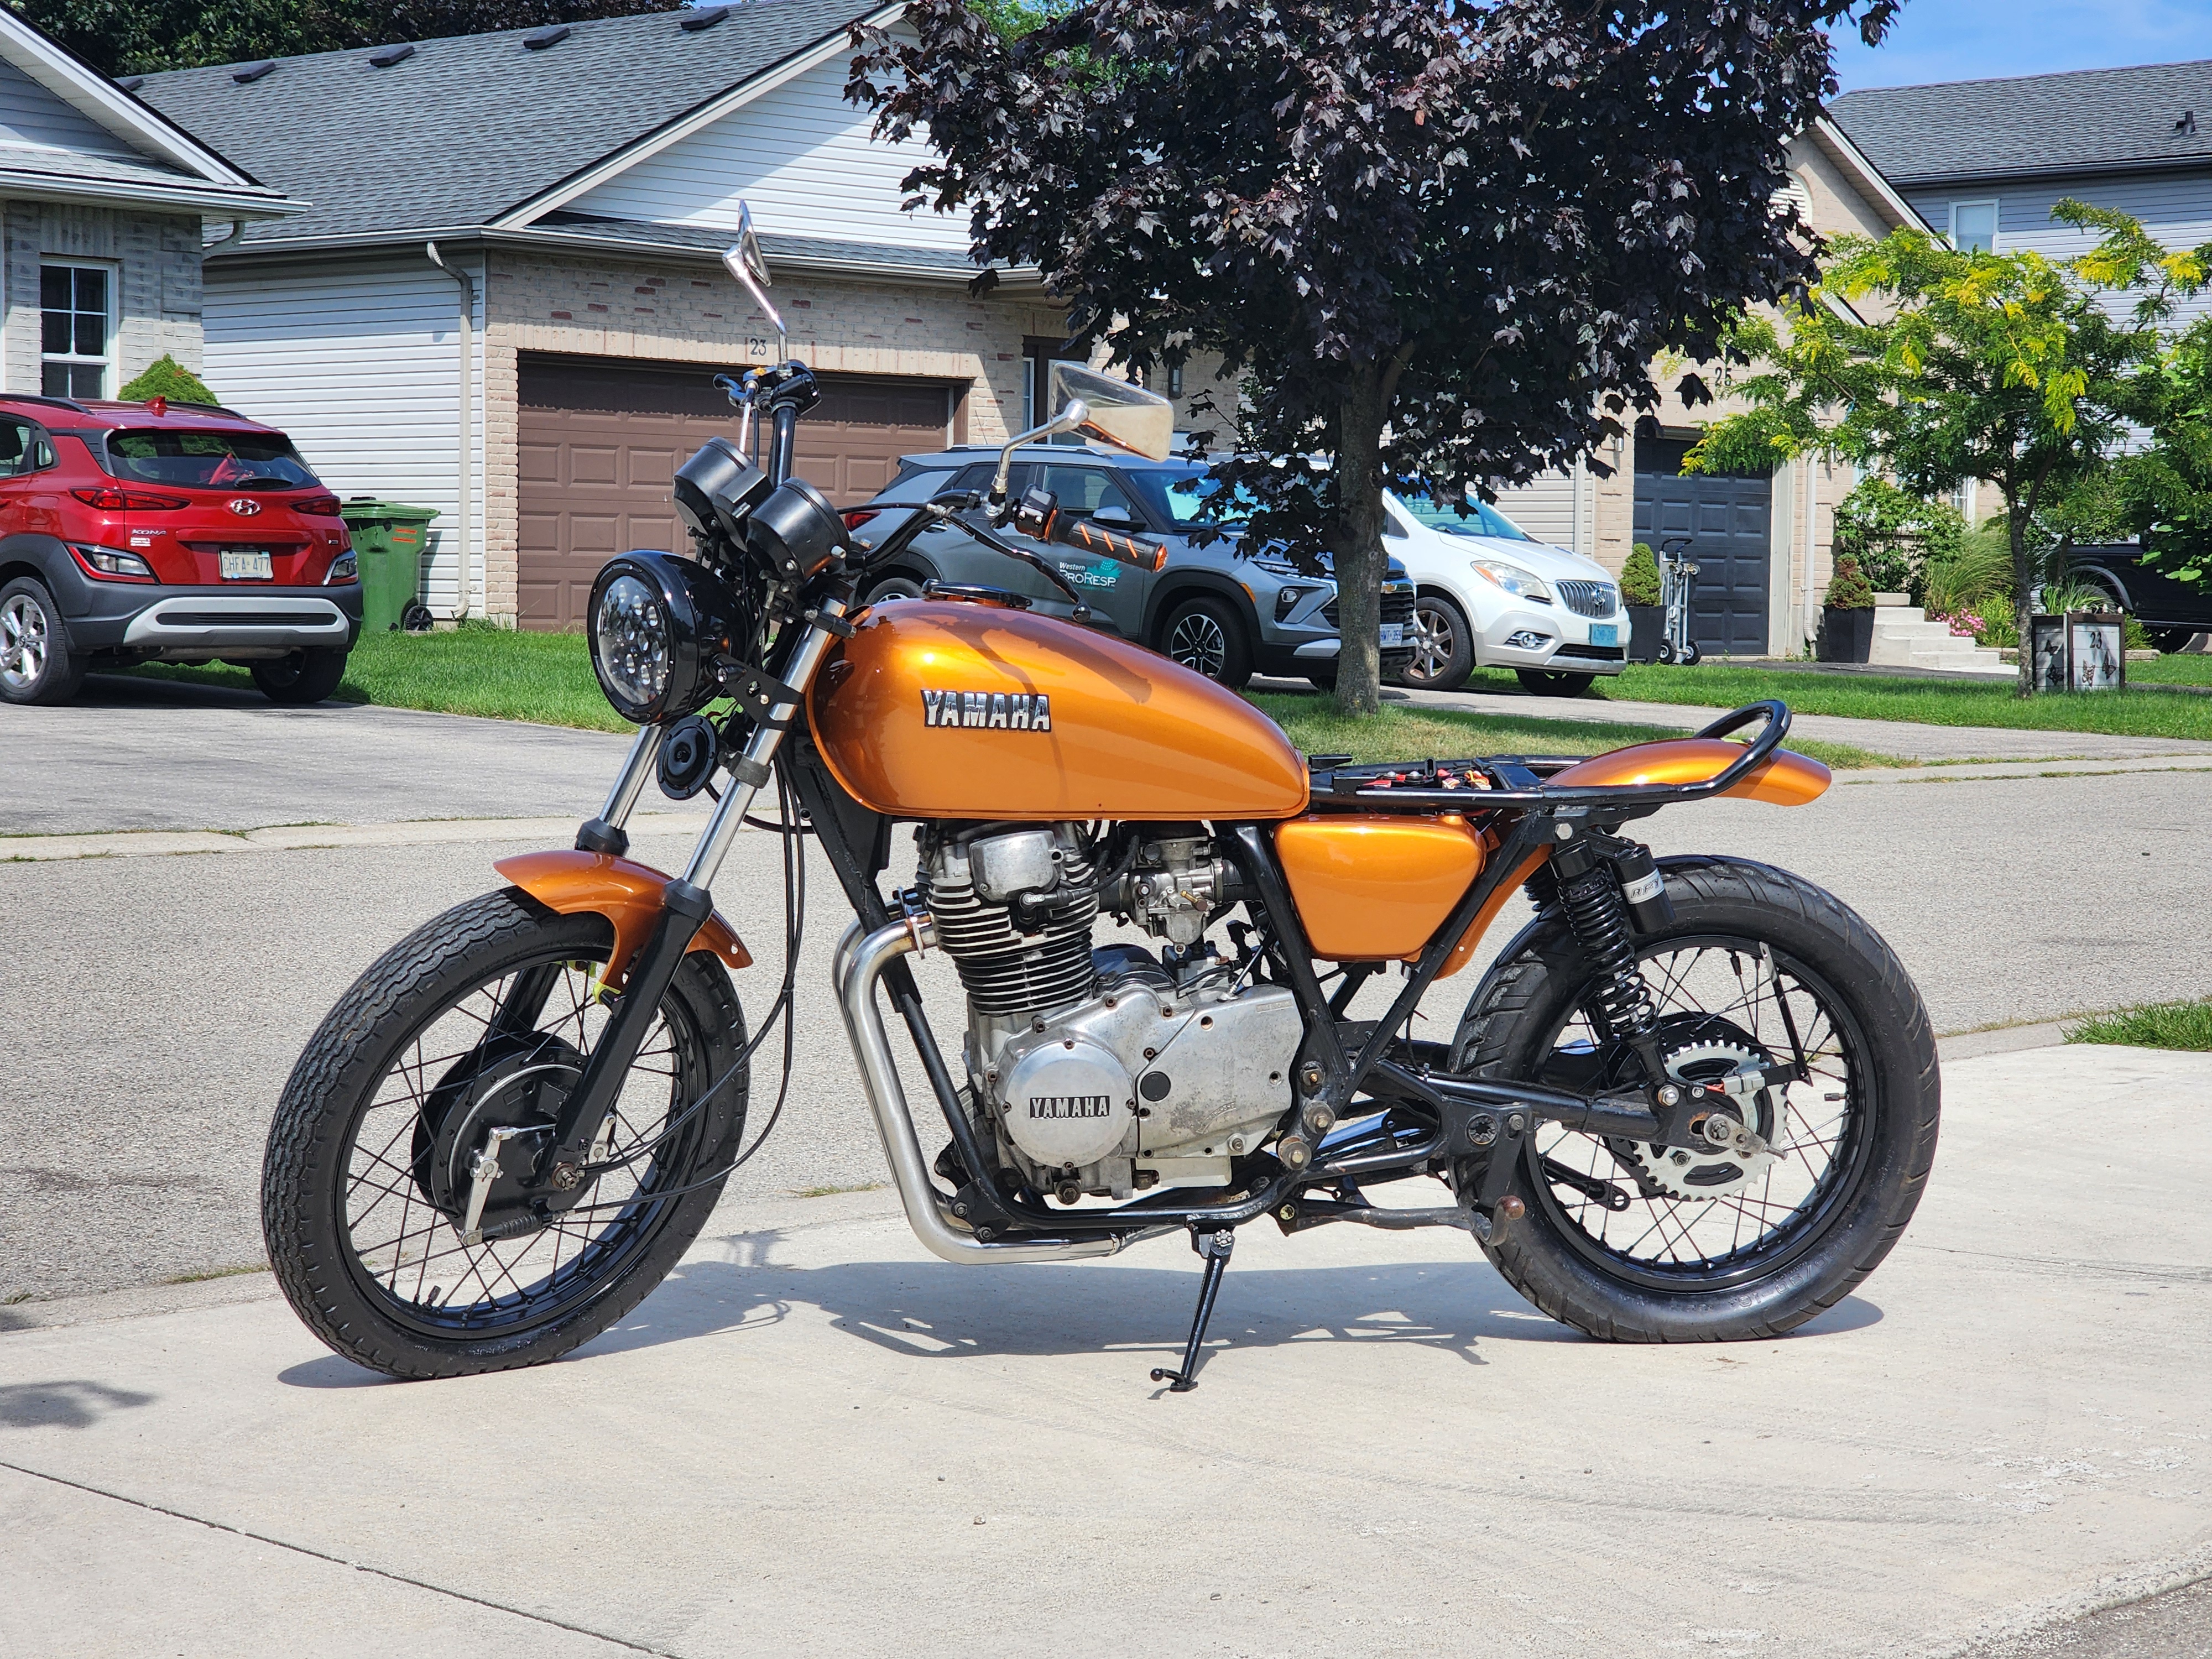 Painted bike side profile.
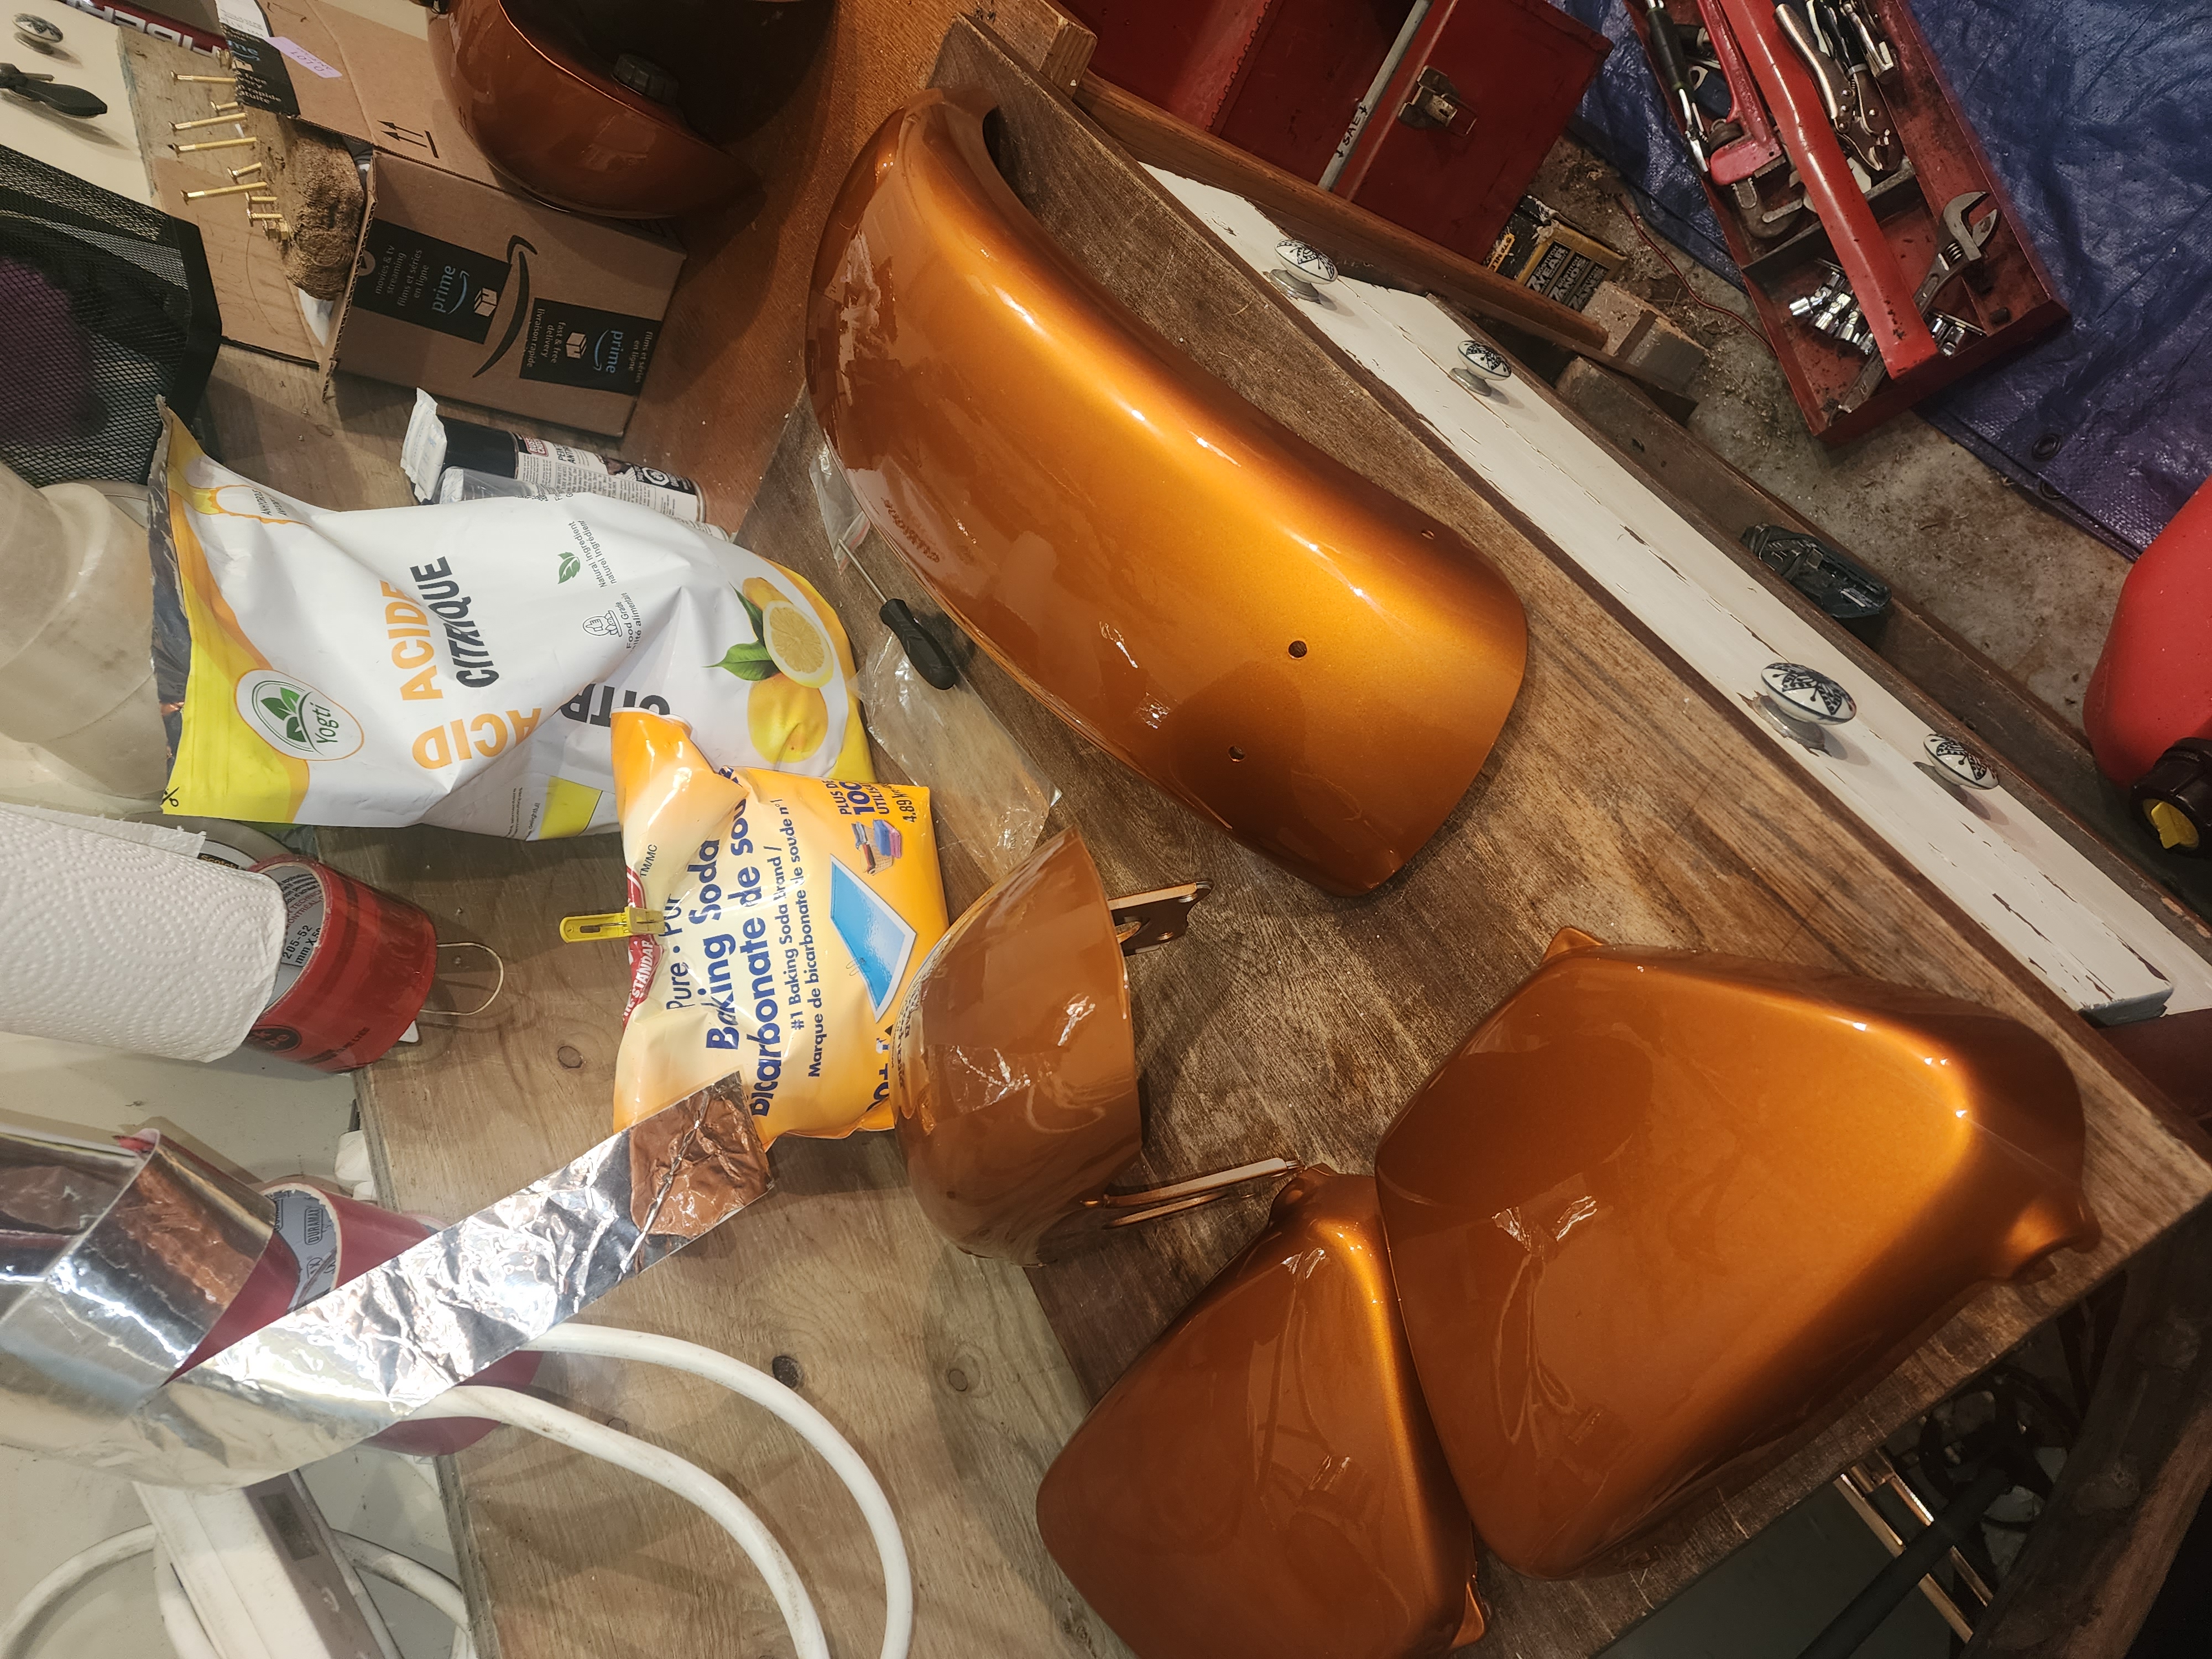 Painted Parts.
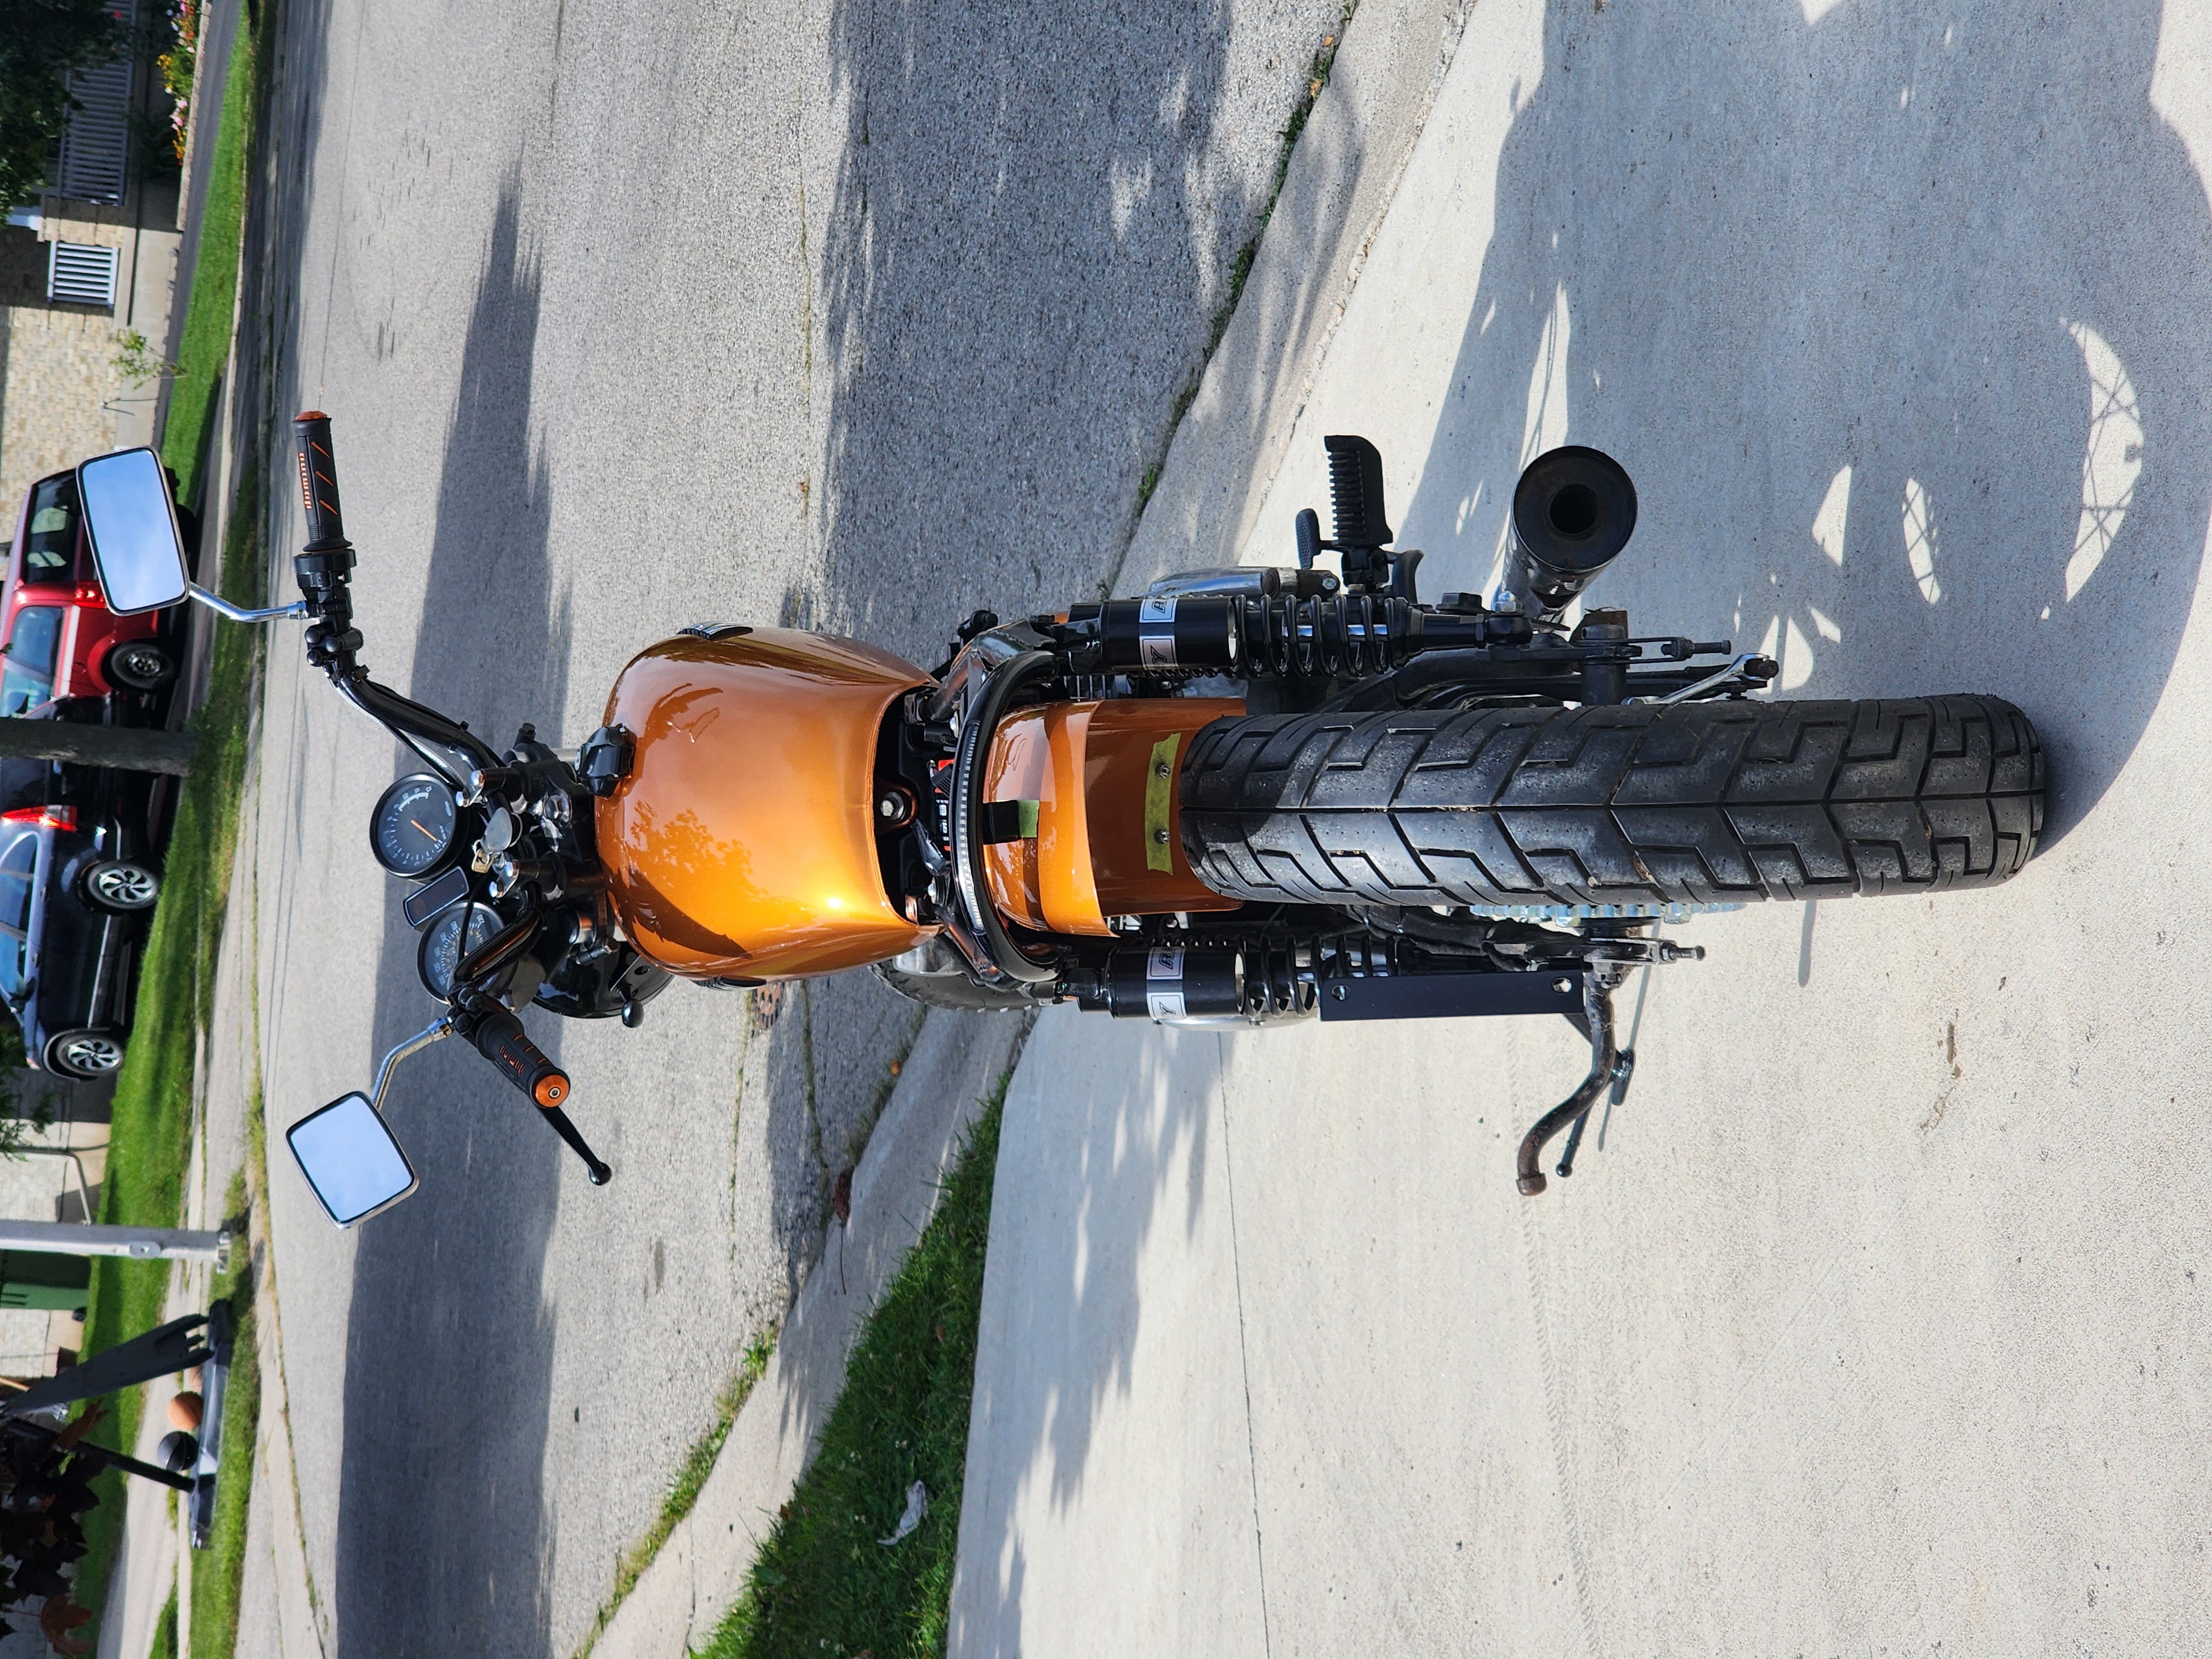 Painted bike rear angle.
With that, the bike is looking very complete, but in reality it is still quite far from being done.
Tires, seat, mud guard
The three main items left on the checklist before bringing the bike in for inspection. I have the tires, they just need to be mounted and balanced, which I may pay someone with the correct equipment to do for me. Then, there are the seat and mudguard. Both are one of pieces that I need to make myself. I’m starting with the mudguard, which will double as a mount for the fender (I don’t like the sheet metal hack job I did a while ago). It will span the entire width of the bike, and extend further down toward the swing-arm than the fender itself. I’ll make it out of the same plastic as the seat base. The idea is to make sure the mo.unit is well protected from water, since it is by far the most valuable piece on the bike.
Once those are finished I’ll be free to start the seat, which will be the hardest part of this build in my opinion. I have not yet decided where to get my foam, or upholstery material. I’m imagining a black waterproof vinyl, with orange stitching. I’ll ask my sister (who is crafty, and loves embroidering) to do some butterflies on the side of the seat cover, as well as sign my name (I don’t really have a makers mark or anything). There are some other finishing touches I have planned, but they are non-critical, so I’ll discuss those as I do them.
October, 2026
Made lots of progress!
Mud guard
Using some of the plastic I got for the seat base, I cut out a rectangle of the correct size, cut off the corner where the tail light wiring connector passes through, and drilled holes for the mud guard to mount to the bike, and the fender to the mud guard.
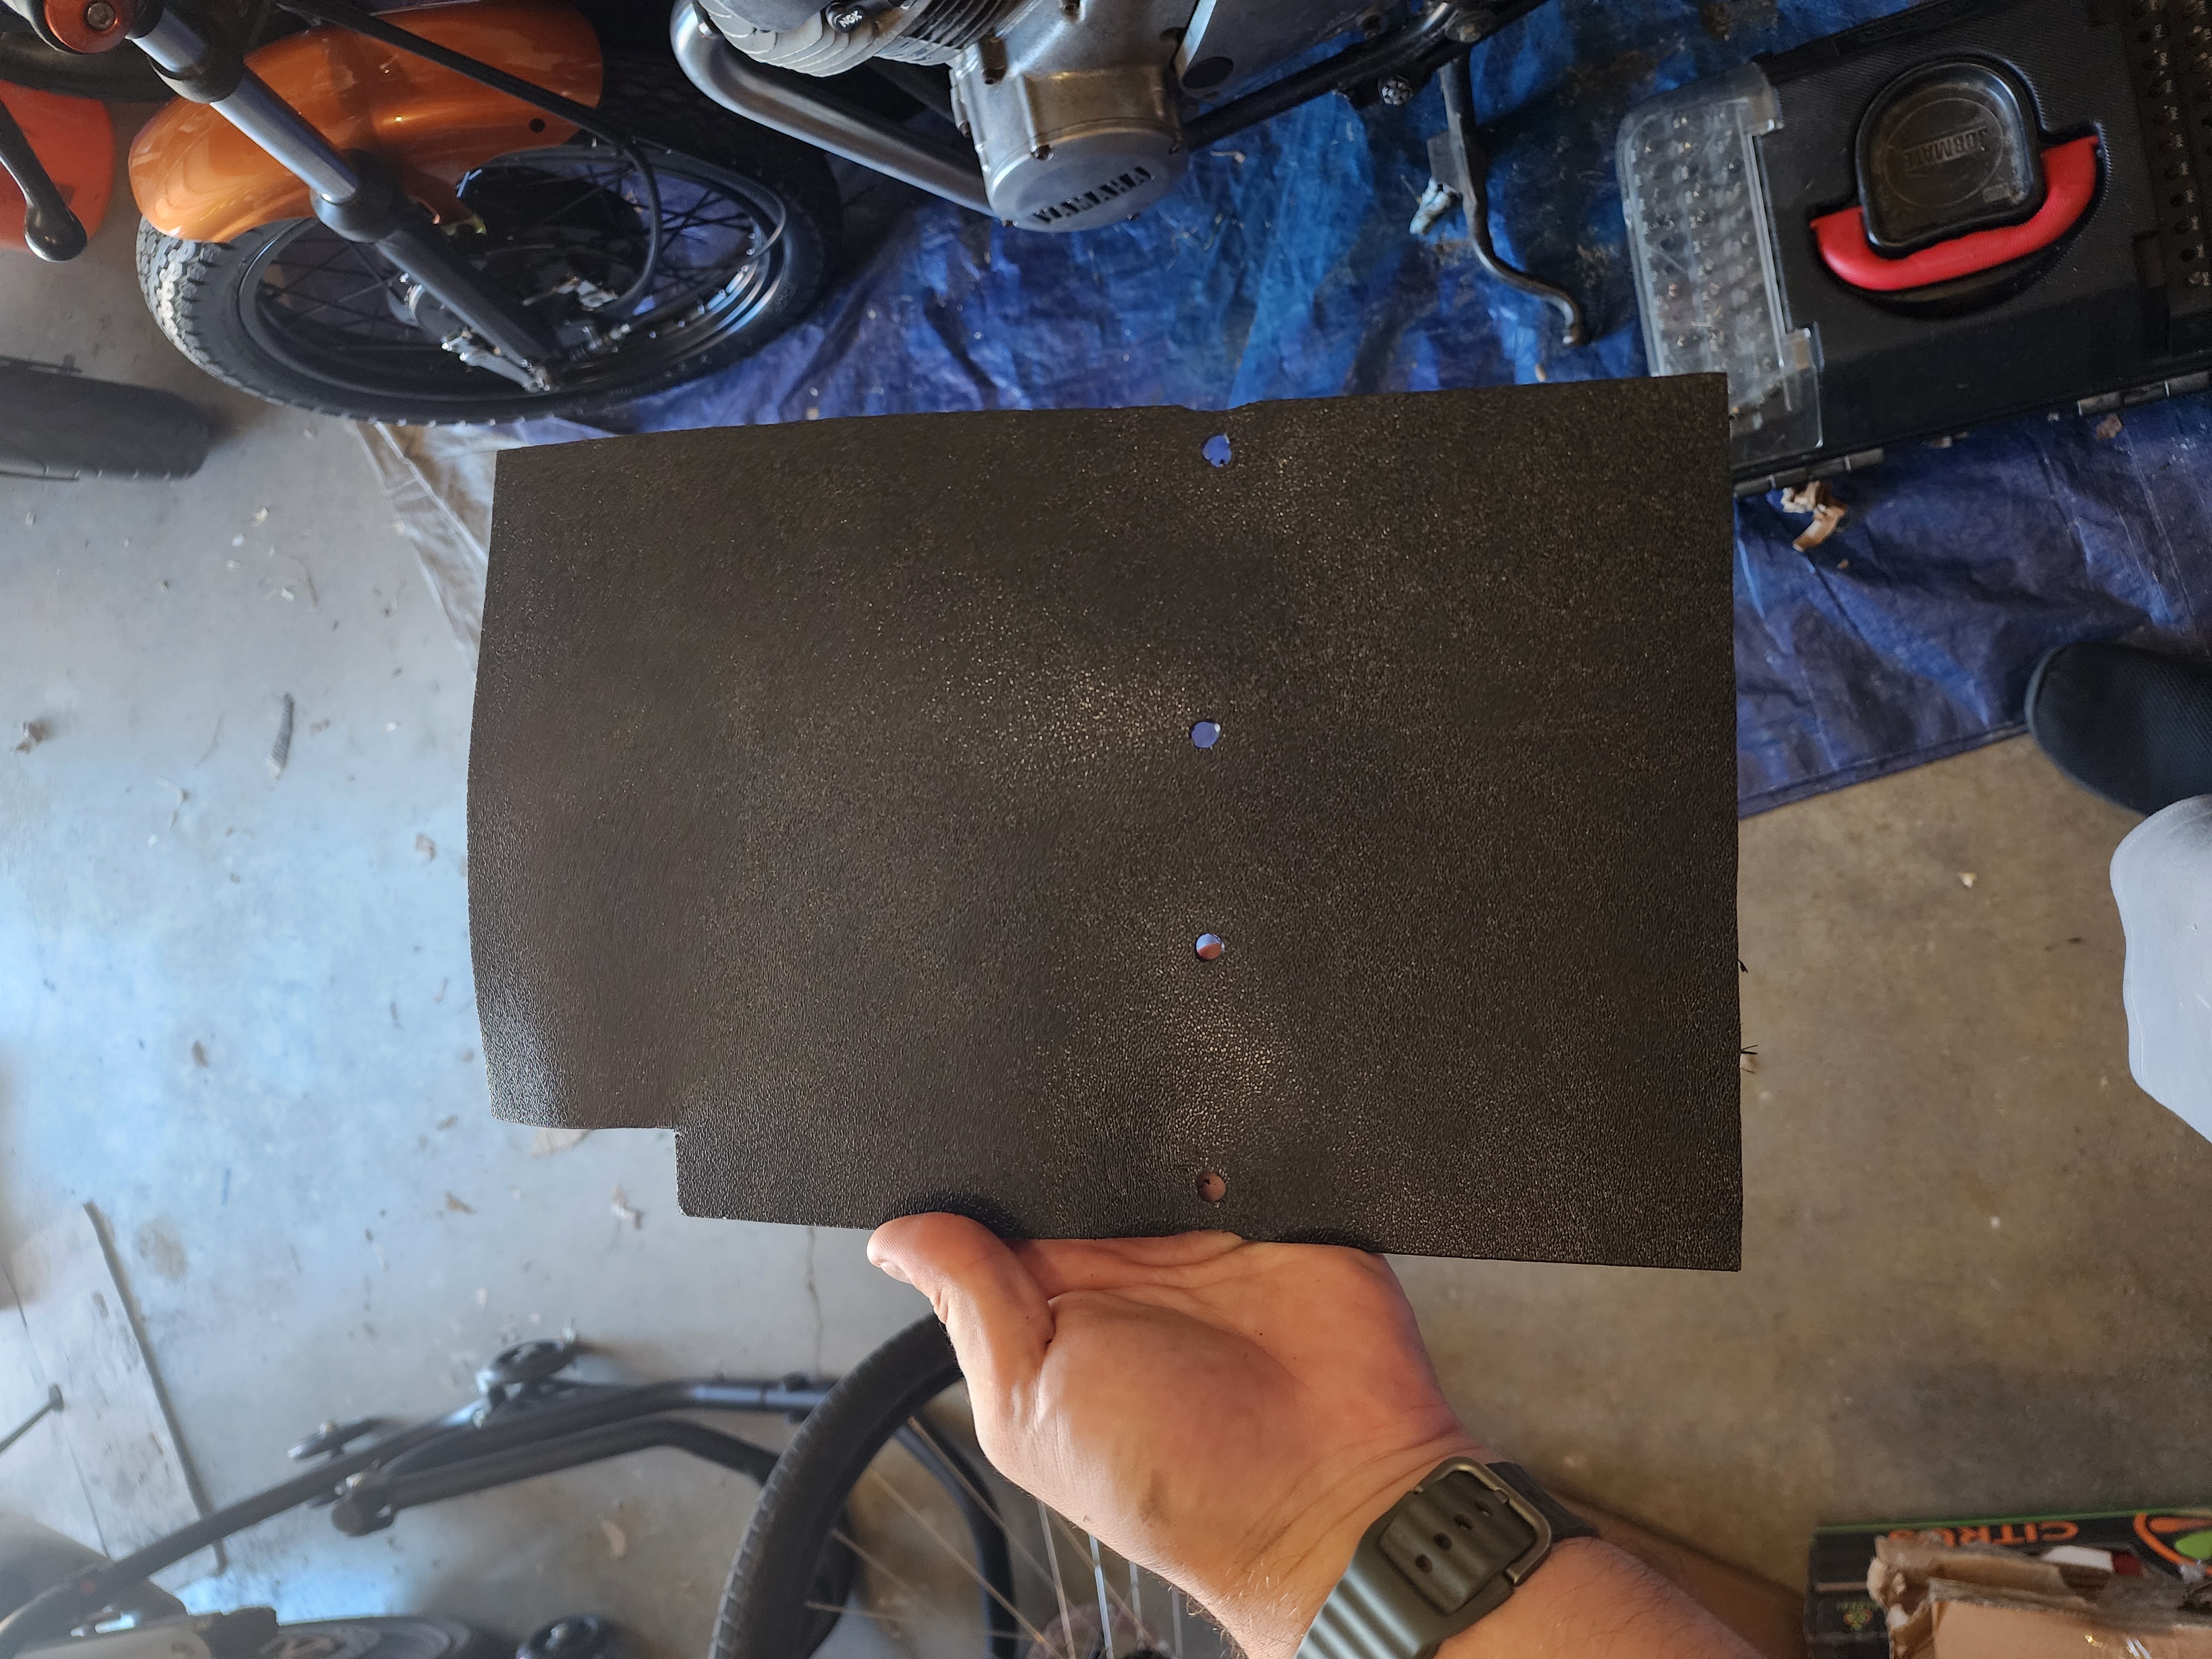 The mud guard
This protects the unit much better, and doubles as a mount for the fender (I’m glad to be rid of the ugly sheet metal piece I had made.).
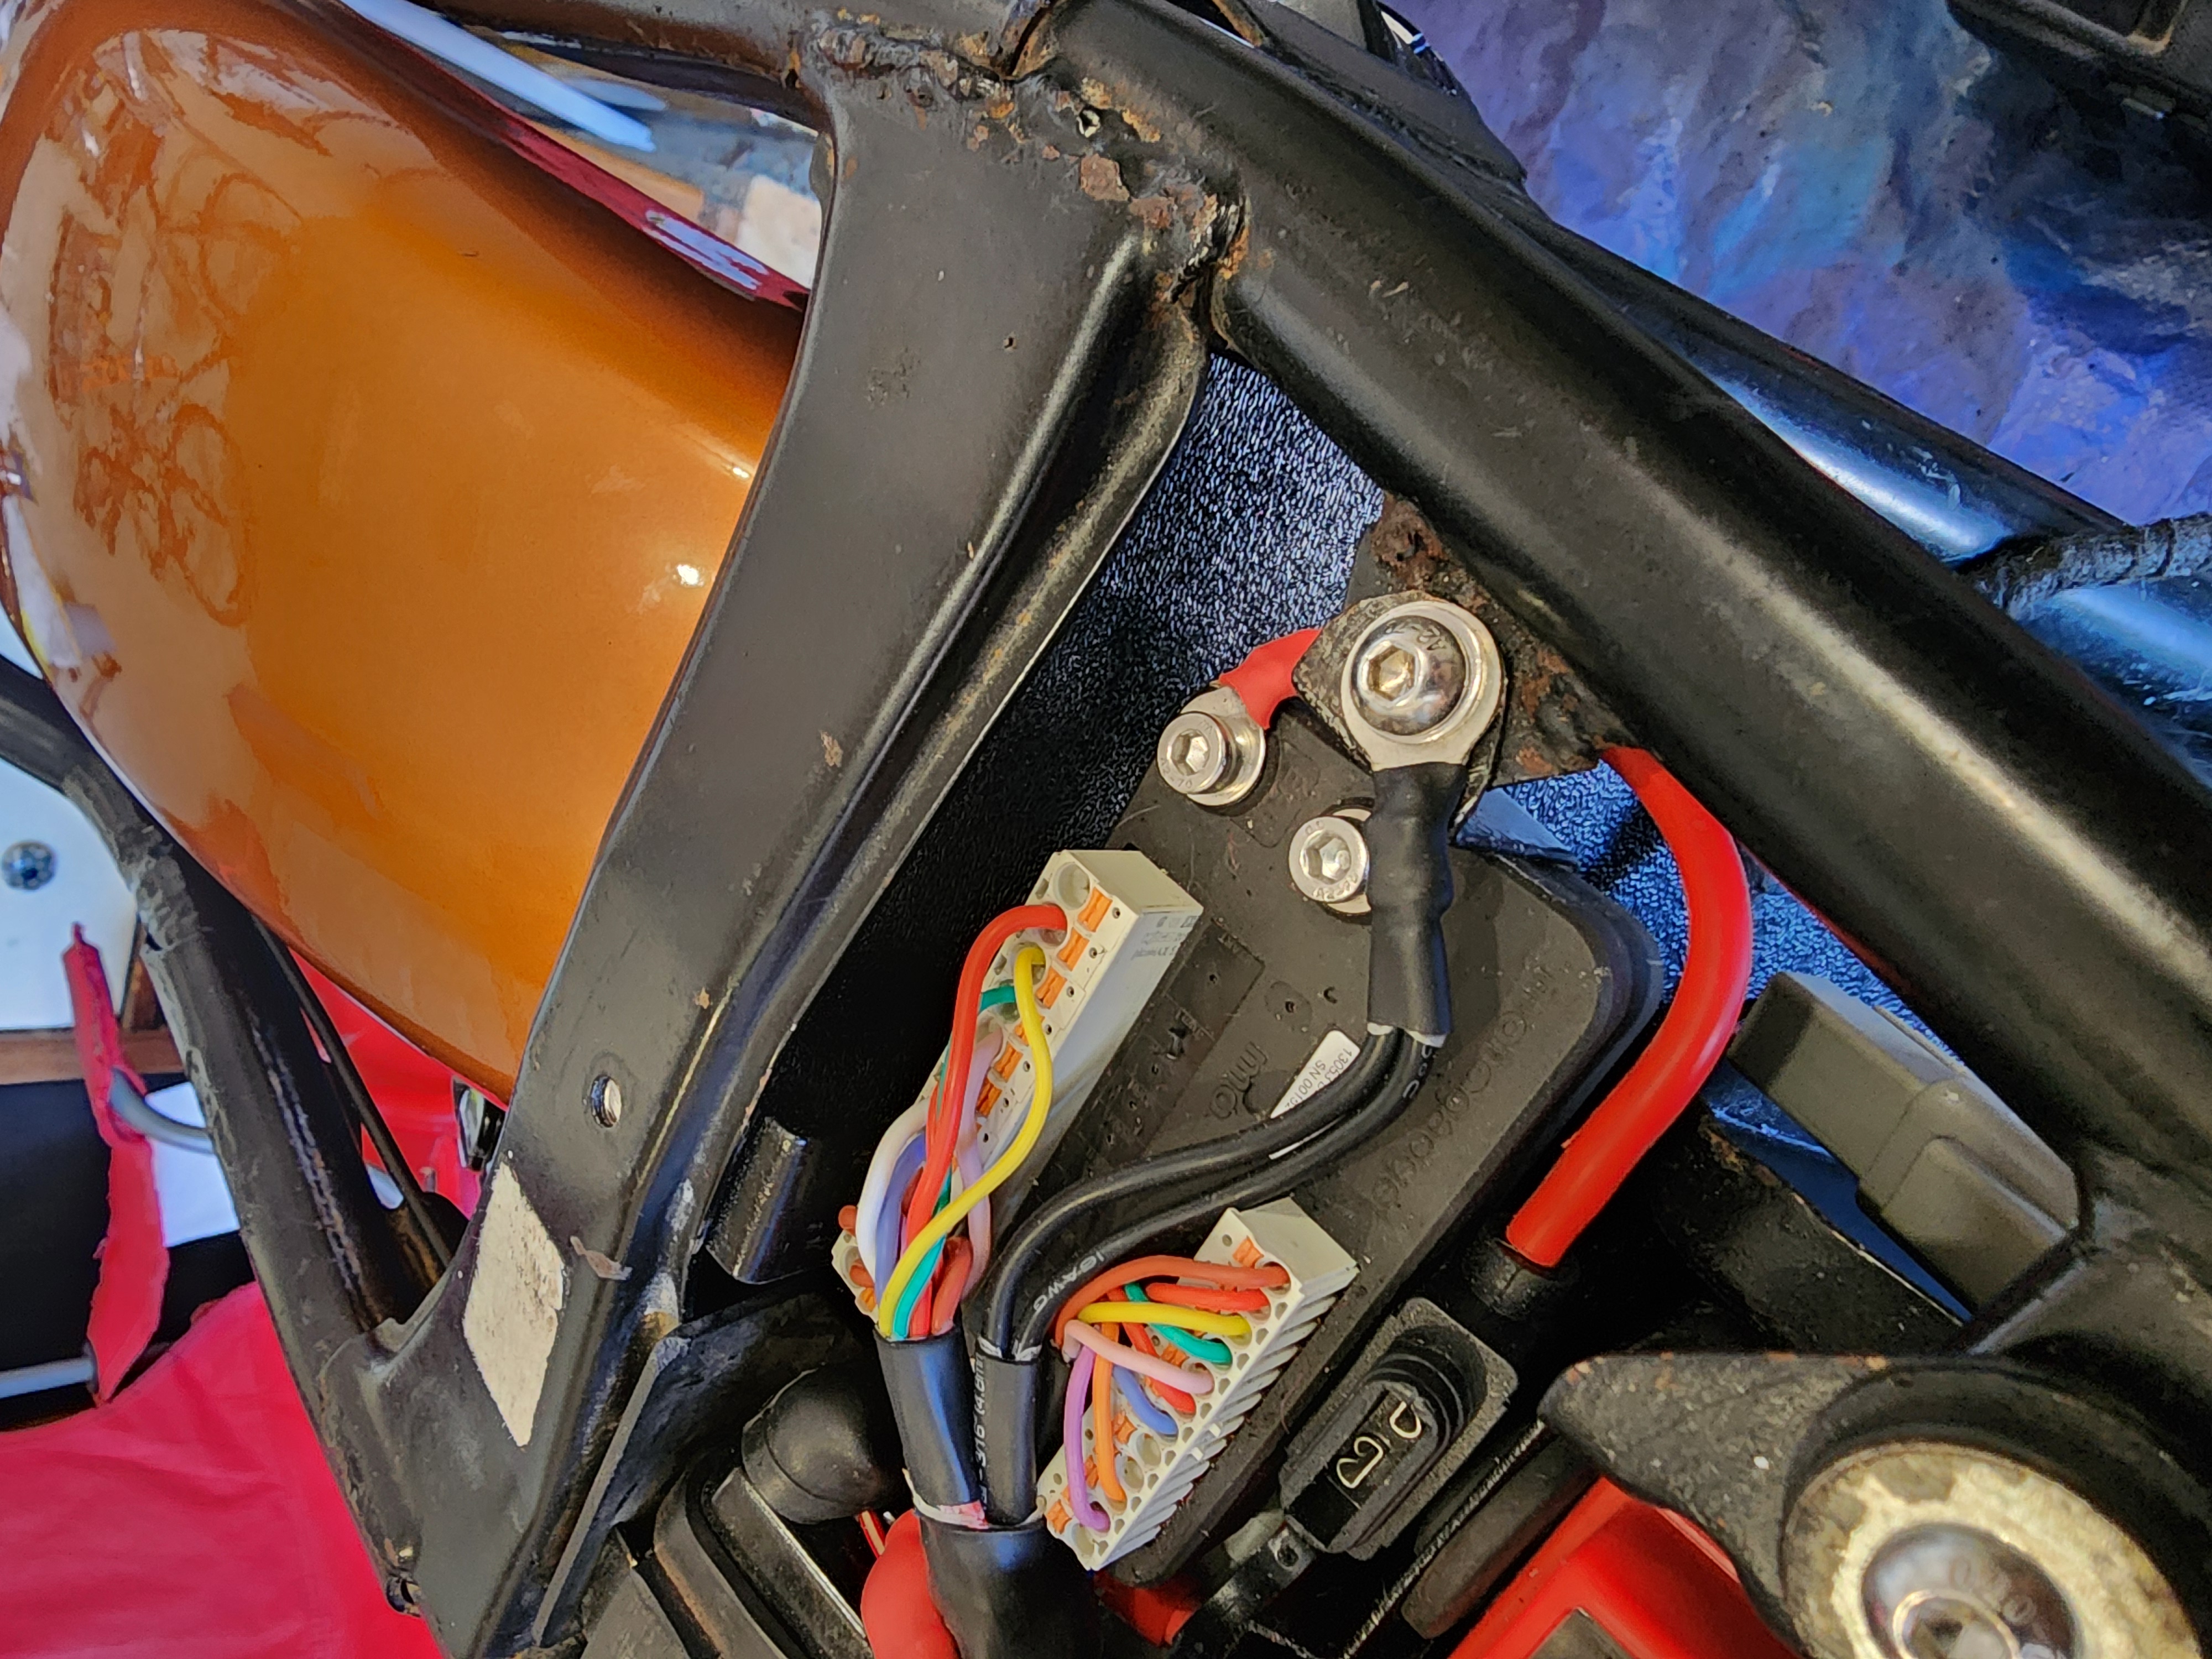 The mudguard now protects the unit nicely.
Tires
I had the tires mounted and balanced at Hully Gully. Before I brought them, I removed the old tires and cleaned up the inside of the rims. The front was pretty rusty, so I took the time to wire brush, scuff, and paint them. The rust ended up being mostly superficial, with only minor pitting. They cleaned up nicely, and look good with the new tires.
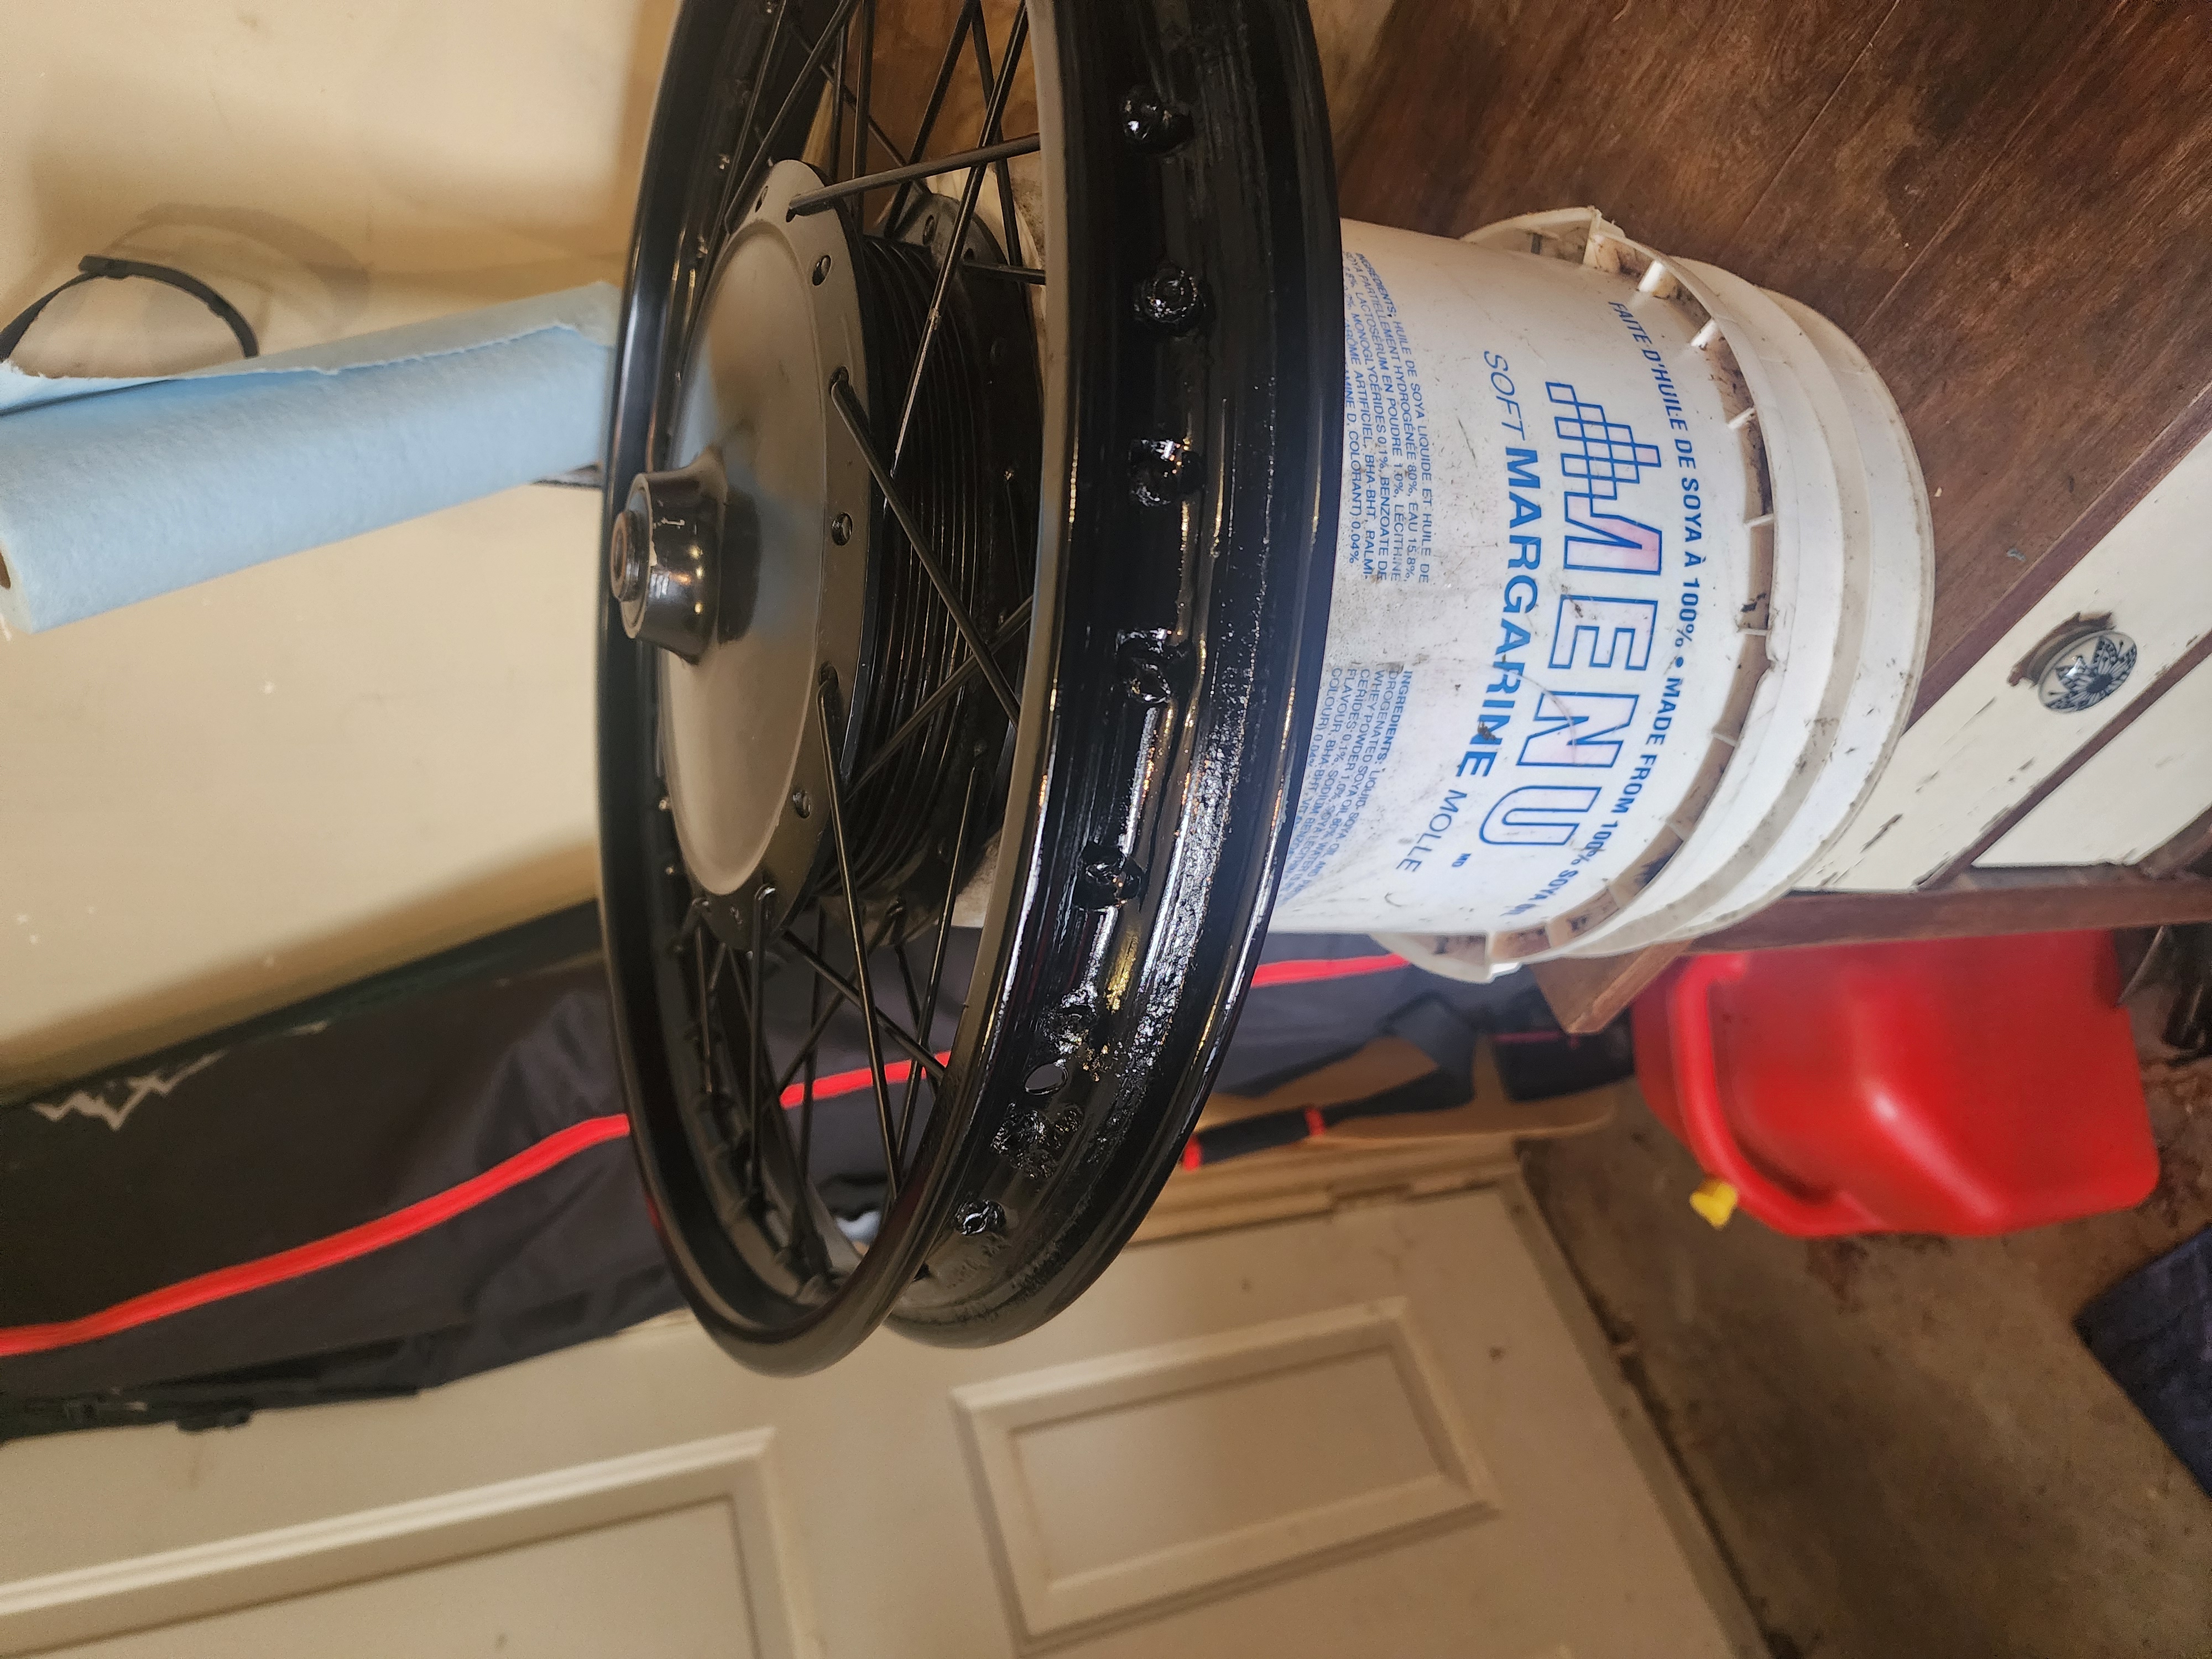 The front wheel refinished on the inside.
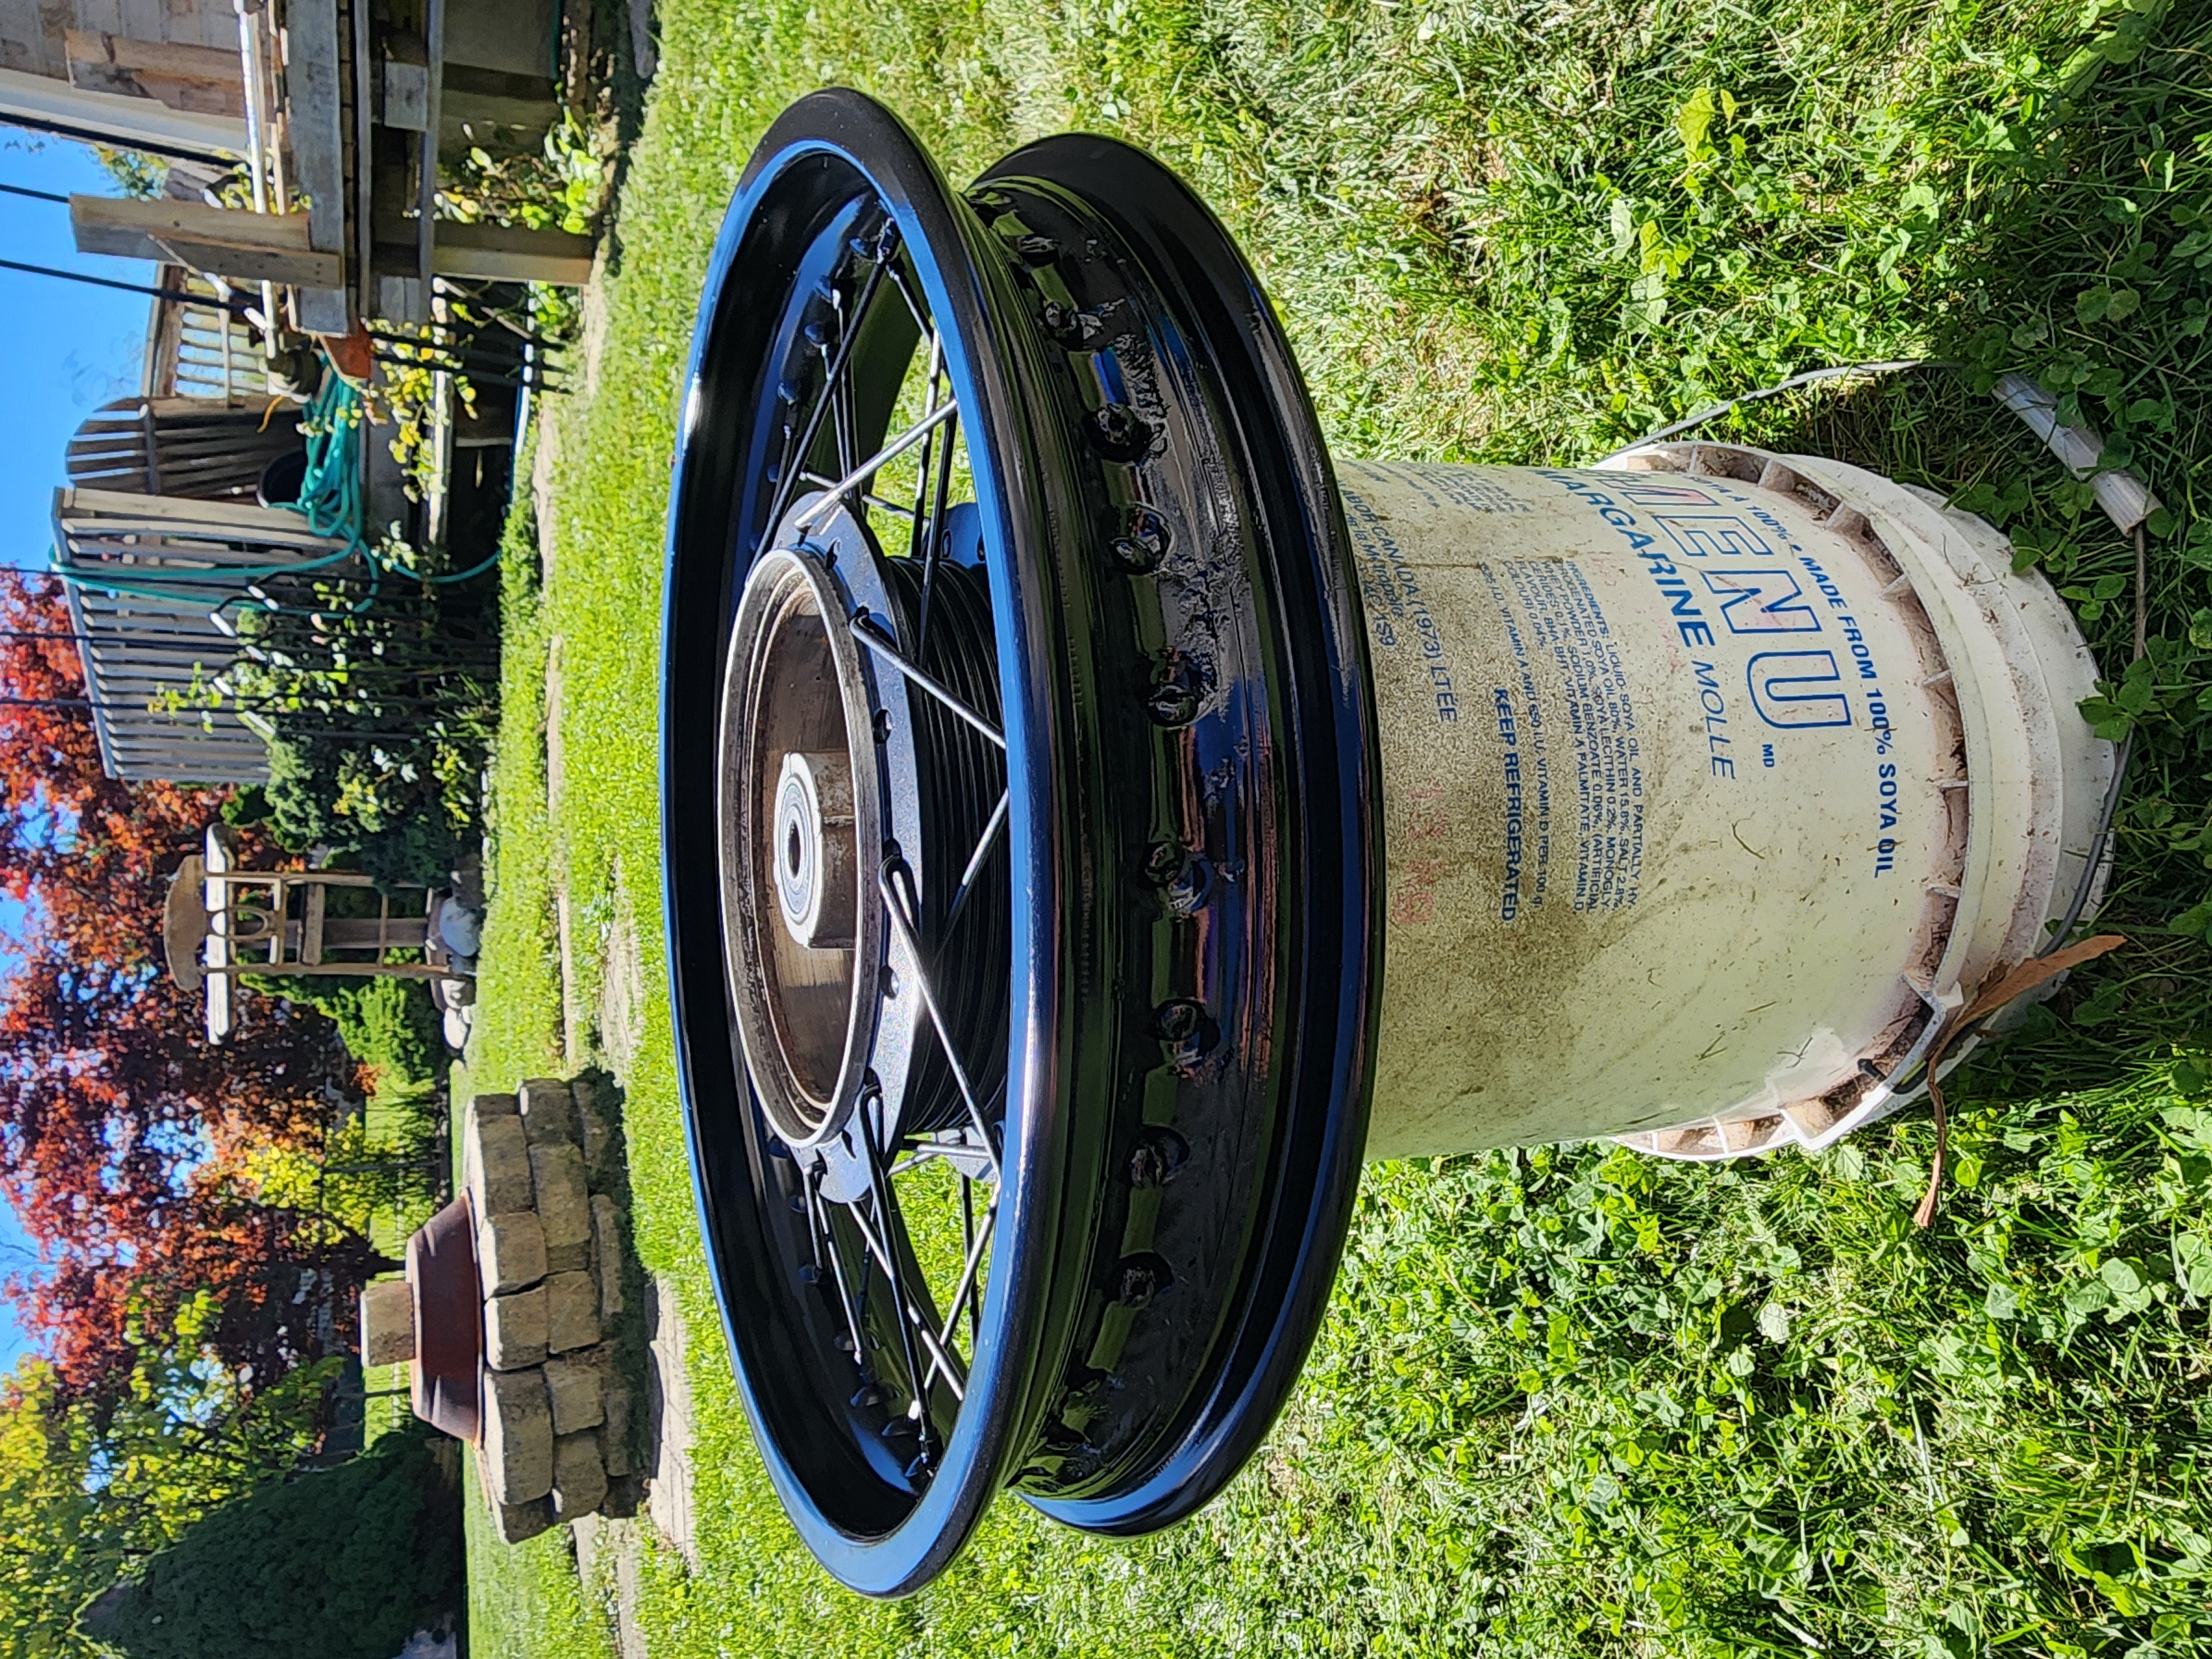 The rear wheel refinished on the inside.
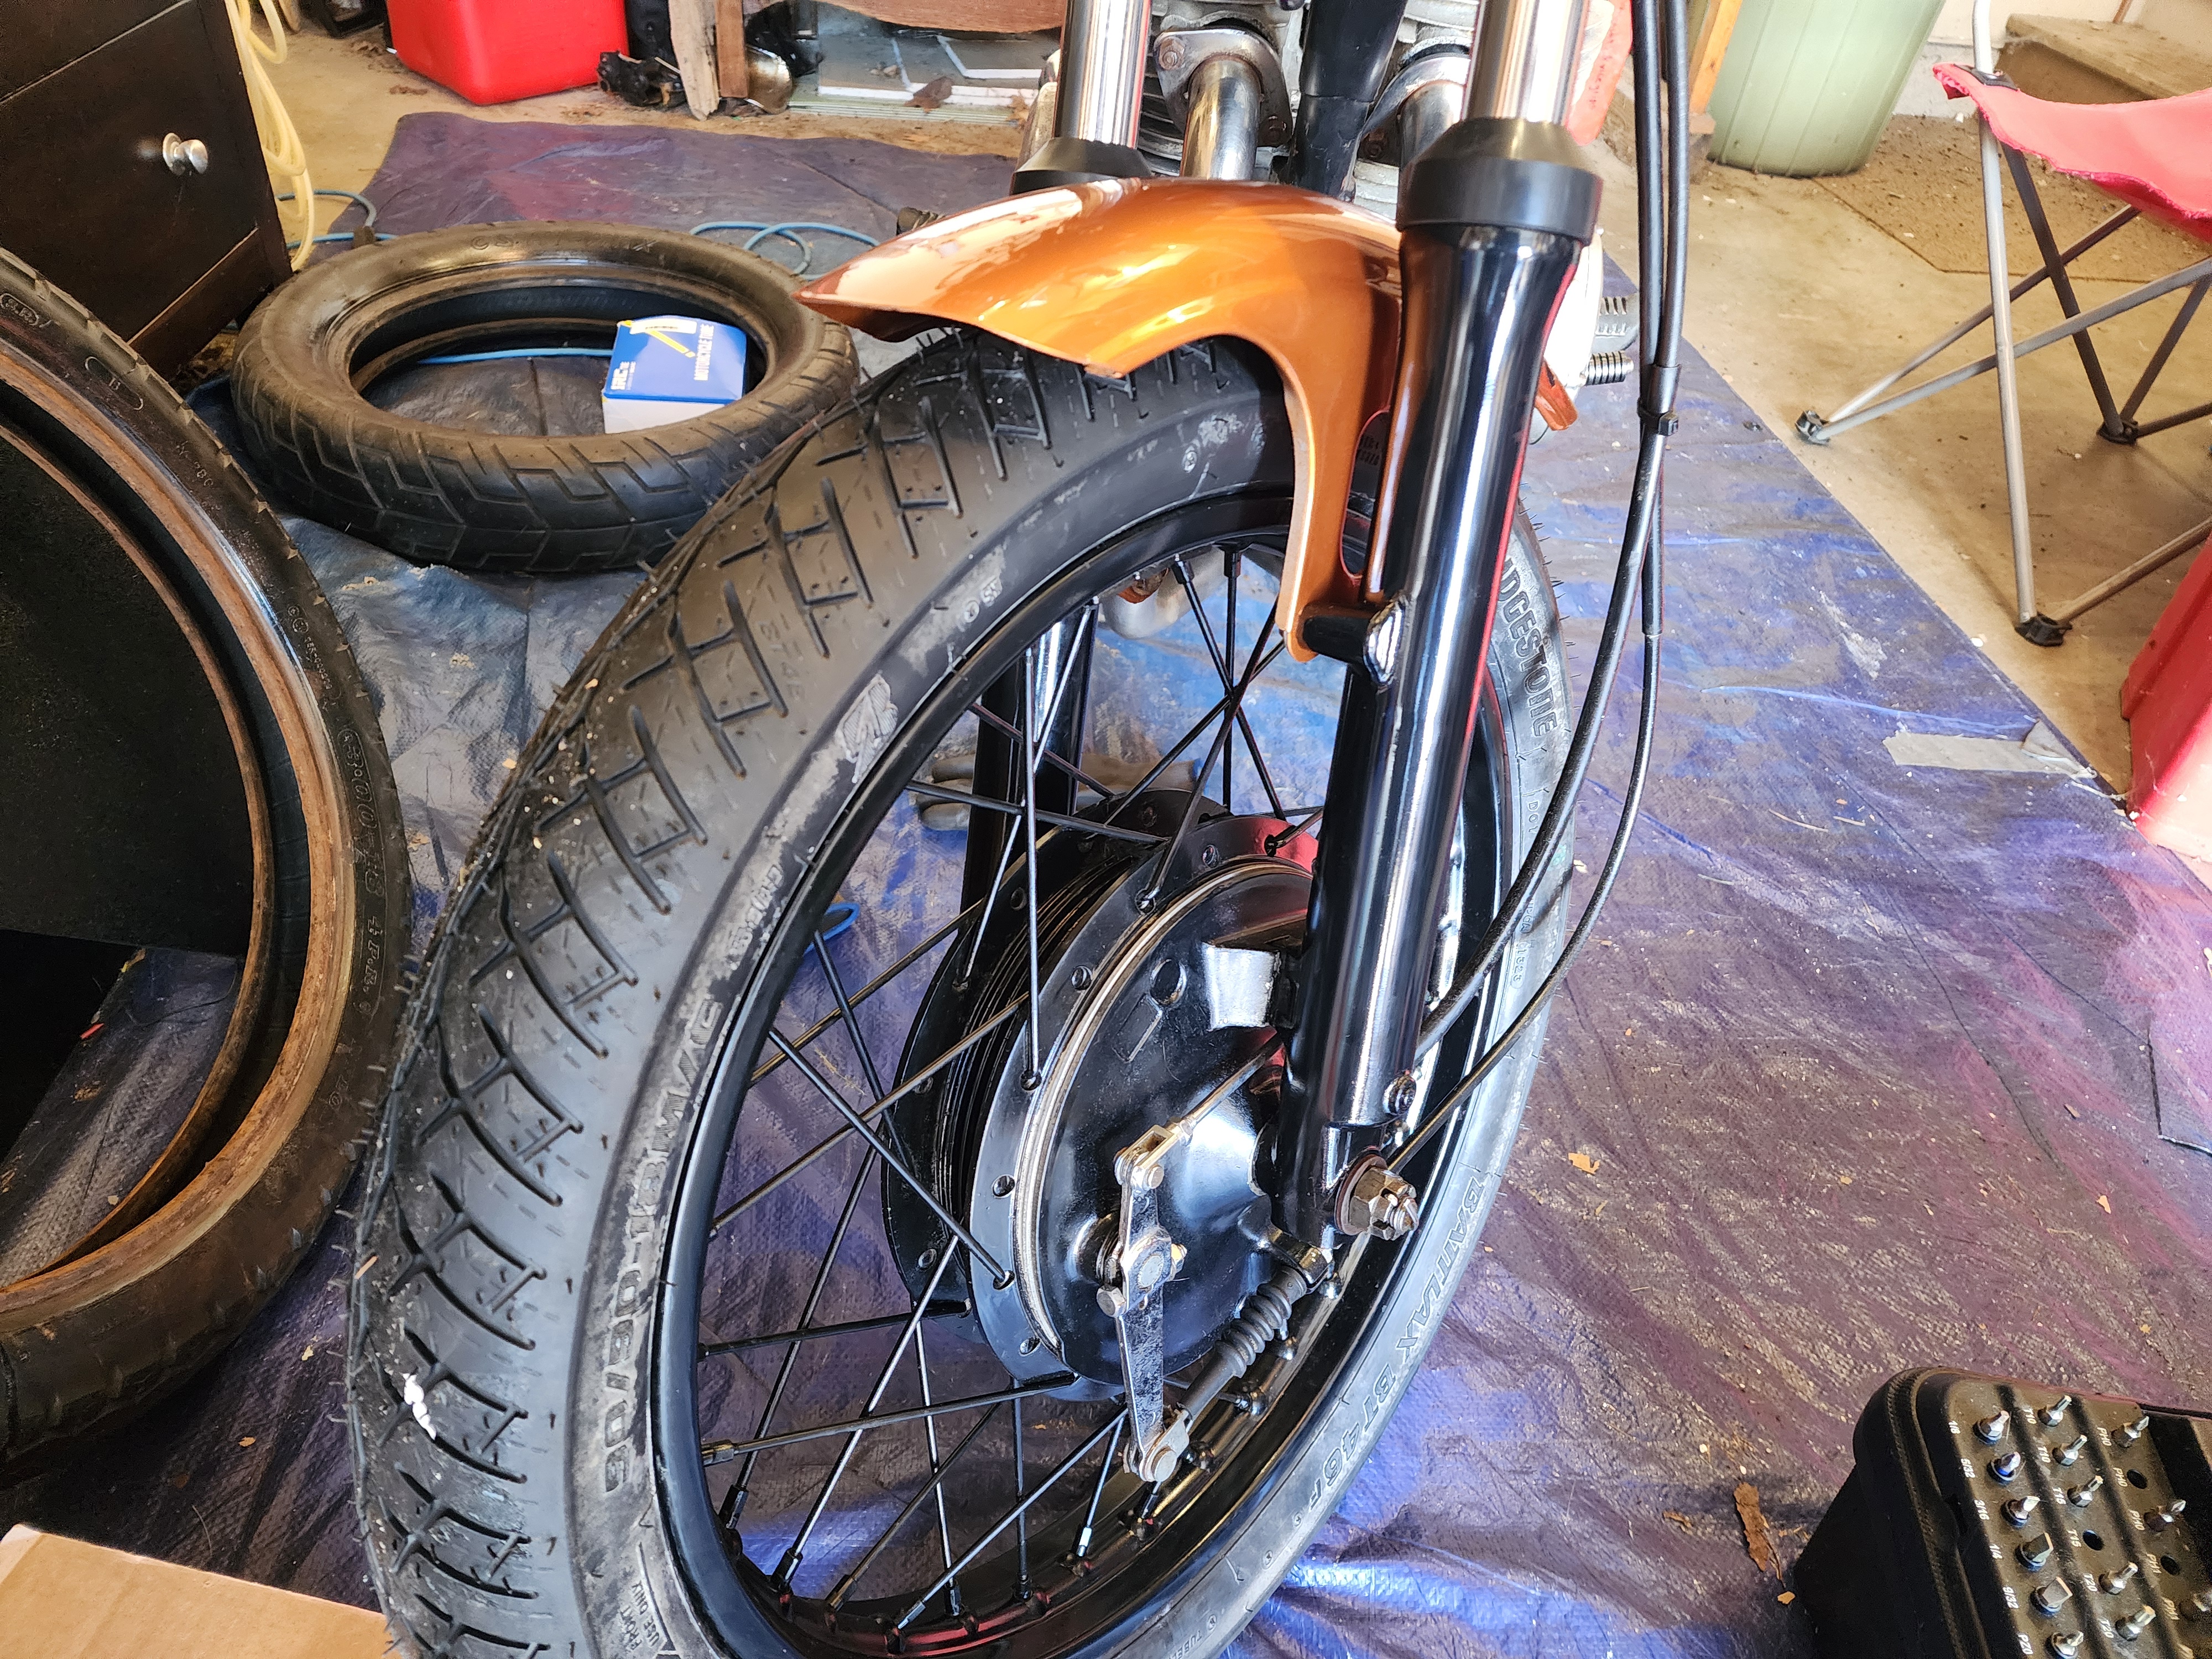 The front wheel mounted with its new tire.
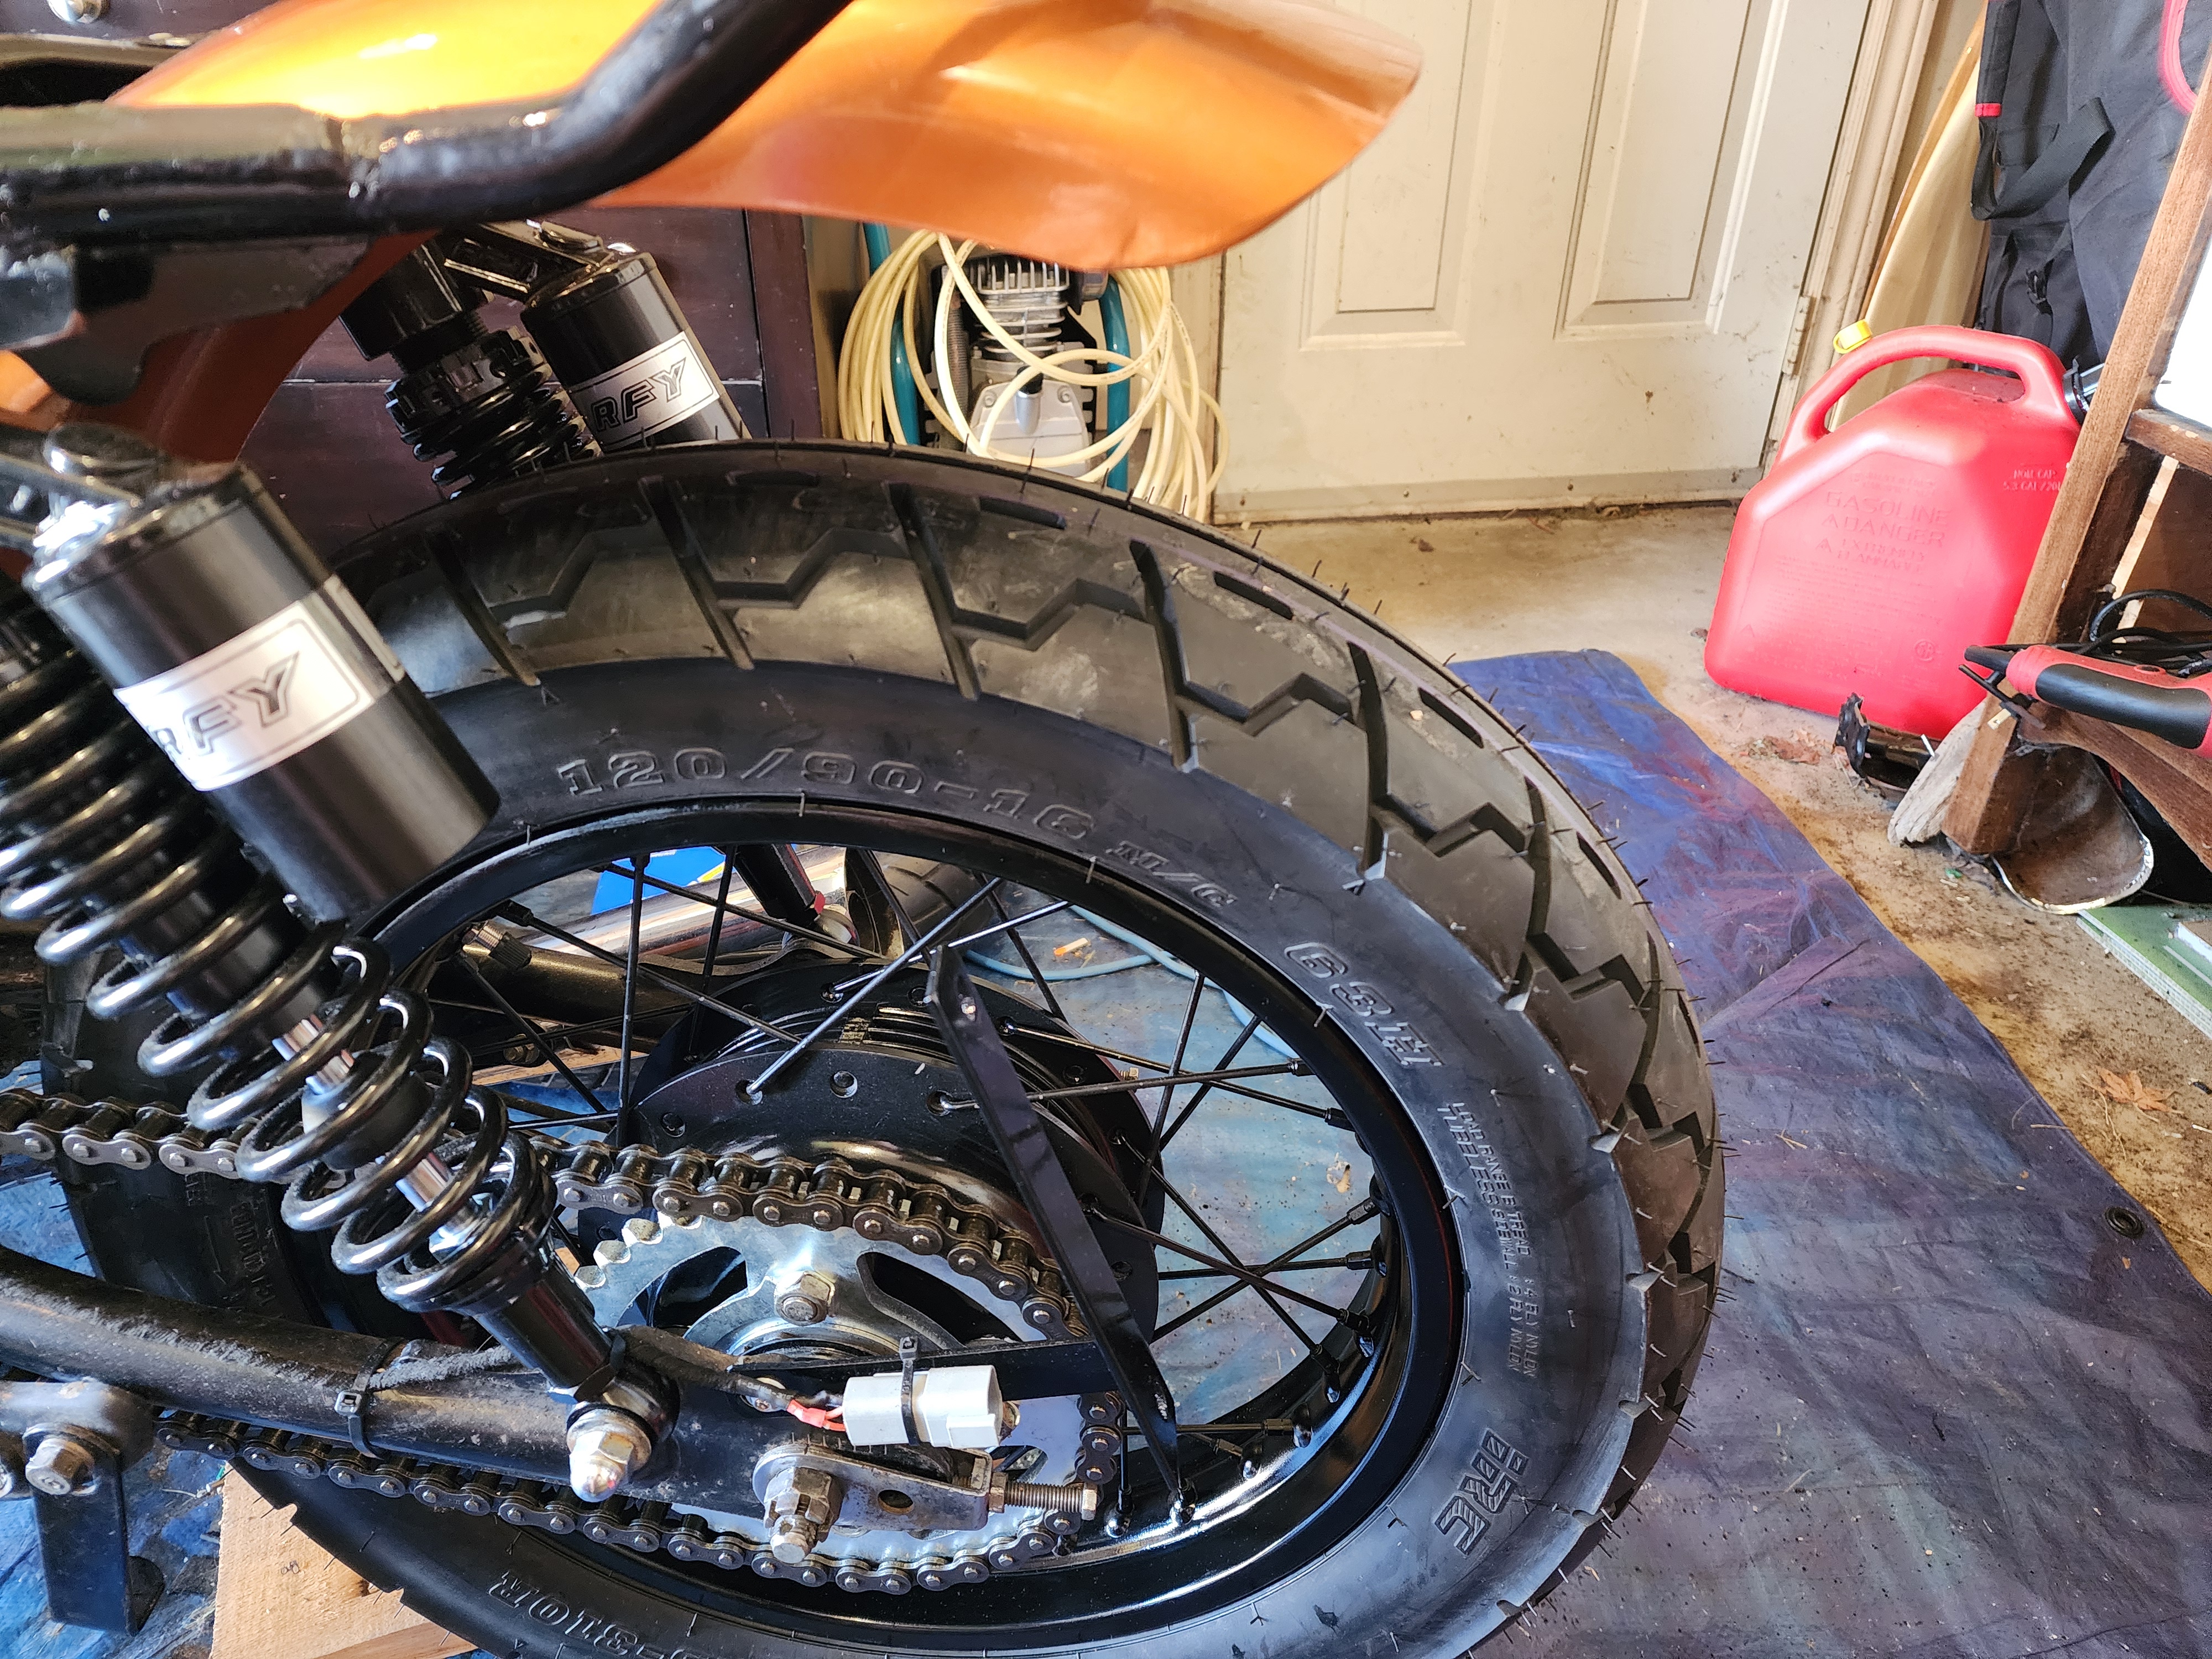 The rear wheel with its new tire.
Seat
The building of the seat is now underway. I started with heating up a oversized piece of the plastic in the oven to soften it entirely. I masked off the frame with painters tape to add a little support in an attempt to avoid the sheet sagging into the battery compartment. This worked splendidly. After cutting some tabs to hold it in place at the front and shaping them using a heat gun, it fit the bike quite well.
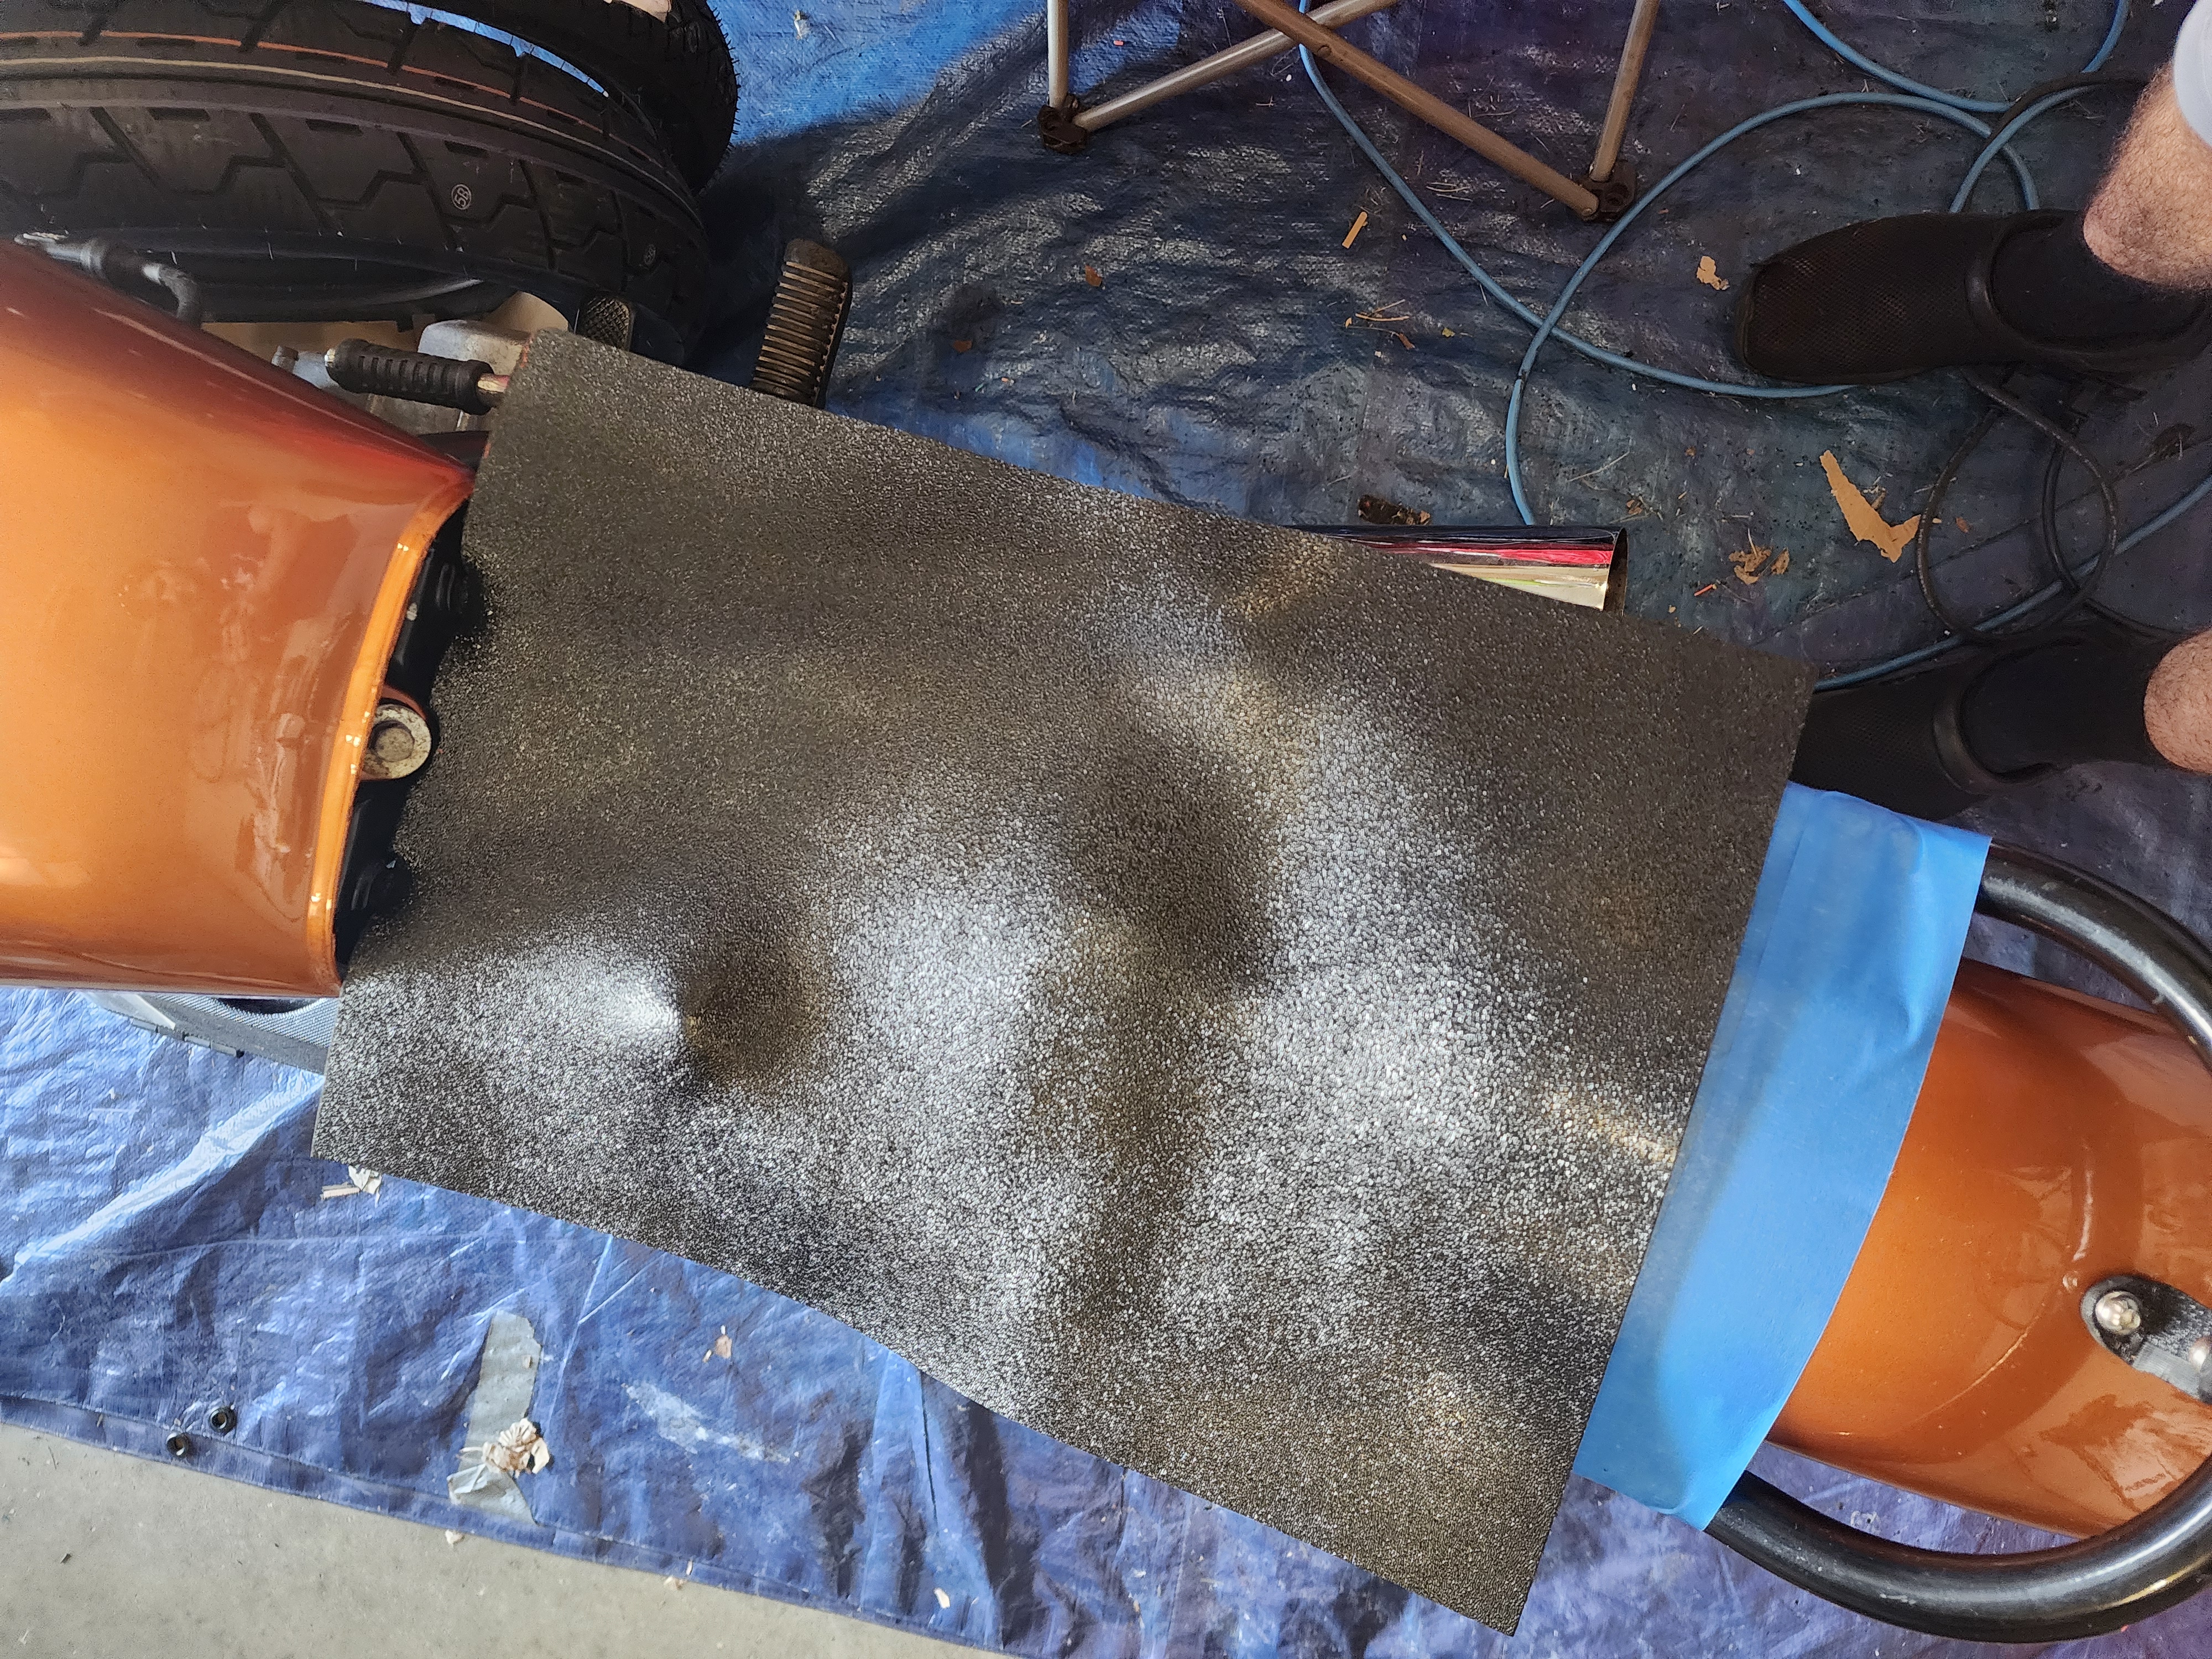 The roughed out seat pan.
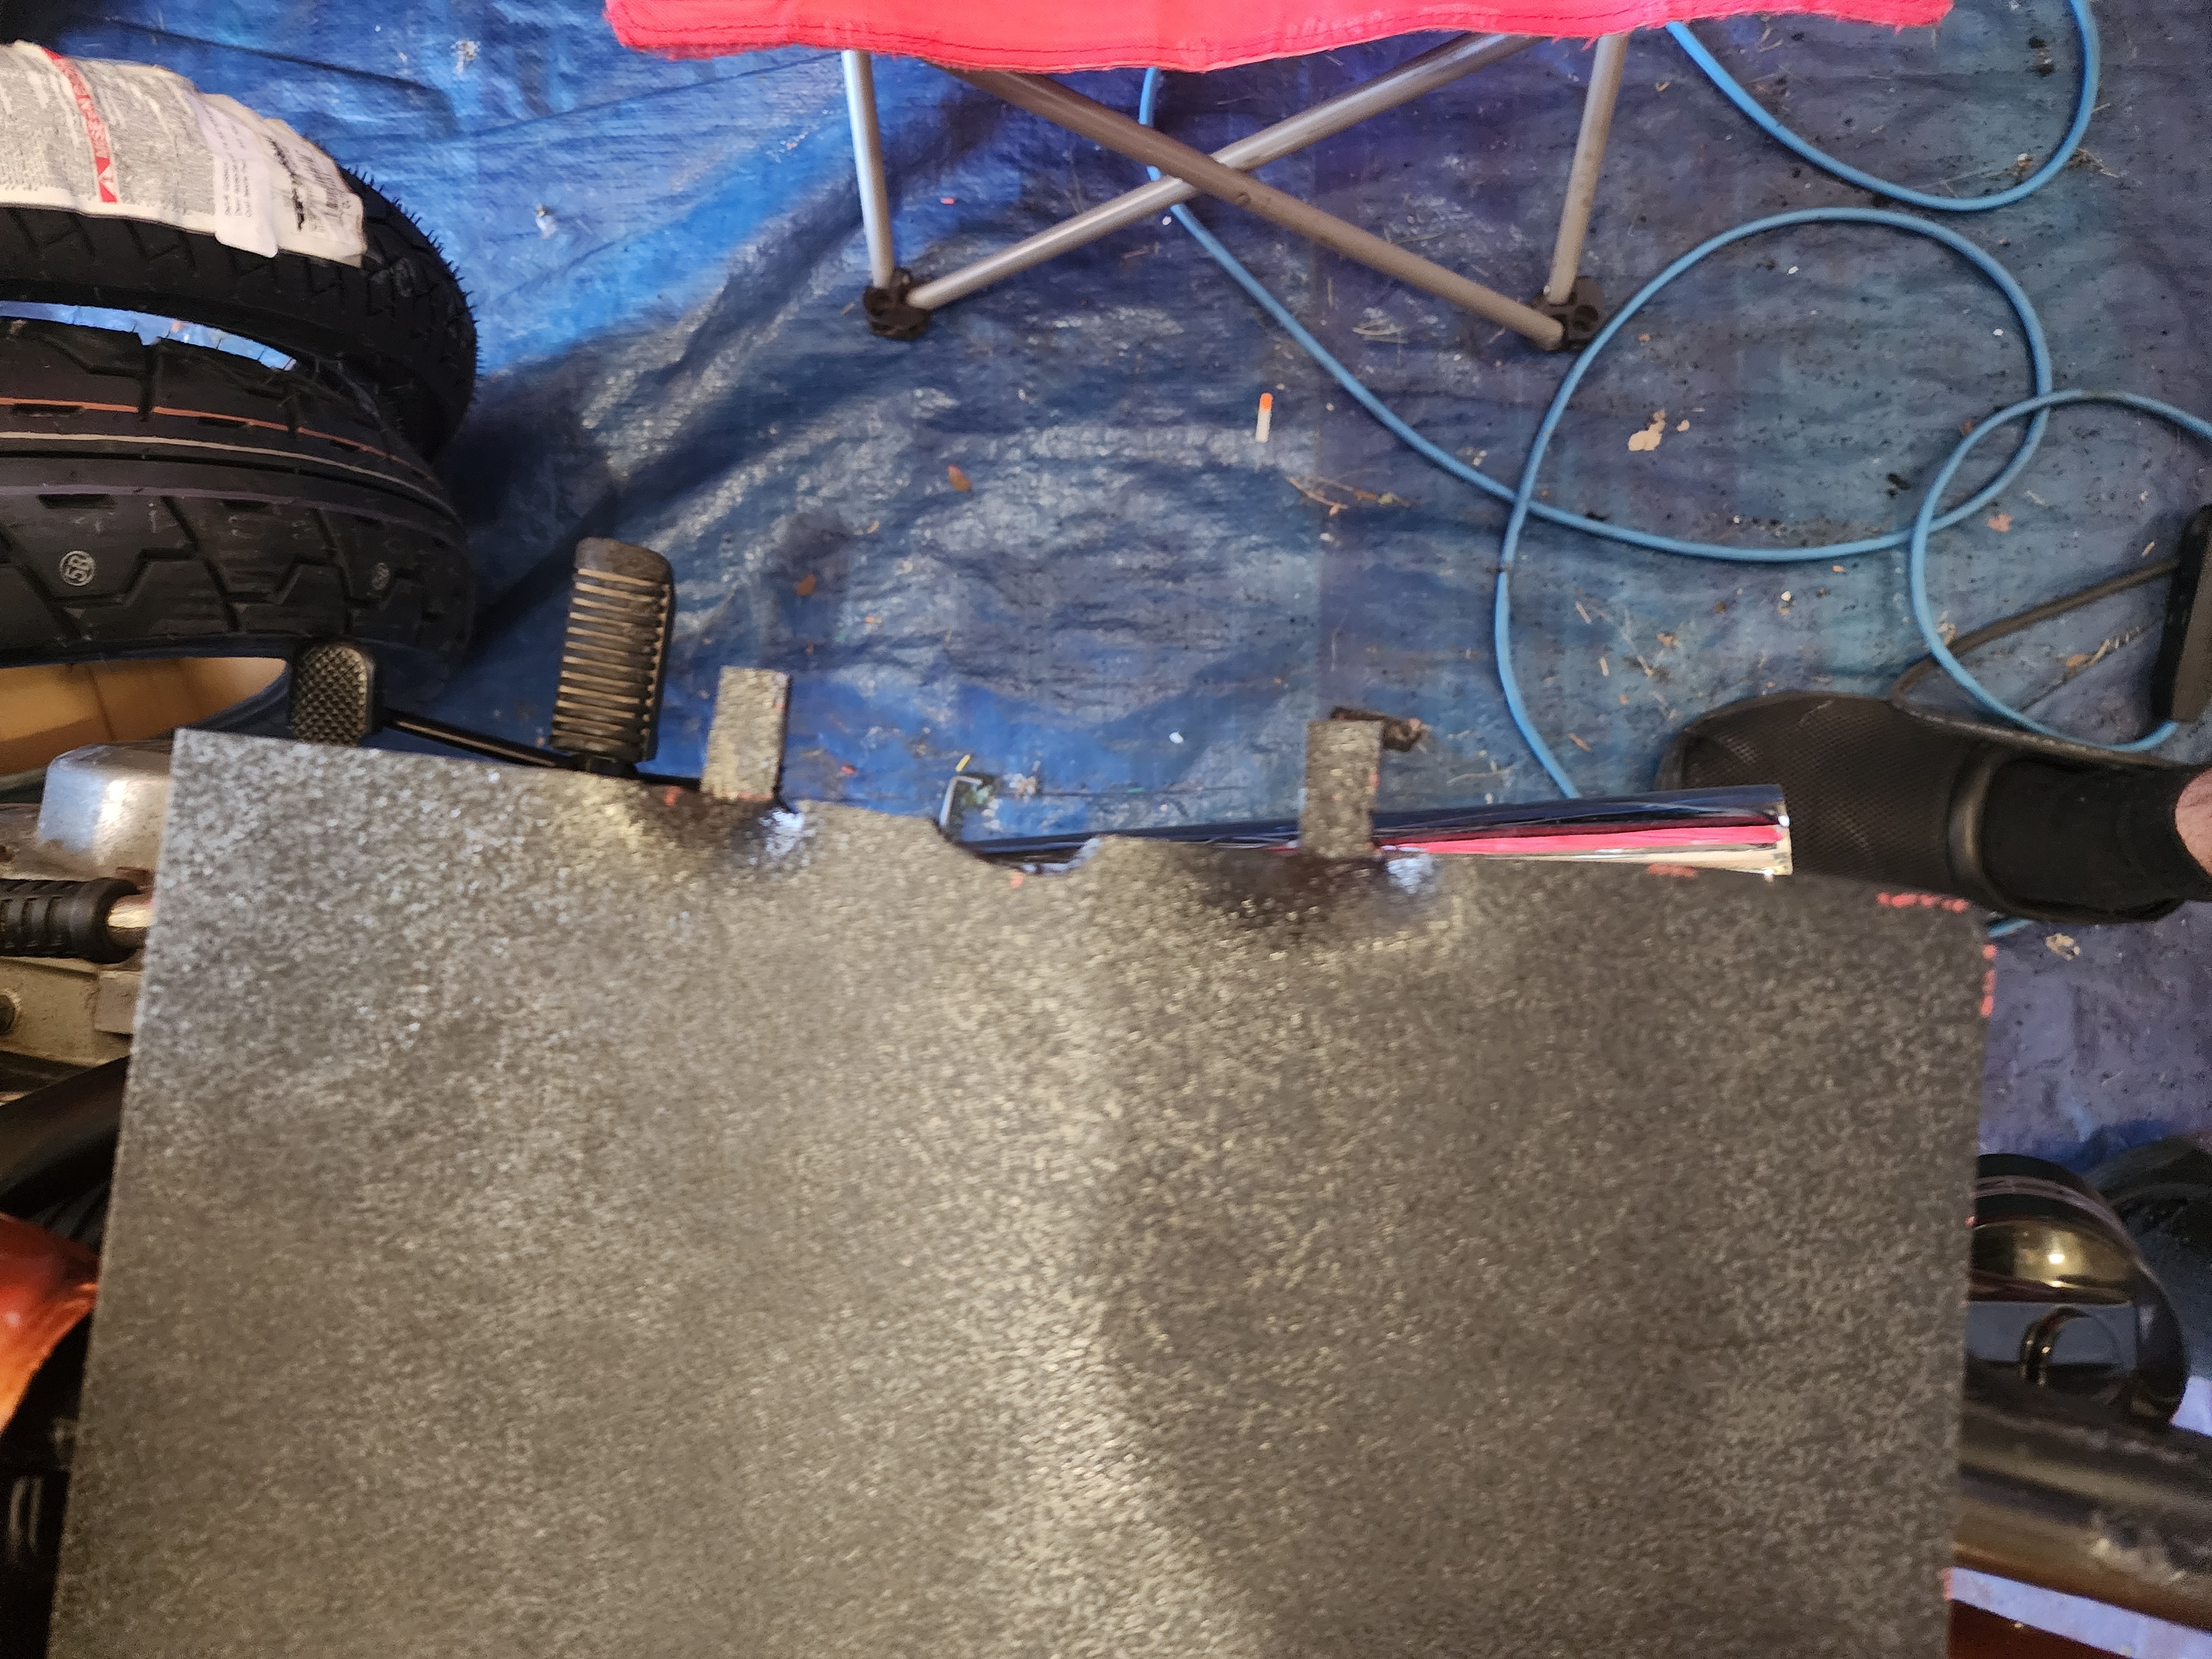 The front tabs on the seat pan.
To attach it at the back I used Beauclip style panel fasteners (another trick from CafeRacerGarage). This involved drilling a 1/2” hole in the frame on either side, and riveting the female side of the clip in place. The male halves are mounted to the seat pan in a similar fashion. Two rivets each seems to hold them in place perfectly well, and the less holes in the frame, the better. This system has a nice satisfying click, and is easy to put on and off.
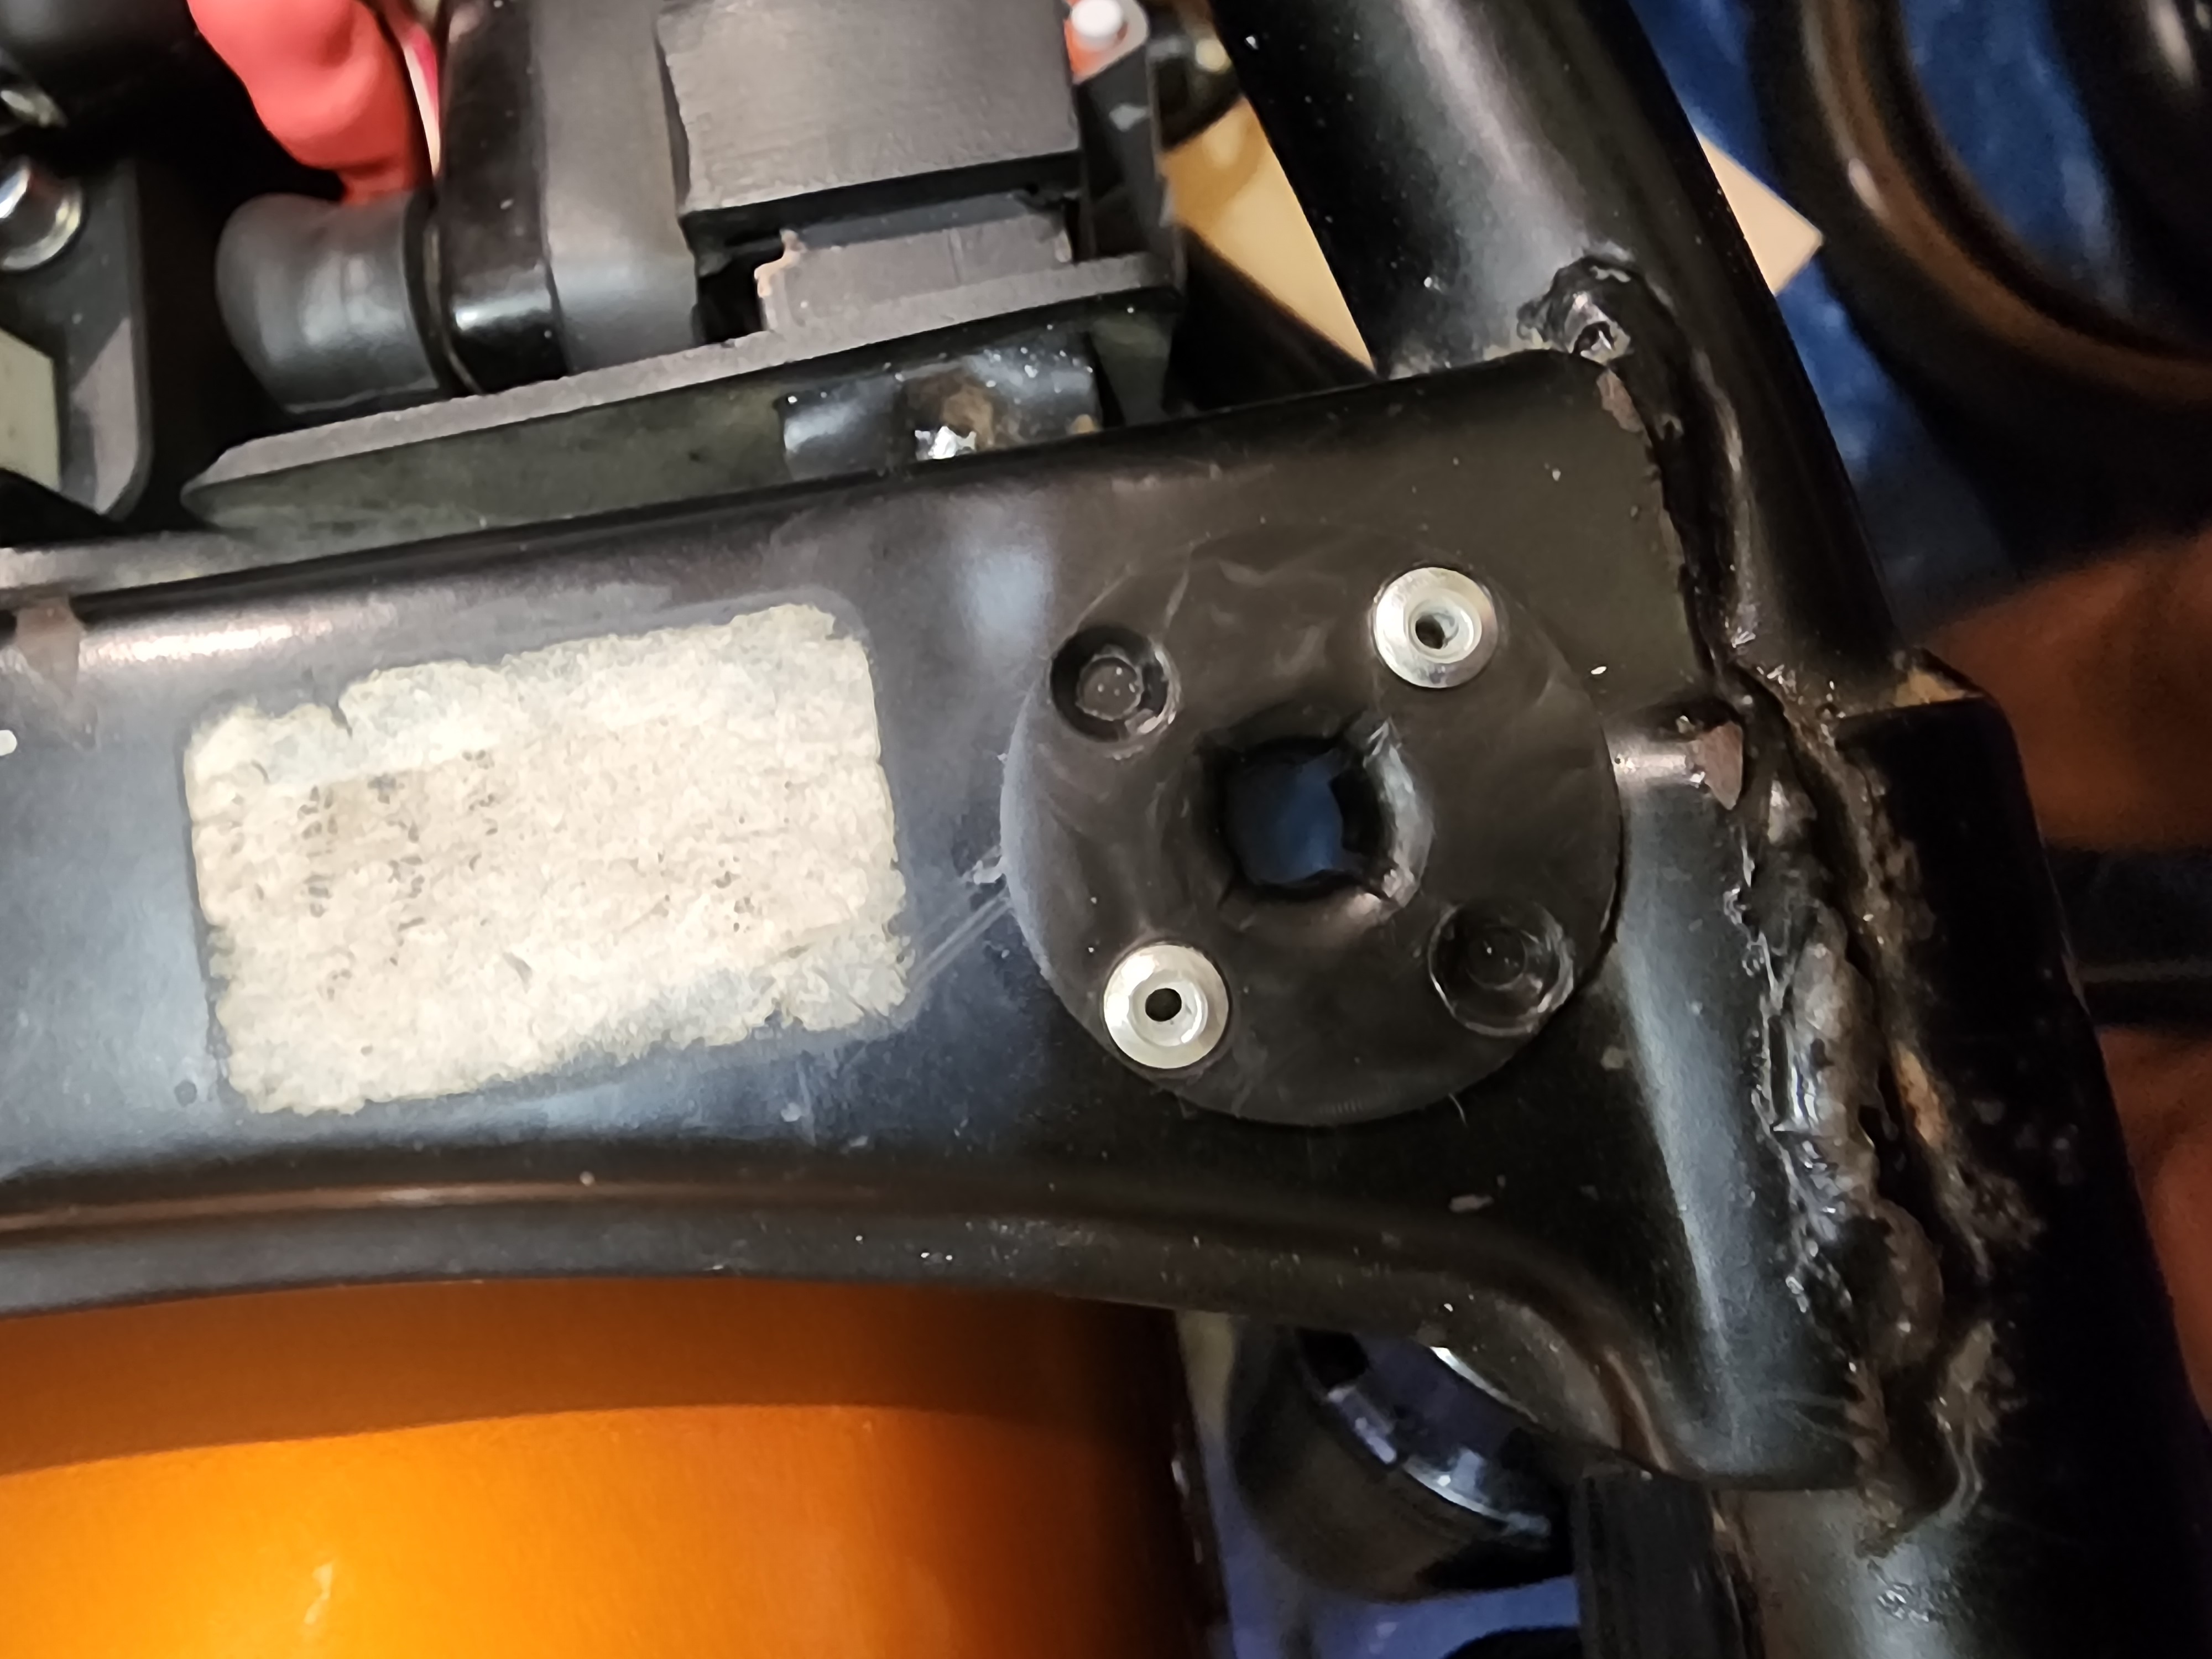 The female side of the BeauClip installed on the frame.
Then, with just a little trimming, it’ll be ready for foam and upholstery. I got some black marine vinyl from Len’s Mill Store in London, and some orange upholstery thread on Amazon. I am still in the process of finding the right foam.
First test ride!
The final item I was waiting on before the first test ride was the tires. After installing the wheels, chain, and tightening down the clutch cover, it was ready. I put everything back together and took it down the street.
The aftermarket exhaust on it is a really nice volume. I’m glad I didn’t decide to remove the baffles. There was a bit of a cough through the carb, and the brakes weren’t adjusted right (they never are first try). The brakes were easy, and I found an air leak which was causing the right cylinder to be too lean (Which was causing the cough/backfire). The vacuum line to the fuel petcock was hard. Replacing it fully fixed the issue, and the bike now runs fantastic. I did also find that the tachometer stopped working at some point. I remember it working fine originally, so it could just be installed incorrectly.
I also lost a small spacer/washer that goes on the rear axle, and lines the castle nut up with the hole in the axle. The part is ordered and should be ready for pickup soon. Without it I can’t use a cotter pin on the rear axle, which is fine for a short test ride, but not for anything more.
Mo.ride app replacement
I saw recently that Motogadget is going to start charging a subscription to use some of their app’s features. This seems like a money grab to me, considering the price I paid for the product to begin with, and that almost all of the features being paywalled shouldn’t require a server connection. I decided to reverse engineer the mo.unit Bluetooth protocol, and create a custom app for myself. Their UI was ugly anyways. I already have the reverse engineering done, and keyless ignition working.