Thinkpad T430s USB-C Charging Mod
A write up on my Thinkpad T430s modification. (originally posted to Reddit)
I recently got my hands on a T430s for free (from my chiropractor, funny story). Anyways, I decided that since the price was right I would risk tackling converting it to USB-C charging as my first mod on it.
The Tear-down
I followed this IFIXIT guide (super helpful, especially for reassembly later). During the tear-down while it was apart, I cleaned all the dust and gooch off the fan, and other surfaces with an old toothbrush and some rubbing alcohol. I also repasted it, as I’m certain that hadn’t been done since it was manufactured. Overall it was pretty easy getting the whole thing apart (ThinkPads are the best).
The Mod
This is the hard part. I’ve seen some people do this mod to the regular T430, but have not seen anyone do it with the T430s. This is because unlike the T430, whose charging port is attached by cable to the mainboard, and is a relatively simple splicing of wires to mod, the s model has a small daughterboard that houses the barrel charging port:
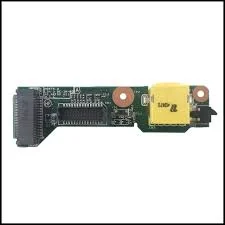 T430s Charging Controller Daughterboard
This makes installing a USB-C PD chip a bit more challenging than splicing a couple cables.
What I ended up doing was printing this part on my buddy’s 3D printer, which didn’t fit right away, as it’s intended for the T430, not the T430s. I had to use a file to take material off the back until it would fit between the daughterboard and the chasis. I then de-soldered the original barrel connector from the board.
Now some stuff about the barrel plug. The barrel plug for the T430s has its negative connection on the outside of the barrel, and positive on the inside, with a signal pin in the middle. On the daughterboard, the connector passed the negative to the two outermost solder points, the signal pin to the center point, and positive to the other two. Luckily, as far as I can tell, the positive and negative points are internally bridged with the other positive and negative point respectively, and the signal point is pretty much optional (DO NOT QUOTE ME ON THIS).
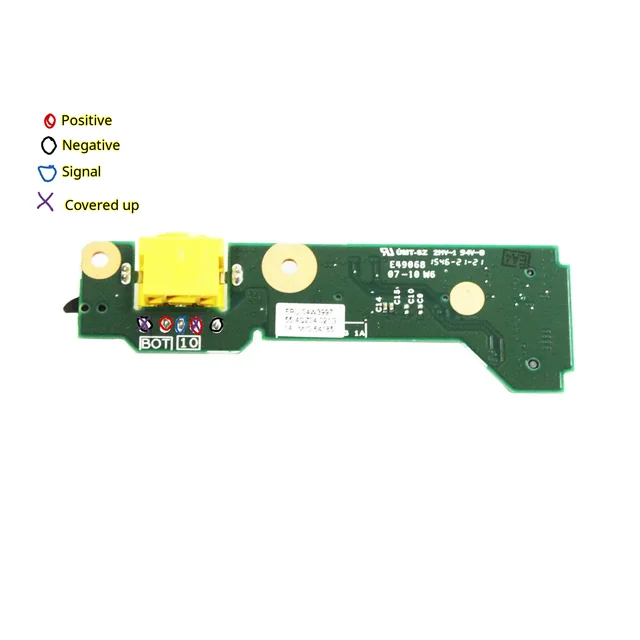 T430s USB-C charging mod diagram
 It’s woooooorkinnnnnng
The Final Results
Overall I am very satisfied with this mod. It was a pain in the butt to solder the two boards directly together, especially with my my 20$ Canadian Tire soldering iron and my bent nose pliers with an elastic band instead of soldering clips, but It all worked out in the end somehow. I don’t think I can recommend doing this (especially in the janky way like I did) unless you know what you are doing and you are willing to risk the ruining the daughterboard and paying 25$CAD for a replacement, or worse, ruining the laptop. I had the privileged of not having any money invested in this laptop, so that is something to consider. Here are the pics of the final product:
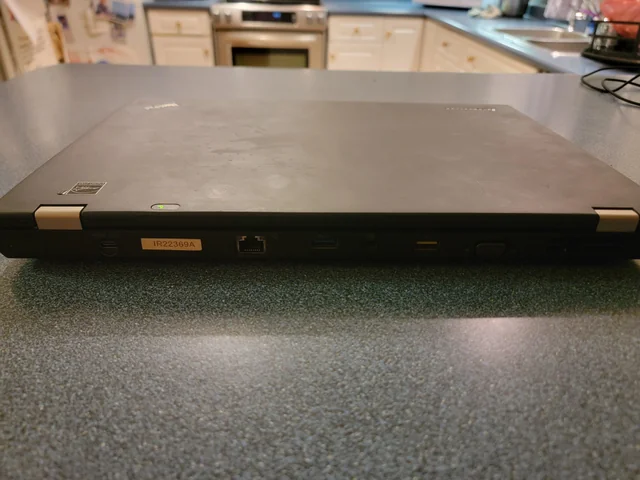 The laptop closed up, with everything back in place.
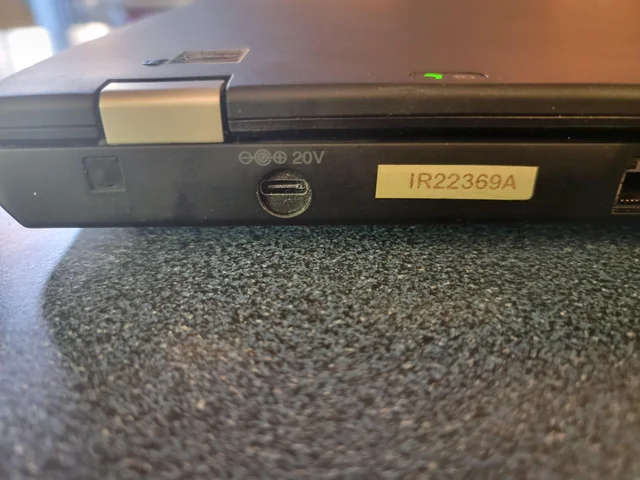 A closer look at the charge port, still wearing its original 20V marking.
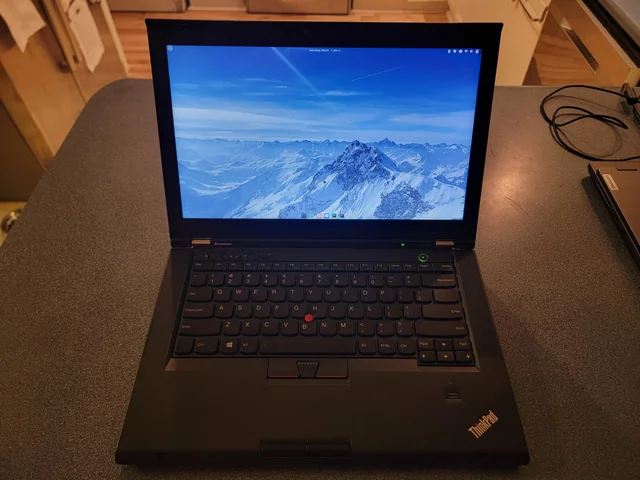 The final results